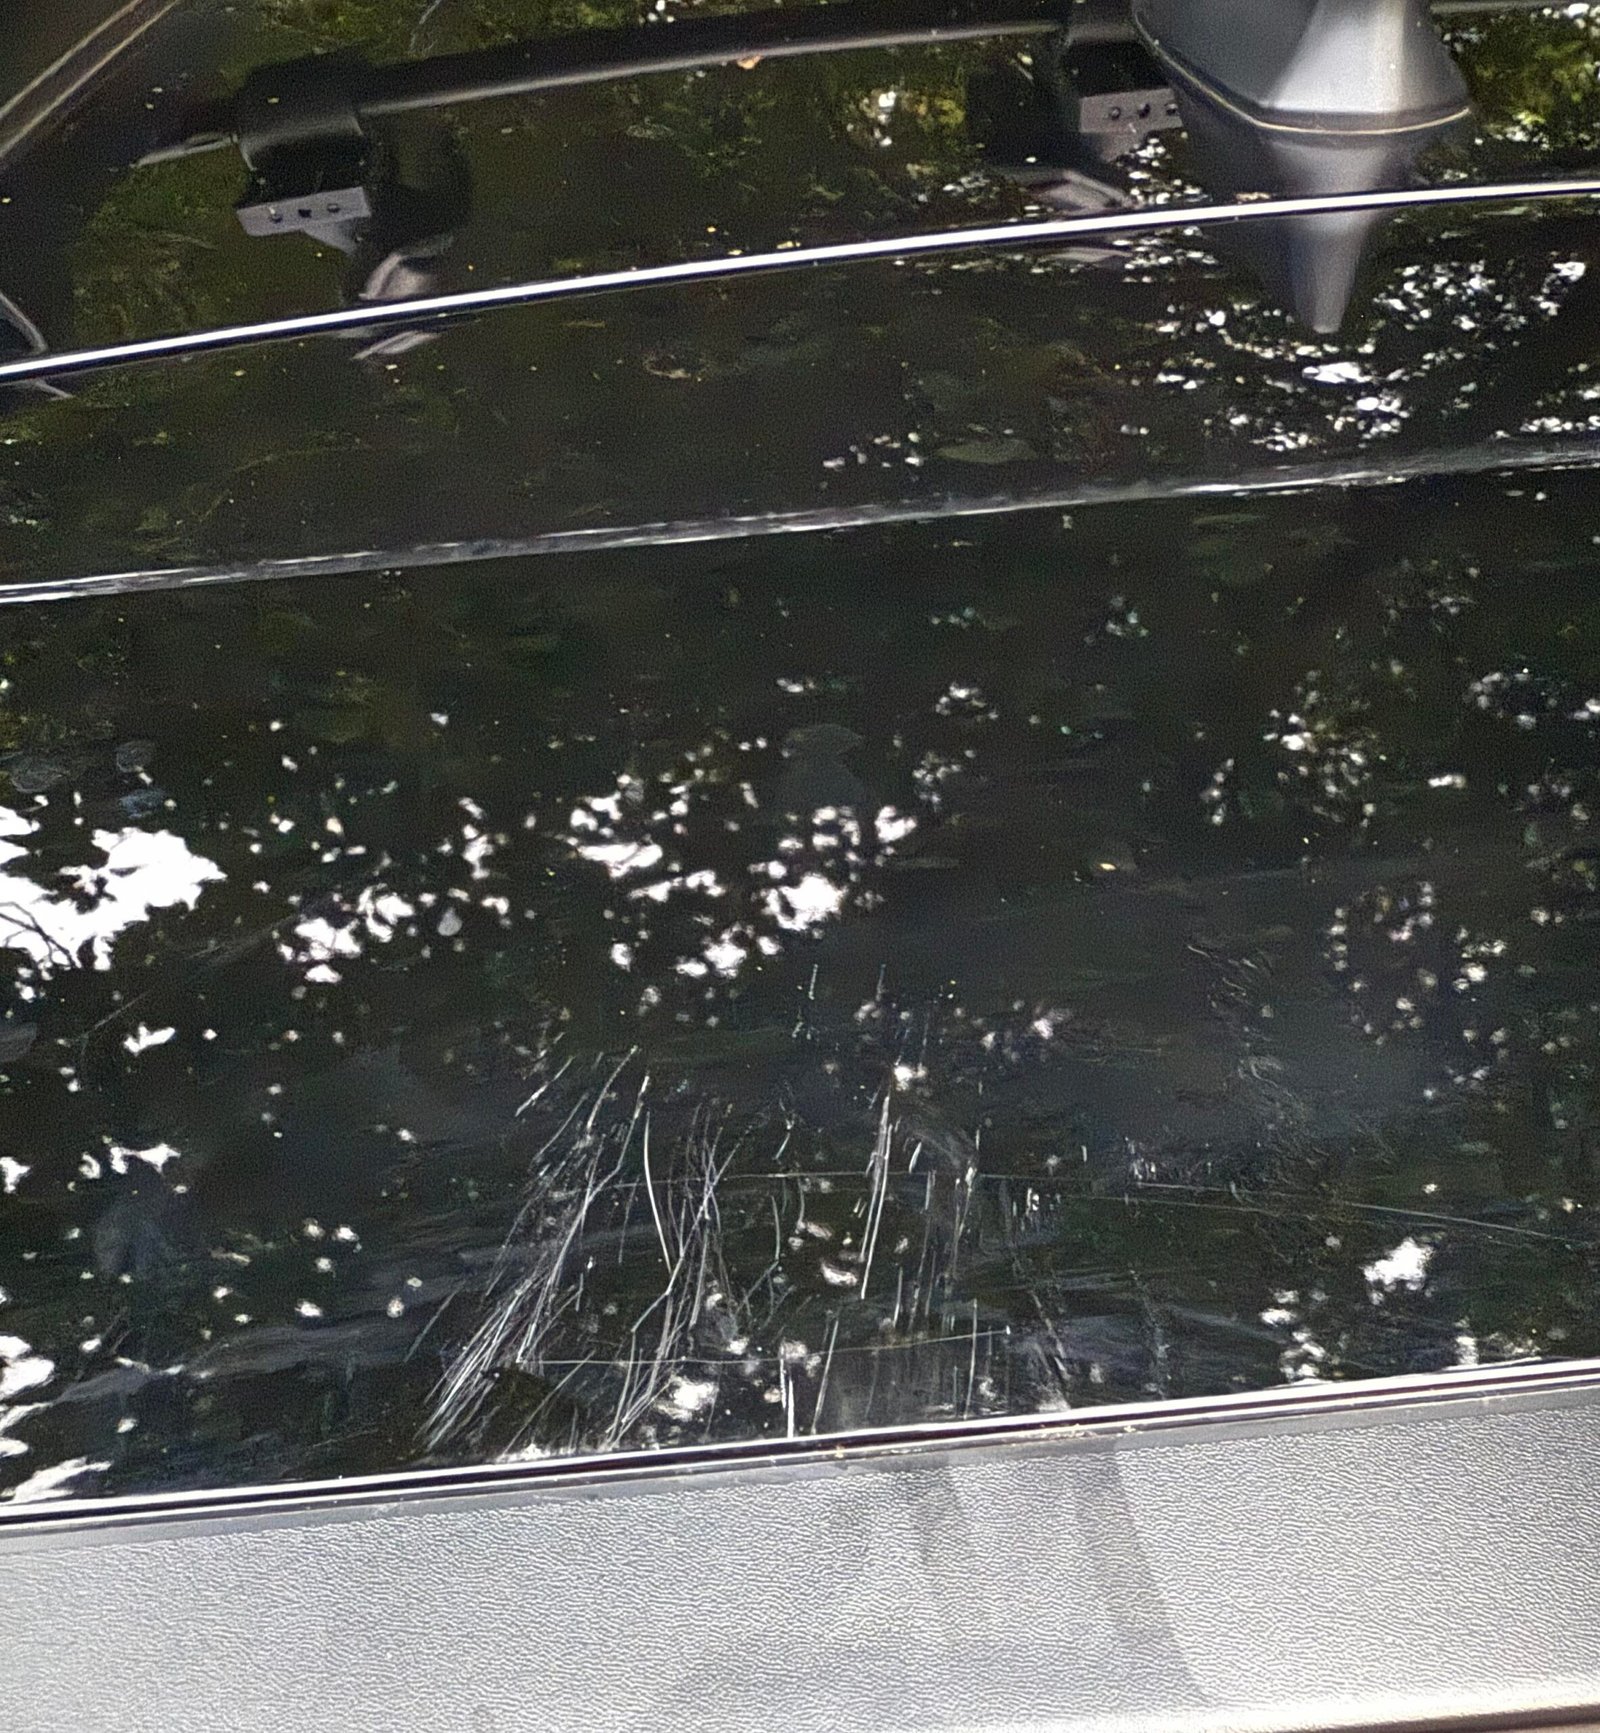
Have you noticed scratches on your kayak that make it look worn out? These marks might seem like small problems, but they can affect your kayak’s performance and lifespan.
The good news is, fixing kayak scratches is easier than you think. You’ll learn simple and effective ways to restore your kayak’s smooth surface. Keep reading to discover how you can protect your kayak and enjoy smoother paddling every time you hit the water.
Identify Scratch Types
Knowing the type of scratch on your kayak helps you fix it properly. Different scratches need different repairs.
Here are common scratch types and how to spot them before you start fixing.
Surface Scratches
Surface scratches are light marks on the kayak’s finish. They do not go deep into the material.
These scratches usually happen from rubbing against rocks or branches. They only affect the paint or outer layer.
Deep Gouges
Deep gouges cut into the kayak’s body. They go below the surface and create noticeable dents or grooves.
These need more care because they can weaken the kayak’s structure if not fixed well.
Cracks And Holes
Cracks are splits in the kayak’s material that can grow over time. Holes are open gaps through the kayak’s body.
Both cracks and holes let water in and must be repaired quickly to prevent damage.
Gather Repair Materials
Fixing kayak scratches starts with gathering the right materials. Having everything ready makes the repair easier.
Using proper tools and safety gear helps you work well and stay safe during the repair process.
Basic Tools Needed
You need some basic tools to fix scratches on your kayak. These tools help clean, sand, and smooth the damaged area.
- Sandpaper or sanding block (various grits)
- Plastic scraper or putty knife
- Clean cloths or rags
- Masking tape
- Utility knife or scissors
Recommended Repair Kits
Using a repair kit made for kayaks can save time. These kits include materials suited for plastic or fiberglass kayaks.
- Plastic welding kits for plastic kayaks
- Epoxy resin and hardener for fiberglass kayaks
- Marine-grade filler or putty
- Touch-up paint matching your kayak color
- Application brushes or mixing sticks
Safety Equipment
Wear safety gear to protect yourself from dust, fumes, and sharp tools. Safety is very important during repairs.
- Protective gloves to avoid skin contact
- Safety glasses to protect your eyes
- Dust mask or respirator to avoid inhaling particles
- Work in a well-ventilated area
Clean The Damaged Area
Fixing kayak scratches starts with cleaning the damaged area. Dirt and debris can stop repairs from sticking well. You need to clear the surface before you repair.
Proper cleaning helps the repair last longer. It also makes the kayak look better after fixing the scratches.
Removing Dirt And Debris
First, remove all dirt and debris around the scratch. Use fresh water and a soft brush to wash the area. Dry it with a clean cloth. Avoid using harsh chemicals that might damage the kayak surface.
- Rinse the kayak with fresh water
- Gently scrub the damaged spot with a soft brush
- Use mild soap if needed
- Rinse again to remove soap residue
- Dry the area completely with a clean towel
Preparing Surface For Repair
After cleaning, prepare the surface for repair. Light sanding helps the repair material stick better. Use fine-grit sandpaper and sand gently. Remove dust after sanding to keep the surface clean.
| Task | Tool | Tip |
| Light sanding | Fine-grit sandpaper (220-320 grit) | Sand only the scratched area |
| Remove dust | Clean cloth or air blower | Make sure no particles remain |
| Final wipe | Isopropyl alcohol on cloth | Use to clean surface before repair |

Fix Surface Scratches
Surface scratches on kayaks are common but easy to fix. These scratches only affect the top layer and do not damage the kayak’s structure.
Fixing surface scratches helps keep your kayak looking good and protects it from further damage.
Using Polishing Compounds
Polishing compounds remove light scratches by smoothing the kayak’s surface. Choose a compound made for plastic or fiberglass kayaks.
- Clean the kayak surface with water and mild soap.
- Dry the area completely before applying the compound.
- Apply a small amount of polishing compound to a soft cloth.
- Rub the compound gently into the scratched area in circular motions.
- Buff the area with a clean cloth to restore shine.
Buffing Techniques
Buffing removes the polishing compound and smooths the surface to blend scratches. Use soft, clean cloths or a buffing machine for larger areas.
| Buffing Tool | Best Use | Tips |
|---|---|---|
| Soft microfiber cloth | Small scratches | Use light pressure, buff in circles |
| Foam buffing pad | Medium scratches | Attach to drill, use low speed |
| Electric buffer | Large areas | Keep moving to avoid heat build-up |
Repair Deep Gouges
Deep gouges in your kayak can cause leaks or weaken its structure. Fixing these scratches is important to keep your kayak safe and strong. This guide shows how to repair deep gouges properly.
Use the right materials and tools to fill and smooth the damaged area. Follow the steps carefully for the best results.
Filling With Marine Epoxy
Marine epoxy is strong and waterproof, making it ideal for filling deep kayak gouges. It bonds well with plastic and prevents water damage.
First, clean the gouge area thoroughly. Remove any dirt, grease, or loose pieces. Mix the marine epoxy according to the instructions on the package.
- Wear gloves to protect your hands
- Mix equal parts of resin and hardener
- Stir slowly to avoid bubbles
- Apply epoxy to fill the gouge completely
- Shape the epoxy slightly above the kayak surface
Sanding And Smoothing
After the epoxy cures, sanding makes the repair smooth and flush with the kayak surface. Use fine-grit sandpaper to avoid scratching the surrounding area.
Sand gently in a circular motion. Check the surface often to keep it even. Wipe the area clean to remove dust before using your kayak again.
- Start with 120-grit sandpaper
- Finish with 220-grit for smoothness
- Use a damp cloth to clean the dust
- Inspect the repair for any rough spots

Seal Cracks And Holes
Kayaks can get scratches, cracks, and holes over time. Fixing them is important to keep your kayak safe and usable.
Learn how to seal these damages effectively. This guide will help you apply fiberglass patches and finish the repair properly.
Applying Fiberglass Patches
Fiberglass patches are strong and durable for repairing cracks and holes. They protect your kayak from further damage.
- Clean the damaged area with soap and water.
- Sand the surface gently to create a rough texture.
- Cut the fiberglass patch to cover the crack or hole completely.
- Mix resin and hardener according to the instructions.
- Apply the mixture on the surface and place the patch over it.
- Smooth the patch to remove air bubbles.
Curing And Finishing
After applying the patch, the next step is curing and finishing. This ensures the repair is strong and blends with the kayak.
Prevent Future Damage
Kayaks can easily get scratched during use. Taking steps to prevent damage helps keep them in good shape.
Protective measures ensure your kayak lasts longer and performs better.
Protective Coatings
Applying a protective coating shields the kayak from scratches. It acts like a barrier against rough surfaces.
- Choose a marine-grade coating
- Apply evenly using a soft cloth
- Reapply every few months for best results
Proper Storage Tips
Storing your kayak correctly prevents scratches and other damage. Follow these tips to maintain its condition.
- Store the kayak indoors or under cover
- Use a kayak rack to keep it off the ground
- Avoid direct sunlight to prevent fading

Frequently Asked Questions
How Can I Fix Minor Scratches On My Kayak?
To fix minor kayak scratches, clean the area first. Use fine sandpaper to smooth edges. Apply a plastic repair epoxy or UV-resistant marine paint. Let it dry completely before using the kayak again. This method prevents water damage and maintains kayak appearance.
What Materials Are Best For Repairing Kayak Scratches?
The best materials for kayak scratch repairs include plastic repair epoxy, marine-grade paint, and fine-grit sandpaper. These products bond well with kayak surfaces and resist water exposure. Using UV-resistant materials ensures long-lasting protection against sun damage and keeps your kayak looking new.
Can I Repair Deep Kayak Scratches Myself?
Yes, you can repair deep kayak scratches yourself with proper tools. Clean the damaged area, sand it smooth, and fill it with plastic epoxy. After drying, sand again and apply marine paint. This DIY method saves money and restores kayak durability effectively.
How Long Does Kayak Scratch Repair Take To Dry?
Kayak scratch repair typically takes 24 to 48 hours to dry fully. Drying time varies based on epoxy or paint type and environmental conditions. Always follow product instructions for best results and avoid using the kayak until the repair cures completely.
Conclusion
Fixing kayak scratches helps keep your boat strong and looking good. Small scratches are easy to fix with simple tools. Clean the area first for the best results. Use the right materials to prevent more damage. Regular care extends your kayak’s life on the water.
Taking time to fix scratches saves money in the long run. Enjoy your trips without worrying about minor marks. Keep your kayak ready for every adventure ahead. Simple steps make a big difference in kayak maintenance.


