
You calibrate it by following the controller menu, leveling sensors, and a simple auto-level routine.
I’ve calibrated wireless RV leveling systems many times on my own rigs and for friends. I’ll explain step by step how to set up, calibrate, troubleshoot, and verify your system so it works reliably. This guide covers tools, common problems, real-world tips I learned the hard way, and clear steps to answer How do you calibrate a wireless RV leveling system? so you can finish fast and camp level.

Why calibration matters for your RV leveling system
Calibrating matters because a wireless RV leveling system uses sensor readings to move jacks. If sensors are off, the system can over- or under-correct. That stresses jacks, can leave the RV tilted, and wastes power.
A proper calibration aligns sensor zero points to your RV’s true frame level. It also confirms the controller and wireless nodes talk to each other. Knowing how do you calibrate a wireless RV leveling system? helps prevent damage and keeps your RV stable on uneven ground.
Key benefits of good calibration:
- Ensures accurate automatic leveling cycles.
- Protects jacks and hydraulic or electric components.
- Reduces repeated manual adjustments at each campsite.
- Improves safety during setup and teardown.

Tools and preparation before you start
Preparation makes calibration quick and safe. Gather these items and choose a calm, flat spot to work.
Essential items:
- Owner’s manual for your system and controller.
- Fully charged RV battery or shore power.
- A good carpenter’s level or digital level (for verification).
- Wheel chocks and safety blocks or cribbing.
- Pen and notepad for settings and notes.
Pre-calibration steps:
- Park on firm, level ground when possible.
- Chock wheels and turn off leveling interlocks that prevent calibration.
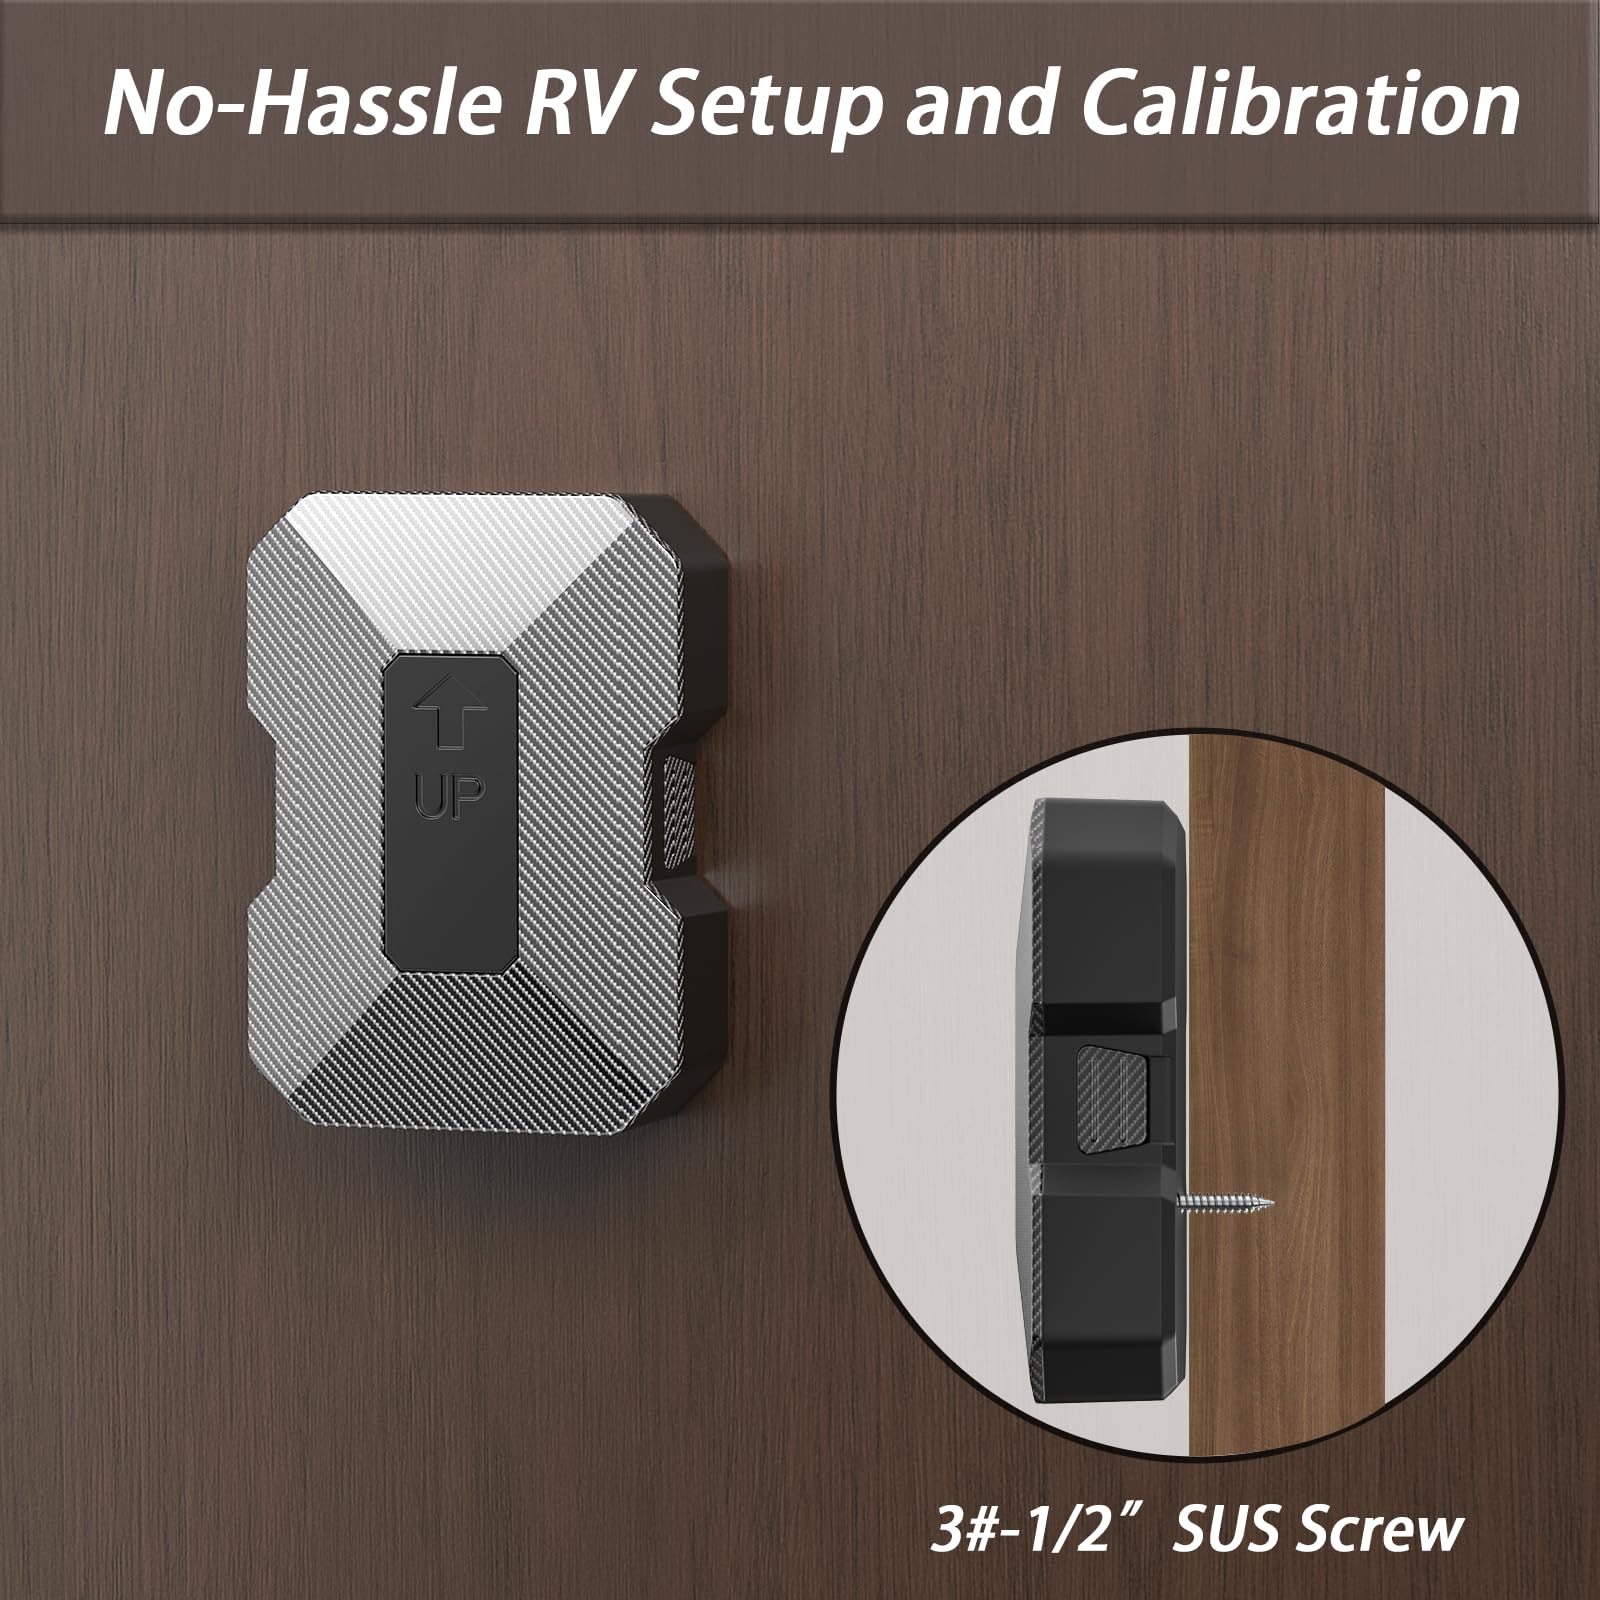
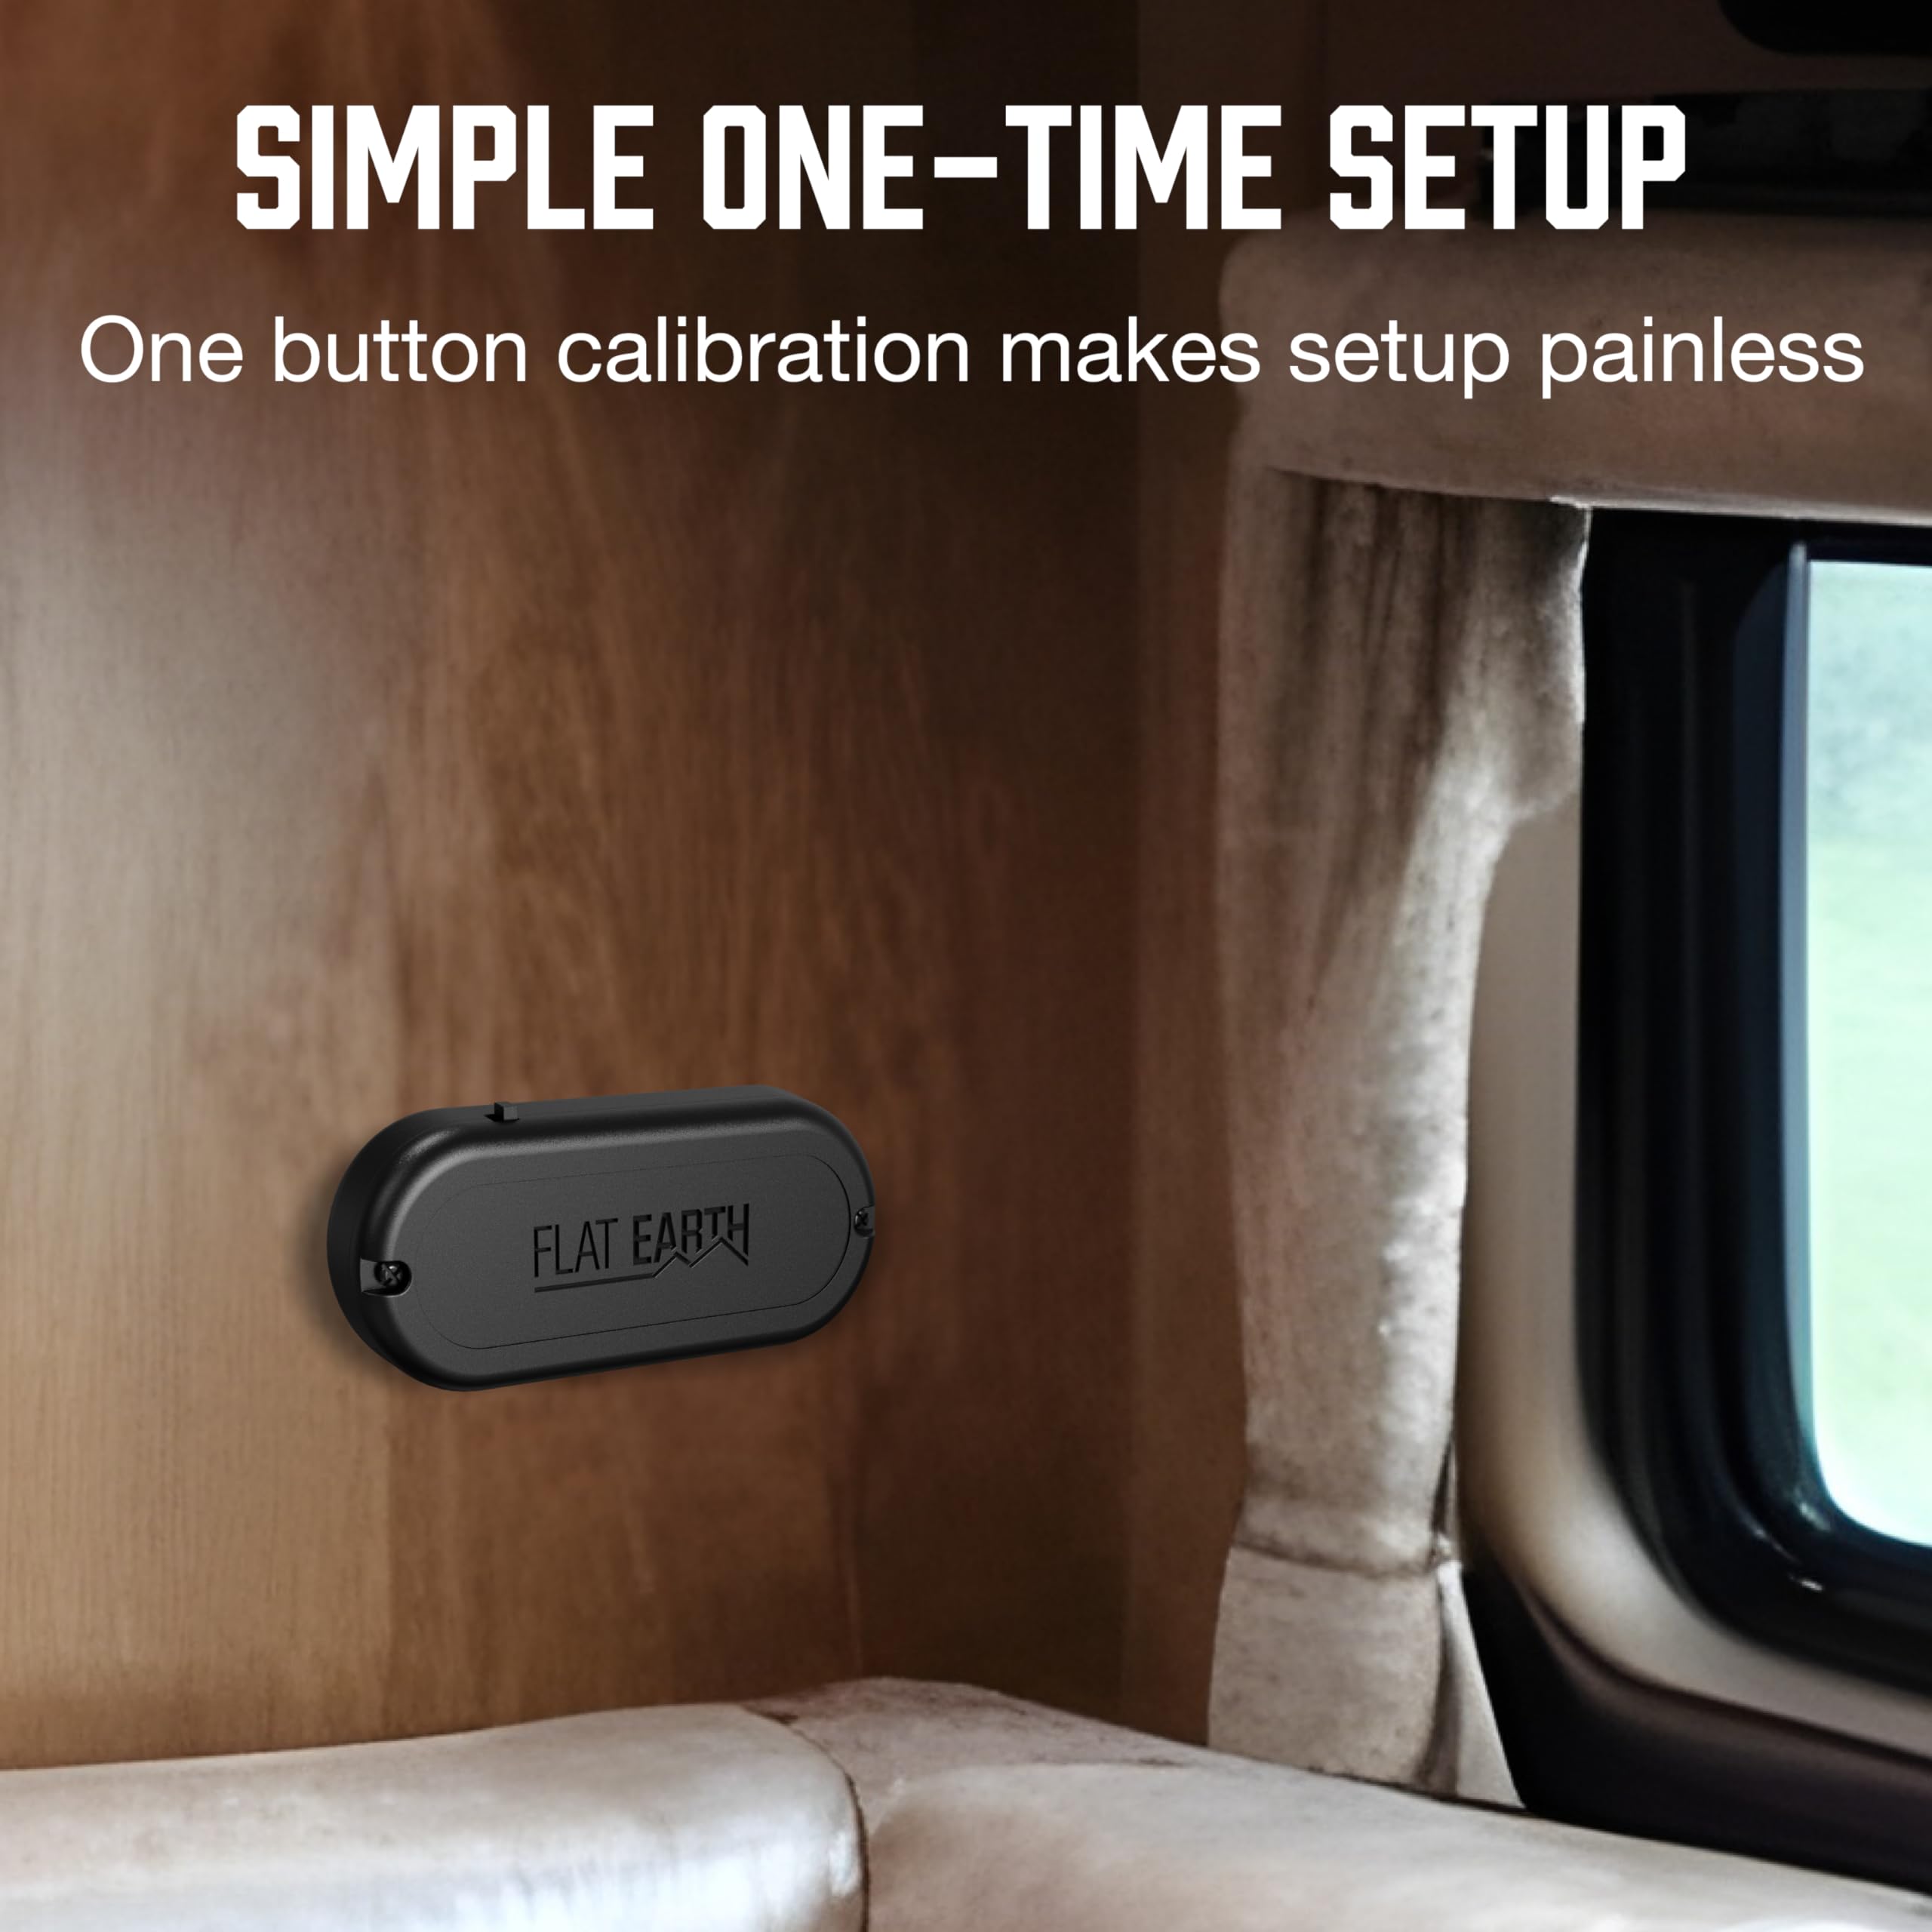
- Confirm wireless nodes are securely mounted and clean.
- Update controller firmware if manufacturer advises it.
Knowing How do you calibrate a wireless RV leveling system? begins by making sure your environment and tools are ready. A poor setup spot will skew the baseline and force repeated recalibration.

Step-by-step: How do you calibrate a wireless RV leveling system?
Follow these steps for most wireless RV leveling systems. Steps vary by brand, but the logic is the same.
- Read the manual and safety warnings
- Confirm the exact calibration sequence for your controller.
- Note any model-specific steps like sensor orientation or button press lengths.
- Power on and enter calibration mode
- Turn the system on and use the controller menu to select calibration.
- Many systems call it “Auto Cal,” “Sensor Zero,” or “Level Cal.”
- Put the RV in a known reference state
- Park on a flat surface if possible. If not, use a carpenter’s level to make the frame roughly level.
- Retract all jacks before starting unless the manual says otherwise.
- Place the controller or sensor in the prescribed position
- Some controllers need to sit on the floor or mount bracket during calibration.
- For wireless sensors, ensure each sensor is mounted to the bracket in the correct orientation.
- Run the auto-level or calibration routine
- Start the routine from the controller. It will read sensors, set zeros, and sometimes move jacks slightly.
- Stay nearby to stop the cycle if something sounds wrong.
- Verify with a manual level check
- Use your carpenter’s level to verify side-to-side and front-to-back.
- If your system includes a “display level” mode, compare values to the physical level.
- Save settings and test with a full auto-level
- Save the calibration if prompted.
- Run a full auto-level cycle and observe behavior. Note any drift or odd jack movements.
- Fine-tune offsets if needed
- Some controllers allow manual drift offsets per sensor.
- Adjust in small increments and retest after each change.
How do you calibrate a wireless RV leveling system? By following this routine and verifying with a physical level. Repeat the procedure after firmware updates or sensor replacement.
Common calibration issues and fixes
You will likely run into a few typical problems. Here are fast fixes.
Issue: Controller cannot find wireless sensors
- Fix: Power-cycle sensors and controller. Replace dead batteries and ensure sensors are mounted within range.
Issue: System over-corrects and feels “hungry”
- Fix: Re-run calibration on flat ground and check sensor orientation. Tighten loose mounts.
Issue: Level reads correct but jacks stop early
- Fix: Check limit switches and mechanical stops. Inspect wiring for intermittent connections.
Issue: Drift after calibration
- Fix: Check for vibration or loose sensor mounts. Replace worn sensor batteries and re-calibrate.
PAA-style questions
- How long does calibration take?
- Typical calibration takes 5–15 minutes depending on system complexity and verification steps.
- How often should you recalibrate?
- Recalibrate after sensor replacement, firmware updates, or if you notice accuracy issues.
Handling tough problems
- If errors persist, take photos of sensor mounts and controller screens. Contact manufacturer tech support with those images and your firmware version. They often spot configuration mistakes quickly.
How do you calibrate a wireless RV leveling system? Troubleshooting is as important as the initial steps. Pay attention to small signs and verify each change.

Tips from real-world experience
I’ve calibrated several systems on dirt, gravel, and pavement. Here’s what I learned the hard way.
Practical tips:
- Always bring a small digital level. It saves time and second-guessing.
- Mark sensor positions and cable routing after a good calibration. That makes swaps faster later.
- Replace sensor batteries in pairs to avoid mismatched voltages.
- If you park on soft ground, use wide pads under jacks before calibrating. Sensors read frame movement; sinking jacks change results.
Common mistakes to avoid:
- Skipping the manual. Manufacturer steps often matter.
- Calibrating on a slope and assuming auto-level will fix it later.
- Tightening mounts too late—loose sensors give inconsistent reads.
A small story: I once calibrated on a concrete pad that sloped slightly. The system set a wrong zero and tried to correct every time, causing noisy jack cycles. A quick re-level on true flat ground fixed it. That made me always seek a genuinely level spot or use my large bubble level before starting.
How do you calibrate a wireless RV leveling system? Treat calibration like a setup ritual: slow, methodical, and verified.
Maintenance and verification after calibration
Routine checks keep the calibration valid. Make these part of your pre-camp checklist.
Weekly or monthly checks:
- Inspect sensor mounts for corrosion and movement.
- Verify controller firmware is current.
- Check sensor battery voltage and replace when low.
- Run a quick auto-level test after long travel.
Seasonal checks:
- Re-calibrate after freezing weather or if you suspect sensor shock from road impacts.
- Lubricate mechanical jack parts per manufacturer guidance.
Verification steps:
- Park on a known flat surface and compare the controller readout to your physical level.
- If readings differ by more than the manufacturer tolerance, recalibrate.
How do you calibrate a wireless RV leveling system? Regular checks make recalibration rare. A little maintenance prevents big headaches.

Frequently Asked Questions of How do you calibrate a wireless RV leveling system?
What is the first step when calibrating a wireless RV leveling system?
Start by consulting your controller manual and parking on the flattest surface available. Chock wheels and ensure all jacks are retracted unless instructed otherwise.
How long should a calibration take?
A full calibration usually takes 5 to 20 minutes, including verification with a level and a test auto-level cycle. Complexity and troubleshooting add time.
Can I calibrate on an uneven campsite?
You can, but it’s not ideal. Calibrating on uneven ground may set a wrong reference and cause repeated corrections later.
How often do sensors need recalibration?
Recalibrate after sensor replacement, firmware updates, or if you notice drift or incorrect leveling. Routine checks make this infrequent.
What if the controller won’t enter calibration mode?
Power-cycle the controller and sensors, check batteries, and confirm you’re following the exact button sequence from the manual. If that fails, contact tech support.
Conclusion
Calibrating a wireless RV leveling system is a repeatable process: prepare, follow the controller steps, verify with a physical level, and maintain sensors. Do it methodically and you’ll save time, prevent stress on jacks, and enjoy a safer, more comfortable campsite. Start your next calibration with a charged battery, a small level, and patience—your RV will thank you.
Take action now: pick a calm spot, pull up your manual, and run a quick calibration check. If this guide helped, leave a comment or share your calibration tip.

