
If your Atosa ice maker suddenly stops producing ice, it can be frustrating—especially if you depend on it for your restaurant, café, or busy home. Ice makers are complex machines, so figuring out the problem isn’t always easy. But most issues have clear causes and solutions. This guide walks you through the most common reasons why your Atosa ice maker isn’t making ice, how to diagnose each one, and practical steps to get it working again. Whether you’re a first-time owner or a seasoned pro, you’ll find answers here.
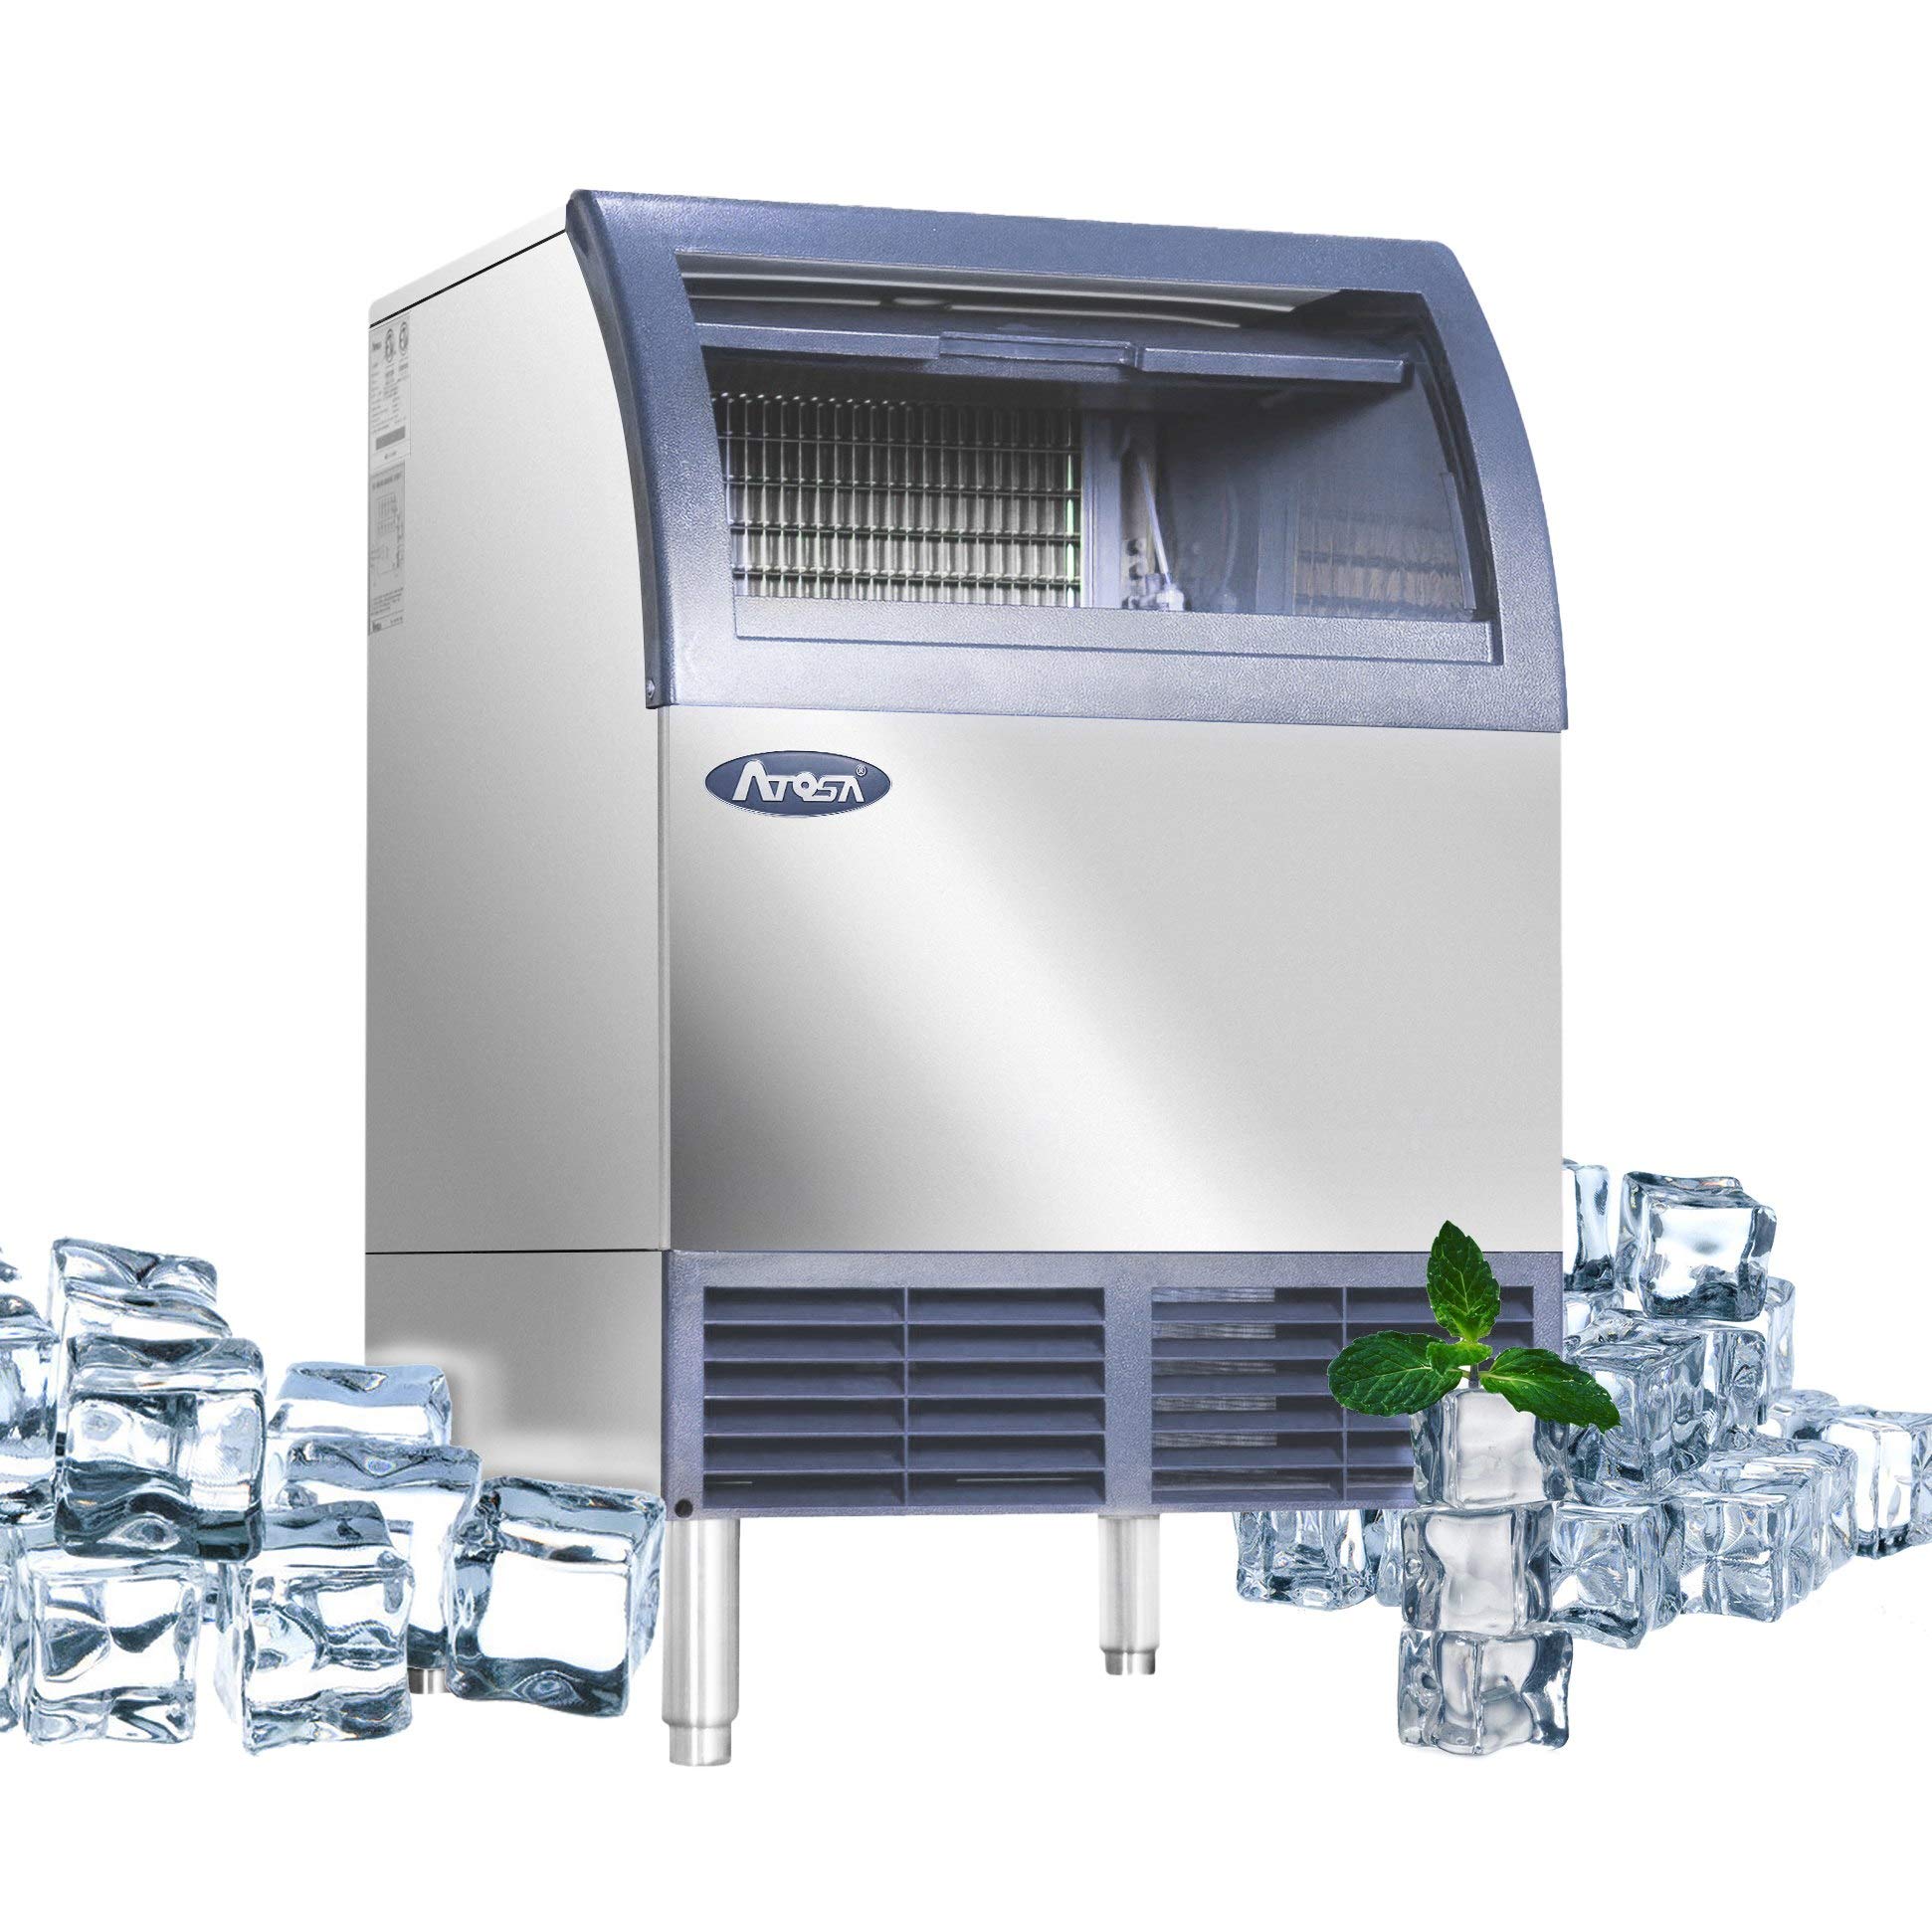
Understanding How Atosa Ice Makers Work
Before you start troubleshooting, it’s helpful to know how these machines operate. Atosa ice makers use a combination of water supply, refrigeration, and mechanical systems to create ice. Here’s a simple breakdown:
- Water enters the machine through a dedicated supply line.
- The evaporator plate cools the water and forms ice.
- Once the ice cubes are made, the harvesting cycle starts, releasing the cubes into the storage bin.
- The machine repeats this cycle until the bin is full.
If any part of this process fails, your machine won’t make ice. Understanding each step helps you identify where things go wrong.
Most Common Reasons Atosa Ice Makers Stop Making Ice
Ice makers fail for many reasons, but some issues are more frequent than others. Let’s explore the top causes:
1. Water Supply Problems
If your machine isn’t getting water, it can’t make ice. Check these first:
- Blocked water line: Sometimes, the water line gets clogged with mineral deposits or debris.
- Low water pressure: Atosa machines need at least 20 psi to work properly.
- Leaky or loose connections: Even small leaks can cause the water supply to drop.
You can test the water supply by disconnecting the line and running water into a bucket. If you don’t see a steady flow, check your plumbing or filters.
2. Dirty Or Faulty Water Filter
A clogged water filter limits water flow, making ice production slow or impossible. Atosa recommends changing the filter every 6 months. If your filter is old or dirty, replace it and see if the ice returns.
3. Incorrect Temperature Settings
Atosa ice makers rely on precise temperatures. If the machine is too warm or too cold, it won’t freeze water properly.
- The ideal freezing temperature is around -10°F to -20°F for the evaporator plate.
- Storage bin should stay below 34°F.
If the internal thermometer is faulty or the room is too hot, the ice maker struggles. Use a digital thermometer to check temperatures and adjust the settings as needed.
4. Dirty Evaporator Plate
Mineral buildup and grime can stop ice from forming. If the evaporator plate looks cloudy or has white spots, clean it with a food-safe ice machine cleaner. Always follow Atosa’s instructions—using the wrong chemicals can damage parts.
5. Faulty Ice Level Sensor
The ice level sensor tells the machine when the bin is full. If it’s stuck, dirty, or broken, the ice maker may think the bin is full and stop working. Clean the sensor with a soft cloth or replace it if needed.
6. Poor Airflow
Atosa ice makers need proper airflow to cool efficiently. Blocked vents, dust, or placing the machine too close to walls restricts air movement. Check the vents and move the unit if necessary.
7. Electrical Issues
Loose wires, blown fuses, or tripped circuit breakers can cut power to the ice maker. Always unplug the machine before inspecting wiring. If you notice frayed wires or burnt smells, call a professional.
8. Faulty Control Board
The control board acts as the brain of the machine, controlling cycles and sensors. If it malfunctions, the ice maker may skip steps or shut down. Diagnosing this requires some technical skill—if you suspect the board, contact Atosa support.
9. Broken Water Pump
Atosa units use a water pump to circulate water over the evaporator plate. If the pump fails, water doesn’t flow, and no ice forms. Listen for strange noises or silence during operation. Replacing a pump is usually a job for a technician.
10. Full Ice Bin
Sometimes, the ice bin is simply full. If the bin is packed, the machine will pause production until you remove some ice. Make sure to check the bin before assuming there’s a bigger problem.

Diagnosing Your Atosa Ice Maker: Step-by-step
Troubleshooting can seem daunting, but breaking it into steps makes it easier. Here’s a practical approach:
Step 1: Check Power And Display
Is the machine plugged in? Is the display or control panel showing errors? If yes, note any error codes—they help identify the problem.
Step 2: Inspect Water Supply
Turn off the water and disconnect the supply line. Run water into a container to check flow. If it’s slow, clean or replace the filter and check for blockages.
Step 3: Examine Temperature
Place a thermometer inside the unit. Compare readings to Atosa’s recommended settings. If the temperature is off, adjust the thermostat or check for faulty sensors.
Step 4: Clean Key Components
Remove the ice bin and clean the evaporator plate, water filter, and sensors. Dust vents and check for airflow.
Step 5: Test Ice Production Cycle
Run a test cycle using the machine’s controls. Watch each step: water fills, ice forms, ice harvests. If any stage fails, focus on that area.
Step 6: Review Error Codes
Atosa machines often display error codes. Refer to the manual for guidance. Common codes include:
- E2: Water supply issue
- E4: Ice sensor fault
- E5: Temperature error
If you don’t have the manual, you can find them online or contact Atosa support.
Step 7: Call A Technician (if Needed)
If none of the above steps work, it’s time for expert help. Electrical repairs, control board issues, or pump replacement require professional service.
Comparing Atosa Ice Makers To Other Brands
Sometimes, knowing how Atosa stacks up against competitors can help you diagnose issues or decide if it’s time to upgrade. Here’s a comparison of key features:
| Brand | Ice Production (lbs/day) | Water Filter Type | Error Display | Maintenance Frequency |
|---|---|---|---|---|
| Atosa | 100–500 | Replaceable | Digital panel | 6 months |
| Scotsman | 80–400 | Replaceable | LED panel | 6 months |
| Manitowoc | 90–600 | Built-in | Digital/LED | 6 months |
Atosa offers strong performance and good error reporting. If you’re having frequent issues, comparing specs may help you decide if another brand fits your needs better.
Preventive Maintenance Tips
Preventing ice maker problems is easier than fixing them. Here are proven tips:
- Change water filters every 6 months.
- Clean the evaporator plate monthly with food-safe cleaner.
- Inspect water lines for leaks and mineral buildup regularly.
- Check vents and airflow—keep the area around the machine clear.
- Monitor temperature using a digital thermometer.
- Remove old ice from the bin to prevent blockages.
- Wipe sensors and controls with a soft cloth every month.
These steps extend your machine’s life and keep ice production steady.
Real-world Example: Restaurant Troubleshooting
Let’s look at a real scenario. A café owner noticed their Atosa ice maker stopped making ice during lunch rush. The display showed an E2 error. Here’s what they did:
- Checked the water supply line—found weak flow.
- Replaced the water filter—flow improved.
- Cleaned the evaporator plate—noticed faster ice formation.
- Ran a test cycle—machine worked.
This example shows how simple steps can solve big problems.
Common Mistakes To Avoid
Many owners make errors that can worsen the problem. Avoid these:
- Ignoring error codes: Always check the display for clues.
- Skipping regular cleaning: Dirt and minerals build up fast.
- Using wrong cleaning products: Only use food-safe cleaners recommended by Atosa.
- Blocking airflow: Never place items around the vents.
Knowing these mistakes prevents bigger issues and expensive repairs.
How To Replace Key Parts
Sometimes, replacing parts is necessary. Here’s how to do it safely:
Replacing The Water Filter
- Turn off the water supply.
- Remove the old filter by twisting it out.
- Insert the new filter and tighten securely.
- Turn water back on and check for leaks.
Cleaning Or Replacing The Ice Level Sensor
- Unplug the machine.
- Locate the sensor near the bin.
- Clean with a soft, dry cloth.
- If broken, remove screws and replace with a new sensor.
Installing A New Water Pump
- Unplug the machine.
- Access the pump compartment.
- Disconnect old pump wiring and hoses.
- Install new pump and reconnect wires/hoses.
If you’re unsure, always consult Atosa’s official manual or call a technician.

Ice Maker Error Codes Explained
Atosa ice makers use error codes to help users diagnose issues. Here are some of the most common:
| Error Code | Meaning | Action |
|---|---|---|
| E2 | Water supply problem | Check water line and filter |
| E4 | Ice sensor error | Clean or replace sensor |
| E5 | Temperature problem | Adjust thermostat |
| E7 | Full bin | Remove excess ice |
Learning these codes makes troubleshooting quicker and easier.
When To Replace Your Atosa Ice Maker
Sometimes, repairing isn’t enough. Here are signs it might be time for a new machine:
- Ice production drops below 80% of normal.
- Repairs cost more than half a new unit’s price.
- Parts are discontinued or hard to find.
- Machine is over 10 years old.
Newer models use less energy, make ice faster, and have improved controls. If your machine fits the criteria above, consider upgrading.
Energy Efficiency And Environmental Factors
Atosa ice makers are designed to be energy efficient, but issues can increase power use:
- Dirty components force the compressor to work harder.
- Poor airflow raises energy costs.
- Leaky water lines waste water and energy.
Energy Star-rated ice makers use up to 15% less energy and 10% less water. If saving on bills matters, look for these features when buying or replacing.
Where To Find Official Atosa Support
If you need help beyond this guide, Atosa offers official resources. Manuals, replacement parts, and technical support are available at their website. For further details, visit Atosa USA.
Frequently Asked Questions
Why Does My Atosa Ice Maker Keep Showing An E2 Error?
An E2 error means there’s a water supply problem. Check the water line for blockages, replace the filter, and make sure the supply pressure is at least 20 psi. If the issue continues, the inlet valve might be faulty.
How Often Should I Clean My Atosa Ice Maker?
You should clean the evaporator plate and interior monthly, and change the water filter every 6 months. Keeping vents clear and wiping sensors every month helps prevent issues.
Can I Use Regular Cleaning Products On My Ice Maker?
No, only use food-safe ice machine cleaners recommended by Atosa. Regular cleaners can damage parts and contaminate your ice. Always follow the manufacturer’s instructions.
What Should I Do If My Ice Maker Makes Noise But No Ice?
Strange noises with no ice production often mean a faulty water pump or dirty evaporator plate. Clean the plate first, then check the pump for blockages or failure. If the pump is broken, you’ll need a technician.
Is It Worth Fixing An Old Atosa Ice Maker?
If your machine is over 10 years old, and repairs cost more than half the price of a new unit, it’s better to upgrade. New models are more efficient and reliable. Otherwise, simple repairs can extend its life.
Keeping your Atosa ice maker in top shape isn’t difficult if you know what to look for and act quickly. With regular maintenance, careful troubleshooting, and prompt repairs, you’ll enjoy a steady supply of ice and avoid costly downtime.

