
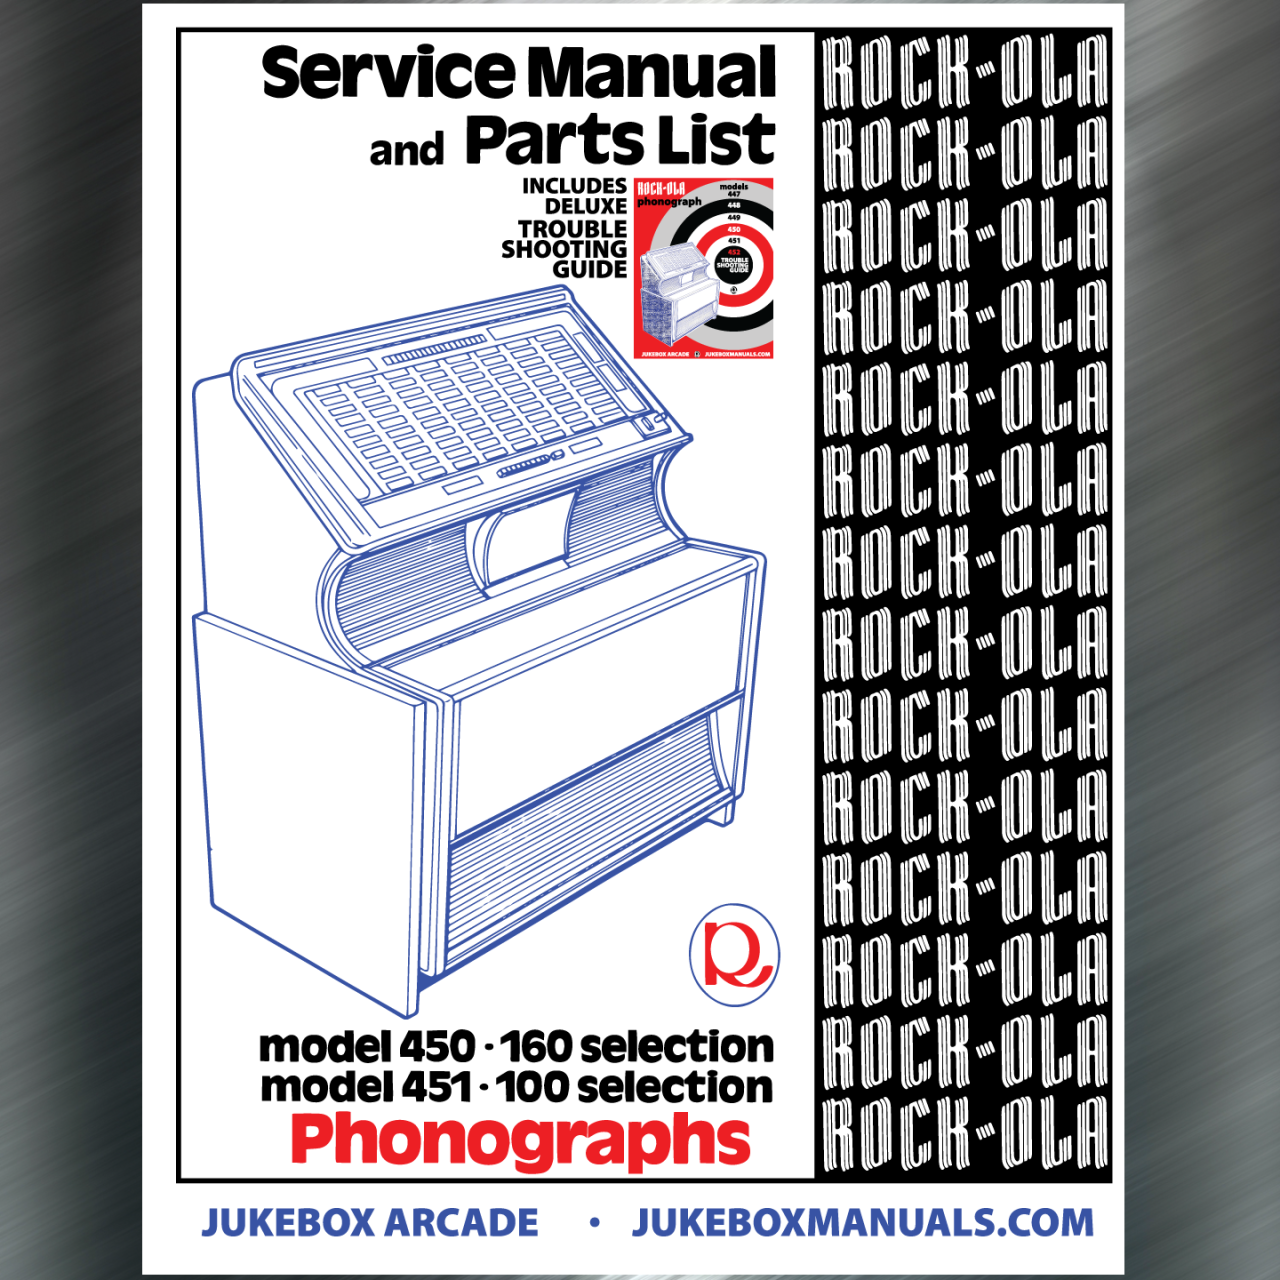
Rock Ola jukebox troubles? This guide fixes mechanical, electrical, and audio issues fast.
I have spent over a decade restoring and repairing jukeboxes, including many Rock Ola models. This Rock Ola Jukebox Troubleshooting Guide will walk you through common faults, clear diagnostics, step-by-step fixes, and preventive care. Read on to get confident at troubleshooting your Rock Ola Jukebox and keeping it playing great.
Common problems and quick fixes for Rock Ola Jukeboxes
Most Rock Ola owners face a few repeat issues: no power, no sound, selector failures, stuck records, and erratic operation. This section lists the common problems and fast checks you can do yourself. Use these checks before you dive deeper into repairs.
- No power: Check fuse, power cord, and voltage at the outlet.
- No sound: Confirm amp power, speaker wiring, and volume settings.
- Selector won't move: Inspect selector motor and linkage for jams.
- Record skip or mistrack: Clean stylus and turntable; check belt or idler.
- Coin mech faults: Clean switches, test solenoids, and check coin path.
I use these quick checks first when I work on any Rock Ola Jukebox Troubleshooting Guide task. They save time and avoid unnecessary disassembly.

Step-by-step troubleshooting checklist
A clear checklist speeds up diagnosis. Follow this order to find the root cause faster.
- Visual inspection: Look for loose wires, burned parts, or obvious damage.
- Power checks: Test fuses, power switch, and outlet. Use a multimeter.
- Safety first: Unplug before touching internal components. Wear eye protection.
- Isolation testing: Test sections one at a time — amplifier, selector, drive.
- Swap known-good parts: Use a good speaker or amp to narrow down the faulty part.
This Rock Ola Jukebox Troubleshooting Guide uses isolation testing as a core method. It helps me avoid replacing good modules.
Electrical and power issues
Electrical faults are common. They are often simple to fix. Start with fuses and wiring.
- Fuses: Replace only with same rating. Check fuse holders for corrosion.
- Power cords: Look for frays and overheating. Replace if damaged.
- Voltage: Measure AC at the input. Some Rock Ola models use 110–120V.
- Grounding: Poor ground causes hum and noise. Tighten chassis ground connections.
- Capacitors: Old electrolytics can fail and cause weak amp output. Replace in matched sets.
When I replace capacitors, I document values and take photos. That saves time when putting the radio back together. This Rock Ola Jukebox Troubleshooting Guide recommends careful soldering practice and testing after each change.

Mechanical and record handling problems
Mechanical wear shows up as stuck selectors, repeated skips, or failed play cycles. Inspect moving parts and rubber components.
- Belts and idlers: Check for cracks and slipping. Replace aged rubber parts.
- Turntable: Clean and check for wobble. Replace bearings if noisy.
- Selector mechanism: Clean rails and lubricate pivot points with light oil.
- Tonearm and stylus: Replace worn needles. Align tonearm for correct tracking force.
- Record handling: Bent records or warped platters cause playback issues.
My hands-on repairs taught me to keep spare belts and a basic parts kit. This Rock Ola Jukebox Troubleshooting Guide stresses preventative replacement for hard-to-find parts.
Audio, amplification, and speaker faults
Audio problems can come from the preamp, power amp, tubes (on older models), or speakers.
- Speaker checks: Test continuity with a meter. Inspect cone and surround.
- Amplifier: Look for blown tubes or bad transistors. Replace matched tube sets.
- Tone controls: Dirty pots cause scratchy sound. Clean with contact cleaner.
- Hum and noise: Isolate by muting channels and checking ground loops.
- Equalization: Incorrect settings cause tonal imbalance. Reset to service specs if possible.
On tube Rock Ola models I serviced, replacing weak tubes restored clarity. The Rock Ola Jukebox Troubleshooting Guide recommends careful biasing after tube replacement.

Selector, jukebox logic, and electrical controls
Selector and control logic can fail from worn contacts, bad relays, or dirty switches.
- Contact cleaning: Use a non-abrasive cleaner on slide and rotary contacts.
- Relay tests: Listen for clicks and test coil resistance. Replace sticky relays.
- Microswitches: Test with a meter. Replace brittle or intermittent switches.
- Wiring harnesses: Look for chafed wires and loose connectors. Secure and resolder as needed.
- Circuit boards: Inspect for burned traces, cold solder joints, and bulging components.
I have cleaned selection switches on many Rock Ola units and seen instant improvements. This Rock Ola Jukebox Troubleshooting Guide encourages systematic testing of contacts.

Software, selections, and modern upgrades
Some Rock Ola models have electronic selection or CD modules. Troubleshoot digital parts differently.
- Firmware resets: Power cycle or perform a factory reset if available.
- CD loaders: Clean lenses, check belts, and ensure proper transport alignment.
- Wiring to controllers: Use the schematic to trace signals. Poor connections are common.
- Upgrade options: Solid-state amplifiers, Bluetooth modules, and USB players are popular.
- Compatibility: Check voltages and signal levels before installing aftermarket gear.
I installed a Bluetooth kit in a classic Rock Ola. It worked well when I matched levels and kept the original amp intact. This Rock Ola Jukebox Troubleshooting Guide covers upgrade caution and compatibility tips.

Maintenance, cleaning, and preventive care
Regular care extends life and prevents many faults. Follow a routine.
- Monthly: Dust exterior and vacuum interior lightly.
- Every 6 months: Clean contacts, check belts, and inspect wiring.
- Annually: Test capacitors and service mechanical linkages.
- Storage: Keep in a dry room away from direct sun and humidity.
- Parts inventory: Keep spare fuses, belts, needles, and a service manual.
My best tip: schedule small maintenance tasks. Preventive work reduces emergency repairs. Use this Rock Ola Jukebox Troubleshooting Guide as your maintenance checklist.

Parts, diagrams, and getting professional help
Some repairs need schematics or trained technicians. Know when to call an expert.
- Service manuals: Obtain the wiring diagram and parts list for your model.
- Parts sources: Look for OEM parts, repro kits, or salvaged assemblies.
- When to hire pro: High-voltage tube circuits, major rewiring, or complex electronics.
- Warranty and safety: If your jukebox is under service warranty, consult the service provider first.
- Documentation: Keep repair notes and photos for future reference.
I often cross-check schematics before complex fixes. When in doubt, a qualified technician prevents costly mistakes. This Rock Ola Jukebox Troubleshooting Guide helps you decide when to DIY and when to seek help.
People also ask (PAA) — quick answers
Why won't my Rock Ola juke start when I plug it in?
A blown fuse, bad power switch, or faulty outlet is usually the cause. Check those first with a multimeter.
Why is the sound distorted on my Rock Ola jukebox?
Distortion often comes from weak tubes, failing capacitors, or damaged speakers. Swap suspected parts one at a time to find the fault.
How do I stop records from skipping in my Rock Ola jukebox?
Clean the stylus and platter, check the belt or idler drive, and confirm correct tracking force on the tonearm.
Frequently Asked Questions of Rock Ola Jukebox Troubleshooting Guide
What basic tools do I need to troubleshoot a Rock Ola jukebox?
A multimeter, basic hand tools, contact cleaner, needle-nose pliers, and a soldering iron are essential for most jobs.
Can I replace the amplifier myself in a Rock Ola jukebox?
Yes, if you have basic electronics skills. Match impedance and voltages, and follow safety steps when working with high voltages.
How often should I replace belts and idlers?
Inspect belts every 6 months and replace them at the first sign of cracking or slipping. Old rubber degrades with time.
Is it worth upgrading a vintage Rock Ola jukebox with Bluetooth or USB?
Upgrades add convenience and value but can alter originality. Consider reversible upgrades to preserve the jukebox's classic character.
What safety precautions should I take when repairing a Rock Ola jukebox?
Always unplug the unit, discharge capacitors on tube models, and wear eye protection. If you are unsure, consult a trained technician.
How do I find the right replacement stylus for my Rock Ola jukebox?
Check the tonearm model number and refer to the service manual or parts list for exact needle specs. Avoid generic replacements without verification.
My selector motor runs but the mechanism won't engage. What should I check?
Look for mechanical jams, broken linkages, or worn gears. Clean and lubricate, and replace broken parts if needed.
Conclusion
This Rock Ola Jukebox Troubleshooting Guide gives a practical path from quick checks to deep repairs. Start with visual and power checks, use isolation testing for electronics, and address mechanical wear before replacing major assemblies. Keep a parts kit, document your work, and know when to consult a pro. Take action today: follow the checklist, do one small maintenance task, or save these tips for your next service. Share your experience, ask questions below, or subscribe for more restoration guides.

