
Most common fixes: reset power, check lid switch, clean drain, and balance the load.

Today's Exclusive Deals
Limited-time Exclusive Deals. Check current discount on Amazon.
Check Price on Amazon As an Amazon Associate I earn from qualifying purchases.I have repaired dozens of Whirlpool washers, and this guide on Whirlpool Wtw5057lw0 Troubleshooting 2 brings hands-on tips and tested steps. You will find clear diagnostics, simple checks, and safe repair advice for this specific model. Read on to fix the washer faster and avoid costly service calls.
Understanding the Whirlpool Wtw5057lw0 Troubleshooting 2
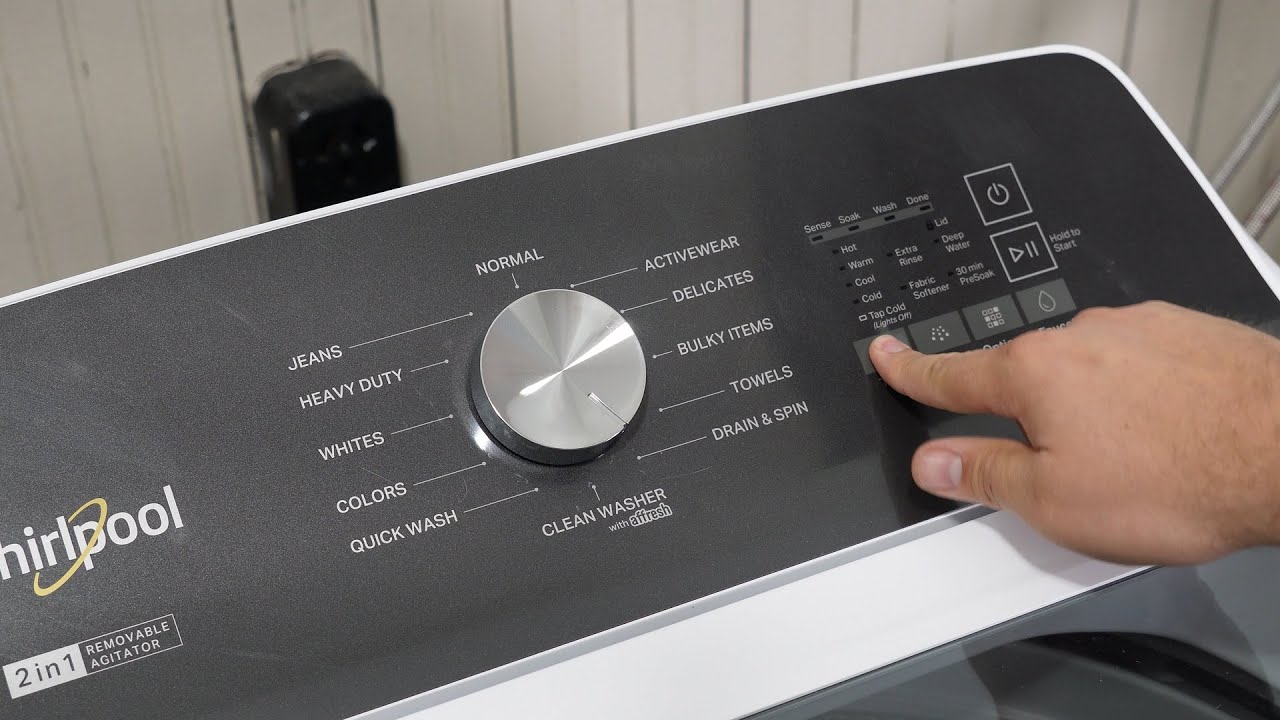
The Whirlpool Wtw5057lw0 Troubleshooting 2 approach focuses on real-world symptoms and stepwise fixes. This model is a top-load washer with common issues like not spinning, not draining, or noisy operation. I explain why these problems happen and how to resolve them safely.
Today's Exclusive Deals
Limited-time Exclusive Deals. Check current discount on Amazon.
Check Price on Amazon As an Amazon Associate I earn from qualifying purchases.I base these tips on practical repair experience and appliance guidelines. You will learn clear checks you can do at home and when to call a technician. The goal is quick diagnosis and safe, affordable solutions.
Common problems and quick fixes for Whirlpool Wtw5057lw0 Troubleshooting 2
Here are frequent faults and straightforward fixes you can try before calling support.
Today's Exclusive Deals
Limited-time Exclusive Deals. Check current discount on Amazon.
Check Price on Amazon As an Amazon Associate I earn from qualifying purchases.- Washer won’t start
- Check power and outlet. Reset the breaker and unplug for 1 minute. Test another device in the same outlet.
- Washer won’t fill or water is slow
- Inspect water supply valves. Clean inlet screens and check hoses for kinks.
- Washer won’t spin or agitate
- Balance the load. Small or one-item loads can stop spin. Check lid switch for continuity.
- Washer won’t drain or drains slowly
- Look for kinks in the drain hose. Clean the pump filter and pump area of lint or coins.
- Washer vibrates or is noisy
- Level the washer. Move feet to match floor level. Remove objects trapped in drum or pump.
These steps cover most Whirlpool Wtw5057lw0 Troubleshooting 2 cases and often restore normal function quickly.
PAA-style quick questions
Why won’t my Whirlpool Wtw5057lw0 start a cycle?
- Check power, control lock, and that the lid is fully closed. Resetting power often clears minor control faults.
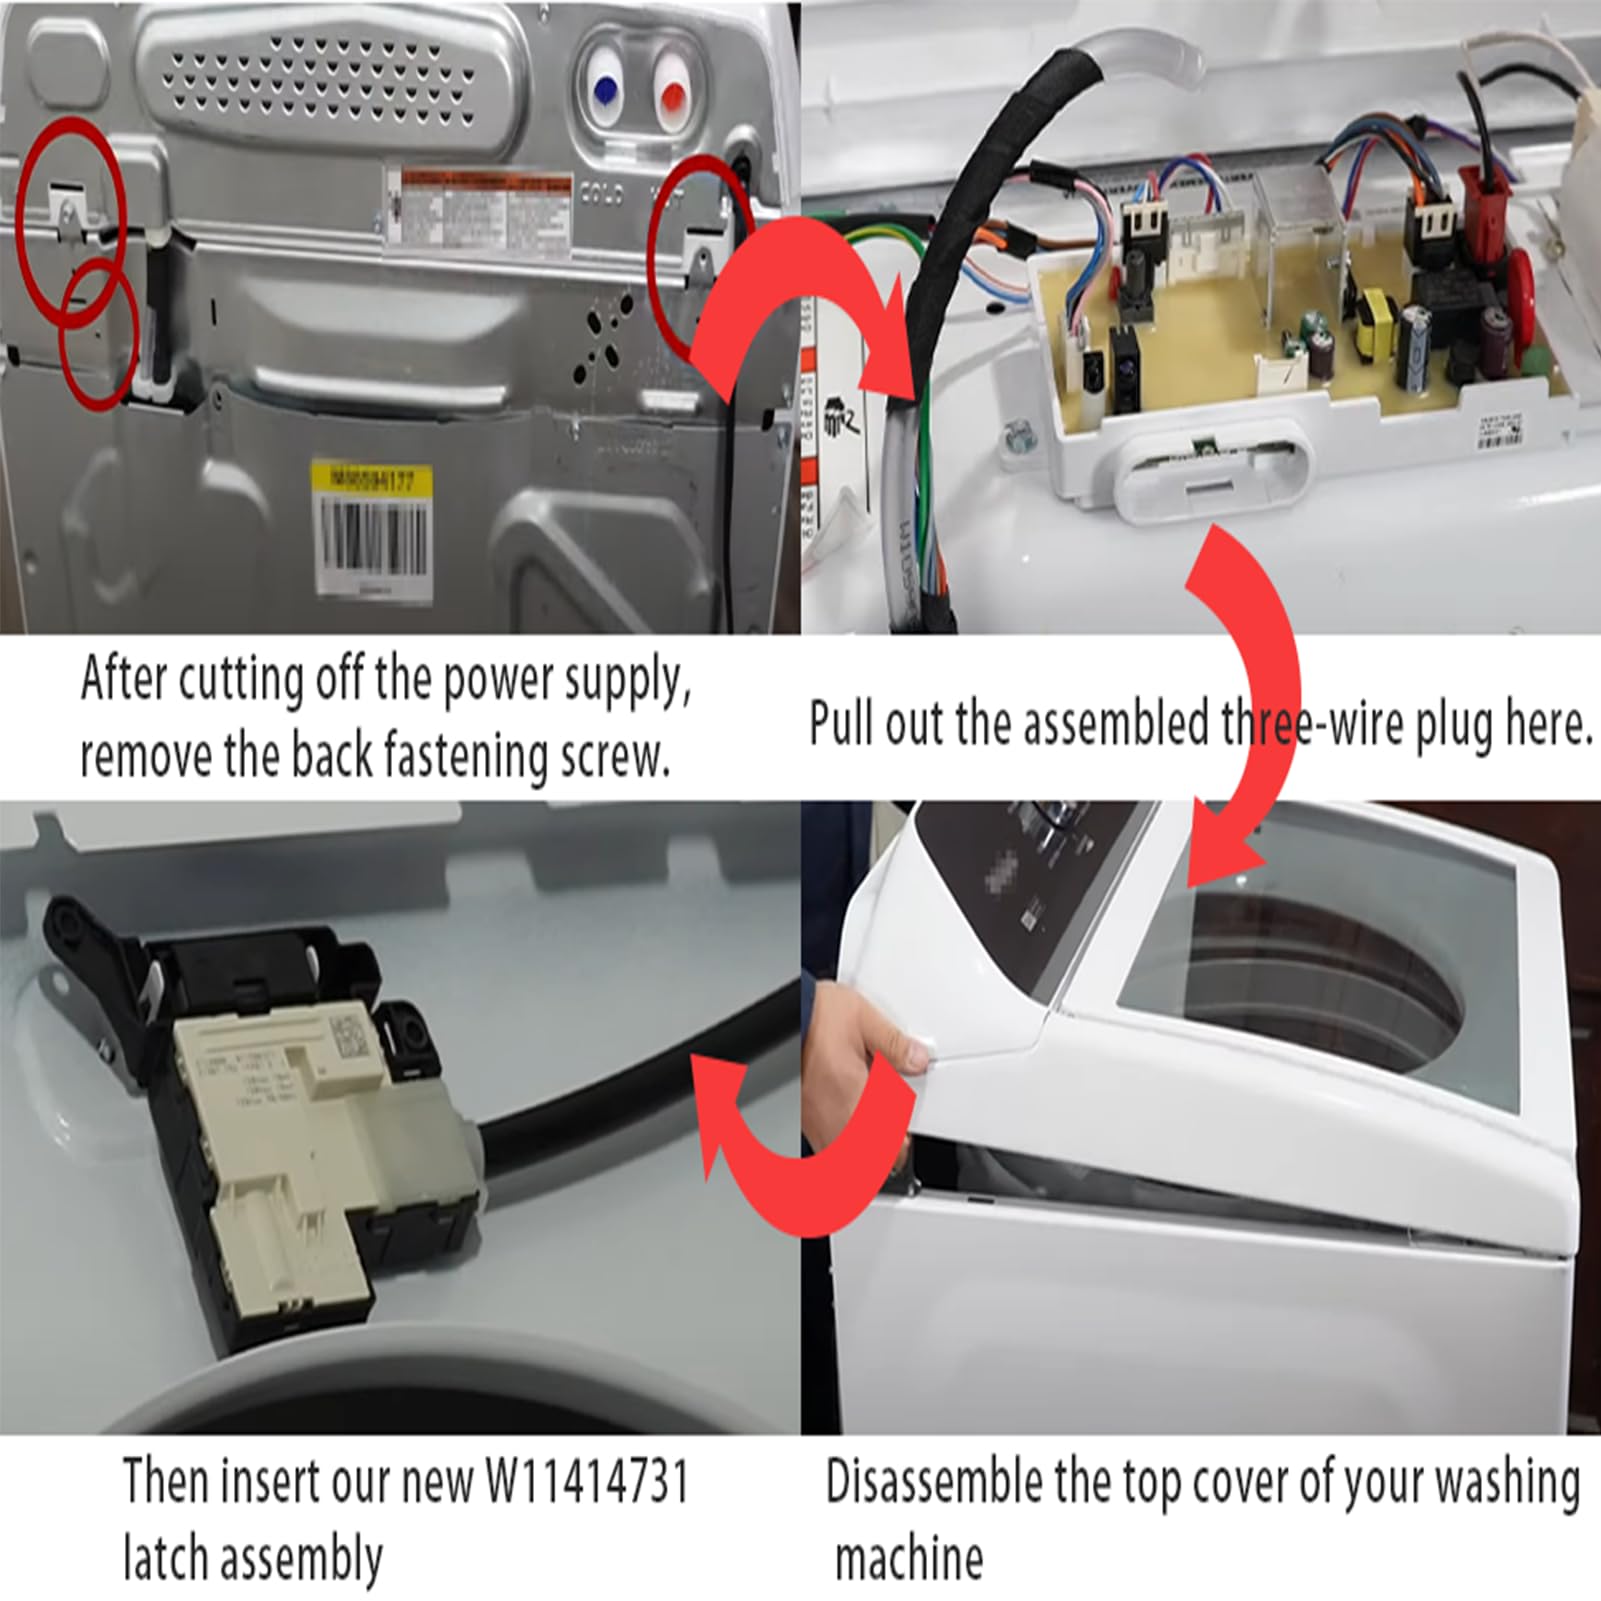
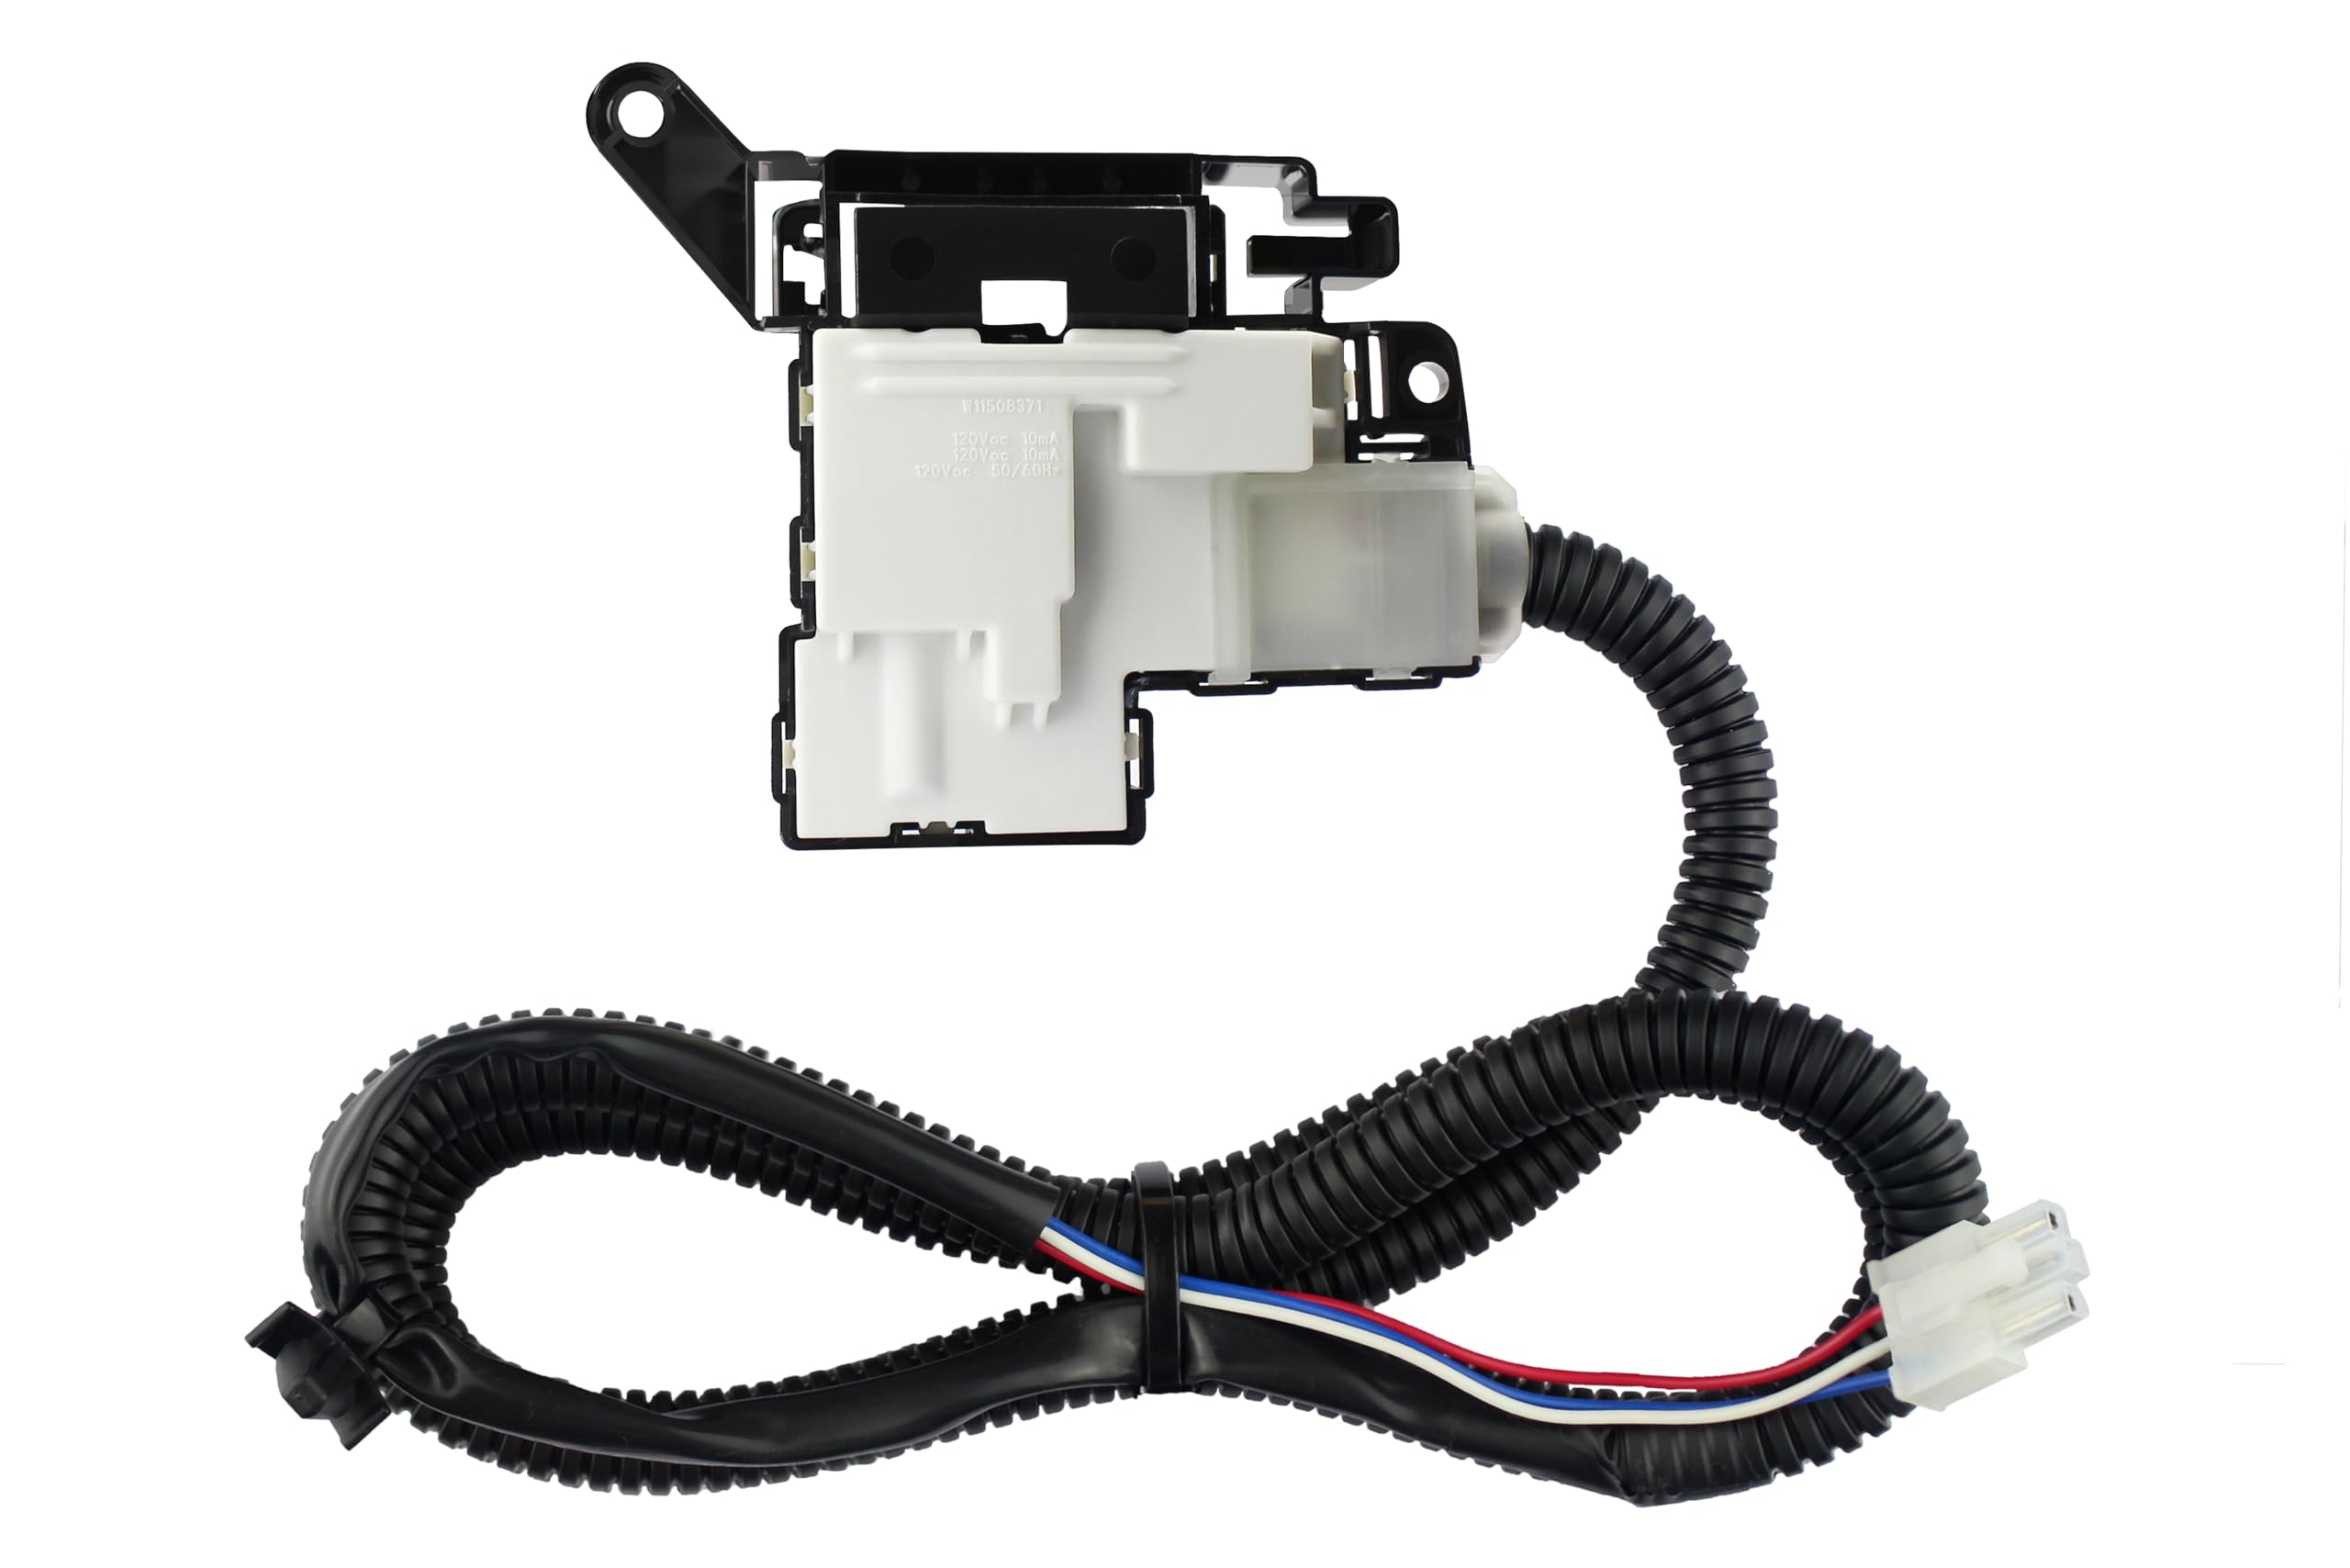
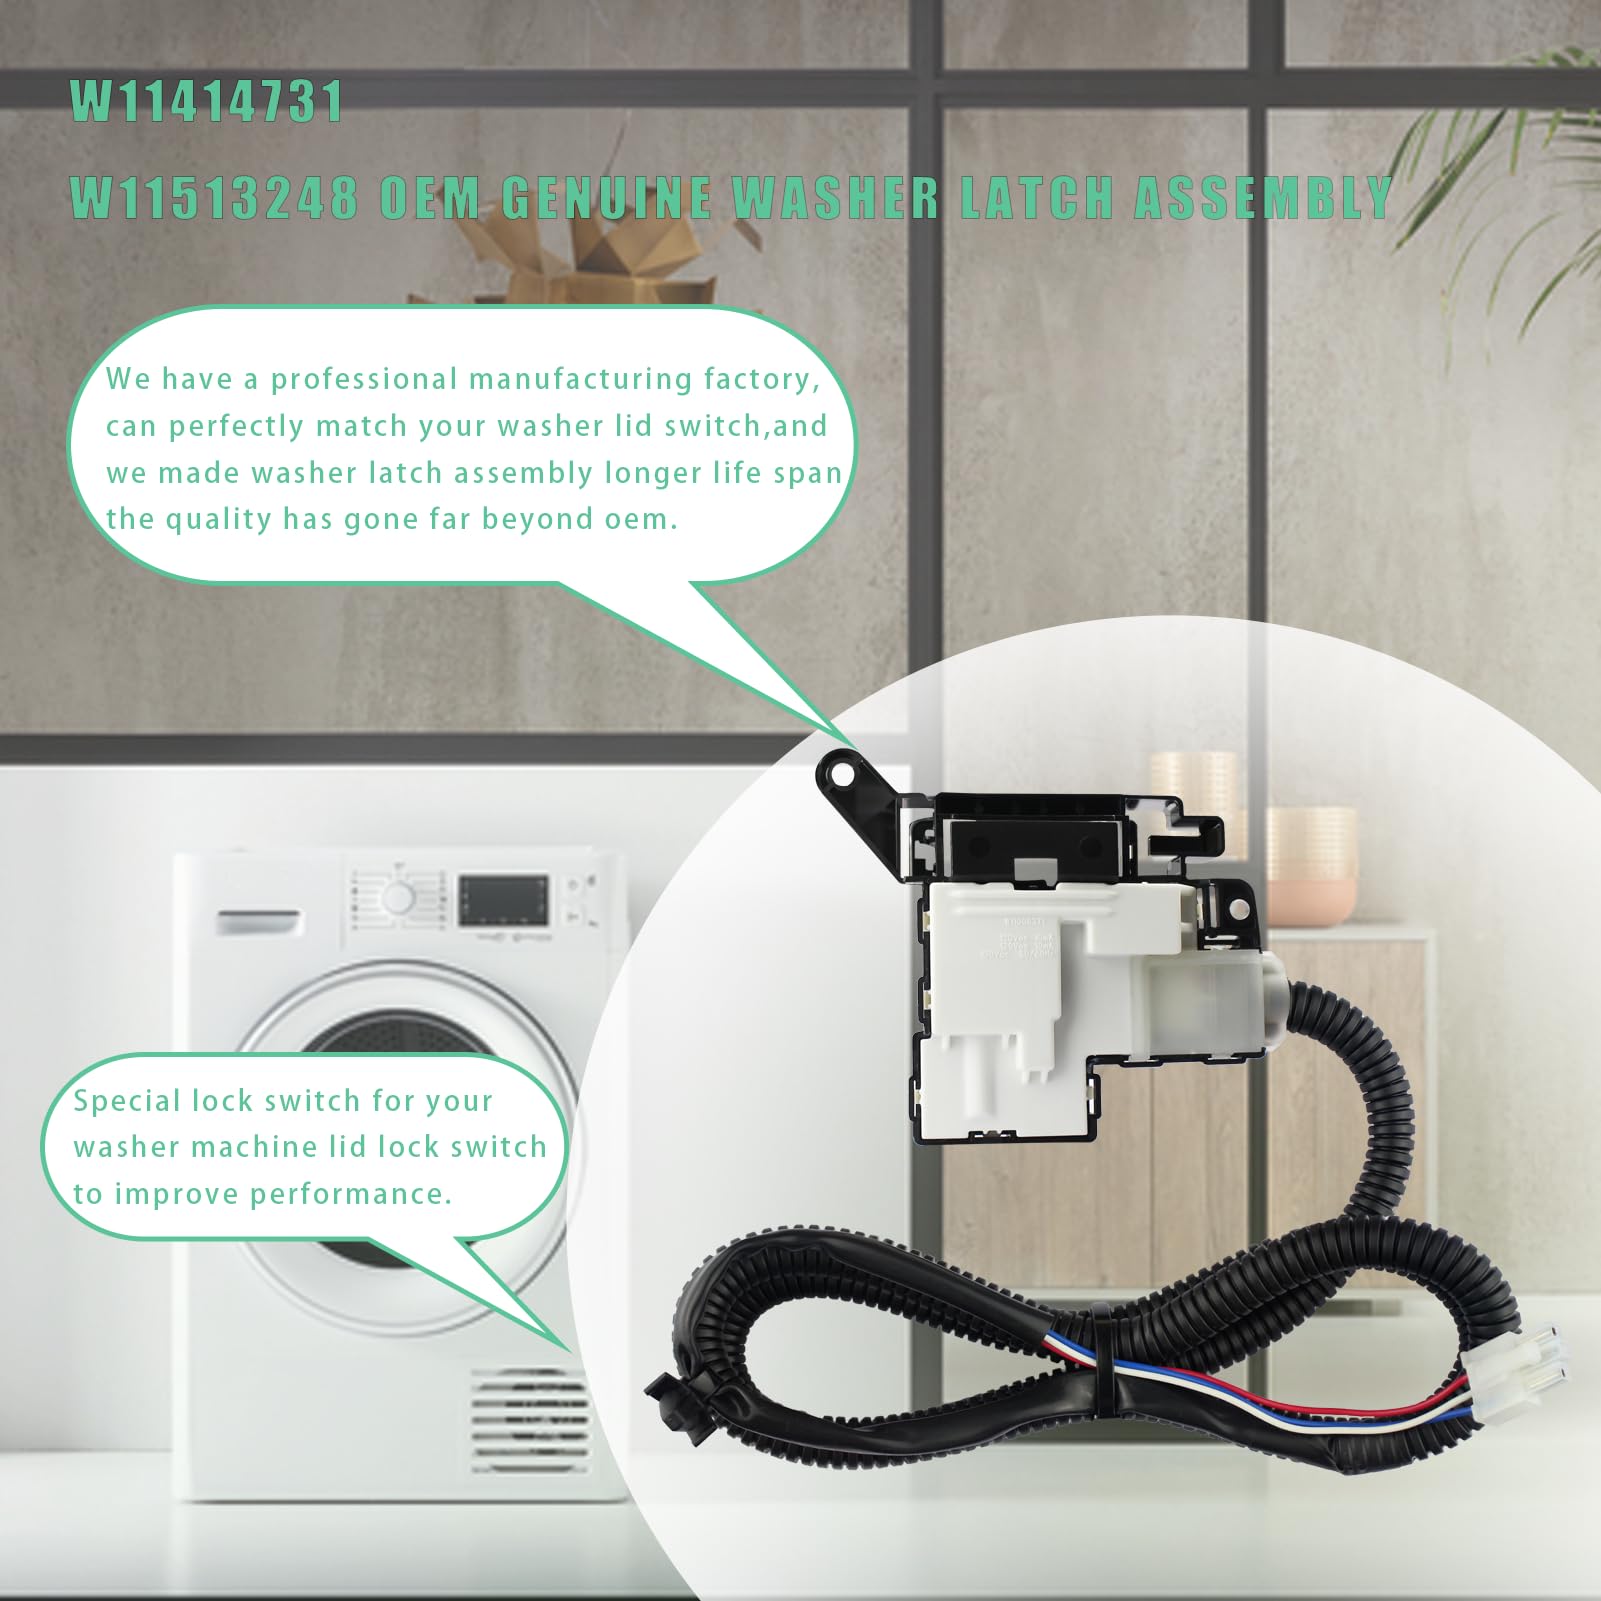
How can I tell if the lid switch is bad?
- The washer won’t spin if the lid switch fails. Test with a multimeter or listen for the click when closing the lid.
Diagnostic checklist: step-by-step Whirlpool Wtw5057lw0 Troubleshooting 2
Follow this checklist in order. It saves time and isolates the root cause.
- Power and Controls
- Verify outlet power and fuses. Unplug for 60 seconds to reset the control board.
- User Settings
- Confirm cycle selection, soil level, and options. Disable control lock if active.
- Water Supply
- Turn both hot and cold valves fully open. Remove and clean inlet screens.
- Load and Balance
- Redistribute clothes to center the load. Avoid single heavy items.
- Drain Path
- Inspect drain hose for clogs and height issues. Remove debris from pump access.
- Components to test
- Test lid switch, water inlet valve, and drain pump for continuity. Follow safety steps before testing.
Work through this list when performing Whirlpool Wtw5057lw0 Troubleshooting 2 to avoid guesswork.

Parts, tools, and safe testing for Whirlpool Wtw5057lw0 Troubleshooting 2
Common parts and basic tools for safe DIY repairs.
- Parts you may need
- Lid switch assembly
- Drain pump
- Water inlet valve
- Pressure switch or pressure hose
- Drive components and motor parts (if worn)
- Tools to have on hand
- Multimeter for continuity and voltage checks
- Nut drivers, pliers, and a flashlight
- Towels and small bucket for water spills
- Safety steps
- Unplug the washer before opening panels.
- Turn off water valves before removing hoses.
- Use the manufacturer’s wiring diagram when testing components.
These items will help you complete most Whirlpool Wtw5057lw0 Troubleshooting 2 repairs safely and efficiently.

Maintenance tips to prevent Whirlpool Wtw5057lw0 Troubleshooting 2 issues
Regular care keeps the washer running well. Try these simple habits.
- Run a cleaning cycle monthly with a washer cleaner or white vinegar.
- Wipe the drum and lid after use to reduce residue and mold.
- Use high-efficiency (HE) detergent and follow dose recommendations.
- Clean inlet screens when water flow slows.
- Level the washer and check feet for damage.
Good maintenance reduces the need for Whirlpool Wtw5057lw0 Troubleshooting 2 fixes and extends machine life.
When to call a pro for Whirlpool Wtw5057lw0 Troubleshooting 2
Some problems need expert help. Call a qualified technician when:
- The control board shows persistent errors after resets.
- Motor or drive assembly needs replacement.
- You suspect a refrigerant or sealed-system type fault (rare on washers).
- Electrical tests show inconsistent power or dangerous wiring issues.
- You lack tools or comfort doing live electrical checks.
A pro can diagnose complex issues faster and keep repairs safe. Use a licensed technician with good reviews and warranty on parts.
 repairs”
style=”max-width: 100%; height: auto; border: 2px solid black; border-radius: 10px; display: block; margin: 0 auto;”
loading=”lazy”
/>
Personal notes from hands-on repairs
I have repaired multiple Whirlpool models including the WTW5057LW0. My most common fixes were lid switches and clogged drain pumps. One memorable job involved a washer that stalled on spin; a single sock had jammed the pump impeller. After clearing it and testing the pump, the washer ran fine. Learn from small oversights—simple things like a coin or sock can mimic big problems during Whirlpool Wtw5057lw0 Troubleshooting 2.
I advise documenting steps as you go. Take photos before you remove panels. This saves time when reassembling.
Frequently Asked Questions of Whirlpool Wtw5057lw0 Troubleshooting 2
What does it mean if my washer doesn’t drain?
If the washer doesn’t drain, check the drain hose for kinks and clean the pump area. Debris or a faulty pump often blocks drainage.
Why is my Whirlpool Wtw5057lw0 not spinning?
A common cause is an unbalanced load or a failed lid switch. Redistribute clothes and test the lid switch for continuity.
How do I reset the Whirlpool Wtw5057lw0?
Unplug the washer or shut off the breaker for one minute, then restore power. This clears many control errors and starts a fresh cycle.
Can I replace the drain pump myself?
Yes, you can if you are comfortable with basic tools and unplug the washer first. Follow the service manual and test the new pump for leaks.
Why does the washer make loud noises during wash?
Noisy operation often comes from objects in the drum, worn bearings, or a clogged pump. Inspect drum and pump for foreign items and check that bearings are not failing.
How often should I run a cleaning cycle?
Run a cleaning cycle once a month to control residues and odors. Use an HE cleaner or a cup of white vinegar if needed.
Conclusion
You now have a clear, practical plan for Whirlpool Wtw5057lw0 Troubleshooting 2. Start with power and simple checks, then move progressively to components. Small fixes often solve big symptoms, and good maintenance prevents repeat problems. Try the steps, document what you do, and call a pro when tasks become unsafe or complex. If this guide helped, leave a comment with your issue or subscribe for more appliance repair tips.


