
Admiral Washing Machine Troubleshooting often starts with checking power, water, and drain issues.

Today's Exclusive Deals
Limited-time Exclusive Deals. Check current discount on Amazon.
Check Price on Amazon As an Amazon Associate I earn from qualifying purchases.I’m an appliance tech who has repaired dozens of Admiral machines. This guide on Admiral Washing Machine Troubleshooting explains clear steps, real fixes, and safety tips you can use today. Read on to learn simple diagnostics, common causes, and the exact checks I use in the field.
Common problems and quick fixes for Admiral Washing Machine Troubleshooting
Admiral Washing Machine Troubleshooting begins by spotting the most common signs. Machines may not start, not fill, not drain, or make loud noises. Start with basic checks. They often solve the problem fast.
Today's Exclusive Deals
Limited-time Exclusive Deals. Check current discount on Amazon.
Check Price on Amazon As an Amazon Associate I earn from qualifying purchases.Common causes to check first:
- Power issues: confirm outlet and cord are working.
- Water supply: ensure both hot and cold valves are fully open.
- Drain blockage: inspect hose and trap for lint or debris.
- Lid or door switch: the machine will not run if the switch is faulty.
- Unbalanced load: shift items evenly to stop vibration.
I often find a tripped breaker or kinked hose. Fixes are usually low-cost and quick. These first checks save time and money.

Today's Exclusive Deals
Limited-time Exclusive Deals. Check current discount on Amazon.
Check Price on Amazon As an Amazon Associate I earn from qualifying purchases.Understanding error codes and what they mean
Modern Admiral machines show error codes for faster Admiral Washing Machine Troubleshooting. Learn the common codes and their likely fixes.
Typical error codes and actions:
- F0 or 0: no error, restart machine and rerun cycle.
- F8 / SUDS: too many suds; run a rinse and use less detergent.
- F3 / LF: water fill problem; check inlet valves and filters.
- F7 / dE: door or lid error; inspect latch and switch.
- F9 / dr: drain error; inspect drain pump and hose.
When a code appears, turn off the machine and consult the manual if possible. If you clear the error and it returns, you likely need a part replacement.
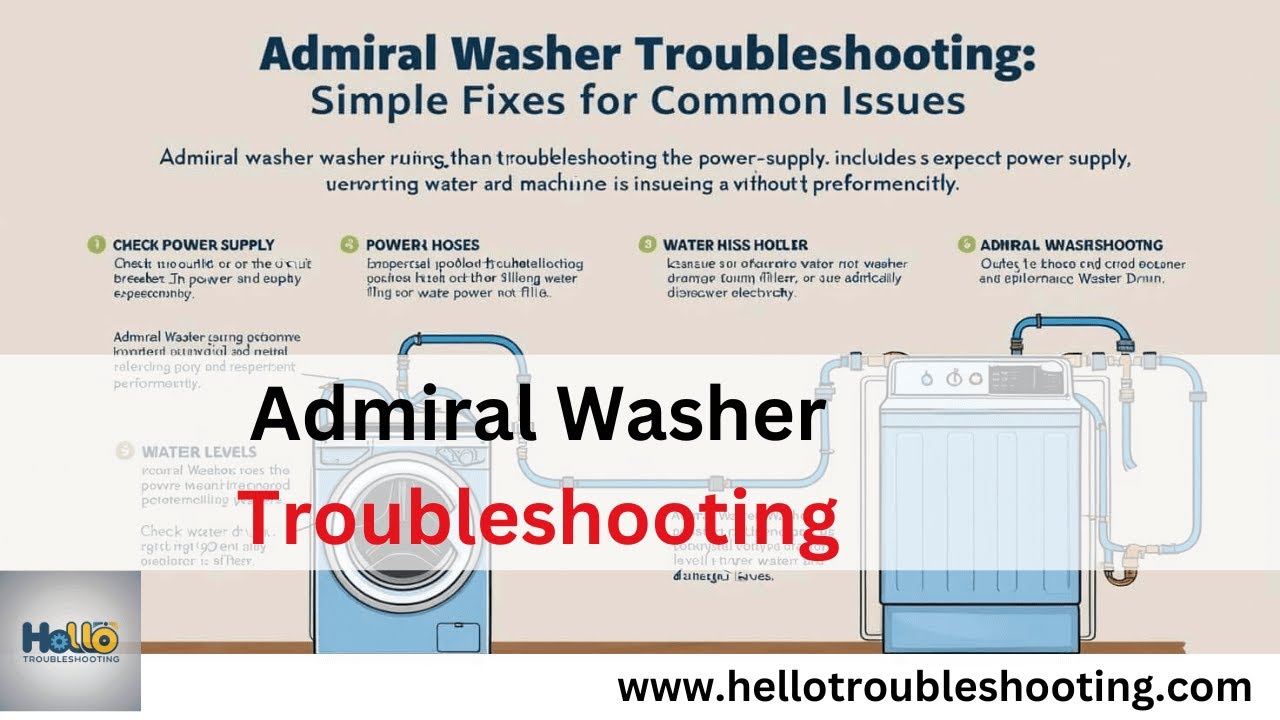
 troubleshooting checklist”
style=”max-width: 100%; height: auto; border: 2px solid black; border-radius: 10px; display: block; margin: 0 auto;”
loading=”lazy”
/>
Step-by-step troubleshooting checklist
Use this checklist for systematic Admiral Washing Machine Troubleshooting. Work top to bottom to avoid missed causes.
-
Safety first
- Unplug the machine before inspecting electrical parts.
- Turn off water supply when working on hoses or valves.
-
Power and controls
- Test the outlet with another device.
- Reset the breaker and test again.
-
Water supply and inlet
- Check hose connections.
- Clean inlet filters and screens.
- Test water pressure briefly.
-
Drain and pump
- Remove and inspect drain hose for kinks.
- Check pump filter for coins, lint, and small objects.
- Listen for pump motor noise during drain cycle.
-
Mechanical checks
- Inspect drive belt (if applicable).
- Test lid/door switch with a multimeter.
- Check motor brushes if machine is old.
-
Run diagnostic cycle
- Many Admiral machines have a service mode. Use the manual steps to run it.
- Note any failure points and error codes.
This checklist covers most scenarios I face in field repairs. It helps isolate simple fixes from deeper issues.
When to replace parts and common replacements
Admiral Washing Machine Troubleshooting often ends with part replacement. Know which parts wear out first and how to decide.
Parts that commonly fail:
- Water inlet valve: fails when water won’t enter.
- Drain pump: noisy or not draining.
- Door/lid switch: prevents spin or start.
- Drive belt: causes no spin or slipping.
- Motor brushes: cause weak spin or no spin on older models.
Decide replacement based on cost and age. If the machine is older than 8–10 years and multiple major parts fail, replacement may be better than repair.

Preventive maintenance tips to avoid future problems
Regular maintenance reduces emergencies and improves life span. These simple tasks help with Admiral Washing Machine Troubleshooting before failures happen.
Maintenance checklist:
- Clean lint trap and pump filter every 1–3 months.
- Run an empty hot cycle with vinegar or cleaner monthly.
- Inspect hoses yearly and replace every 5 years.
- Use the correct amount of HE detergent to avoid suds.
- Level the washer to prevent vibration and drum wear.
Small habits prevent many service calls. I taught these tips to many homeowners and they cut repair visits by half.

Tools and parts to keep on hand for DIY fixes
Having basic tools speeds up Admiral Washing Machine Troubleshooting. Keep a small kit for common repairs.
Suggested toolkit:
- Multimeter for electrical checks.
- Slip-joint pliers for hoses and clamps.
- Nut drivers and screwdrivers for panels.
- Flashlight for drum and pump checks.
- Replacement parts: inlet valve, drain pump, lid switch, and a spare hose.
Keep receipts and part numbers. They make ordering the correct replacement easier.
Real-life troubleshooting examples and lessons learned
I once fixed an Admiral washer that would not spin. The owner assumed the motor was dead. After simple Admiral Washing Machine Troubleshooting, I found a jammed coin in the pump filter. The repair took 20 minutes and cost under $10. Another time, a machine tripped the house breaker every wash. Replacing a failing motor start capacitor stopped the trips.
Lessons from the field:
- Start simple. Many faults have simple causes.
- Document error codes and symptoms before calling a tech.
- Take photos during disassembly to aid reassembly.
- Know your limits. Call a pro if you see damaged wiring or gas hookups.

Troubleshooting safety and when to call a technician
Safety matters in Admiral Washing Machine Troubleshooting. Stop and call a pro when you see high-risk signs.
Call a technician if:
- You find burnt wiring or a burning smell.
- The motor hums but will not run after basic checks.
- Water leaks persist after replacing hoses.
- Error codes point to PCB or control board failure.
A licensed technician ensures safe diagnostics and proper part installation.

Frequently Asked Questions of Admiral Washing Machine Troubleshooting
What should I do if my Admiral washer won't start?
Check power first. Verify the outlet, plug, and circuit breaker. Also inspect the lid or door switch for failure.
Why is my Admiral washer not filling with water?
Check inlet valves and household water supply. Clean the inlet screens and ensure both hot and cold valves are open.
How do I clear error codes on my Admiral washer?
Turn off power for one minute and restart. Consult your manual for service mode and reset steps if the code persists.
Why is my Admiral washer making loud noises during spin?
Inspect for foreign objects in the drum and pump. Check bearings and the drive assembly for wear.
When does it make sense to replace versus repair my Admiral washer?
Replace if machine is older than 8–10 years and multiple major parts fail. Repair for single, low-cost parts.
Can I fix a leaking Admiral washer myself?
If the leak is at a hose or clamp, yes. For internal seals or cracked tubs, call a technician.
How often should I clean my Admiral washer to prevent problems?
Run a cleaning cycle monthly and check hoses and filters every 3–12 months depending on use.
Conclusion
Admiral Washing Machine Troubleshooting is about starting simple, using a clear checklist, and acting safely. Small fixes like cleaning filters, replacing hoses, or clearing kinks handle most problems. If you reach wiring, electronics, or repeated errors, call a trained technician. Take one step at a time and document what you try to save time and money. Try the steps here, subscribe for updates, or leave a comment with your machine model and symptoms for more tailored advice.


