
Most GE stoves fail due to faulty elements, coils, switches, or thermal fuses.
I have spent years fixing home appliances and writing clear guides. This Ge Electric Stove Troubleshooting article gives step-by-step help, tests you can run, and safe fixes. Read on to learn how to diagnose and resolve common stove problems fast and with confidence.

Common Ge Electric Stove Problems and Causes
Stoves can show many faults. Ge Electric Stove Troubleshooting starts with the basics: no power, uneven heat, burner not heating, oven not working, and error codes. Knowing common causes saves time and money.
Typical causes include:
- Power issues. A tripped breaker or loose plug cuts power instantly.
- Burnt burner elements. Visible breaks or hot spots stop heat.
- Faulty infinite switch. Knob turns but no consistent output.
- Bad thermal fuse or thermostat. Oven may not heat or may overheat.
- Electronic control board failures. Touch controls or displays fail.
- Sensor or igniter problems in models with electric ignition.
From my experience, most service calls are for simple fixes. Often a homeowner needed a new element or a reset. Knowing which part to check first speeds up Ge Electric Stove Troubleshooting.

Step-by-Step Ge Electric Stove Troubleshooting Guide
Follow this checklist to diagnose safely. Each step uses common tools and clear signs.
- Safety first
- Unplug the stove or turn off the breaker before any checks.
- Use insulated tools and avoid wet hands or surfaces.
- If you are unsure about wiring, call a pro.
- Check basic power
- Confirm the range has power at the outlet or junction.
- Reset the breaker and test other appliances on the same circuit.
- If the stove has a power cord, inspect it for burn or loose wires.
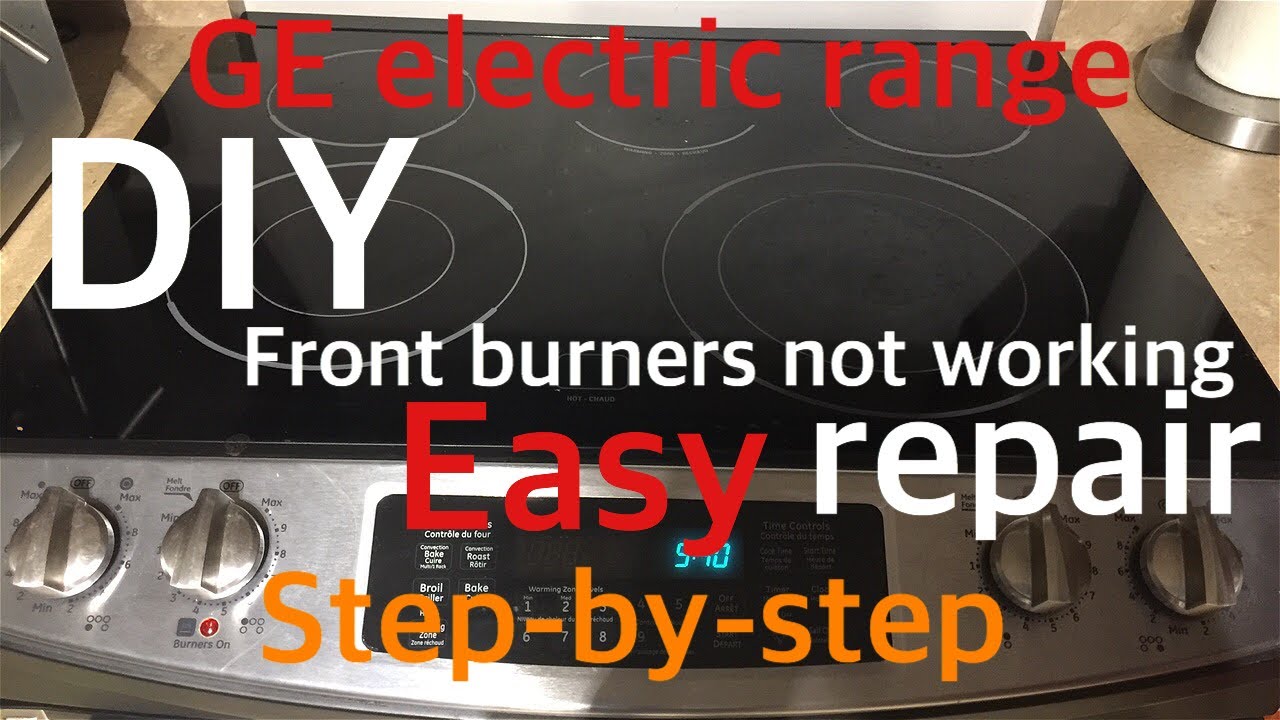
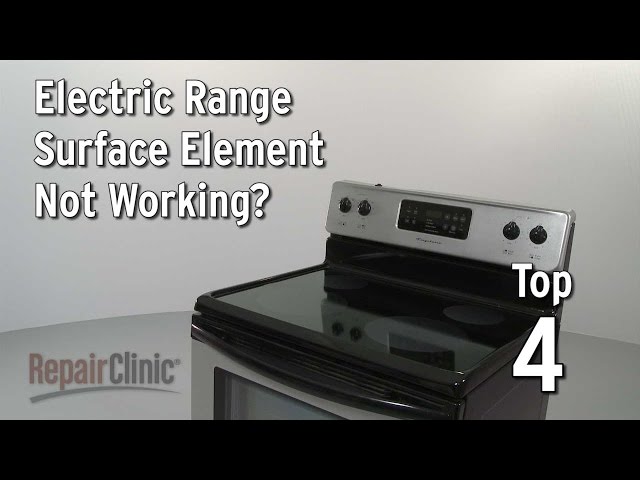
- Test the burners
- Swap a working element to the questionable burner. If it heats, replace the element.
- Inspect coil connectors for corrosion. Clean or replace socket if loose.
- For glass-ceramic cooktops, look for cracks and test element continuity with a multimeter.
- Oven not heating
- Verify oven mode and temperature settings.
- Test the bake and broil elements for continuity.
- Check the thermostat and high-limit thermostat for correct readings.
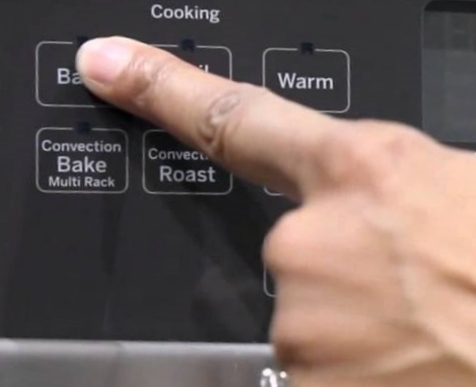
- Control and display issues
- Perform a power cycle by unplugging for one minute.
- Look for stuck buttons, moisture, or error codes on the display.
- If the control board shows burn marks or odd smells, replace it.
- Advanced checks
- Use a multimeter to test element resistance and switches.
- Inspect wiring harnesses for loose connectors or pinched wires.
- Replace one part at a time to confirm the fix.
I have found that clear step order keeps Ge Electric Stove Troubleshooting simple. Start small, and only move to electrical tests when you are comfortable.
Diagnostic Tips and Tools for Ge Electric Stove Troubleshooting
Good tools make the job safe and fast. These small investments help with many problems.
Must-have tools:
- Multimeter for continuity and voltage tests.
- Screwdrivers and nut drivers for access panels.
- Insulated pliers and wire cutters.
- Work light and gloves for safe handling.
- Replacement parts like elements, thermostats, and fuses.
Diagnostic tips:
- Take photos before disassembly to ensure correct reassembly.
- Label wires with tape if you disconnect multiple connectors.
- Test suspect parts off the stove when possible.
- Keep a notebook of readings for reference.
From my career, the multimeter is the single most useful tool. It turns Ge Electric Stove Troubleshooting from guesswork to fact.
Repair, Parts, and When to Call a Pro
Some repairs are simple. Others need a technician. Know the line to stay safe.
Common DIY repairs:
- Replacing a coil or radiant element.
- Replacing a broken knob or socket.
- Swapping out a visible bake or broil element.
When to call a pro:
- The stove has wiring or control board issues.
- You find scorch marks or melted wiring.
- The oven has sealed system problems or complex electronics.
- The unit is under warranty and repairs may void coverage.
Parts and cost notes:
- Elements and sockets are low cost. Typical prices are modest.
- Control boards and sensors cost more and require careful replacement.
- Labor varies. Get an estimate and check parts warranty.
In my work, I avoid DIY on control boards unless the homeowner is comfortable with electrical safety. That reduces risk and errors during Ge Electric Stove Troubleshooting.

Maintenance and Prevention Tips for Ge Electric Stove Troubleshooting
Good care prevents many faults. Simple habits keep your stove reliable.
Maintenance checklist:
- Clean spills quickly to avoid burner clogs and sensor issues.
- Inspect coils and surfaces monthly for wear or damage.
- Test oven temperature with an oven thermometer now and then.
- Replace worn knobs and sockets promptly.
- Keep ventilation clear to prevent overheating.
Preventive habits:
- Avoid sliding heavy cookware on glass-ceramic tops.
- Use cookware that matches burner size to save energy.
- Schedule a yearly check if you use the stove a lot.
These steps reduce the need for Ge Electric Stove Troubleshooting and extend the stove life.
Safety Precautions and Best Practices
Safety must guide every repair. Follow rules to protect you and your home.
Key safety rules:
- Cut power at the breaker for major electrical work.
- Avoid live testing unless you know safe procedures.
- Use the right replacement parts that match model specs.
- Keep children and pets away during repairs.
- Follow manufacturer recalls and safety notices.
I once replaced an element without cutting power and got a painful shock. That taught me to double-check power before touching any part. That lesson shapes my advice now and should guide your Ge Electric Stove Troubleshooting.

Frequently Asked Questions of Ge Electric Stove Troubleshooting
Why won’t my GE electric burner heat at all?
Most often a broken element or loose connection is to blame. Swap with a working element to confirm, then replace the bad part.
What does it mean when the oven heats unevenly?
Uneven baking usually points to a failing bake element, worn thermostat, or poor door seal. Test elements and check the oven gasket for gaps.
How do I reset my GE electric stove controls?
Unplug the range or flip the breaker for 30 to 60 seconds, then restore power. If the control stays unresponsive, the board may need repair.
Can I replace a stove element myself?
Yes, many elements are user-replaceable with basic tools and power turned off. Keep model numbers and photos to ensure proper reassembly.
How long do GE stove elements last?
With normal use, elements often last several years but can fail sooner with spills and rough use. Regular cleaning and care extend their life.
What if my stove shows an error code?
Refer to the stove manual for code meaning, then test the related sensors and switches. If code persists, the control board or sensor likely needs service.
Is it safe to run a stove with a slightly damaged coil?
No. A damaged coil can overheat sockets and wiring. Replace damaged coils promptly to avoid fires and further damage.
Conclusion
Ge Electric Stove Troubleshooting is about clear steps, safety, and smart testing. Start with power checks, inspect visible parts, use a multimeter for facts, and replace simple parts yourself. Call a pro for wiring or control board faults to stay safe.
Take one small step today: test a single burner or check the outlet to build confidence. Share your results, ask questions, or subscribe for more appliance repair guides.

