Are you ready to transform your space into the ultimate entertainment hub? Setting up an 8-ball pool table is the perfect way to add a touch of excitement and fun to your home.
Imagine the thrill of friendly competitions, the satisfaction of mastering trick shots, and the joy of gathering with friends and family around your very own table. But before you can break out the cues, you need to ensure your pool table is properly set up.
Don’t worry—it’s simpler than you might think, and with a little guidance, you’ll be playing like a pro in no time. This guide will walk you through the steps, making sure you avoid common pitfalls and get straight to the fun. Ready to dive in? Let’s make sure your pool table is set up perfectly for endless hours of enjoyment!
Choosing The Right Location
Selecting the ideal spot for your 8-ball pool table is crucial. Ensure the room is spacious enough for comfortable play. Consider lighting and accessibility to enhance the overall experience.
Setting up an 8-ball pool table is not just about assembling the table itself; it’s about creating an environment where you can enjoy the game comfortably. Choosing the right location is crucial. A well-chosen spot ensures your pool table becomes a centerpiece of fun and relaxation, rather than an obstacle to navigate around. You want a space where you can freely move around and make the most of your shots. Let’s dive into what you need to consider when choosing the perfect location for your pool table.
Space Requirements
Start by measuring the room where you plan to set up your pool table. A standard 8-ball pool table usually measures 7 to 9 feet in length. You’ll need extra space around the table to accommodate pool cues. Aim for at least 5 feet of clearance on all sides to ensure smooth gameplay. Consider how people will move around the room. Will there be enough space for spectators or additional furniture like bar stools? Think about the social aspect of the game.
Lighting Considerations
Proper lighting is key to a good pool game. Without it, you might struggle to aim accurately. Install lights directly above the table to minimize shadows. Pool table lights are available in various styles to match your room decor. Avoid placing your table in a room with too much natural sunlight, which can cause glare. If that’s not possible, consider adding curtains or blinds to control the light levels.
Flooring And Stability
Your pool table needs a stable foundation to maintain level gameplay. Flooring plays a significant role in this. Hard surfaces like hardwood or tile are ideal. Carpeting can work too, but ensure it’s firm and even. Check the floor’s stability by placing a level on it. Adjust with shims if necessary to prevent the table from wobbling. This step is crucial for precise play and prolongs the life of your table. Choosing the right location involves careful consideration of these elements. Have you found the perfect spot yet? Remember, the aim is to create a space that enhances your gaming experience while being practical and inviting.
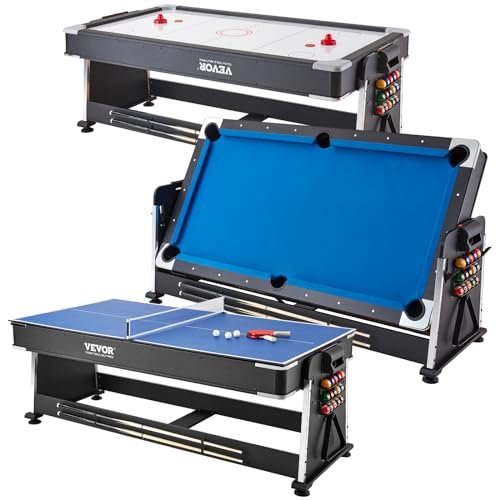
Selecting The Perfect Pool Table
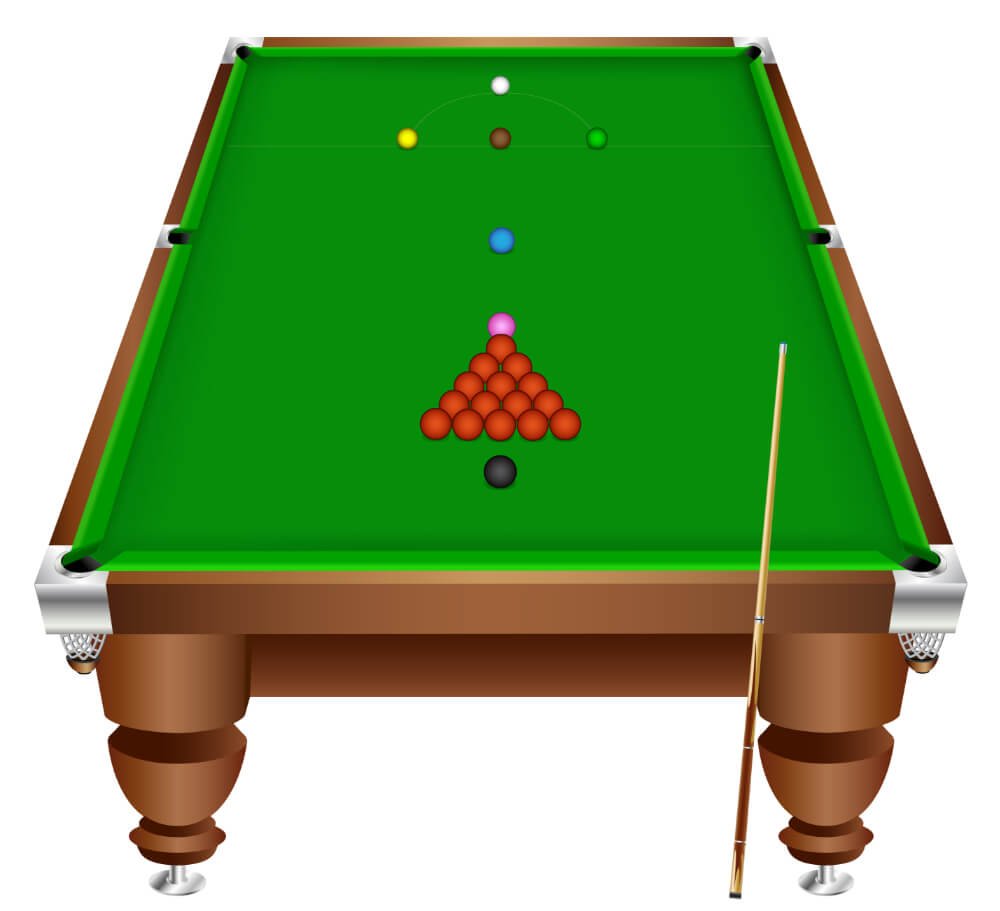
Setting up an 8-ball pool table begins with finding a level spot for stability. Arrange the balls in a triangle rack, placing the 8-ball in the center. Ensure the table’s felt is clean and taut for smooth gameplay.
Selecting the perfect pool table is a crucial step in setting up your 8-ball pool game space. A well-chosen table enhances your playing experience and complements your home decor. How do you choose the right one? Let’s explore the essential factors.
Material And Quality
When choosing a pool table, material and quality are key. Solid wood frames provide durability and a classic look. MDF tables are lighter and more affordable but may lack longevity. Consider the slate bed, which impacts the playing surface. A one-piece slate is heavy but seamless, offering a smooth game. Multi-piece slate is easier to transport but may have slight inconsistencies. Decide which suits your needs and space.
Size And Dimensions
The size of your pool table dictates the playing experience and room layout. Full-size tables are 8 or 9 feet long, perfect for expansive spaces. Smaller tables like 7-footers fit tighter spots without compromising fun. Ensure you have enough space around the table for cueing. Ideally, allow at least 5 feet around each side. Measure your room, considering furniture and walkways, to avoid cramped play.
Budget-friendly Options
You don’t need to break the bank for a quality pool table. Budget-friendly options exist that balance cost and performance. Look for secondhand tables in good condition—often a hidden treasure in classifieds or online marketplaces. Consider package deals that include cues, balls, and accessories. These bundles can save money and time. Would you rather invest in a new table or hunt for a used gem? Remember, the perfect pool table enhances not just your game, but also your home’s ambiance. What features are most important to you?
Gathering Necessary Equipment
Setting up an 8-ball pool table starts with gathering the right equipment. Without proper tools, the game might not be enjoyable. Each piece plays a vital role in creating an authentic pool experience. Let’s explore the essentials you need to start playing.
Cues And Balls
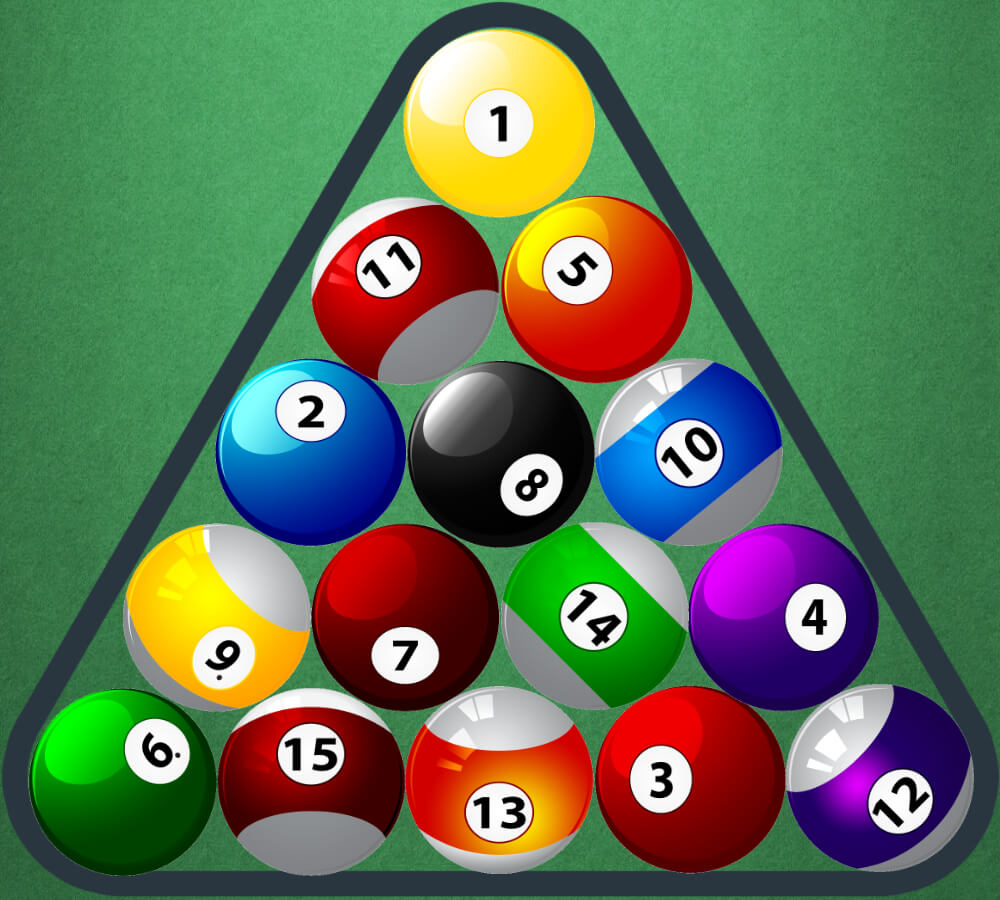
Begin with selecting quality cues. They should be comfortable and easy to handle. Choose a cue that matches your height and grip preference. Next, invest in a good set of balls. Standard pool balls come in a set of 16. This includes 15 numbered balls and one cue ball. Ensure they are durable and well-balanced for smooth gameplay.
Racks And Chalk
A rack keeps balls organized before the break. Most players prefer a triangle rack for 8-ball games. It arranges the balls neatly for a precise start. Chalk is another essential item. It helps to improve your cue’s grip on the ball. Apply it regularly to maintain control and accuracy.
Table Covers And Accessories
Table covers protect your pool table from dust and damage. They maintain the table’s surface quality and extend its lifespan. Consider accessories like cue stands and ball trays. These items keep your playing area tidy and organized. They add convenience and enhance your overall gaming setup.

Assembling The Pool Table
Setting up an 8-ball pool table involves careful alignment of the table legs and precise leveling. Arrange the balls in the triangular rack, placing the 8-ball at the center. Ensure all equipment is ready for a smooth game experience.
Setting up an 8-ball pool table can be a rewarding experience, transforming your space into a hub of entertainment and friendly competition. It’s not just about following instructions; it’s about creating the perfect spot for memorable moments. Whether you’re a seasoned player or a beginner, assembling your pool table with precision will ensure optimal playability and longevity. Let’s break down the process into manageable steps to get you started on your journey to becoming the ultimate pool host.
Frame Construction
Begin by laying out all the components in a spacious area. This helps you visualize the frame and identify each piece easily. Start with the side rails, connecting them securely using the provided bolts and screws. Make sure the frame is stable and square before proceeding. It’s essential to double-check each connection point. A solid frame foundation is crucial for the table’s overall stability.
Attaching The Legs
Once the frame is assembled, move on to attaching the legs. Position each leg under the designated corners of the frame. Secure them using the bolts provided, tightening each evenly to prevent wobbling. Ensuring the legs are firmly attached is vital. Consider using a wrench for added security. Imagine playing a game and suddenly feeling a shift in the table—this step prevents that.
Leveling The Surface
With the legs attached, it’s time to level the playing surface. Use a carpenter’s level to check the table from all sides. Adjust the leg levelers accordingly until the bubble is centered. Leveling might seem tedious, but it directly impacts your game. A perfectly leveled table ensures that your shots are accurate and consistent. Have you ever played on an uneven table? It can be frustrating, so take your time with this step. Assembling your pool table is more than just a task; it’s the foundation of countless enjoyable hours. By following these steps, you’re not just setting up a table—you’re creating a space for laughter, skill improvement, and friendly competition. Ready to rack ’em up and break?
Installing The Felt
Setting up the felt on your 8-ball pool table is crucial. It affects the game’s flow and precision. A smooth and well-installed felt ensures a good playing experience. Follow these steps for a successful installation.
Choosing The Right Felt
Start by picking the right felt for your table. Quality matters. Woolen and worsted are popular choices. Woolen is softer and thicker. Worsted is smoother and faster. Choose based on your playing style and preference. Consider the color too. Traditional green is classic. Other colors can add style to your game room.
Stretching Techniques
Proper stretching is key for a smooth surface. Begin at the center of the table. Work your way outwards. Use a stretching tool or your hands. Pull the felt firmly but gently. Avoid wrinkles or bubbles. Consistency is important. Stretch evenly for the best results. Check the tension as you go. Adjust as needed to maintain balance.
Securing Edges And Corners
Once stretched, secure the felt. Start with the edges. Use a staple gun or adhesive. Fasten the felt tightly along the rails. Pay attention to the corners. Cut small slits to ease folding. This helps avoid bunching. Tuck the felt neatly under the rails. Ensure all areas are secured. Re-check for any loose spots. Tighten as necessary to finish.
Setting Up The Rails And Cushions
Setting up the rails and cushions on your 8-ball pool table is crucial. Proper alignment ensures a smooth game experience. The cushions provide the bounce needed for precise shots. This process requires patience and attention to detail.
Aligning The Rails
Ensure the rails are straight. Use a level tool for accuracy. Align each rail with the table’s edge. Check for any gaps or uneven spots. Adjust until each rail is perfectly aligned. Rails must be flush with the table’s surface.
Securing Cushions
Secure the cushions tightly. They should fit snugly against the rails. Use screws or bolts provided. Ensure each cushion is firmly attached. Loose cushions affect the ball’s bounce. Double-check each cushion’s position and attachment.
Testing Bounce Consistency
Test the bounce consistency. Roll a ball against each cushion. Observe how it rebounds. Consistent bounce ensures fair play. Adjust any cushions if needed. A reliable bounce enhances game accuracy. Aim for uniformity in cushion response.
Positioning The Pockets
Setting up an 8-ball pool table is an exciting task, but positioning the pockets correctly is a crucial step that can make or break your gaming experience. The pockets are where the action happens, and getting them right ensures your games are both fair and fun. Each pocket must be aligned precisely to provide an accurate play surface. Let’s delve into the essentials of pocket positioning.
Pocket Types And Styles
When choosing pockets, consider both style and functionality. Do you prefer classic leather drop pockets that bring a vintage charm? Or are modern plastic pockets more your thing for their durability? Each type impacts the table’s aesthetic and playability.
Leather pockets offer a sophisticated look but may require more maintenance. Plastic pockets, on the other hand, are easy to clean and maintain. Choose the style that resonates with your space and matches your decor.
Securing Pocket Brackets
Once you’ve chosen your pockets, securing them is the next step. Pocket brackets play a vital role in holding the pockets in place. Ensure they are tightly screwed in to prevent wobbling or shifting during intense games.
Double-check each bracket after installation. A loose bracket can lead to pockets detaching, causing interruptions. Tighten them with a screwdriver, ensuring they are flush with the table’s surface for a seamless look.
Ensuring Even Distribution
Position the pockets evenly around the table for balanced gameplay. Uneven pockets can skew the play and affect ball movement. Take measurements to ensure each pocket is equidistant from its neighbors.
Consider using a measuring tape or a laser level for precision. Ask yourself, how will uneven pockets impact your game strategy? It’s essential to double-check your work for a smooth playing experience.
Setting up your pool table pockets with care ensures long-lasting enjoyment and fair play. Which pocket style reflects your personality? Your choice sets the tone for countless thrilling games ahead.
Final Adjustments And Testing
Final adjustments and testing are crucial for a perfect 8-ball pool table setup. Ensure the table is level, and pockets are secure. Testing the table by rolling a few balls can verify smooth play and accurate alignment.
Setting up an 8-ball pool table requires precision. After assembly, final adjustments are crucial. These steps ensure your table offers a fair and enjoyable game. Proper testing guarantees smooth gameplay. Focus on the details for a premium experience.
Checking Level And Balance
Start by checking the table’s level. Use a carpenter’s level. Place it on different parts of the table. Ensure the bubble is centered. Adjust table legs as needed. Uneven tables affect ball movement. Repeat the process until the table is balanced.
Fine-tuning For Precision
Fine-tune the table for precise play. Examine the cushions for consistency. Balls should rebound evenly. Check the felt surface for wrinkles. Smooth out any bumps. Ensure pockets are secure. Precision adjustments enhance gameplay quality.
Testing Gameplay
Test the table with a few practice shots. Notice any irregular ball movement. Adjust as needed. Pay attention to the ball speed. Ensure it stays consistent. Play a complete game to test all aspects. Make final tweaks for optimal performance.
Maintenance And Care
Maintaining your 8-ball pool table ensures longevity and optimal play. Proper care prevents damage and keeps the table in top condition. This section covers cleaning, preventing wear, and long-term strategies.
Regular Cleaning Tips
Dust the table surface weekly. Use a soft brush to remove debris. Clean the balls with a damp cloth. Ensure they are dry before use. Vacuum the floor around the table regularly. This reduces dust accumulation on the table.
Preventing Wear And Tear
Avoid placing drinks or food on the table. Keep the table covered when not in use. This prevents sunlight from fading the felt. Encourage players to avoid leaning on the rails. This preserves the table’s structure.
Long-term Care Strategies
Inspect the table for loose bolts or screws yearly. Tighten them if necessary. Re-felt the table every few years. This maintains a smooth playing surface. Consider professional servicing for complex repairs. This ensures the table remains in excellent condition.
Frequently Asked Questions
What Tools Are Needed To Set Up A Pool Table?
To set up an 8-ball pool table, you’ll need a measuring tape, a level, and a socket wrench. These tools ensure the table is balanced, the legs are securely attached, and the playing surface is even. Proper setup enhances gameplay and prevents damage.
How Do I Level A Pool Table Properly?
To level a pool table, place a level on the playing surface. Adjust the legs using the socket wrench until the bubble is centered. Repeat this process across different areas of the table. Proper leveling prevents balls from rolling unevenly, ensuring fair play.
Where Should A Pool Table Be Positioned?
Position your pool table in a room with ample space around it. Ensure there’s enough room for players to move and cue without obstruction. Ideally, allow at least five feet of clearance on all sides. Proper placement enhances the playing experience and prevents accidents.
How To Assemble Pool Table Legs?
To assemble pool table legs, attach them using a socket wrench. Follow the manufacturer’s instructions for precise alignment and secure fastening. Ensure each leg is firmly attached to prevent wobbling during gameplay. Proper assembly is crucial for table stability and player safety.
Conclusion
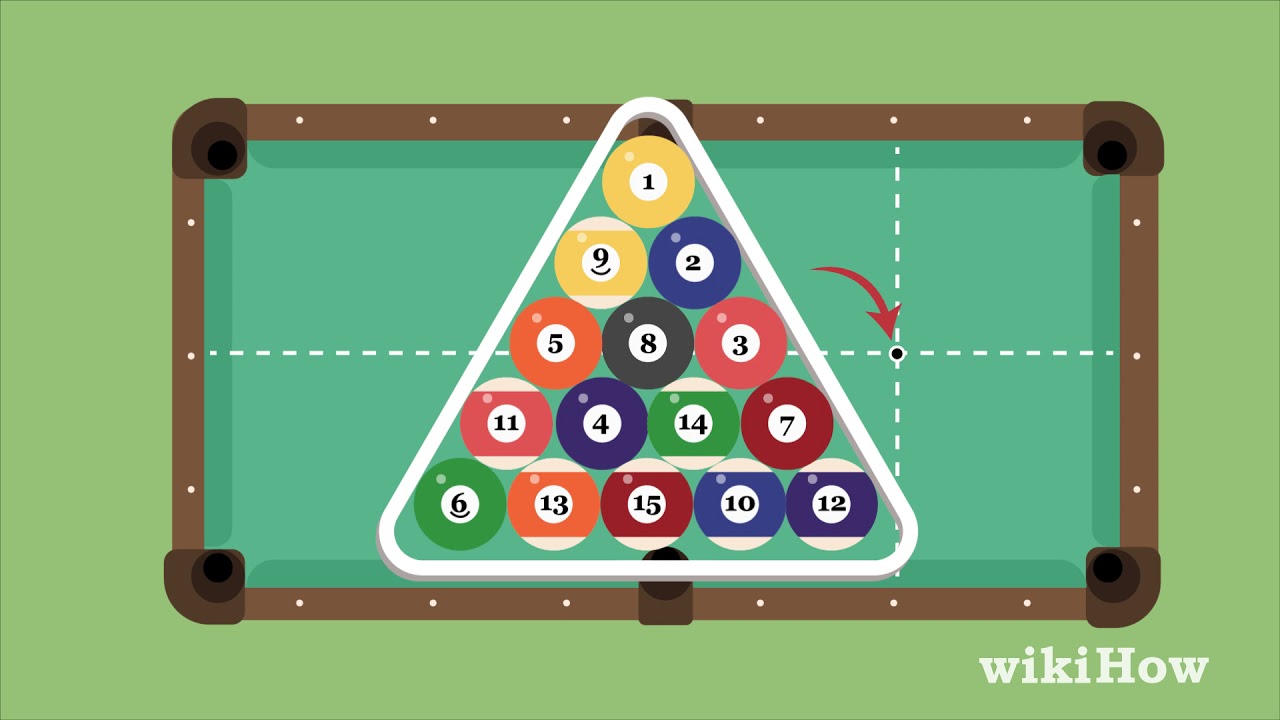
Setting up an 8-ball pool table is simple and fun. Start with a clean, flat surface. Arrange the balls in a triangle. Place the 8-ball in the center. Ensure each corner ball is a solid or stripe. Position the rack at the table’s foot.
Remove the rack carefully. Now, grab a cue and enjoy your game. Practice makes perfect. Invite friends for more fun. Keep the table clean for a better experience. Always follow the rules. Enjoy the game with confidence. Your pool skills will improve over time.
Have fun!