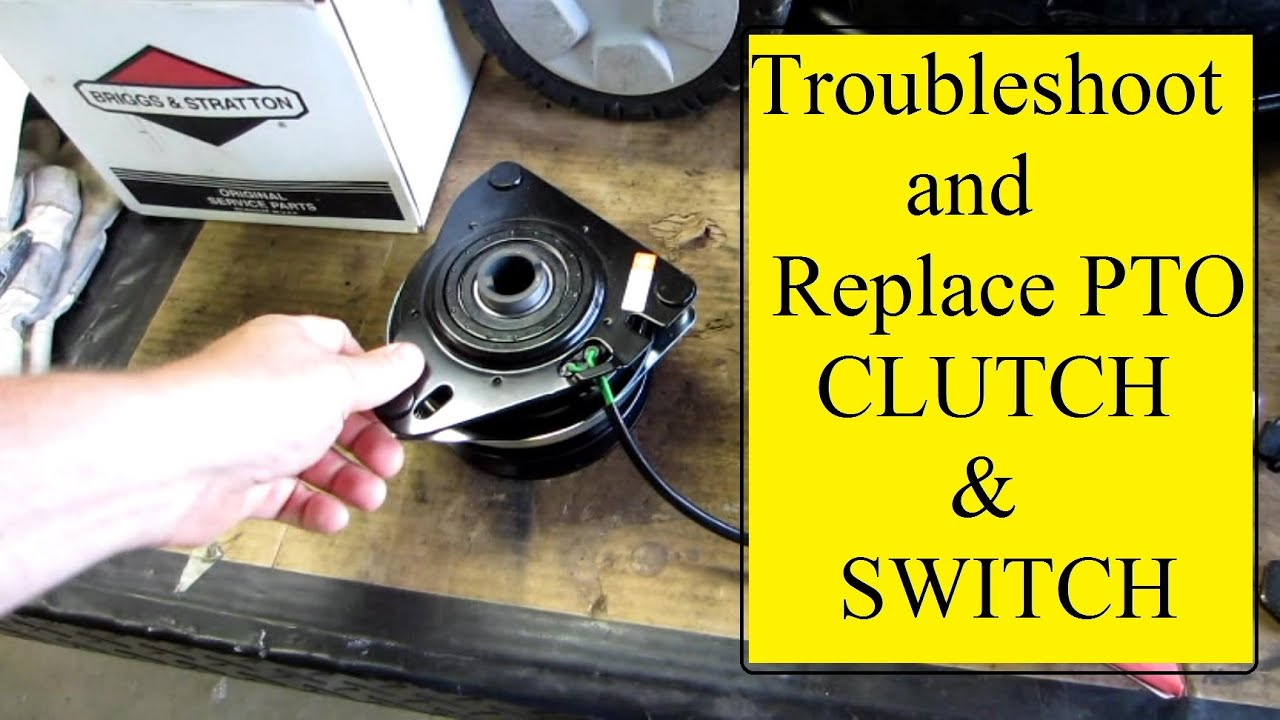
Most Husqvarna electric clutch issues are caused by worn brushes, loose wiring, or a bad coil.
I have spent years repairing riding mowers and outdoor equipment, and I know the Husqvarna electric clutch well. This guide on Husqvarna Electric Clutch Troubleshooting walks you through clear checks, practical fixes, and safe steps. You will find step-by-step diagnostics, real tips from hands-on jobs, and simple maintenance to keep your clutch working. Read on to solve the problem fast and avoid costly shop visits.
How the Husqvarna Electric Clutch Works and Why Troubleshooting Matters
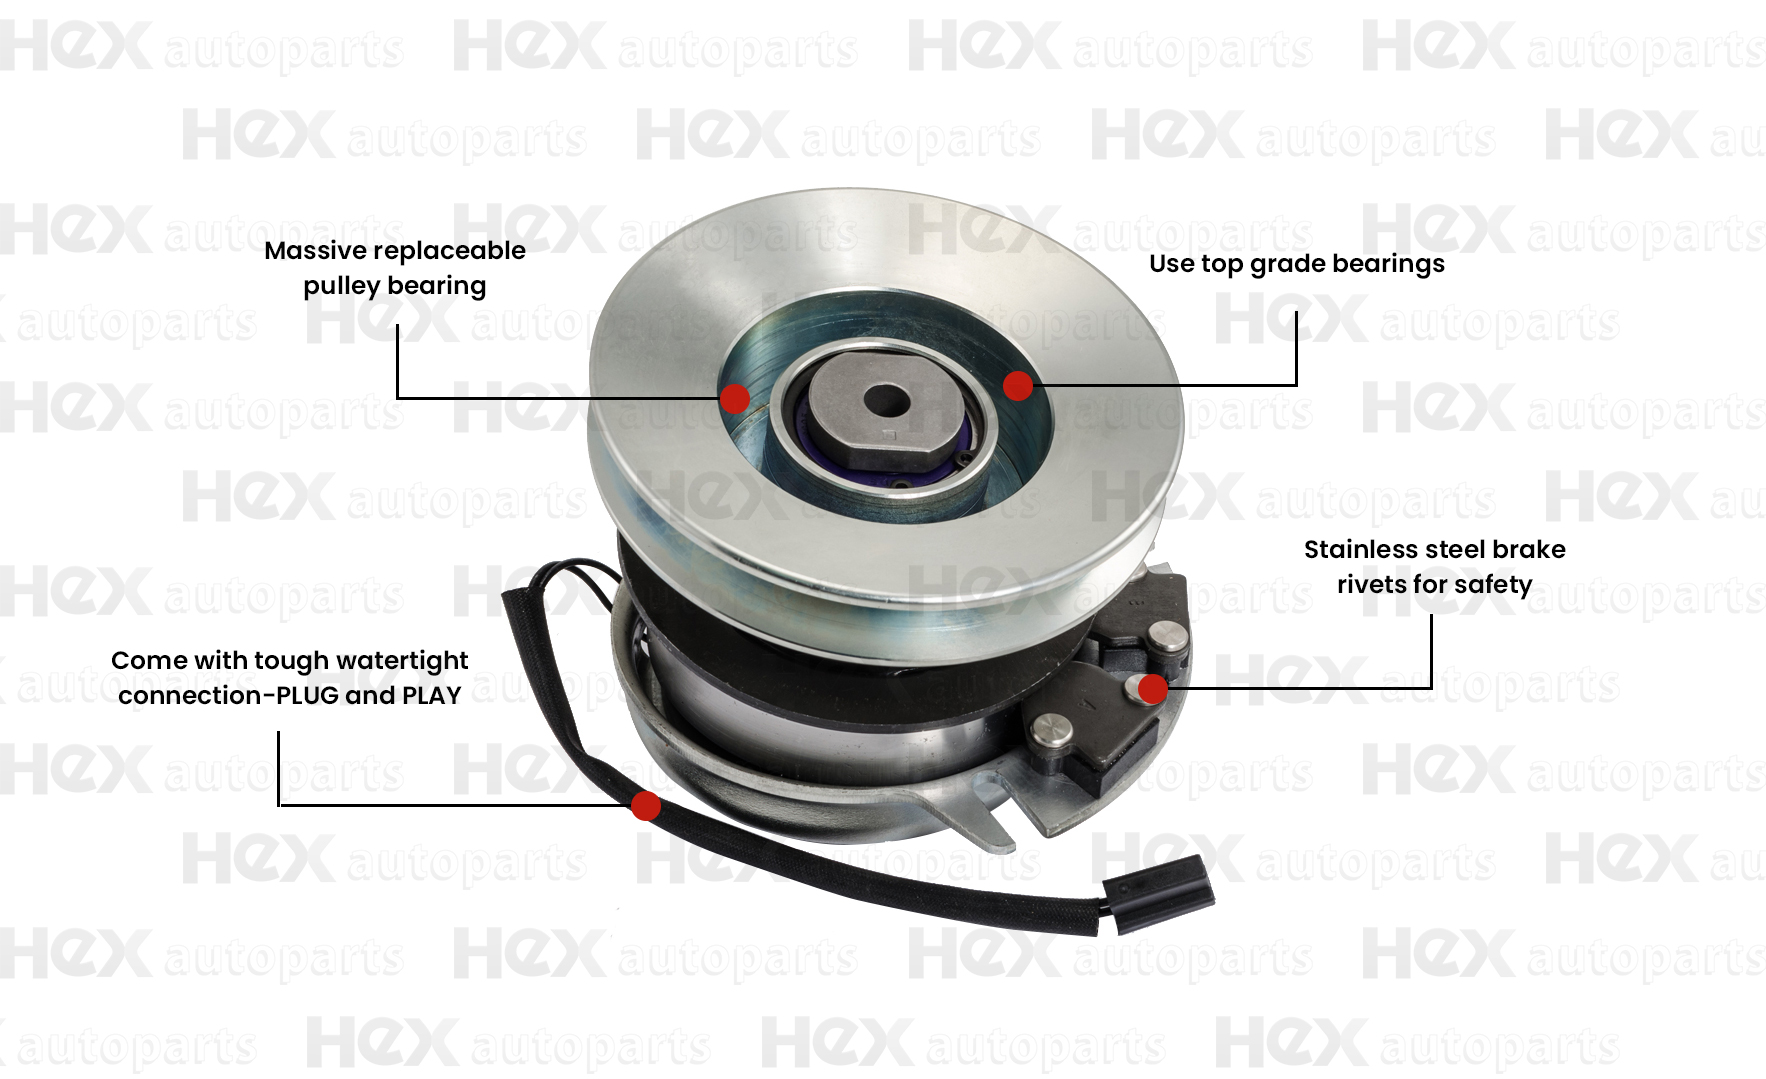
The Husqvarna Electric Clutch engages the mower blade or PTO with an electromagnetic coil. When you switch the clutch on, current flows to the coil and the clutch plate pulls in. If anything fails, the blade may not engage or may drag while off. Husqvarna Electric Clutch Troubleshooting starts with knowing these simple parts: coil, armature, brushes, wiring, and switch. I explain each part and how to test it in plain steps.

Common Symptoms and Causes for Husqvarna Electric Clutch Troubleshooting
Common signs of clutch trouble are easy to spot. Watch for these issues and their likely causes.
- Engine runs but blade won't engage — possible coil failure or bad switch.
- Clutch stays engaged with switch off — may be shorted coil or stuck armature.
- Grinding, squeal, or vibration when engaging — worn or warped clutch plate.
- Intermittent engagement — loose wiring, weak battery, or bad solenoid.
- Smoke or burning smell — electrical short or overheated clutch.
Each symptom directs the next test in Husqvarna Electric Clutch Troubleshooting. Start with the simple checks.

Safety and Prep for Husqvarna Electric Clutch Troubleshooting
Safety is key. Always disconnect the spark plug and battery before touching the clutch. Wear gloves and eye protection. Let hot parts cool. Use a service manual or schematics for your model. These steps keep you safe and protect the mower.
Tools and Parts You Will Need
Keep tools ready to speed testing and repair. Here are the basics I use on the job.
- Multimeter with DC voltage and resistance.
- Socket set and screwdrivers.
- Insulated pliers and wire brush.
- Replacement clutch coil or armature, if needed.
- Contact cleaner and dielectric grease.
- Battery charger or jump starter.
- Voltmeter or test light.
Having parts on hand makes Husqvarna Electric Clutch Troubleshooting faster. I often keep a spare coil and brushes in my shop.

Step-by-Step Husqvarna Electric Clutch Troubleshooting Guide
These steps move from quick wins to deeper tests. Do them in this order.
-
Visual and basic checks
- Inspect wiring, connectors, and fuses. Tighten loose terminals.
- Look for melted insulation or corrosion. Clean contacts.
- Check battery voltage. Low battery can mimic clutch failure.
-
Test the switch and wiring
- With the key on, use a test light or voltmeter at the switch. You should see voltage when the switch is on.
- Trace power to the clutch coil. Back-probe connectors gently.
-
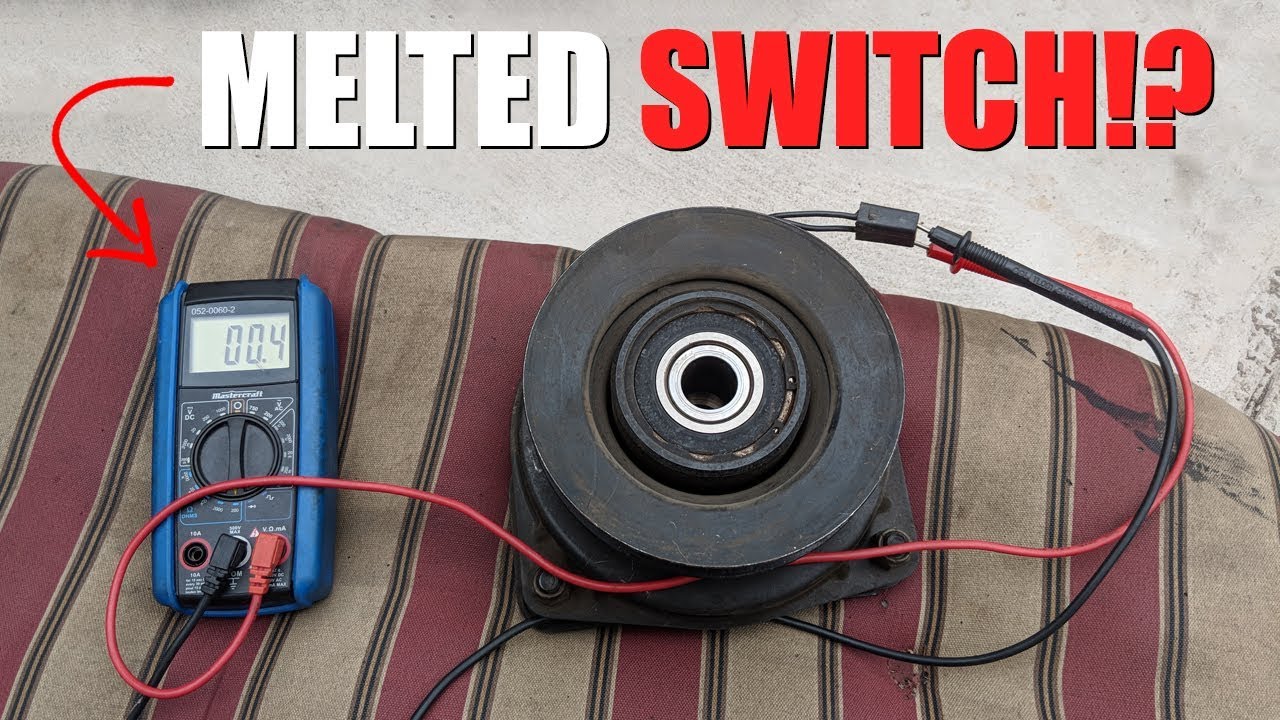
Check coil voltage and resistance
- Measure coil resistance with meter. Typical coil ohms vary by model; a hugely high or open reading means a bad coil.
- With the switch on, measure voltage at the coil. If voltage is present but coil shows open, the coil is bad.
-
Inspect the armature and plate
- Remove the drive belt and check the clutch armature for wear and warping.
- Clean with a wire brush and check for scoring or glazing.
-
Bench test the clutch coil
- Remove the coil and apply 12V briefly. The armature should pull in. Do this safely, using insulated leads.
- If the coil does not pull in, replace it.
-
Reassemble and verify
- Reconnect everything. Start engine and test engagement at low RPM.
- Listen and feel for smooth engagement. If the problem returns, repeat tests or move to replacement.
PAA-style quick questions
- How long does a Husqvarna electric clutch last? Expect 3 to 7 years depending on use and care.
- Can I test the clutch without removing it? You can test coil voltage and resistance in place, but bench testing gives clearer results.
- Is a bad clutch coil covered by warranty? Warranty depends on model age and dealer policy; check your documentation.
These steps represent the core Husqvarna Electric Clutch Troubleshooting flow I use in daily repairs. Keep notes of meter readings as you go.

Repair and Replacement Options
Decide repair or replace based on tests and cost. Simple fixes first.
- Clean and tighten
- Remove rust and debris. Clean contacts and terminals. Tighten screws and bolts.
- Replace consumables
- If the armature face is glazed, sand lightly or replace the plate. Replace brushes if applicable.
- Replace the coil or clutch assembly
- If coil fails bench tests, swap it. Use correct part numbers for your model.
- Rewire or replace connectors
- Cut and crimp new terminals for corroded connections. Use dielectric grease on connectors.
I once repaired three clutches by cleaning and tightening grounds. That saved the owner a lot. But when coils fail, replacement is the only safe fix.

Preventive Maintenance to Avoid Future Issues
Small habits prevent most clutch failures. Do these tasks seasonally.
- Check electrical connections every 3 months.
- Keep battery charged and terminals clean.
- Store mower under cover to avoid moisture on the coil.
- Inspect belt tension and alignment yearly.
- Run the clutch briefly once a month in long storage to keep parts free.
These simple steps cut the need for Husqvarna Electric Clutch Troubleshooting later. I follow this routine for all fleet machines.
When to Call a Professional
Call a pro if you hit these roadblocks.
- You find internal clutch damage or warped parts.
- Electrical shorts or recurring heat damage appear.
- You lack tools for safe bench testing.
- Warranty or safety concerns make DIY risky.
A pro can bench-test with proper jigs and swap assemblies safely. Expect diagnostic fees, but compare to the cost of a wrong repair.

Frequently Asked Questions of Husqvarna Electric Clutch Troubleshooting
What is the most common cause of a Husqvarna electric clutch not engaging?
Most often a worn or open coil or poor power at the clutch is the cause. Check battery voltage and coil resistance first.
Can I run the mower with a failing electric clutch?
Running with a failing clutch can damage the drive or engine. Fix the clutch before heavy use to avoid more repairs.
How do I test the clutch coil with a multimeter?
Measure resistance across the coil leads for continuity and check for voltage with the switch on. No continuity means a bad coil.
How expensive is it to replace a Husqvarna electric clutch?
Parts alone vary by model but often range from moderate to high cost. Labor adds to the total if you use a shop.
Are there model-specific tips for Husqvarna Electric Clutch Troubleshooting?
Yes. Always consult your model’s wiring diagram and part numbers. Small models have different coil specs than larger ones.
Conclusion
Husqvarna Electric Clutch Troubleshooting is about clear steps, safe checks, and timed maintenance. Start with the battery and wiring, test the coil, and only replace parts when tests confirm failure. Use simple tools and stay safe while working. If you prefer, take detailed meter readings and notes before visiting a pro. Try the steps here, subscribe for more repair tips, or leave a comment with your model number and symptom for personalized help.