
Keurig B155 Troubleshooting usually starts with cleaning needles, descaling, checking reservoir, and rebooting.
I’ve spent years repairing and maintaining office brewers, and I know the Keurig B155 Troubleshooting process well. This guide walks you through cause-by-cause fixes, step-by-step checks, maintenance tips, and realistic expectations. Read on to learn clear, practical solutions you can use right now to get your B155 brewing reliably.

Overview of Keurig B155 Troubleshooting
Keurig B155 Troubleshooting means isolating common faults and resolving them quickly. The B155 is a compact brewer used in small offices. Problems often stem from scale, clogged needles, low water, or simple power faults.
What to expect from this guide:
- Clear, short steps to diagnose problems.
- Simple tools and safe methods.
- When to replace parts or call service.
I will explain causes, fixes, and preventive care. This saves time and prevents repeat problems.

Common Problems and Quick Fixes for Keurig B155 Troubleshooting
Below are the issues you will see most often. Each item has a short fix you can try now.
- Brewer won’t power on
- Check the outlet and power cord. Try a different outlet. Unplug, wait 30 seconds, and plug back in.
- Machine won’t brew or brew stops early
- Ensure the reservoir is seated and has water. Clean the entrance and exit needles.
- Slow brew or weak coffee
- Descale the machine. Replace the water filter if used.
- Leaking from the base or reservoir
- Check for cracks in the reservoir and reseat it. Inspect the drip tray and O-rings.
- Strange tastes or odors
- Run a full descale and flush. Clean removable parts with warm, soapy water.
- Error lights or blinking indicators
- Try a reboot. If the light persists, consult the user guide for model-specific codes.
These quick fixes resolve most cases of Keurig B155 Troubleshooting within minutes.

Step-by-step Keurig B155 Troubleshooting Checklist
Follow this checklist in order. Each step is fast and reduces guesswork.
- Power and reset
- Unplug the brewer for 60 seconds. Plug back in and test a cycle.
- Water supply
- Confirm reservoir is full and seated. Use fresh water.
- Clean needles
- Remove K-Cup holder. Use a paperclip or the cleaning tool to clear both needles.
- Verify pod placement
- Use a single, undamaged pod. Avoid overfilled or pierced pods.
- Descale if needed
- If you see mineral deposits or slow flow, run a descaling cycle.
- Inspect seals and reservoir
- Look for cracks or worn O-rings. Replace any damaged parts.
- Run a test brew
- Use plain water with no pod. Watch for leaks, noises, or error lights.
- Contact support
- If brewing still fails, note lights and behaviors before calling service.
This ordered approach makes Keurig B155 Troubleshooting fast and repeatable.
Cleaning, Descaling, and Maintenance for Keurig B155 Troubleshooting
Regular care is the backbone of reliable performance. Here is a simple plan.
- Daily care
- Empty and rinse the drip tray. Refill reservoir with fresh water.
- Weekly care
- Remove the K-Cup holder and rinse. Wipe exterior and lid.
- Monthly care
- Clean entrance and exit needles. Replace water filter if used.
- Every 3–6 months
- Descale the brewer. Use a manufacturer-approved descaler or a vinegar solution if recommended by your manual.
- Parts to clean
- Reservoir, K-Cup holder, drip tray, and removable tubing if accessible.
Follow these steps to avoid the most common failures in Keurig B155 Troubleshooting. I once saved a unit that brewed slowly by descaling it after six months of hard water. It ran like new afterward.

Error Codes and Lights Explained in Keurig B155 Troubleshooting
Light patterns help pinpoint faults. Codes vary by model, so use these general rules.
- No lights
- Check power and fuse. Try a different outlet.
- Flashing or steady brew light
- Could mean heating or pump issues. Reboot and run water-only cycles.
- Descale indicator
- Schedule a full descaling. Continued use without descaling shortens pump life.
- Service required
- If service or error lights remain after basic fixes, document the pattern and contact support.
If an error persists after basic steps, include the light pattern and last actions taken when you call for help. That speeds up Keurig B155 Troubleshooting with tech support.
Parts, Replacements, and When to Call a Technician for Keurig B155 Troubleshooting
Know what you can replace and when to seek help.
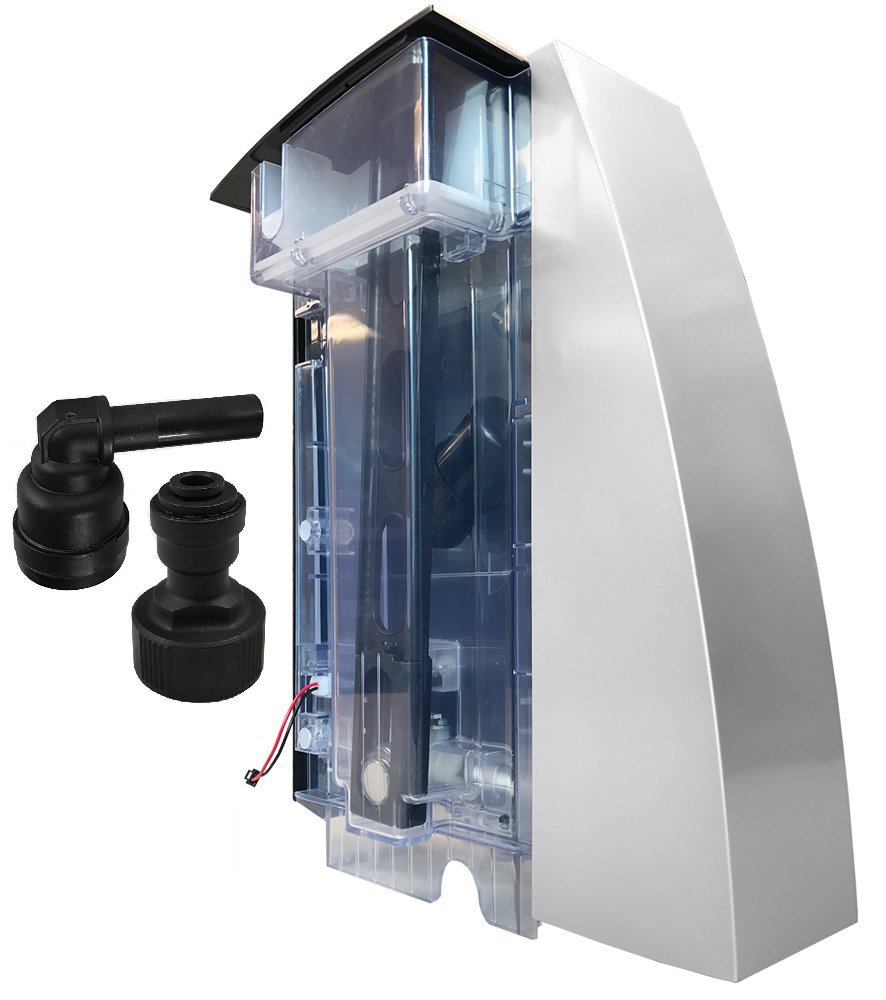
- Parts you can replace at home
- Reservoir, drip tray, water filter, O-rings, K-Cup holder.
- Parts that often need a technician
- Pump, internal tubing, control board, heating element.
- Signs to call a technician
- Loud grinding noises, persistent error codes, or electrical smells.
- Warranty and service
- Check warranty terms before opening sealed sections. Some repairs void warranty.
If you replace simple parts and the problem returns, professional service is the safe next step for effective Keurig B155 Troubleshooting.

Personal Experience and Pro Tips for Keurig B155 Troubleshooting
I’ve repaired many B155-style brewers in offices. Here are practical tips I learned.
- Tip 1: Start simple
- Power reset fixed about 40% of my calls.
- Tip 2: Keep a small toolkit
- Paperclips, a soft brush, and needle-clean tools cut many service trips.
- Tip 3: Log problems
- Write down error lights and times. Patterns point to causes.
- Tip 4: Use filtered water
- It reduces scale and extends time between descales.
- Mistakes to avoid
- Don’t force parts. Avoid harsh chemicals on plastic housings.
These small habits make Keurig B155 Troubleshooting fast and less stressful.
Frequently Asked Questions of Keurig B155 Troubleshooting
How often should I descale my Keurig B155?
Descale every 3–6 months depending on water hardness and use. Heavy use or hard water means more frequent descaling.
Why does my Keurig B155 leak from the base?
Leaks usually come from a cracked reservoir, loose O-ring, or a misaligned seal. Inspect the reservoir and seals, and replace damaged parts.
What if my Keurig B155 shows an error light after cleaning?
Unplug and reboot the brewer. Run a few water-only cycles; if the light persists, document the pattern and contact service.
Can I use vinegar to descale the Keurig B155?
Vinegar is sometimes used, but manufacturer-approved descalers are safer for seals and warranty. Check your manual before using vinegar.
How do I clean the needles safely on a Keurig B155?
Remove the K-Cup holder and gently clear needles with a paperclip or the provided tool. Rinse parts and run a water-only cycle to flush debris.
Is it worth repairing a Keurig B155 or should I replace it?
If the issue is a simple replaceable part, repair is often cheaper. Major failures in pumps or control boards may justify replacement depending on age and warranty.
Conclusion
Keurig B155 Troubleshooting is mostly about clear steps: check power, clean needles, descale, and inspect seals. Follow the checklists and maintenance plan here to fix common faults and keep your brewer reliable. Start with the easy fixes today, track any persistent errors, and reach out for service only when needed. If this guide helped, try the steps now and share your results or questions below — I’ll respond with practical next steps.

