
Kitchenaid Ice Maker Troubleshooting
If your Kitchenaid ice maker is not working as expected, you are not alone. Many people face problems with their ice makers, from no ice production to unusual noises. These issues can be frustrating, especially when you depend on your appliance for daily use. The good news is that most ice maker problems can be fixed at home without professional help. This guide will walk you through common issues, practical solutions, and expert advice to get your Kitchenaid ice maker back to perfect working order.
How Kitchenaid Ice Makers Work
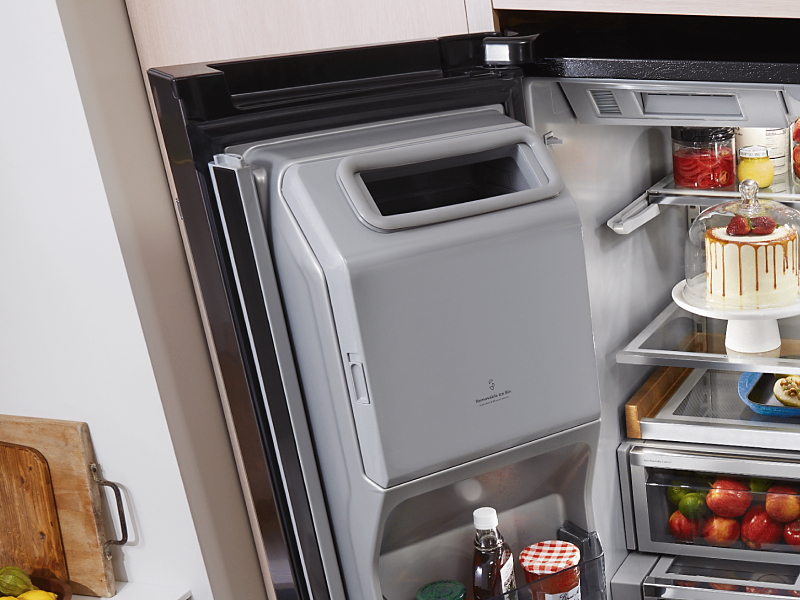
Understanding how your Kitchenaid ice maker works can help you spot problems more easily. The ice maker uses a water supply, an electric motor, and a cooling system to freeze water and drop ice cubes into a bin. It’s connected to your refrigerator or freezer, depending on the model. When you press the ice maker button, the system starts the cycle:
- Water flows into the ice mold.
- The cooling system freezes the water.
- Once frozen, the motor turns the mold and releases the ice cubes.
- The cubes drop into the storage bin, ready for use.
If any part of this process fails, the ice maker may stop working or produce less ice.
Common Kitchenaid Ice Maker Problems
Most issues with Kitchenaid ice makers fall into a few main categories. Let’s look at the most frequent problems and what they mean.
No Ice Production
If your ice maker is not making ice at all, several things could be wrong:
- Water supply issue: The water line may be blocked or disconnected.
- Ice maker switch: Sometimes the switch is accidentally turned off.
- Frozen water line: Cold temperatures can freeze the water line.
- Faulty components: The motor or thermostat may be broken.
Slow Ice Production
If your ice maker is making ice, but very slowly:
- Low water pressure: Not enough water is reaching the ice mold.
- Dirty filter: The water filter may be clogged.
- High freezer temperature: Ice forms best below 0°F (-18°C).
Small Or Misshaped Ice Cubes
Small or odd-shaped cubes point to:
- Low water flow: Not enough water fills the mold.
- Mineral build-up: Hard water leaves residue that affects cube shape.
Leaking Water
Leaks can be caused by:
- Loose connections: Water line fittings may be loose.
- Cracked molds: The ice mold may be damaged.
- Overflowing bin: The ice bin is full but the maker keeps producing.
Strange Noises
Sounds like clicking, humming, or grinding often mean:
- Ice jam: Cubes are stuck in the ejector.
- Motor issues: The motor is struggling to turn.
- Low water level: Air is trapped in the line.
Troubleshooting Steps For Kitchenaid Ice Makers
You can fix most ice maker problems by following simple steps. Here’s a step-by-step guide to help you solve common issues.
1. Check The Power And Switch
First, make sure your ice maker is switched ON. Locate the ice maker’s power switch or arm. If it’s off or moved, turn it on or push it down. If your refrigerator has a control panel, check for any error codes.
2. Inspect The Water Supply
No water means no ice. Check the water line behind your refrigerator. Make sure it’s connected and not kinked or pinched. If you see any leaks or loose fittings, tighten them carefully.
3. Change Or Clean The Water Filter
A dirty water filter can block water flow. Kitchenaid recommends changing filters every 6 months. Remove the old filter and install a new one. If you don’t have a replacement, rinse the current filter under running water and reinstall it.
4. Reset The Ice Maker
Many models have a reset button. Press and hold it for 10 seconds. This can fix minor glitches and restart the ice-making cycle.
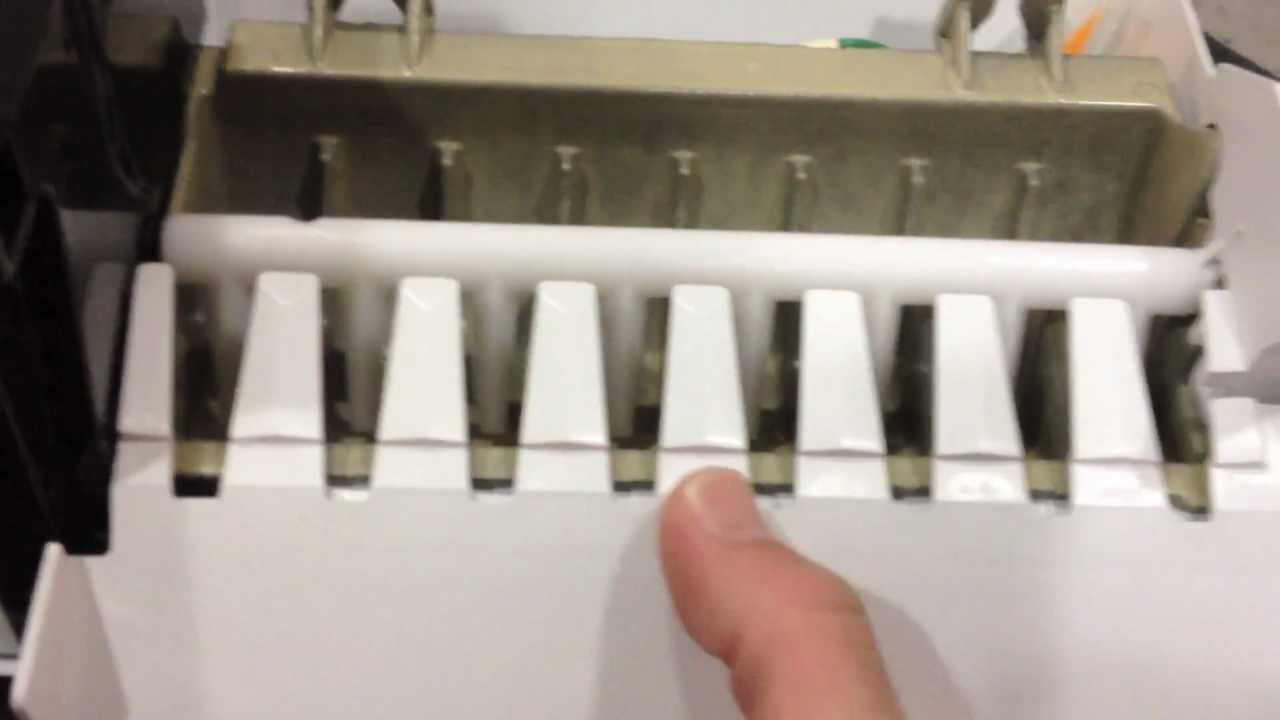
5. Clear Ice Jams
If cubes are stuck, gently remove them using a plastic utensil (never metal). This prevents damage to the ejector or mold.
6. Adjust Freezer Temperature
Ice forms best below 0°F (-18°C). If your freezer is warmer, lower the temperature settings. Wait 24 hours to see improvement.
7. Inspect And Clean The Ice Mold
Mineral deposits can build up over time. Remove the ice mold and clean it with warm water and vinegar. Dry thoroughly before reinstalling.
8. Check For Frozen Water Line
If water isn’t reaching the ice mold, the line may be frozen. Defrost the freezer for several hours or use a hair dryer on low heat to thaw the line. Do not overheat or melt plastic parts.
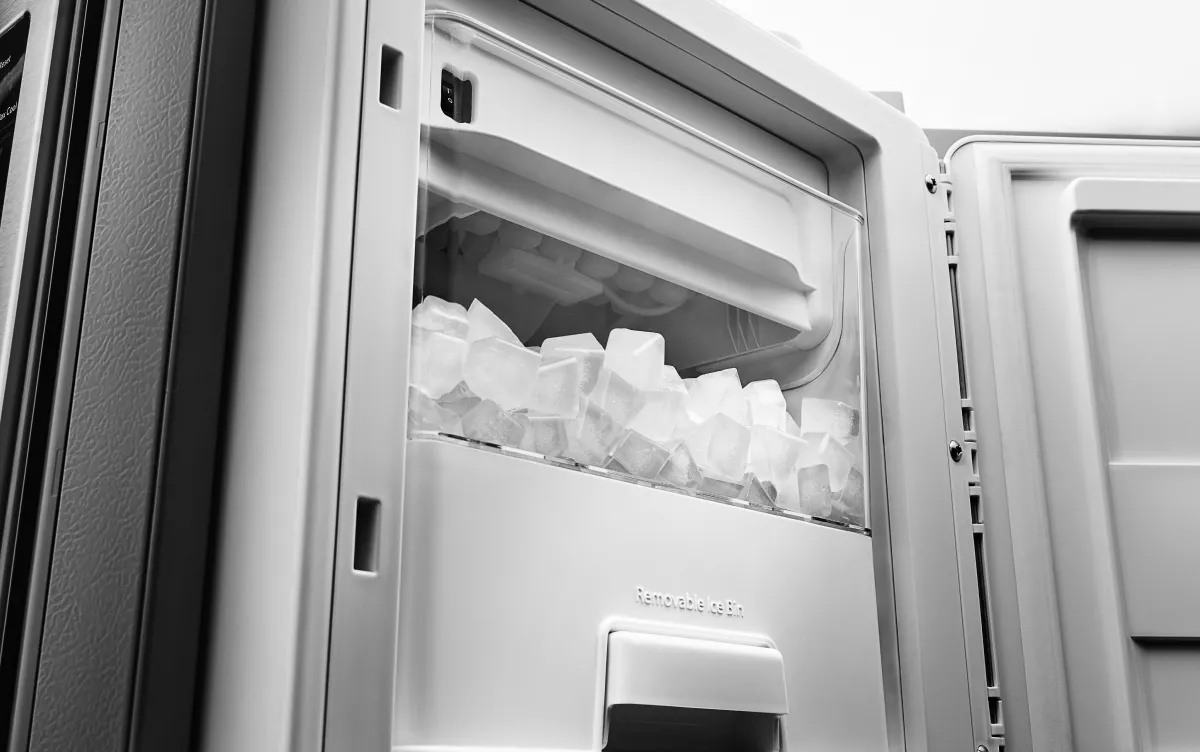
9. Examine The Ice Bin
If the bin is full, the maker should stop producing ice. Empty the bin and check the sensor. If the sensor is blocked or dirty, clean it gently.
10. Listen For Unusual Sounds
If you hear strange noises, stop the ice maker and inspect for jams or broken parts. If the motor sounds weak or overheated, it may need replacement.
Comparing Kitchenaid Ice Maker Models
Kitchenaid offers different ice maker designs. Some are built into refrigerators, others are standalone. Here’s a comparison of two popular types:
| Feature | Built-In Ice Maker | Standalone Ice Maker |
|---|---|---|
| Location | Inside refrigerator/freezer | Separate countertop unit |
| Ice Output | 4-10 lbs/day | 20-50 lbs/day |
| Maintenance | Easy to clean | Requires regular descaling |
| Water Source | Connected to home supply | Manual fill or plumbing |
Maintenance Tips For Long-term Performance
Regular care keeps your Kitchenaid ice maker running smoothly and prevents common problems. Here are practical tips:
- Clean the water filter every 6 months.
- Check the water line for leaks or kinks monthly.
- Wipe the ice bin with mild soap every week.
- Defrost the freezer if ice builds up around the maker.
- Inspect the ice mold for mineral deposits and clean as needed.
- Listen for unusual noises and fix jams early.
Common Mistakes To Avoid
Many owners make errors that lead to ice maker problems:
- Using the wrong filter size.
- Ignoring error codes on the display.
- Overfilling the ice bin.
- Not cleaning the mold or bin regularly.
- Setting the freezer temperature too high.
Avoiding these mistakes will save you time and money.
When To Call A Professional
Some problems are too complex for home repair. If your ice maker shows these signs, call a technician:
- No water flow despite clear lines and filter.
- The motor runs but no ice is produced.
- Frequent leaks even after tightening connections.
- Error codes that won’t reset.
- Electrical issues or burning smells.
A certified technician can diagnose and fix deeper problems, such as broken motors or sensors.
Kitchenaid Ice Maker Error Codes Explained
Modern Kitchenaid ice makers display error codes to help users spot issues. Here are some common codes:
| Error Code | Meaning | Action |
|---|---|---|
| E1 | Water supply issue | Check water line and filter |
| E2 | Ice bin full | Empty bin and reset |
| E3 | Freezer too warm | Lower temperature |
| E4 | Motor problem | Call technician |
If you see an error code, follow the recommended action. If the code persists, professional help may be needed.
Data: Kitchenaid Ice Maker Performance Statistics
Kitchenaid ice makers are known for reliability, but like all appliances, they have limits. Here are some real-world statistics:
| Model | Average Ice Output (lbs/day) | Common Failure Rate (%) |
|---|---|---|
| KUIX505ESS | 50 | 2.5 |
| KUID508HBL | 35 | 3.1 |
| KUIS15NRTB | 40 | 2.8 |
These numbers show most models produce plenty of ice, but even the best have occasional issues. Regular maintenance lowers the failure rate and keeps ice output strong.
Two Non-obvious Insights
- Sensor Cleaning is Key: Many owners don’t realize the ice bin sensor can get dirty and block production. Cleaning the sensor with a dry cloth often restores normal operation.
- Water Quality Matters: Hard water causes mineral build-up, which affects both ice quality and maker performance. Using filtered water extends the life of your ice maker and keeps cubes clear.
Expert Guidance For Troubleshooting
If your Kitchenaid ice maker has stopped working, take these confident steps:
- Always check the basics first: Switch, water supply, and filter.
- Don’t ignore small issues; fixing jams and leaks early prevents bigger problems.
- Document error codes and symptoms before calling for help; this speeds up repairs.
For more detailed technical information, visit the official Kitchenaid website or trusted repair resources like Consumer Reports.
Frequently Asked Questions
Why Is My Kitchenaid Ice Maker Not Making Ice?
Common reasons include a blocked water line, dirty filter, or the ice maker being switched off. Check each part step by step to find the cause.
How Often Should I Clean My Ice Maker?
Clean the ice bin weekly and the water filter every 6 months. If you use hard water, clean the mold and sensor monthly to prevent mineral build-up.
What Does The “e1” Error Code Mean?
The E1 code signals a water supply problem. Check the water line for kinks or leaks and change the filter if needed.
Can I Use Any Water Filter For My Kitchenaid Ice Maker?
No, always use the recommended filter model. Using the wrong filter can block water flow and reduce ice quality.
Is It Safe To Repair My Ice Maker At Home?
Most basic fixes are safe, like cleaning the bin or changing the filter. For electrical or motor issues, call a professional technician.
Your Kitchenaid ice maker is a valuable appliance, and with careful troubleshooting, you can fix most issues yourself. Keep up with regular maintenance, listen for signs of trouble, and act quickly when problems arise. This will keep your ice maker working well for years to come.

