
Most Wascomat dryer problems can be solved with simple checks, cleaning, or a targeted part replacement.
I’ve spent years repairing and maintaining commercial laundry equipment, and Wascomat dryer troubleshooting is a core skill for any laundromat owner or facility manager. This guide gives clear, tested steps to diagnose common Wascomat dryer faults, explains error codes, shares real-world tips I learned on the job, and helps you decide when to fix it yourself or call a pro.
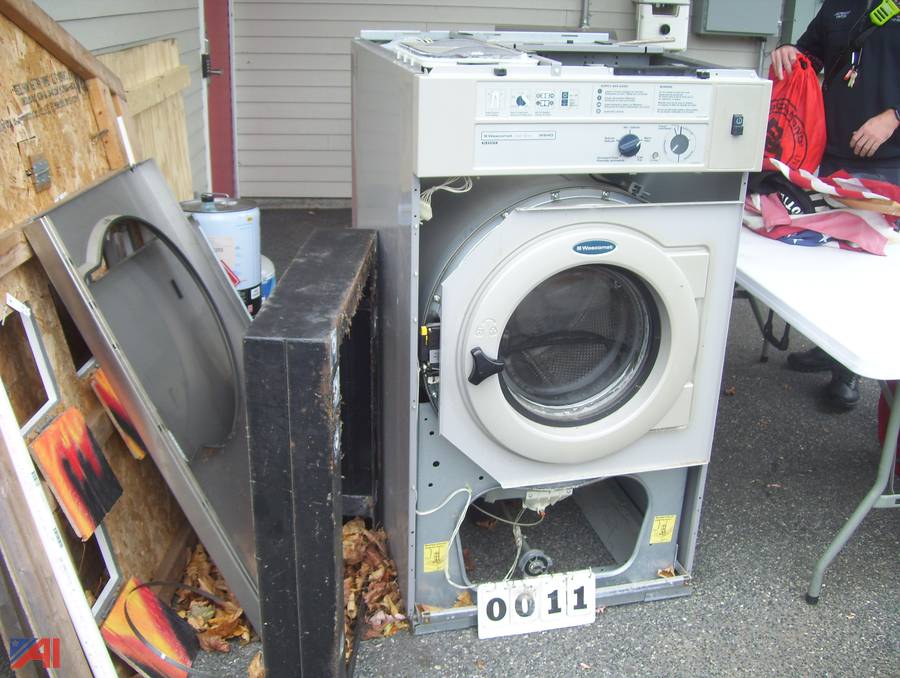
Common Wascomat Dryer Problems and Causes
Wascomat dryer troubleshooting starts with knowing the usual suspects. Many calls I handled related to no heat, no rotation, long cycles, loud noises, and error codes. These stem from simple causes like blocked vents, worn belts, faulty thermostats, or electrical issues. Understanding the root cause speeds repairs and reduces downtime.
Common causes to watch for
- Clogged lint trap or vent restricting airflow and causing long dry times
- Faulty heating element, thermostat, or high-limit cutout leading to no heat
- Worn drive belt, motor issues, or seized drum bearings causing no rotation or noise
- Loose or corroded electrical connections producing intermittent power or error codes
- Sensor or control board failures registering false errors
Why airflow matters
- Poor airflow makes cycles longer and stresses components
- Lint buildup can overheat components and trip safety cutouts
- Regular vent checks prevent many common Wascomat dryer troubleshooting issues

Quick Checks Before You Start Troubleshooting
A quick inspection saves time and avoids unnecessary repairs. Begin with easy, safe checks that I use on first site visits.
Checklist to run first
- Confirm the dryer has power and the circuit breaker is on
- Empty lint filter and inspect the door seal for debris
- Check the exhaust vent outside for blockages or heavy lint
- Listen for unusual sounds and note any error display codes
Safety first
- Turn power off at the breaker before opening panels
- Use insulated tools for electrical checks and follow lockout-tagout if in a commercial setting
Step-by-Step Wascomat Dryer Troubleshooting Guide
Follow a logical flow to pinpoint issues. I use a stepwise method: visual check, electrical test, mechanical test, and validation.
Visual check
- Inspect lint filter, door gasket, and vents for obstructions
- Look for scorch marks, melted wiring insulation, or loose components
- Note any error messages on the display
Electrical and power checks
- Verify mains voltage at the terminal block with a multimeter
- Check fuses and circuit breakers specific to the dryer
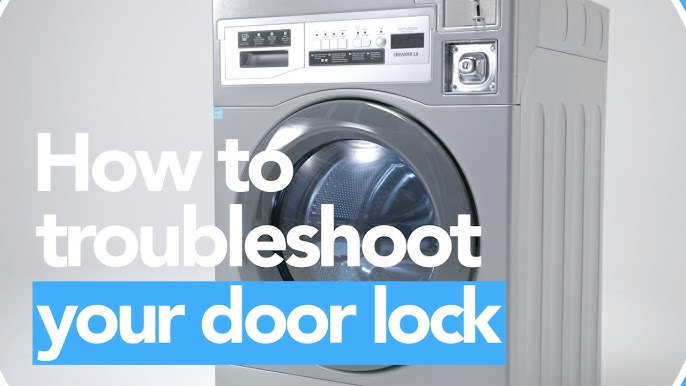
- Test door switch continuity; a faulty door switch prevents start
Heating system checks
- Measure continuity of the heating element; open element means replacement
- Test thermostats and thermal fuses for continuity; replace if open
- Inspect high-limit thermostat; it trips when airflow is compromised
Mechanical and rotation checks
- Manually spin the drum to feel resistance or grinding
- Inspect and test the drive belt and motor; replace a glazed or broken belt
- Check idler pulley and drum bearings for wear or noise
Control and sensor diagnostics
- Note error codes and refer to the machine’s code list for targeted fixes
- Reset the control board by cycling power; some transient faults clear this way
- If control board tests fail, confirm inputs before replacing the board
Validation and test run
- After repairs, run an empty cycle to verify heat, rotation, and no error codes
- Check vent airflow at the outside outlet to ensure proper exhaust
Common Wascomat Dryer Error Codes and What They Mean
Wascomat dryers use codes to speed troubleshooting. Below are common messages and practical fixes I’ve applied.
Typical error codes and fixes
- E1 or door error: Replace or adjust the door switch and check latch alignment
- E2 or airflow error: Clean lint trap, inspect ducting, and check pressure switches
- E4 or heater fault: Test heating element and thermostats; inspect wiring
- E6 or motor fault: Check motor connections, capacitor, and drive belt
- E8 or control error: Power cycle, check wiring harnesses, and inspect control board
How I use codes in the field
- I always pair codes with visual checks; codes point to areas, not always exact parts
- If a code returns after a simple fix, I re-inspect wiring and sensors for intermittent faults
Maintenance Tips to Prevent Wascomat Dryer Issues
Routine care prevents most Wascomat dryer troubleshooting calls. My most effective maintenance steps are simple and repeatable.
Weekly and monthly maintenance
- Empty lint trap after every load and vacuum the lint trough weekly
- Clean the external vent and inspect ductwork monthly for lint build-up
- Lubricate bearings if applicable, and check belt tension quarterly
Seasonal checks
- Inspect heating elements and thermostats every six months
- Test door seals for wear before heavy seasonal use
- Schedule a professional vent cleaning annually for commercial machines
Recordkeeping
- Keep a log of service events, error codes, and parts replaced
- Tracking issues helps spot recurring failures and underlying causes

When to Call a Technician and Parts to Check
Some problems need a trained technician. Know when to call help to avoid safety risks and costly mistakes.
Call a technician if
- Issues involve high-voltage components or complex control board replacements
- The dryer repeatedly trips breakers or shows persistent electrical faults
- You detect burning smells, smoke, or significant metal damage
Parts commonly replaced by pros
- Heating elements and thermostats
- Drive motors and capacitors
- Control boards and timer assemblies
- Door switches and sensors
Cost guidance
- Small parts like thermostats and door switches are low cost
- Motors and control boards are more expensive; factor labor for professional installs
Lessons From the Field: My Personal Experience
I’ve troubleshooted dozens of Wascomat dryers in laundromats and facilities. One common lesson stands out: most problems hide behind poor airflow and skipped maintenance. On one call, repeated E2 codes were fixed by a simple roof vent clearing. Another time, a noisy dryer was cured by replacing a cheap idler pulley for a fraction of the cost of a motor swap. Small, routine steps save time and money.
Practical tips I recommend
- Start with vent cleaning before replacing parts
- Keep basic spare parts on hand: belts, thermostats, and door switches
- Use photos and logs to track changes and avoid repeating errors
People Also Ask — Short Answers
How do I reset a Wascomat dryer?
- Turn off power at the breaker for 30 seconds, then restore power. This clears many transient faults and resets controls.
Why is my Wascomat dryer not heating but the drum turns?
- Likely causes are a failed heating element, open thermostat, or a tripped thermal fuse. Test these components for continuity.
How often should I clean the dryer vent?
- Clean the lint trap after every cycle and inspect the main vent at least monthly. Professional vent cleaning yearly helps commercial machines.
Can a clogged vent cause error codes?
- Yes. Restricted airflow can raise temperatures and trigger sensors or error codes tied to safety cutouts.
Is it safe to replace parts myself?
- Basic parts like lint filters or belts are often safe to replace. For electrical or high-voltage work, hire a qualified technician.
Frequently Asked Questions of Wascomat Dryer Troubleshooting
What is the most common Wascomat dryer problem?
The most common problem is restricted airflow from clogged lint traps and venting. This causes long dry times and can trip safety sensors.
How can I tell if the heating element is bad?
Use a multimeter to check continuity; an open circuit means the element is bad. Visual signs like breaks or burn marks also indicate failure.
Why does my Wascomat dryer stop mid-cycle?
Mid-cycle stops often come from door switch failures, thermal cutouts, or power interruptions. Check the door switch and mains power first.
How do I fix loud noises coming from the dryer?
Noises usually stem from worn bearings, a loose idler pulley, or a damaged belt. Inspect and replace the faulty mechanical part.
How long should a Wascomat dryer cycle take?
A normal timed cycle varies by load and heat setting, typically 30–60 minutes for a medium load. Longer cycles suggest airflow or heating problems.
Can software or control board issues be fixed without replacement?
Some control faults clear with a power reset, but persistent issues often require a board replacement or professional diagnostics. Verify inputs before replacing parts.
Conclusion
Wascomat dryer troubleshooting is practical and often straightforward when you follow a methodical approach: inspect, test, repair, and validate. Regular maintenance and attention to airflow solve most issues and extend machine life. Start with quick checks, keep a few spare parts, and call a technician for electrical or complex control faults. Try these steps, track what you change, and leave a comment with your own experiences or questions — subscribe for more repair tips and troubleshooting guides.

