
Most Crosley refrigerator issues are repairable at home with clear, safe troubleshooting steps.
I have spent years fixing home appliances and helping readers solve common Crosley Refrigerator Troubleshooting problems. This guide breaks down how Crosley units work, the usual faults you may see, step-by-step checks you can perform, and when to call a pro. I share real fixes I used, safety tips, and clear next steps so you can get your fridge running well again.

How Crosley Refrigerators Work
Crosley refrigerators use the same core systems as most modern fridges. They have a cooling circuit with a compressor, condenser, evaporator, and refrigerant. They also use fans, sensors, and a thermostat to control temperature. Ice makers and water lines add extra parts in some models.
Knowing how these parts work makes Crosley Refrigerator Troubleshooting faster. If the fridge is warm, the problem is often in the cooling loop or airflow. If it leaks, the issue is usually water flow or a clogged drain. Short checks can narrow down the cause in minutes.

Common Problems and Causes
Here are common symptoms and likely causes to guide Crosley Refrigerator Troubleshooting.
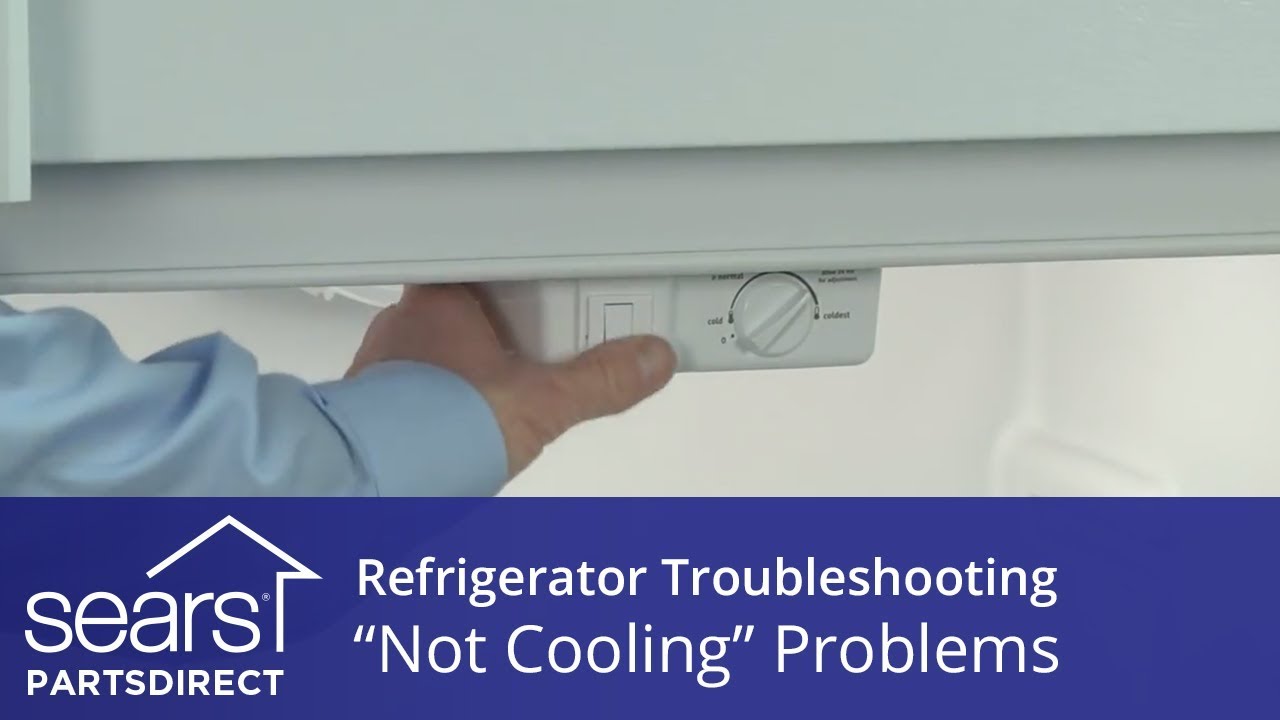
- Not cooling
- Causes: power issue, faulty thermostat, stuck compressor, dirty condenser coils, blocked airflow.
- Quick check: listen for compressor and feel coils. If coils are hot and compressor runs, airflow or evaporator could be the issue.
- Too cold or freezer frost buildup
- Causes: stuck defrost timer, faulty defrost heater, bad temp sensor, door left open.
- Quick check: inspect door seals and clear heavy frost to test defrost cycle.
- Loud or unusual noises
- Causes: failing fan motor, compressor issues, ice hitting evaporator, items touching coils.
- Quick check: isolate sound source. Fans often cause most noises.
- Water leaks inside or under fridge
- Causes: clogged defrost drain, cracked water line, misaligned drain pan.
- Quick check: look for water near the back and check the drain path.
- Ice maker or dispenser not working
- Causes: frozen water line, faulty fill valve, bad actuator, clogged filter.
- Quick check: bypass the filter and run a manual fill test.
- Fridge runs constantly
- Causes: poor door seal, high ambient temp, frequent door openings, dirty coils.
- Quick check: test door seal with a dollar bill and clean coils.
Every symptom can be part of Crosley Refrigerator Troubleshooting. Start with simple checks. Move to deeper checks only when needed.
Step-by-Step Troubleshooting Guide
Follow this sequence for safe and efficient Crosley Refrigerator Troubleshooting.
- Safety first
- Unplug the fridge before working on electrical parts.
- Turn off the water line if you work on the ice maker.
- Verify power and settings
- Confirm the unit is plugged in and the outlet works.
- Check temperature settings and display errors.
- Inspect door seals and airflow
- Close a door on a dollar bill. If it slips easily, replace the gasket.
- Keep vents inside clear so air flows between fridge and freezer.
- Clean condenser coils
- Pull fridge away from wall and clean coils with a brush or vacuum.
- Dirty coils make the compressor work harder and reduce cooling.
- Check fans and airflow
- Listen for evaporator and condenser fan operation.
- Replace a noisy or stalled fan motor.
- Test the evaporator and defrost system
- Look for heavy frost on the evaporator coil.
- If frost is present, test the defrost heater and timer.
- Evaluate compressor and start relay
- A clicking noise or no compressor run suggests a bad start relay.
- Replace the relay only after confirming it is the issue.
- Inspect water and ice systems
- Check the water filter, inlet valve, and fill tube.
- Clear frozen lines with warm water if needed.
This troubleshooting order saves time. It stops you from replacing expensive parts before basic fixes.
Tools and Parts You May Need
Have these tools and parts ready for Crosley Refrigerator Troubleshooting.
- Tools
- Multimeter for electrical checks.
- Nut drivers and screwdrivers for panels.
- Shop vacuum and coil brush for cleaning.
- Towels and a bucket for water work.
- Common parts
- Start relay and overload kit.
- Evaporator or condenser fan motor.
- Door gasket replacement.
- Water inlet valve, filters, and tubing.
- Defrost heater or thermostat.
Personal tip: buy parts by model number. I once ordered a fan for a similar model and it did not fit. Getting the exact part avoids delays and returns.

When to Call a Technician
Know when to stop and call an expert during Crosley Refrigerator Troubleshooting.
- Call a technician if:
- The compressor fails to run and a relay replacement did not help.
- You smell refrigerant or see oil spots near lines.
- The problem involves sealed system repairs (compressor, refrigerant).
- You are not comfortable with electrical testing.
- Expect costs
- Basic service calls often cover diagnostics and small parts.
- Sealed system repairs are more expensive and may be replaced instead.
A pro can safely handle refrigerant and complex repairs. Use service if your model is under warranty. This saves money on risky DIY attempts.

Maintenance Tips to Prevent Problems
Regular care reduces the need for Crosley Refrigerator Troubleshooting.
- Clean condenser coils every 6 months to keep efficiency high.
- Check door seals monthly and replace if they are cracked.
- Keep the fridge level so doors close correctly and water drains as designed.
- Replace water filters per manufacturer schedule to avoid clogs.
- Avoid overpacking the fridge. Air must move freely for even cooling.
I follow a short checklist every season. It cut my repair calls by half and kept food fresher.

Troubleshooting Examples and Real-Life Fixes
Real examples make Crosley Refrigerator Troubleshooting clearer.
- Example 1: Warm fridge but freezer cold
- Symptom: Freezer ran cold, fridge warm.
- Fix: Found a blocked vent between freezer and fridge. Cleared the vent and the fridge cooled within hours.
- Example 2: Constant running and frost build-up
- Symptom: Unit ran nonstop and freezer had heavy frost.
- Fix: Replaced a failing defrost heater and cleaned coils. Runtime returned to normal.
These quick stories show how focused checks solve typical issues. I use this approach for all Crosley Refrigerator Troubleshooting.
Common Diagnostic Codes and What They Mean
Some Crosley models show error codes on a display. Use these tips for code-based Crosley Refrigerator Troubleshooting.
- General tips
- Write down the code exactly as shown.
- Check the manual for model-specific meanings.
- Typical code categories
- Sensor errors: relate to temperature probes.
- Defrost errors: mean the heater, timer, or sensor is faulty.
- Water system errors: indicate valve or filter issues.
If codes persist after basic fixes, document them for the technician. This saves time in service calls.
Frequently Asked Questions of Crosley Refrigerator Troubleshooting
What should I check first if my Crosley refrigerator stops cooling?
Check power, temperature settings, and the condenser coils. Also confirm the compressor is running and that vents are not blocked.
Why does my Crosley freezer make loud buzzing sounds?
Buzzing often comes from a failing fan or a compressor relay. Inspect fans and the start relay; replace if noisy or not spinning.
How do I fix a leaking Crosley refrigerator?
Check the defrost drain for clogs and inspect the water line and drain pan. Clear the drain and ensure the pan sits correctly.
Is it safe to replace the compressor myself?
No. Compressor work requires refrigerant handling and sealed system skills. Call a licensed technician for compressor repairs.
How often should I replace the water filter?
Replace the water filter every 6 months or per usage and manufacturer guidance. A clogged filter can reduce flow and damage the inlet valve.
Conclusion
You can solve many common Crosley Refrigerator Troubleshooting issues with a few simple checks, safe tools, and step-by-step work. Start with power, seals, coils, and airflow. If you meet sealed-system faults or persistent errors, call a pro. Take action now: perform a quick coil and seal check, note any error codes, and decide whether to DIY or schedule service. Share your experience or questions below, and subscribe for more hands-on appliance repair tips.

