
Most issues stem from sensor misalignment, power problems, or limit switch and wiring faults.

Today's Exclusive Deals
Limited-time Exclusive Deals. Check current discount on Amazon.
Check Price on Amazon As an Amazon Associate I earn from qualifying purchases.I have spent years installing and repairing garage door openers, including the Chamberlain Liftmaster Professional 1 2 Hp Troubleshooting cases owners face. This guide covers clear diagnostics, step-by-step fixes, safety checks, and when to call a pro so you can quickly return your opener to reliable service. Read on for practical, tested advice for Chamberlain Liftmaster Professional 1 2 Hp Troubleshooting that you can use today.

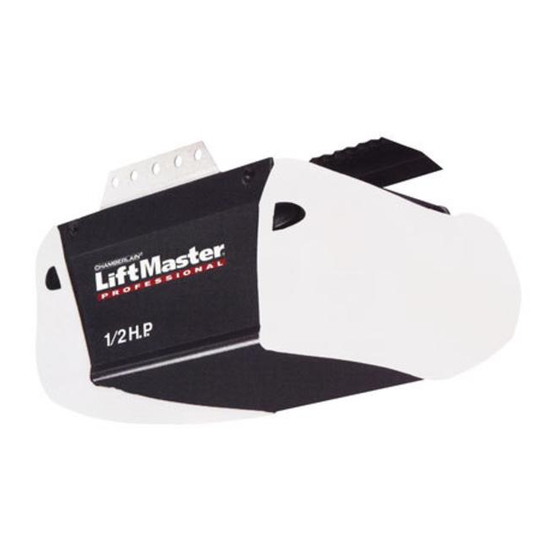
What the Chamberlain Liftmaster Professional 1 2 Hp is and why troubleshooting matters
The Chamberlain Liftmaster Professional 1 2 Hp Troubleshooting often starts with simple checks. This opener is a workhorse for residential doors and uses a belt or chain drive with safety sensors and limit switches. Problems stop your garage access and can be a safety risk. Knowing how these parts interact helps you diagnose and fix faults quickly.
Today's Exclusive Deals
Limited-time Exclusive Deals. Check current discount on Amazon.
Check Price on Amazon As an Amazon Associate I earn from qualifying purchases.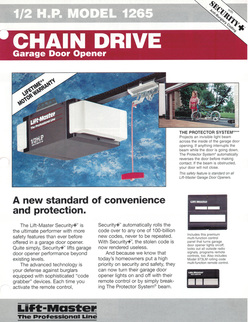
Common problems with Chamberlain Liftmaster Professional 1 2 Hp
Most owners see the same handful of issues. Recognizing the symptoms saves time and prevents unnecessary part swaps.
- Door won't open or close
- Could be because of power loss, remote issues, or a disengaged trolley.
- Door reverses or stops partway
- Often due to safety sensor misalignment or incorrect force/limit settings.
- Motor hums but door does not move
- Drive gear or belt/chain failure, or broken carriage.
- Remote or wall control not responding
- Battery, wiring, or receiver problems are typical.
- Strange noises during operation
- Worn gears, loose bolts, or a bent track.
For each symptom, Chamberlain Liftmaster Professional 1 2 Hp Troubleshooting follows a pattern: observe, isolate, test, and correct.
Today's Exclusive Deals
Limited-time Exclusive Deals. Check current discount on Amazon.
Check Price on Amazon As an Amazon Associate I earn from qualifying purchases.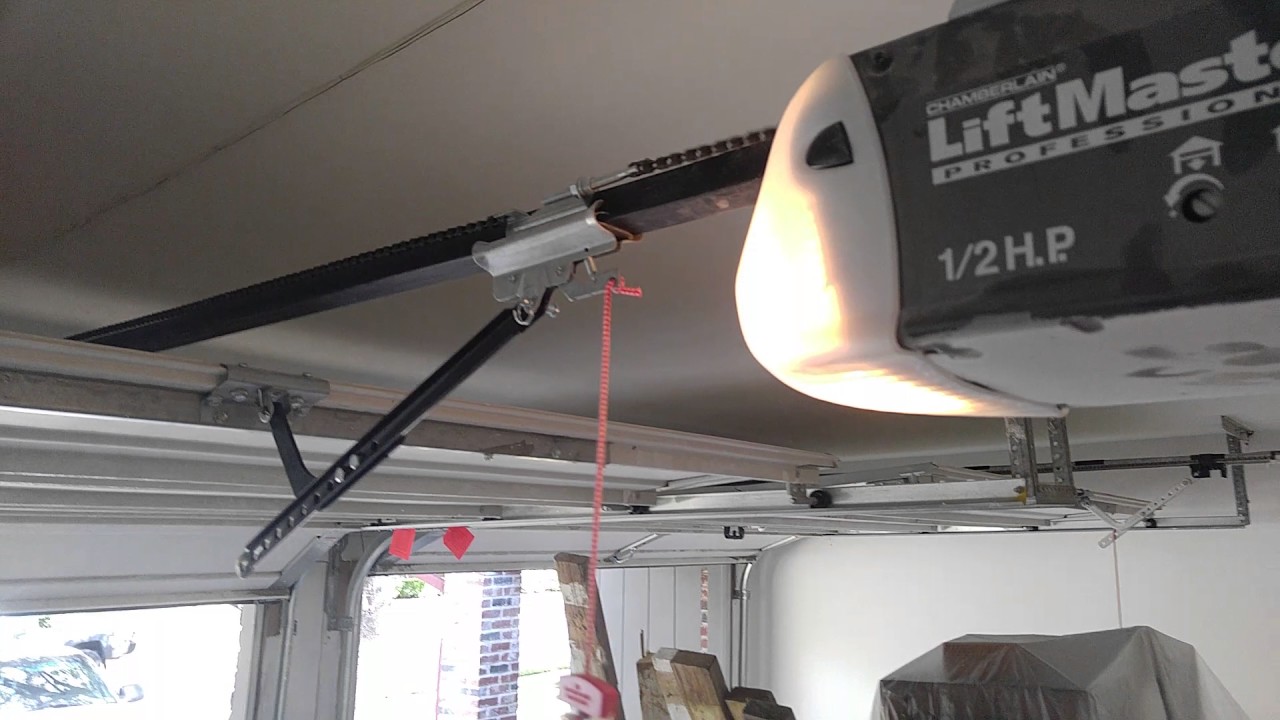
Tools and parts you should have on hand
Having the right tools speeds Chamberlain Liftmaster Professional 1 2 Hp Troubleshooting and keeps you safe.
- Basic tools
- Screwdrivers, wrench set, adjustable pliers, ladder, flashlight.
- Electrical tools
- Multimeter for voltage and continuity checks.
- Spare parts to consider
- Remote batteries, replacement sensors, drive belt, limit switch kit, travel module.
- Safety gear
- Gloves and safety glasses.
Buying genuine replacement parts reduces compatibility mistakes during Chamberlain Liftmaster Professional 1 2 Hp Troubleshooting.
Step-by-step troubleshooting checklist
Follow these steps in order. Each step narrows down the cause and prevents wasted effort.
- Visual and power check
- Confirm the opener is plugged in and the outlet works.
- Check circuit breaker and any GFCI outlets.
- Reset the opener
- Unplug for 30 seconds and plug back in to clear minor electronic faults.
- Inspect remotes and wall control
- Replace remote batteries and confirm the wall button is wired and functional.
- Test safety sensors
- Ensure LEDs on sensors are steady. Clean lenses and realign if necessary.
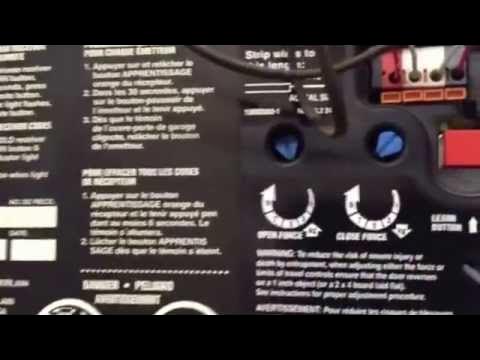
- Check limit and force settings
- Adjust travel limits and force per manual to stop early reversals or stalls.
- Examine drive system
- Inspect belt or chain tension and look for broken gears or a slipped carriage.
- Run motor diagnostics
- Listen for motor hum, use a multimeter to test voltage at motor terminals, and check capacitors if present.
If a step identifies the fault, perform the appropriate repair. Otherwise, move to the next step in Chamberlain Liftmaster Professional 1 2 Hp Troubleshooting.

How to test and fix safety sensors
Safety sensors are a top cause of false reversals and non-operation.
- How to test sensors
- Cover one sensor. The opener should not close. If it does, sensors are not detected.
- Swap sensor wiring at the control board to test wiring integrity.
- Common fixes
- Clean lenses with a soft cloth.
- Re-align sensors so LEDs are steady and green.
- Replace a sensor if LED fails to light or wiring is damaged.
Proper sensor alignment is essential for Chamberlain Liftmaster Professional 1 2 Hp Troubleshooting and safe operation.
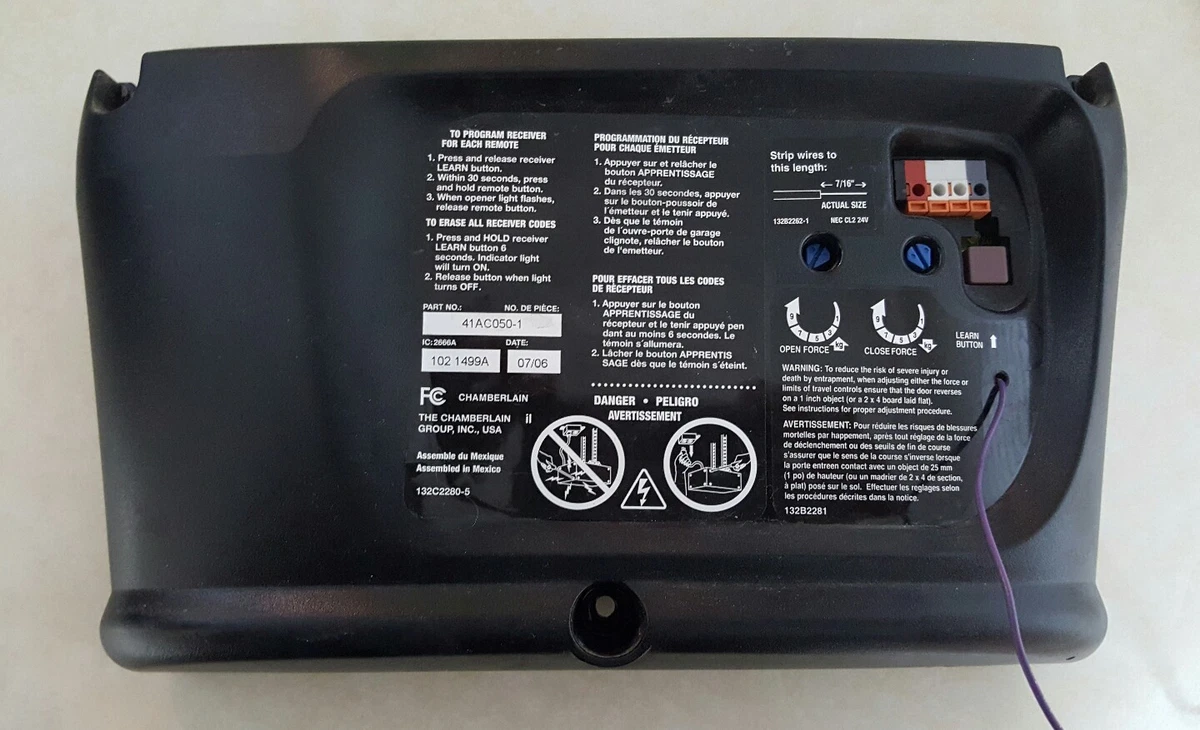
Adjusting limits and force safely
Incorrect limit or force settings cause a door to stop short or reverse when it meets resistance.
- When to adjust
- Door reverses at the floor but sensors are fine.
- Door won’t close fully and motor runs.
- How to adjust
- Follow the manual to change up/down travel limits in small increments.
- Reduce force if the door binds; increase slightly if the opener stalls before travel completes.
Always test with the door clear of obstructions and keep hands away from moving parts. Carefully record settings before changing them to revert if needed during Chamberlain Liftmaster Professional 1 2 Hp Troubleshooting.

Electrical diagnostics and wiring checks
A steady power supply and good wiring are crucial.
- Check outlet and plug
- Test the outlet with another device.
- Replace the power cord if frayed.
- Test voltage
- Use a multimeter to confirm 120V at the motor supply.
- Inspect control board connections
- Look for loose wires, burn marks, or corrosion.
- Remote receiver and keypad
- Reprogram or reset receivers as per the manual.
Electrical faults often masquerade as mechanical failures during Chamberlain Liftmaster Professional 1 2 Hp Troubleshooting.

Replacing common parts: belts, gears, and sensors
Knowing how to replace key parts saves service calls.
- Belt or chain replacement
- Release trolley, remove old belt/chain, and install new one with correct tension.
- Gear and sprocket replacement
- Open motor housing, remove worn gear assembly, and fit new parts. Grease as specified.
- Sensor swap
- Disconnect wiring, unmount old sensor, mount and wire new sensor, then align.
Always cut power before working on the opener and follow torque and lubrication guidance. Proper part replacement completes many Chamberlain Liftmaster Professional 1 2 Hp Troubleshooting jobs.
Maintenance tips to prevent future problems
Routine care drastically reduces breakdowns.
- Monthly
- Test auto-reverse and check sensor alignment.
- Quarterly
- Inspect belts, chains, and fasteners. Tighten loose bolts.
- Annually
- Lubricate rollers and bearings per manufacturer guidance and replace worn weather seals.
- Keep records
- Note settings, repairs, and part numbers for future troubleshooting.
A small amount of upkeep cuts down the need for Chamberlain Liftmaster Professional 1 2 Hp Troubleshooting later.
When to call a professional
Some issues need a trained technician.
- Call a pro if
- The door is off-track or panels are damaged.
- High-voltage wiring or control board replacement is required.
- You cannot safely adjust springs or heavy components.
- Choosing a technician
- Pick a certified installer with experience on Chamberlain and Liftmaster units.
Recognizing limits is part of responsible Chamberlain Liftmaster Professional 1 2 Hp Troubleshooting.
Personal experience and tips from working on openers
I’ve repaired dozens of these openers. A few lessons stand out.
- Start with the simplest fix
- I once spent an hour chasing wiring only to find a dead remote battery.
- Keep a parts kit handy
- A spare sensor and batteries saved a service call on a rainy weekend.
- Document settings
- Recording limit and force numbers makes reassembly easy.
These small habits speed up Chamberlain Liftmaster Professional 1 2 Hp Troubleshooting and reduce stress.
PAA-style quick questions
What causes a Liftmaster to hum but not move?
- A humming motor often means a stripped gear, broken carriage, or frozen drive. Check the carriage and drive assembly.
How to know if safety sensors are bad?
- Sensors with no LEDs, cracked lenses, or inconsistent alignment usually need replacement. Swap wiring to confirm.
Can I adjust limits myself safely?
- Yes, you can adjust limits following the manual, keeping hands clear of moving parts. Stop and call a pro if springs or tracks need work.
Frequently Asked Questions of Chamberlain Liftmaster Professional 1 2 Hp Troubleshooting
What should I check first when the door won't open?
Start with power: confirm the opener is plugged in and the circuit breaker is on. Next, test the remote battery and the wall control.
Why does my door reverse before touching the floor?
This usually means the safety sensors are misaligned or the down limit/force is set too low. Clean and realign sensors, then adjust down limits.
How do I test the safety sensors quickly?
Cover one sensor with your hand; the door should not close. If it does, the sensors or wiring need attention.
Is a humming motor a sign of a bad motor?
Not always. Humming can point to broken gears, a jammed carriage, or power issues. Inspect the drive assembly before replacing the motor.
When is it time to replace the opener altogether?
Replace the unit if repairs are frequent, parts are obsolete, or the motor lacks power despite correct settings. Consider replacement if the door hardware is near end-of-life.
Conclusion
Troubleshooting the Chamberlain Liftmaster Professional 1 2 Hp boils down to clear observation, simple tests, and safe repairs. Start with power and remotes, move through sensors and limits, and only replace parts when tests point to them. Use the maintenance tips here to prevent future faults and keep your opener reliable. If a repair feels unsafe or unclear, call a qualified technician.
Take action now: try the basic checks listed above, note what you find, and leave a comment describing your issue if you need more guided steps or troubleshooting help.


