
Most GE oven issues are simple: check power, settings, sensors, and door seals first.
I have spent years fixing kitchen appliances and helping homeowners through GE oven troubleshooting. This guide breaks down common faults, step-by-step checks, safe DIY fixes, and when to call a pro. Read on for clear, practical advice you can use today to diagnose and fix your GE oven issues with confidence.

How GE ovens work — quick overview
A GE oven combines electric heating elements, sensors, a control board, and safety switches. The control board tells elements and fans when to heat. Sensors and thermostats give feedback to keep temps steady. Knowing these parts makes GE oven troubleshooting faster and safer.
Common GE Oven Problems and Symptoms
Here are the problems I see most often when doing GE oven troubleshooting:
- Oven won’t turn on
- No display or lights, or nothing happens when you press buttons.
- Oven won’t heat or takes too long
- Elements glow weakly or not at all, or food cooks unevenly.
- Oven overheats or runs too hot
- Food burns or temperature reads higher than set.
- Self-clean cycle won’t start or locks
- Door stays locked or display shows error codes.
- Strange noises or smells
- Buzzing, clicking, or burning smells during use.
- Door won’t close or latch
- Heat escapes and bake results change.
- Error codes on display
- Letters and numbers that point to specific parts.
Each of these signs helps narrow the problem. Use the symptom to guide your GE oven troubleshooting steps.

Step-by-step GE Oven Troubleshooting Checklist
Follow this checklist from simple to advanced. Stop if you are unsure or unsafe.
- Safety first
- Turn off power at the breaker.
- Unplug the oven if possible.
- Use gloves and eye protection.
- Check power and controls
- Confirm the circuit breaker is on.
- Test outlet or range connection.
- Reset the oven by turning power off for 60 seconds.
- Inspect the display and error codes
- Note any letters or numbers.
- Look up the code in your manual for targeted fixes.
- Test heating elements (bake and broil)
- Visually inspect for breaks or blisters.
- Replace if broken or if resistance is way off.
- Check the temperature sensor
- Sensor should measure about 1,080 ohms at room temp on a multimeter.
- Replace if far off or if the oven runs too hot/cold.
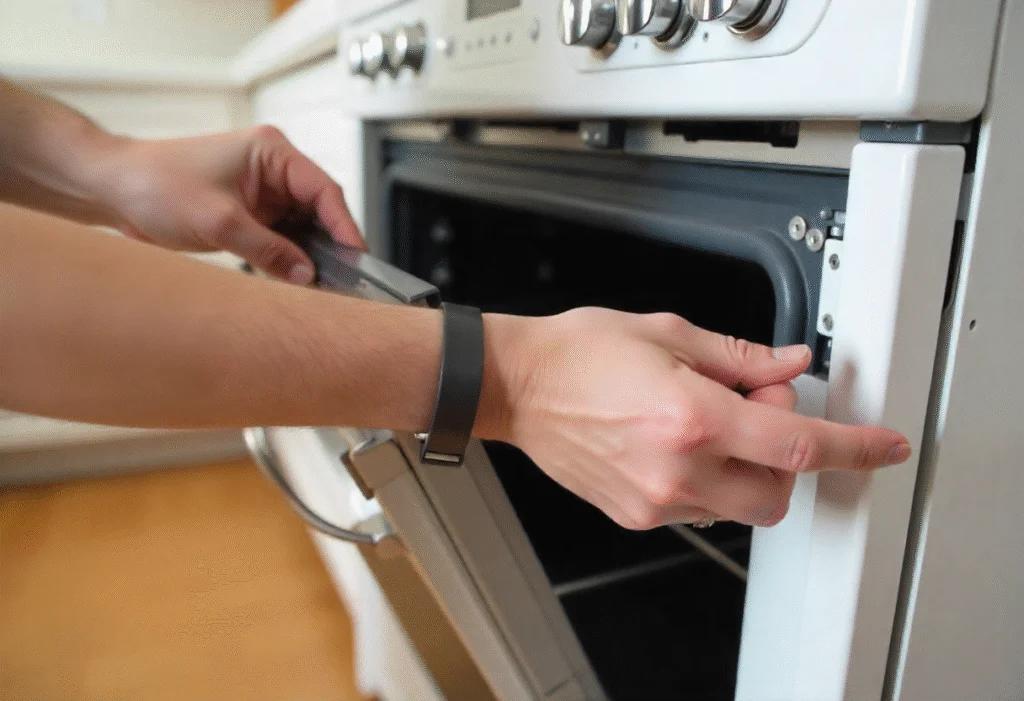
- Inspect the door seal and hinges
- Look for tears, gaps, or warped glass.
- Replace seals to stop heat loss and improve cooking.
- Verify the convection fan and motor
- Ensure the fan spins freely.
- Replace motor if noisy or not spinning.
- Examine the control board connections
- Look for burned spots or loose wires.
- Reseat connectors; replace board only as a last step.
- Self-clean and lock issues
- Let the oven cool and try a manual reset.
- Inspect the door lock assembly for faults.
- Test after each repair
- Restore power and run a short bake test.
- Confirm temps and behavior are back to normal.
I once fixed an oven that would not heat by replacing a cheap thermal fuse. It took 20 minutes and saved the owner a service call. Small checks like that pay off.
Tools and parts you may need for GE Oven Troubleshooting
Keep these on hand for common fixes.
- Basic tools
- Screwdrivers, nut drivers, pliers, and a flashlight.
- Safety gear
- Gloves and safety glasses.
- Multimeter
- For checking continuity and resistance.
- Spare parts
- Bake element, broil element, temperature sensor, thermal fuse, door gasket, and oven light.
- Cleaning supplies
- Soft cloth, mild cleaner, and non-abrasive pads.
Buy genuine replacement parts when possible. They last longer and fit right.

When to call a technician
Know the limits of DIY GE oven troubleshooting. Call a pro when:
- You suspect a gas leak or smell gas.
- The control board needs soldering or complex diagnosis.
- High-voltage parts like terminal blocks are involved and you lack experience.
- The oven failed after short-circuit events or power surges.
- Multiple systems fail at once or error codes persist after checks.
A licensed technician can safely test gas valves, main wiring, and complex electronics.

Maintenance tips to prevent GE oven problems
Simple care stops many faults and keeps your oven reliable.
- Clean spills promptly
- Wipe loose food after it cools to prevent burnt-on messes.
- Inspect seals every few months
- Replace cracked gaskets to keep temperature steady.
- Run regular bake tests
- Use an oven thermometer to check accuracy every few months.
- Avoid harsh cleaners in sensors
- Keep moisture and cleaners off sensors and control areas.
- Use correct cookware
- Warped pans can cause uneven heat and bad results.
These small acts reduce the need for frequent GE oven troubleshooting.

People also ask
How do I reset my GE oven?
Turn off the circuit breaker or unplug the range for 60 seconds, then restore power. If the problem persists, check the manual for model-specific reset steps.
Why is my GE oven not heating evenly?
Uneven heating often comes from a bad temperature sensor, warped racks, or a failing element. Test the sensor and replace it if resistance is out of range.
Can I replace a GE oven element myself?
Yes, replacing elements is often straightforward: unplug power, remove screws, disconnect the old element, and install the new one. If you see damaged wiring or burned connectors, call a pro.

Frequently Asked Questions of Ge Oven Troubleshooting
What does F9 E1 mean on my GE oven?
This code often points to a stuck key or shorted keypad. Try resetting power; if the code returns, the control panel or membrane may need replacement.
How do I know if the temperature sensor is bad?
Use a multimeter to check resistance. At room temp, a healthy sensor reads near 1,080 ohms. Large deviation means replacement.
Why does my GE oven door stay locked?
The door lock can stick after a self-clean cycle or due to a failed lock actuator. Power reset may release it; otherwise the lock assembly may need service.
My GE oven smells like burning when first used — is this normal?
Light burning smells can occur with new ovens or after deep cleaning. If the smell is strong or continues, turn off the oven and inspect for grease or electrical smells.
How often should I replace the oven gasket?
Check the gasket every six months. Replace it if torn, compressed, or if heat leaks out. A good seal improves bake results and saves energy.
Is it safe to run the oven if an element glows unevenly?
No. Uneven glow can mean a failing element. Replace it to avoid poor cooking and possible hazards.
How long does a GE oven control board last?
A control board can last many years, but power surges or moisture can shorten its life. Regular checks and surge protection help extend its lifespan.
Conclusion
GE oven troubleshooting is doable with the right checks, simple tools, and common sense. Start with power, sensors, and elements. Keep parts and tools ready, and call a pro for gas or complex electrical issues. Try the steps here, act safely, and you will fix most problems or know when to get expert help. If this guide helped, try a quick test on your oven today, subscribe for more appliance tips, or leave a comment with your oven model and symptoms.

