
Most charger issues come from loose connections, bad batteries, or a worn charger unit.
I have repaired and tested hundreds of electric carts and chargers. This guide shares clear steps, real examples, and safe fixes for Golf Cart Charger Troubleshooting so you can find and fix charger faults fast. Read on to learn practical tips, tools to use, and when to call a pro.

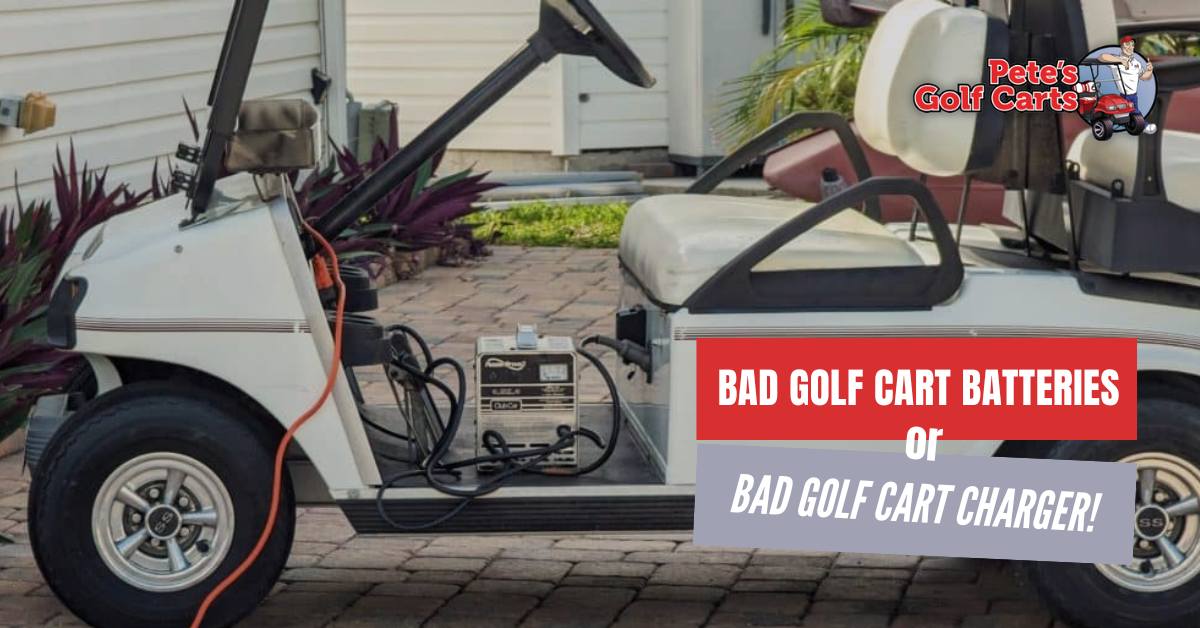
How a Golf Cart Charger Works and why troubleshooting matters
A golf cart charger takes house power and converts it to the battery pack voltage. It controls charge rate and stops when batteries are full. Knowing this helps with Golf Cart Charger Troubleshooting.
When a charger fails, the cart can lose range or not move at all. Simple faults are common. Complex faults need tests. I will show both kinds and how to spot them.

Common Golf Cart Charger Problems and Causes
Here are frequent issues you will see when doing Golf Cart Charger Troubleshooting:
- Charger shows no lights
- Possible causes: no power at outlet, blown fuse, bad plug, or internal failure.
- Charger light stays on but batteries do not charge
- Possible causes: weak cells, poor cable connection, or bad charger output.
- Charger overheats or trips breaker
- Possible causes: blocked ventilation, high ambient heat, or failing internal parts.
- Charger cycles on and off frequently
- Possible causes: dirty battery terminals, bad battery cell, or improper charger settings.
- Reduced run time after charging
- Possible causes: sulfated batteries, loose wiring, or charger using a low charge rate.
My experience: I once saw a charger light on while the cart would not start. A loose negative cable at the battery bank was the culprit. Tightening the clamp fixed it in five minutes.

Step-by-Step Golf Cart Charger Troubleshooting Guide
Follow these clear steps for reliable Golf Cart Charger Troubleshooting. Work in order to avoid wasted time.
- Visual check first
- Inspect the charger, cord, plug, and outlet. Look for scorch marks, frayed wires, or corrosion.
- Confirm power source
- Try a different known-good outlet. Test outlet with a lamp or meter.
- Check fuse and breaker
- Inspect the charger fuse and the circuit breaker in your panel.
- Inspect battery connections
- Clean and tighten all battery terminals and charger leads. Corrosion kills charge flow.
- Measure charger output
- Use a multimeter at the charger output. Compare to rated voltage on the charger label.
- Test battery voltage
- Measure each battery at rest and after an attempted charge. Large drops indicate weak cells.
- Perform a load test
- Use a battery load tester or short drive to see if batteries hold charge under load.
- Observe charger behavior
- Note lights, beeps, or cycle patterns. Document them for the manual or a tech.
- Swap with a known-good charger
- If available, try a different charger to isolate battery vs charger problem.
- Call a technician if needed
- If tests show charger output is wrong or internal smells/burns present, stop and seek pro help.
Practical tip from my shop: Always label battery polarity and charger connectors when removing leads. It saves time and prevents reverse connections.

Tools and Tests for Effective Troubleshooting
These are the basic tools for Golf Cart Charger Troubleshooting. They help you find the fault quickly.
- Multimeter
- Measures volts, continuity, and some amps.
- Battery hydrometer or conductance tester
- Checks state of flooded or sealed batteries.
- Load tester or known-good cart test
- Confirms how batteries behave under load.
- Insulated hand tools
- For safe terminal tightening.
- Replacement fuses and a basic spare charger cable
- Quick parts to swap during tests.
Testing note: Use the correct voltage range on meters and wear safety glasses. Batteries can spit acid when shorted. I learned this the hard way once and now always use a meter with fresh batteries.

Battery Maintenance and Charger Care to Prevent Issues
Regular care reduces the need for Golf Cart Charger Troubleshooting. Follow these routines.
- Clean terminals monthly
- Remove corrosion and apply light grease or terminal protector.
- Keep batteries topped up (for flooded cells)
- Use distilled water only. Check levels after charging.
- Store chargers dry and ventilated
- Moisture and dust shorten charger life.
- Use the correct charger for your battery type
- Flooded, AGM, gel, and lithium each need their right charge profile.
- Cycle batteries properly
- Avoid deep discharge when possible to extend life.
Benefit: Good care extends battery lifespan and cuts down on charger faults. Limitation: Regular maintenance won’t fix a failing charger or a bad cell.
When to Repair or Replace Your Charger
Decide by testing. Use these rules for Golf Cart Charger Troubleshooting outcomes.
- Replace the charger if
- Output voltage is absent or far off the rating.
- Internal components smell burned or are visibly damaged.
- Repair the charger if
- A minor part like a fuse, cord, or fan needs replacement.
- You or a tech can safely access and fix the fault.
- Replace batteries first if
- Individual batteries fail load tests or show very low voltages.
- Charger tests good but run time is short.
Cost tip: A replacement charger can be cheaper long term than repeated repairs. But a simple fuse or connector fix is worth doing yourself.

People Also Ask (PAA) — Quick Answers
Q: Will a bad battery stop the charger from powering on?
A: Sometimes. A charger may detect a shorted or bad battery and refuse to start to protect itself.
Q: How long should a golf cart charger run?
A: Depends on battery size and charger rate. Typical fills take 6–8 hours on slow chargers and 4–6 hours on faster units.
Q: Can I use a car charger on my golf cart?
A: No. Car chargers and cart chargers have different voltages and profiles. Mismatched chargers can harm batteries and are unsafe.
Frequently Asked Questions of Golf Cart Charger Troubleshooting
How do I know if my charger is bad or the batteries are bad?
Measure the charger output with a multimeter and test batteries under load. If the charger produces correct voltage but batteries fail load tests, batteries are likely bad. If batteries accept charge and voltage is low, the charger may be at fault.
Can a dirty terminal prevent charging?
Yes. Corrosion raises resistance and can stop current flow. Clean terminals and retest; many charging issues clear after a good cleaning.
Is it safe to try DIY charger repairs?
Simple tasks are okay, like replacing a fuse or cord. Do not open sealed charger cases or touch internal components unless you are trained. High voltages inside can be dangerous.
Why does my charger trip the house breaker?
The charger may draw surge current, the outlet may be shared, or the charger could be failing. Move to a dedicated circuit or have an electrician inspect the wiring if trips continue.
How often should I test my batteries and charger?
Test battery voltage monthly and do a full load test every 3–6 months depending on use. Inspect the charger each season and after any odd behavior.
What is the role of the charger’s indicator lights?
Lights show power, charging, full, or error states. Refer to the charger label to decode blink patterns. Note the pattern; it helps with Golf Cart Charger Troubleshooting.
Can cold weather affect charging?
Yes. Cold slows battery chemistry. Chargers may take longer or show lower voltages. Store the cart in a warmer place when possible for best charging results.
Conclusion
Good Golf Cart Charger Troubleshooting starts with simple checks: power, fuses, connections, and battery health. Use safe tools, follow step-by-step tests, and keep a tidy maintenance routine to prevent most faults. Try the steps here and document what you find. If the issue persists, seek a certified technician to avoid damage or injury. Share your results, ask questions, or subscribe for more hands-on repair tips.

