

Installing a Suburban Advantage RV tank water heater can upgrade your camping experience, giving you steady hot water for showers, dishes, and cleaning on the road. While it may seem like a job for a professional, many RV owners handle this project with some planning and patience.
This article will guide you through the process with clear steps, tips, and important safety advice. By the end, you’ll understand what’s involved and how to install your water heater safely and efficiently.

36% off Today’s Exclusive Deals
Limited-time Exclusive Deals. Check current discount on Amazon.
Check Price on Amazon As an Amazon Associate I earn from qualifying purchases.Understanding Suburban Advantage Rv Tank Water Heaters
The Suburban Advantage line is well-known for its reliable performance and long lifespan. These heaters are designed specifically for RVs, with models ranging from 4 to 16 gallons. They run on liquid propane (LP) gas, electricity, or both (combo models). The tank is made of high-quality steel and often has a porcelain lining to prevent rust.
Why does this matter? Because not all RV water heaters are the same. Suburban heaters are known for their fast recovery rates (how quickly they reheat water), which is important if you have a large family or use a lot of hot water. Also, the replaceable anode rod helps protect the tank from corrosion, making it last longer than some other brands.
What You’ll Need Before You Start
Before you begin, gather all the necessary tools and parts. Missing even one item can delay your project.
Required tools and materials:
- Suburban Advantage RV tank water heater (correct size for your RV)
- Water heater door (fits your model)
- LP gas line and fittings
- Teflon tape or gas-rated thread sealant
- Screwdrivers (Phillips and flat-head)
- Drill and bits
- Adjustable wrench
- Pliers
- Pipe wrenches
- Electrical wire strippers and connectors (for electric models)
- Silicone sealant (outdoor/UV resistant)
- Safety gloves and goggles
If you are replacing an existing heater, check if your new Suburban model matches the cut-out size of your RV’s water heater compartment. Mismatched sizes can mean extra work cutting or framing.
Safety First: Important Precautions
Working with gas, electricity, and water lines can be dangerous. Always follow these safety tips:
- Turn off all power: Disconnect your RV from shore power and turn off the main circuit breaker.
- Shut off the LP gas supply: Turn the propane valve off at the tank.
- Drain the old tank fully before removing it. Hot water can cause burns.
- Ventilate the area. Gas fumes can be harmful.
- Read the manufacturer’s instructions carefully. Each model may have unique steps.
Neglecting safety can lead to gas leaks, electrical shocks, or even fire. Always double-check your work, and if you feel unsure at any point, call a certified RV technician.
Removing The Old Water Heater
If you’re replacing a water heater, removing the old one is your first step. Here’s how:
- Drain the tank: Open the pressure relief valve and drain plug, letting all water escape.
- Disconnect gas and water lines: Use wrenches to carefully loosen fittings. Have rags ready for any remaining water.
- Unplug electrical wires: If your old unit had electric heating, disconnect wires after confirming power is off.
- Remove mounting screws: Unscrew the outer mounting flange from the exterior of your RV.
- Carefully slide out the old water heater. You may need help, as some tanks are heavy.
Take photos of how things were connected—these can help you during installation.

Preparing For The New Suburban Advantage Water Heater
Before you install the new heater, make sure the opening matches the new unit’s dimensions. Most Suburban models fit standard RV cut-outs, but check the manual for exact measurements.
If the opening is too small, carefully trim the opening using a saw or multi-tool. If it’s too large, you may need to build a frame or use a larger mounting flange.
Clean the area around the cut-out, removing old sealant, debris, or rust. This helps the new sealant bond and prevents leaks.
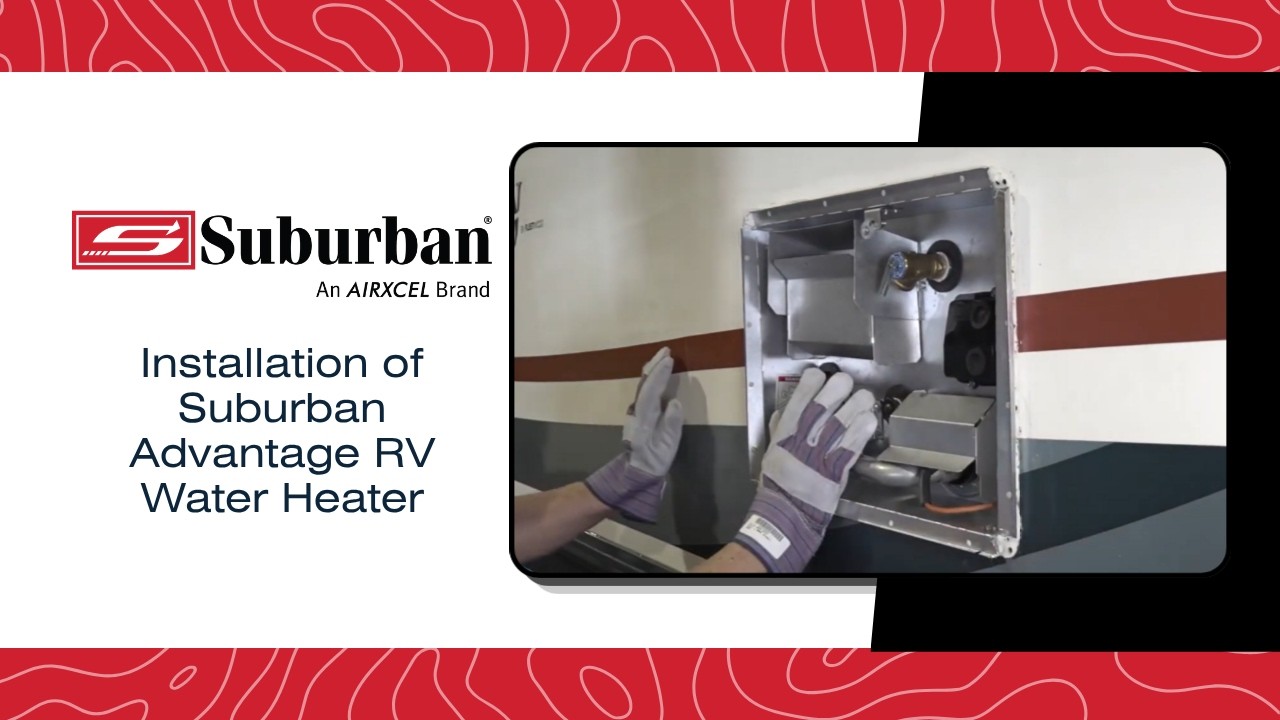
Installing The Suburban Advantage Rv Tank Water Heater
Now it’s time to install your new water heater. Follow these steps:
- Apply sealant: Run a bead of outdoor-rated silicone sealant around the opening’s edge.
- Insert the heater: Slide the new unit into place from the outside. Align the mounting flange with the RV wall.
- Secure the unit: Screw the mounting flange to the wall using corrosion-resistant screws.
- Connect water lines: Attach the cold water inlet and hot water outlet. Use Teflon tape or thread sealant to prevent leaks. Tighten connections but avoid over-tightening, which can damage fittings.
- Attach gas line: Connect the LP gas line to the heater’s gas inlet. Again, use Teflon tape or gas-rated sealant. Check that all connections are tight.
- For electric models: Connect the power wires according to the wiring diagram. Usually, this involves joining color-matched wires and securing them with wire nuts.
- Install the exterior door: Attach the water heater door, making sure it closes tightly and latches securely.
Pro tip: Don’t force the heater into the compartment. If it doesn’t fit easily, double-check your opening size.
Pressure Testing And Leak Checks
Before using your new water heater, you must check for leaks. This step is easy to skip, but it’s vital for safety.
Water Leak Test
- Turn on the water supply to your RV.
- Open a hot water faucet inside your RV to allow air to escape and fill the tank.
- Inspect all connections for drips or moisture.
Gas Leak Test
- Mix a solution of dish soap and water.
- Brush this onto all gas fittings and joints.
- Slowly open the propane valve.
- Watch for bubbles—these mean a leak.
If you find any leaks, shut off the gas, tighten fittings, and retest. Never use an open flame to check for leaks.
Electrical Test
- Once you confirm there are no water or gas leaks, reconnect the RV to shore power.
- Flip the circuit breaker for the water heater.
- Test the electric operation by setting the thermostat and waiting for the water to heat.
Filling And Starting Your Water Heater
After confirming there are no leaks, you’re ready to fill and start the heater:
- Open a hot water tap to purge air from the system.
- Check the pressure relief valve on the water heater to ensure water comes out.
- Close the tap when water flows smoothly.
For propane operation, turn the gas valve on and ignite the pilot (for manual models) or use the electronic ignition switch (for modern models). For electric operation, switch on the electric element.
It’s common for the first tank to heat up in 30-60 minutes, depending on the model size and power source.
Common Installation Mistakes To Avoid
Even experienced RV owners make mistakes during installation. Here are some common errors:
- Skipping leak tests: This is dangerous and can lead to water damage or gas leaks.
- Using the wrong sealant: Only use sealant rated for outdoor and gas applications.
- Incorrect wiring: Follow the wiring diagram exactly. Crossing wires can trip breakers or damage the unit.
- Not flushing the tank: Before first use, flush the tank to remove debris from manufacturing or installation.
- Forgetting the anode rod: Always install the anode rod (if separate). It protects your tank from corrosion.
Comparing Suburban Advantage Models
To help you choose the right Suburban Advantage water heater, here’s a quick comparison of popular models:
| Model | Tank Size (Gallons) | Heating Method | Recovery Rate (GPH) | Dimensions (inches) |
|---|---|---|---|---|
| SW6DE | 6 | LP Gas + Electric | 10.2 | 12.7 x 12.75 x 19.19 |
| SW10DE | 10 | LP Gas + Electric | 16.2 | 16.37 x 15.75 x 20.62 |
| SW12DEL | 12 | LP Gas + Electric | 18.0 | 16.37 x 16.37 x 22.25 |

Electric Vs Gas Water Heaters: What’s Better For Rvs?
If you’re choosing between electric and gas models, consider this comparison:
| Feature | Electric | Gas (LP) |
|---|---|---|
| Heating Speed | Slower | Faster |
| Fuel Source | Shore Power/Generator | Propane |
| Operation Cost | Low (if connected to shore power) | Higher (uses propane) |
| Usability Off-Grid | Limited | Excellent |
For most RVers, a combo model (gas + electric) offers the most flexibility. You can use electric when plugged in at a campground, and switch to propane when boondocking.
Maintenance Tips For Long-lasting Performance
A well-installed Suburban Advantage water heater will serve you for years, but regular maintenance is key:
- Drain and flush the tank every few months to remove sediment.
- Inspect the anode rod yearly. Replace if more than 75% worn.
- Check for leaks at all connections before each trip.
- Clean the burner assembly (for gas models) to ensure efficient operation.
- Test the pressure relief valve to prevent pressure build-up.
Ignoring maintenance can shorten your heater’s life and lead to expensive repairs.
Two Insights Most Beginners Miss
- Size matters more than you think. Many RVers pick a heater based only on the old unit’s size. But you should consider your real hot water needs. If you take long showers or have several people in the RV, a larger tank or faster recovery rate can make a big difference.
- Campground power limits. Some campgrounds have limited electric hookups (30A or even 20A). Running the water heater on electric along with other appliances can trip breakers. Knowing your amp draw helps you avoid power problems.
When To Call A Professional
If you’re uncomfortable working with gas or electricity, or if your RV’s plumbing is complicated, it’s smart to hire an RV technician. The cost for professional installation ranges from $200 to $500, but it ensures safety and compliance with RV standards.
Where To Find More Help
The official Suburban Advantage website offers detailed manuals and troubleshooting guides. For community tips, RV forums like iRV2 and manufacturer videos can also help. For further reading, see this guide from RV Travel.
A successful installation will give you reliable hot water and peace of mind. With the right tools and patience, you’ll enjoy your new Suburban Advantage water heater for years to come.
Frequently Asked Questions
How Long Does It Take To Install A Suburban Advantage Rv Tank Water Heater?
Most installations take between 2 to 4 hours, depending on your experience and whether you need to modify the compartment or plumbing. If it’s a direct replacement, the process is faster.
Can I Install A Larger Tank Than My Old Water Heater?
You can install a larger tank if the compartment allows, but you may need to enlarge the cut-out and update plumbing. Always check your RV’s weight limits and available space before upgrading.
Is It Safe To Use Teflon Tape On Gas Fittings?
Yes, but only use yellow Teflon tape or a sealant rated for gas lines. Standard white Teflon tape is not safe for propane fittings.
How Do I Know If My Water Heater Is Leaking Gas?
A rotten egg smell or bubbles when testing with soapy water are signs of a gas leak. Turn off the gas immediately and fix the leak before using the heater.
Do Suburban Advantage Water Heaters Need An Anode Rod?
Yes. Most Suburban models use an anode rod to protect the tank from corrosion. Check and replace it regularly to extend your heater’s life.

