
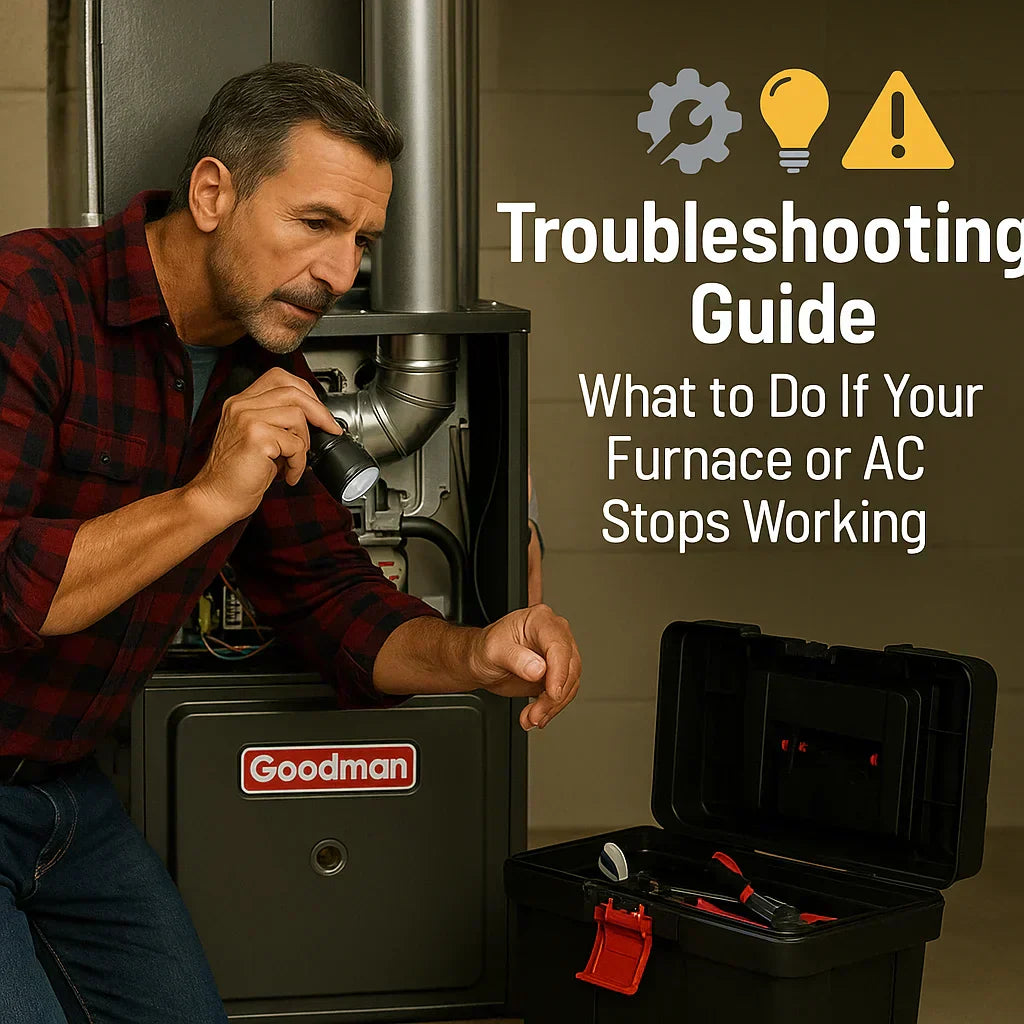
Goodman AC troubleshooting starts with safety, simple checks, and step-by-step diagnostics.
I bring years of hands-on HVAC experience to this Goodman Ac Troubleshooting Guide. I will walk you through common faults, clear fixes, and when to call a pro. This guide explains symptoms, likely causes, testing tips, and safe repair steps. Read on to get confident about diagnosing your Goodman AC and saving time and money.
How this Goodman Ac Troubleshooting Guide helps you
This guide focuses on easy and safe steps. It covers electrical, airflow, refrigerant, thermostat, and drain problems. I share tools, tests, and real fixes I used in the field. The aim is to help you find the cause and choose the right action fast. Follow each step and stop if you feel unsure about electrical work.
Common symptoms and what they often mean
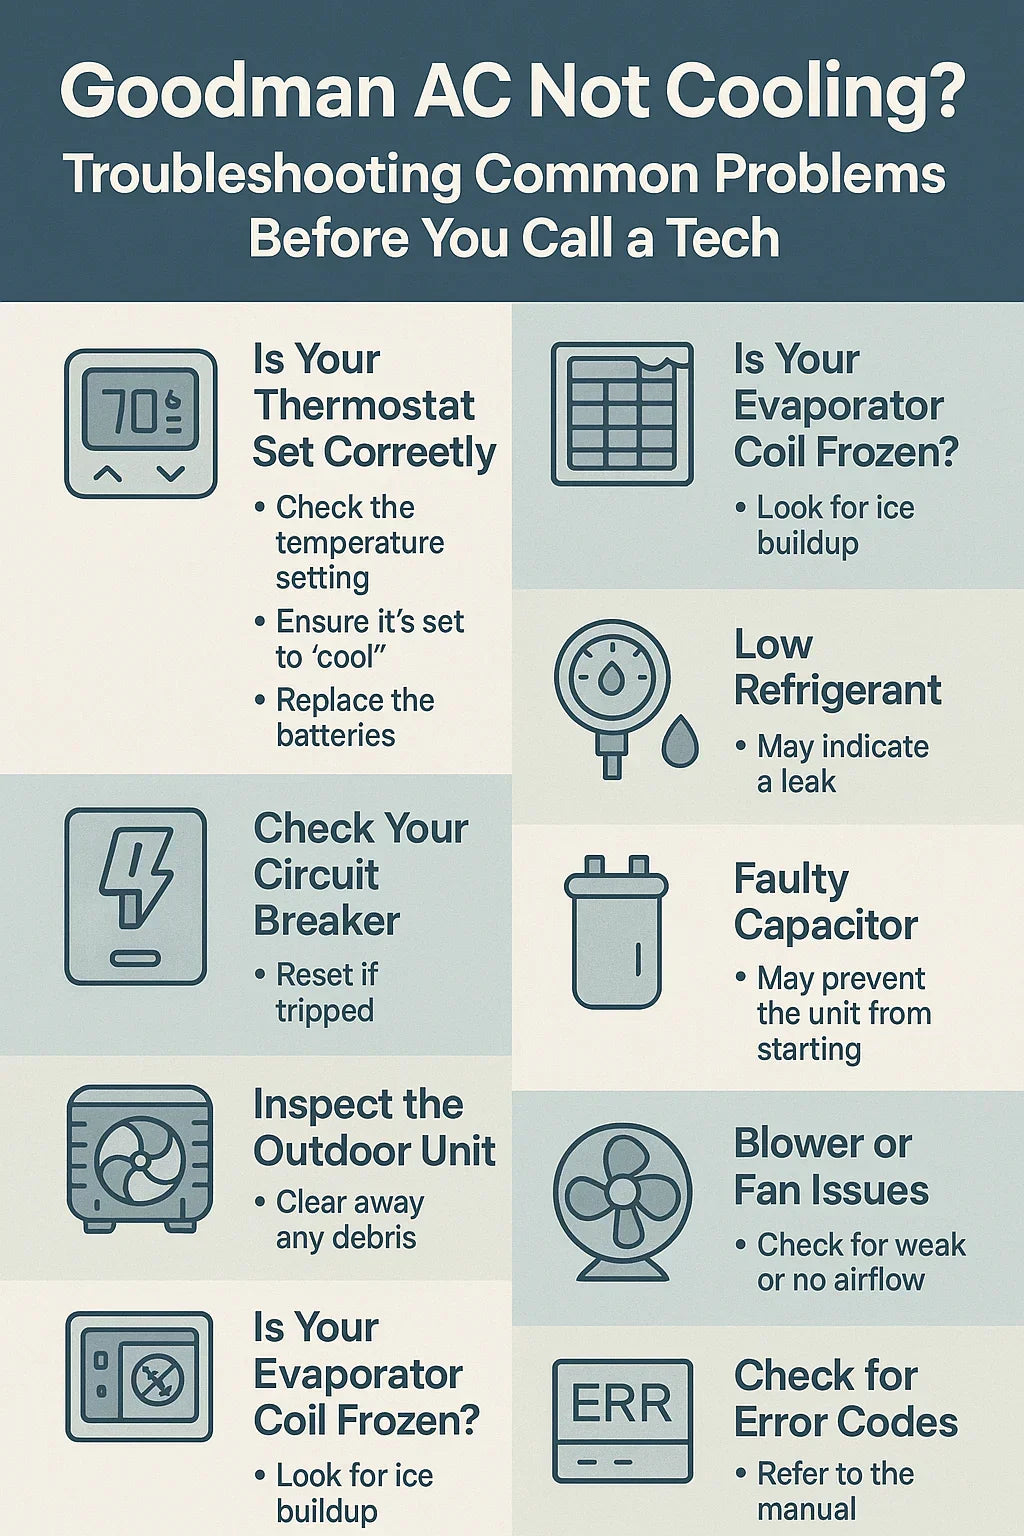
Here are the frequent signs you will see and the likely issues behind them. This section helps you match symptom to cause quickly.
- AC won’t turn on — Power, thermostat, or control board fault.
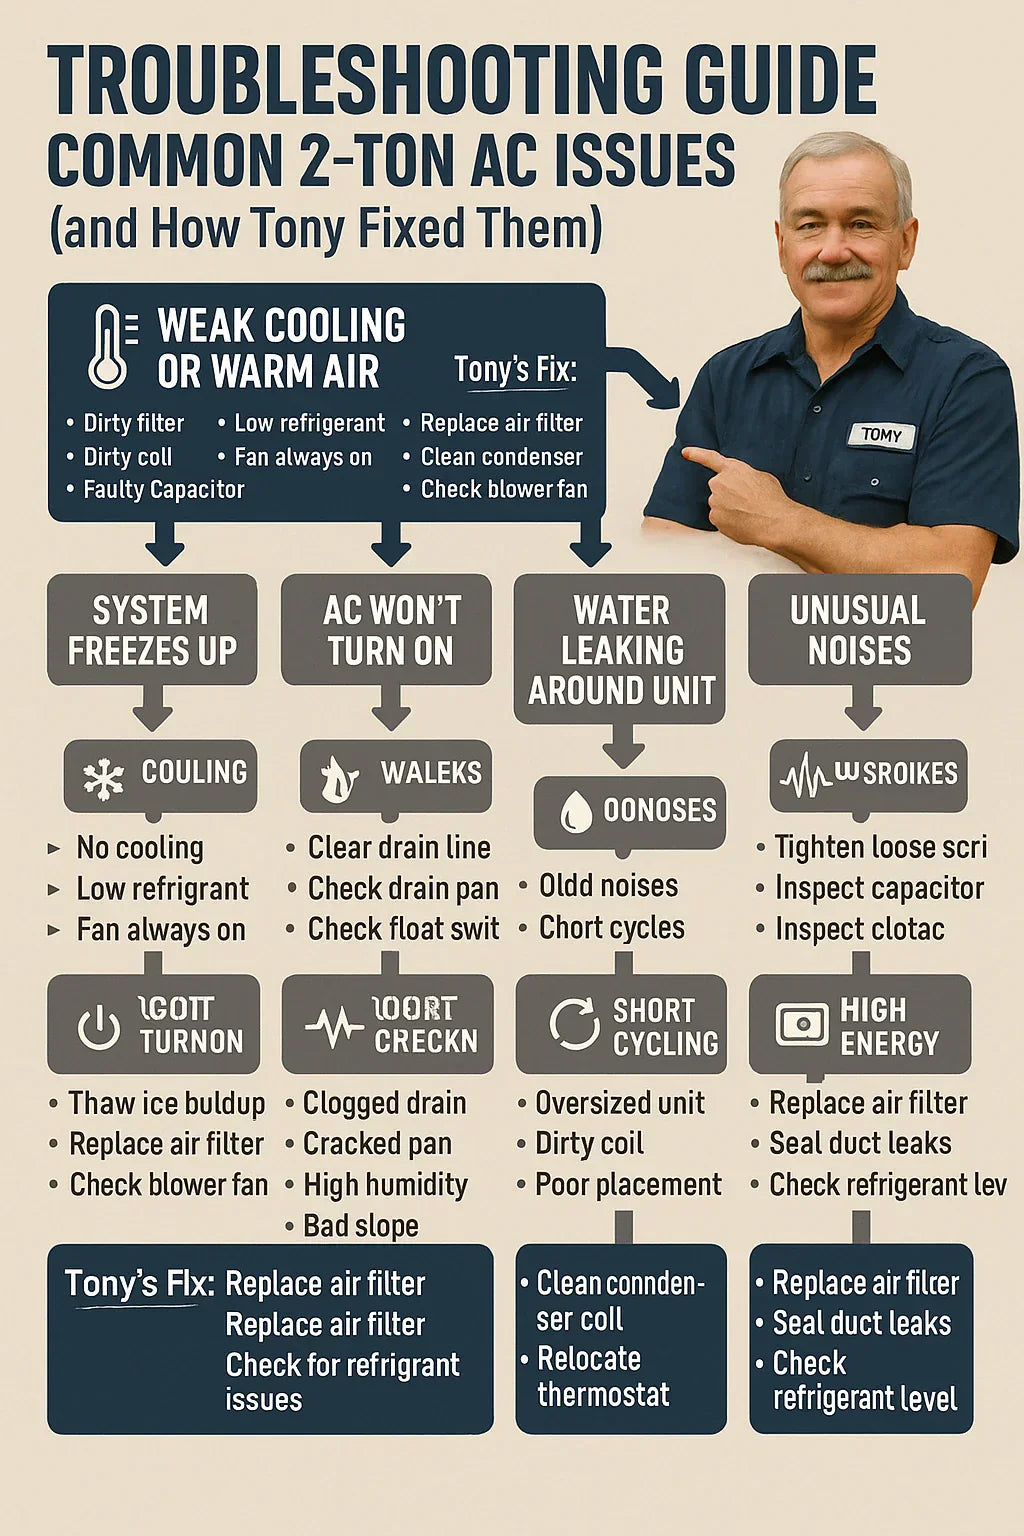
- Short cycles or runs then stops — Low refrigerant, dirty coil, or bad capacitor.
- Blows warm air — Refrigerant leak, compressor problem, or blocked airflow.
- Frozen evaporator coil — Low airflow or low refrigerant.
- Loud noises — Fan motor, compressor, or loose parts.
- Water leaking inside — Clogged condensate drain or pump failure.
This Goodman Ac Troubleshooting Guide links symptoms to tests so you know what to check next. Start with the simplest checks first and work up to more complex ones.

Safety first: before you start any troubleshooting
Safety lowers risk and keeps you legal and alive. Always follow these steps.
- Turn off power to the outdoor unit at the disconnect switch.
- Switch off power at the main breaker if you will open panels.
- Wear safety glasses and gloves when working near fans and sharp fins.
- Never bypass safety switches or work on live circuits unless you are trained.
- If refrigerant handling is needed, call a licensed HVAC tech.
I learned early that cutting corners on safety leads to bigger problems. Do not rush.
Basic tools and supplies you will need
Having the right tools saves time and prevents mistakes. Here are common items I use.
- Multimeter for voltage and continuity checks.
- Screwdrivers and nut drivers for panels and terminals.
- Fin comb for straightening condenser fins.
- Coil cleaner and a soft brush for indoor coils.
- Flashlight and mirror to inspect tight spots.
- Wet/dry vacuum for condensate clogs.
- Replacement fuses and capacitors if you are comfortable swapping them.
Keep receipts and part numbers. Goodman units often use standard parts, but check model-specific details.
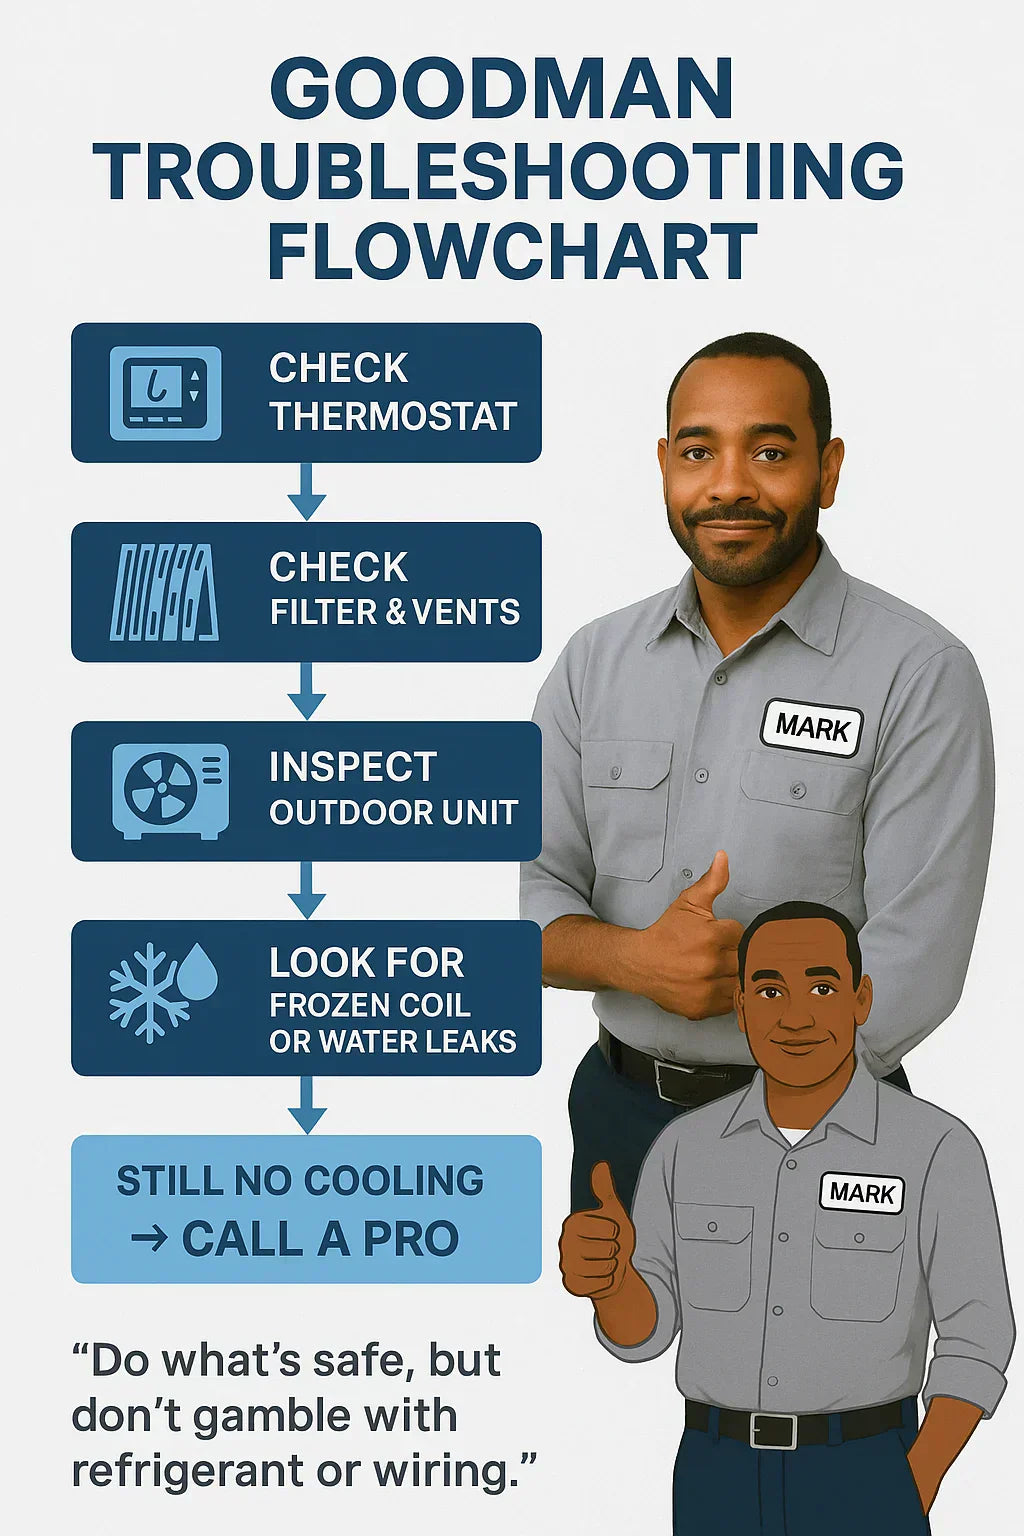
Step-by-step troubleshooting process
Follow this clear workflow when you use the Goodman Ac Troubleshooting Guide. Start simple. Move to harder tasks only if needed.
- Check power and thermostat
- Confirm thermostat is set to cool and lower than room temp.
- Check circuit breakers and fuses. Reset tripped breakers and replace blown fuses.
- Inspect air filter and airflow
- Replace dirty filter. Poor airflow causes many faults.
- Check vents and registers for blockages.
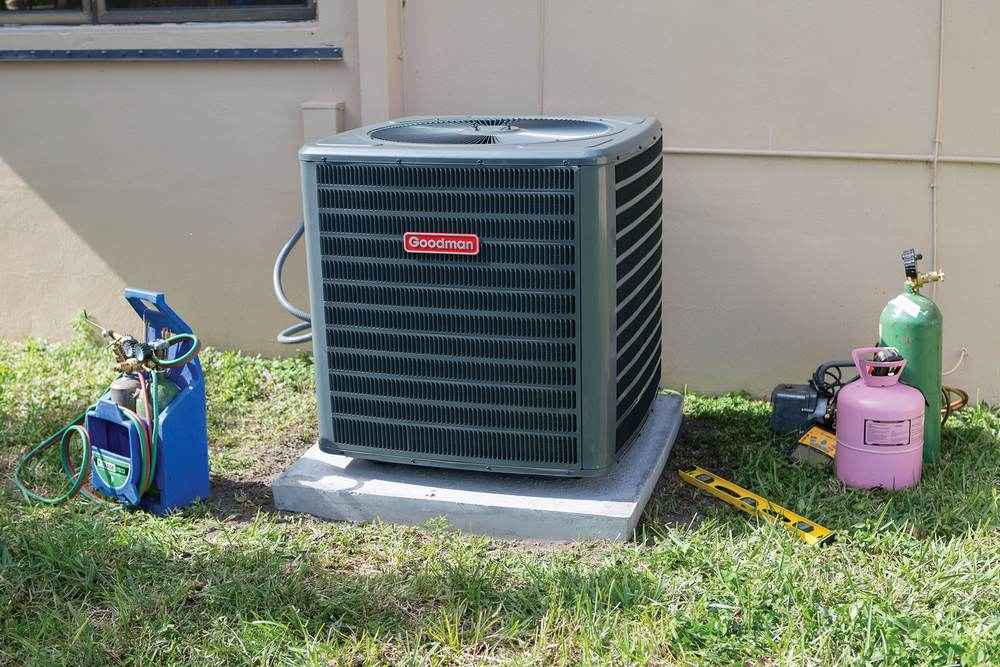
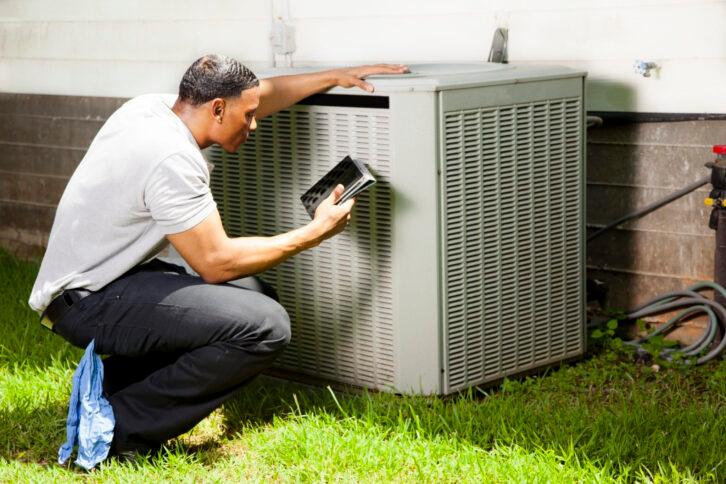
- Look at the outdoor unit
- Ensure condenser fan spins freely.
- Remove debris and clean fins gently.
- Verify the condenser and evaporator coils
- Dirty coils reduce efficiency and can freeze the system.
- Clean coils if visibly dirty.
- Test capacitors and contactor
- A weak capacitor can cause starting issues and humming.
- Measure capacitor microfarads with a meter or replace if bulging.
- Check refrigerant signs
- Ice on the evaporator or low suction pressure hints at low refrigerant.
- Refrigerant work must be done by licensed techs.
- Inspect the condensate system
- Clear clogs in the drain and check the float switch.
- Clean the drain pan and lines.
This Goodman Ac Troubleshooting Guide prioritizes safe, low-cost checks first. If you reach steps involving refrigerant or sealed components, call a pro.
Diagnosing specific failures
This section covers focused checks for common failure types.
Electrical failures
- Symptom: No power or unit won’t start.
- Tests: Check breaker, disconnect, and control voltage at the outdoor unit.
- Tip: Tighten loose connections and replace corroded wires.
Capacitor and motor issues
- Symptom: Humming, slow fan, or failure to start.
- Tests: Measure capacitor value or swap with same-rated part.
- Tip: Capacitor failure is common on Goodman AC units, especially in older models.
Compressor problems
- Symptom: Motor runs but no cooling or high head pressure.
- Tests: Compare running and start currents against spec. Listen for short cycling or hard starts.
- Tip: Compressor replacement is costly; verify start components and refrigerant before deciding.
Refrigerant leaks
- Symptom: Slow cooling, icing, or abnormal pressures.
- Tests: Use leak detector or bubble test on joints.
- Tip: Repair leaks and recharge refrigerant only via certified techs.
Thermostat faults
- Symptom: Unit won’t respond or cycles oddly.
- Tests: Remove thermostat wiring and test continuity or use a spare thermostat.
- Tip: Simple thermostat replacement solves many control problems.
Drain and condensate problems
- Symptom: Water inside or around indoor unit.
- Tests: Clear line with wet vac and check float switch.
- Tip: Add a small amount of bleach or enzyme cleaner to prevent future clogs.
This Goodman Ac Troubleshooting Guide breaks problems into clear tests to reduce guesswork.
Preventive maintenance to avoid future trips
Routine care prevents many service calls. Do these tasks twice a year.
- Change filters every 1–3 months.
- Clean condenser fins and clear debris yearly.
- Schedule professional tune-ups in spring and fall.
- Keep thermostat batteries fresh.
- Trim plants and bushes at least 2 feet from the outdoor unit.
In my experience, regular checks cut emergency calls by over half. Small time investments pay off.

When to call a professional
Know limits and local codes. Call a licensed HVAC tech in these cases.
- Refrigerant charging or leak repair is required.
- Compressor replacement or sealed-system work.
- Complex electrical troubleshooting beyond basic testing.
- Persistent or unsafe gas or electrical odors.
- Warranty work that requires certified service.
If you are unsure, stop and call. A pro can prevent further damage and protect warranty coverage.
Common Goodman AC error codes and LED signals
Goodman outdoor and air handler boards use LED blink codes. Learn the basics.
- 1 blink — Low pressure or low refrigerant.
- 3 blinks — High pressure or compressor lockout.
- 4 blinks — Indoor blower fault.
- Steady on — Power present; no fault detected.
Check the unit’s service label for model-specific codes. Use the blink pattern as a diagnostic clue, not the final answer.
Personal tips and lessons learned
I’ve repaired many Goodman units over the years. Here are lessons I share with friends.
- Always start with the thermostat and breaker. It saves time.
- Take photos of wiring before disconnecting anything.
- Label wires and keep small parts in a container.
- Replace capacitors and contactors proactively if they show wear.
- Document repairs and part numbers for future work.
These small habits make troubleshooting faster and safer. They helped me avoid repeat visits and kept customers happy.
PAA-style quick questions you might ask
What should I check first if my Goodman AC won’t start?
Start with the thermostat, breaker, and outdoor disconnect. Confirm power and thermostat settings before other tests.
Why does my Goodman AC freeze up?
Freezing usually means low airflow or low refrigerant. Check the filter and vents first, then call a tech if the problem persists.
How long should a Goodman AC last?
With good care, many Goodman systems run 10–15 years or more. Regular maintenance extends life and saves money.
Frequently Asked Questions of Goodman Ac Troubleshooting Guide
What does a blinking LED on a Goodman unit mean?
Blinking LEDs point to specific faults like low pressure or fan issues. Check the service label for the blink code and follow recommended checks.
How often should I clean the coils on my Goodman AC?
Clean coils once a year or more if you live in dusty areas. Clean coils improve efficiency and reduce freeze-ups.
Can I replace the capacitor myself on a Goodman AC?
You can if you know basic electrical safety and can match values. If unsure, hire a pro to avoid shock or damage.
Why is my Goodman AC short cycling?
Short cycling can be caused by an oversized unit, low refrigerant, or a failing thermostat. Check simple items like filter and thermostat first.
Is a hissing noise a sign of refrigerant leak?
A hissing sound can signal a leak but can also be air or pressure changes. If you suspect a leak, call a licensed HVAC technician for testing.
When should I replace my Goodman AC unit entirely?
Replace when repair costs approach half the value of a new unit or when efficiency is low and breakdowns are frequent. Consider newer models for better efficiency and warranties.
Conclusion
This Goodman Ac Troubleshooting Guide gives clear steps to find and fix common issues safely. Start with power, thermostat, and airflow. Use simple tests to narrow down faults and call a licensed tech for refrigerant or sealed-system work. Keep records and do regular maintenance to avoid surprises. Try these steps, stay safe, and share your results or questions below to get more help.

