
Carrier air conditioner troubleshooting starts with simple checks: filters, power, and thermostat settings.
I have spent years helping homeowners and techs fix cooling problems. This guide on Carrier Air Conditioner Troubleshooting is written to walk you step by step. You will learn how to spot causes, run safe checks, interpret error codes, and know when to call a pro. I mix hands-on tips, real examples, and clear steps so you can fix common problems fast and avoid costly mistakes.

Common symptoms and first checks for Carrier Air Conditioner Troubleshooting
If your Carrier unit is not cooling, making noise, or not turning on, start with simple checks. These quick checks fix many problems and save time.
-
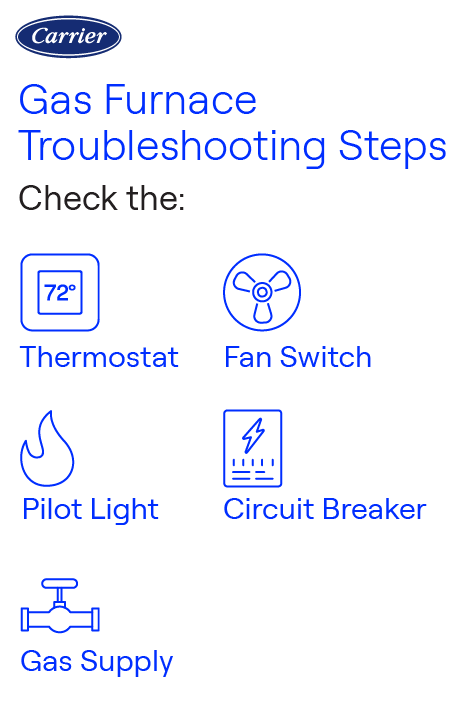
Check the thermostat
- Ensure it is on cooling mode and set below room temperature.
- Replace batteries if the display is dim.
-
Inspect the air filter
- A dirty filter blocks airflow and cuts cooling power.
- Swap the filter if it looks dark or clogged.
-
Verify power and breakers
- Look at the circuit breaker and outdoor unit disconnect.
- Reset a tripped breaker after a minute.
-
Check vents and registers
- Ensure supply vents are open and not blocked by furniture.
- Close unused rooms to help balance airflow.
These quick steps resolve a large share of Carrier Air Conditioner Troubleshooting cases. Small fixes often restore comfort without part swaps.
Step-by-step Carrier Air Conditioner Troubleshooting process
A clear sequence helps you troubleshoot without causing harm. Follow safe, logical steps from easy fixes to more advanced checks.
-
Safety first
- Turn off power at the breaker and outdoor disconnect.
- Use gloves and safety glasses for coil work.
-
Basic checks
- Confirm thermostat, filters, and vents per prior section.
- Listen for unusual sounds when the system starts.
-
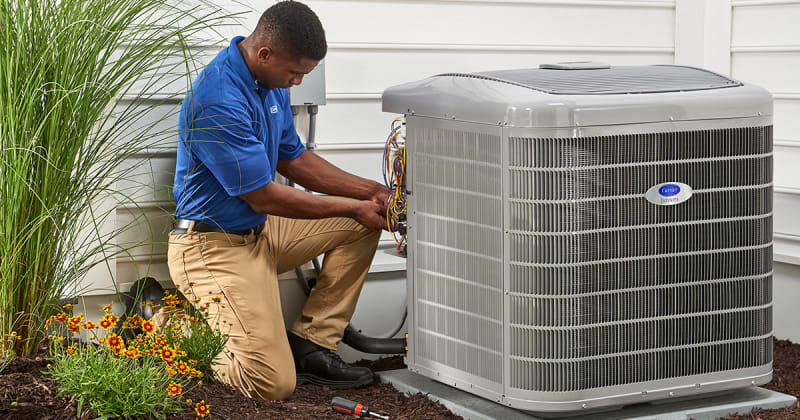
Outdoor unit inspection
- Clear debris around the condenser.
- Check for bent fins and clean with a soft brush.
-
Indoor coil and drain check
- Inspect the evaporator coil for frost or dirt.
- Verify the condensate drain is clear and not leaking.
-
Test electrical components
- Check contactor and capacitors for burn marks.
- Use a meter only if you know how to test HVAC parts.
-
Refrigerant and leak signs
- Low refrigerant causes weak cooling and coil freezing.
- Look for oily residue near fittings or lines.
-
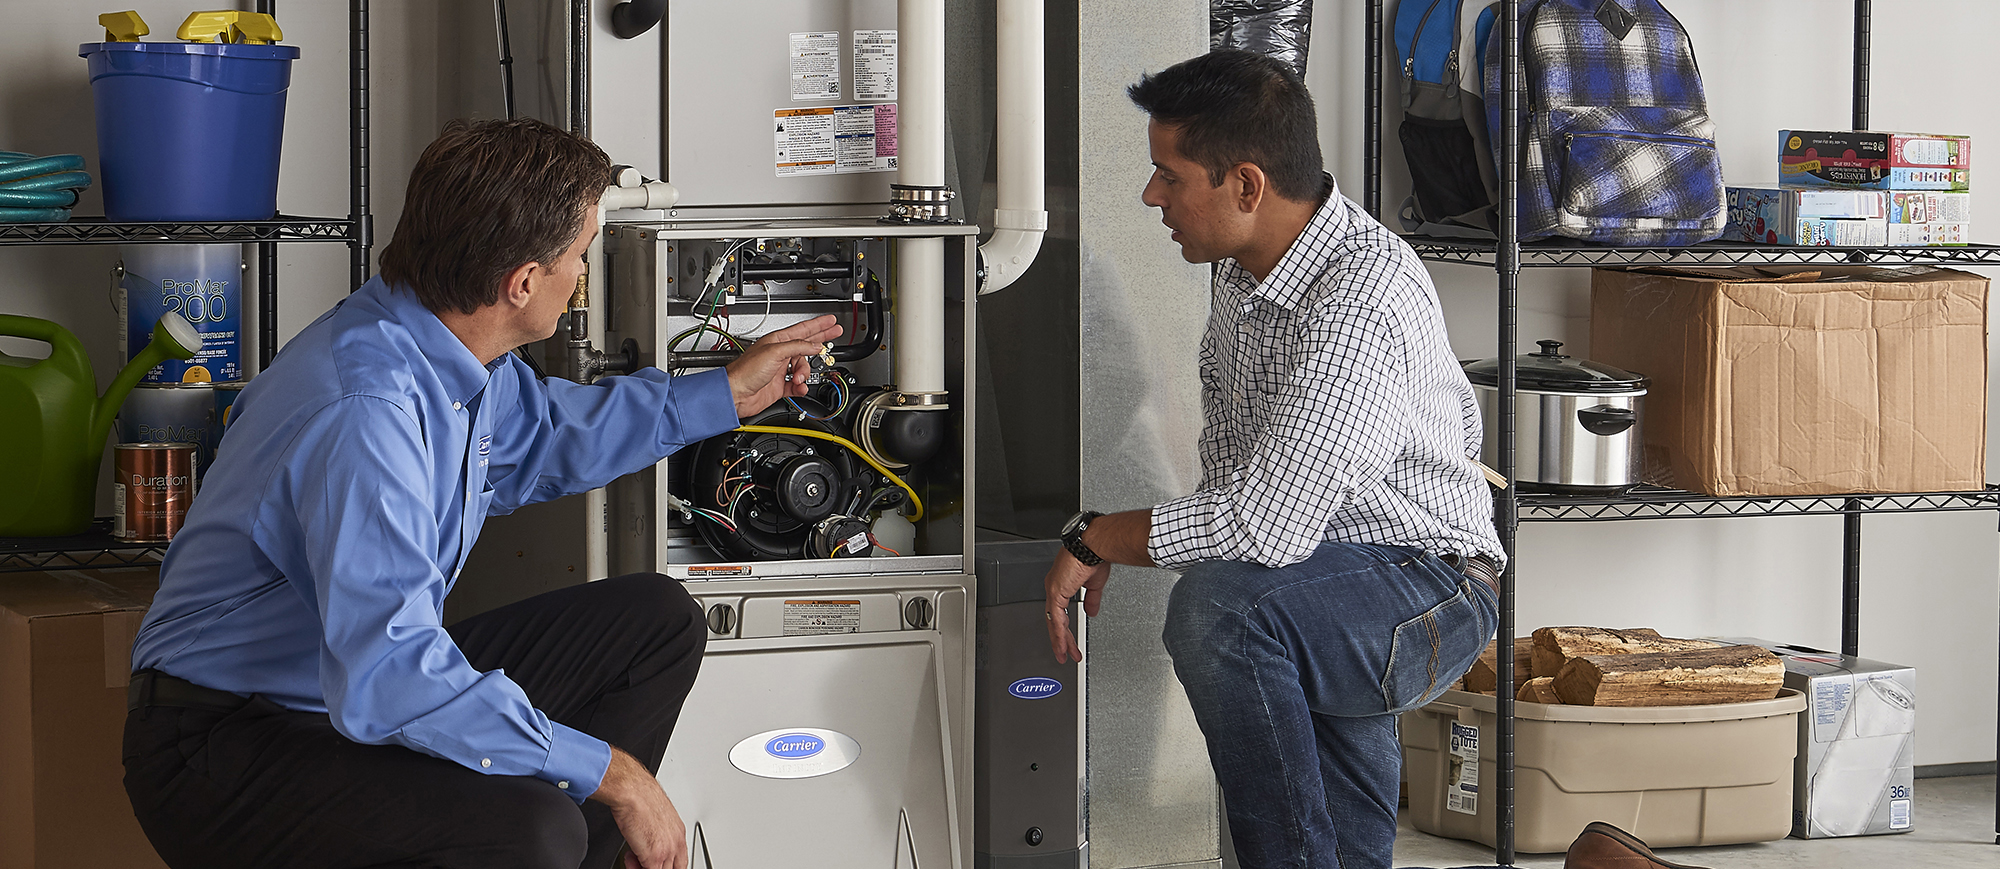
Run diagnostics
- Many Carrier systems show error codes on the control board or thermostat.
- Log codes and consult the manual or service guide.
Follow this process to keep Carrier Air Conditioner Troubleshooting safe and efficient. If a step feels risky, stop and call a pro.

Common error codes and meanings for Carrier Air Conditioner Troubleshooting
Carrier systems use codes to alert you to issues. Knowing the common codes speeds diagnosis.
-
Short cycling or lockout codes
- Often indicate pressure issues or safety trips.
- Check filters, airflow, and refrigerant levels.
-
Communication error codes
- Mean a wiring fault or failed control board.
- Inspect wiring harnesses and connectors.
-
Temperature sensor faults
- Show when sensors read outside expected ranges.
- Test and replace faulty sensors.
-
Low-pressure or high-pressure trips
- Low pressure usually signals a refrigerant leak.
- High pressure can come from dirty coils or blocked airflow.
When you record a code, take a photo. This helps when you talk to support or a technician. Accurate codes make Carrier Air Conditioner Troubleshooting far faster.

Maintenance tips to prevent Carrier Air Conditioner Troubleshooting
Routine care reduces the chances of trouble and extends system life. I use these simple habits in my work and at home.
-
Replace filters regularly
- Monthly for dusty homes, every 3 months for normal use.
- A clean filter improves airflow and efficiency.
-
Keep outdoor unit clean
- Trim plants back at least two feet.
- Wash the condenser fins gently once a year.
-
Schedule annual tune-ups
- A pro will check refrigerant, electrical parts, and coils.
- Tune-ups prevent failures and keep warranties valid.
-
Maintain proper thermostat habits
- Use a programmable thermostat for steady control.
- Avoid wide swings that stress the compressor.
Good maintenance cuts emergency calls and makes Carrier Air Conditioner Troubleshooting less frequent. Small steps save money and hassle.
When to call a professional for Carrier Air Conditioner Troubleshooting
Some problems need trained hands. Call a licensed HVAC tech in these cases.
-
Refrigerant concerns
- Any refrigerant work requires certified techs and proper gauges.
-
Electrical failures
- Replacing contactors, capacitors, or control boards involves live voltage.
-
Compressor or major component failure
- These are complex and costly; a pro will advise repair vs. replace.
-
Persistent or recurring issues
- If the same fault returns, deeper diagnosis is needed.
In my career, I’ve seen DIY fixes that delayed the real fix. A timely pro visit avoids repeated costs and keeps systems safe.
Parts, tools, and simple replacements for Carrier Air Conditioner Troubleshooting
Knowing basic parts and safe tools helps with small repairs. Only work within your skill range.
-
Basic parts to keep on hand
- Filters, thermostat batteries, and inline condensate trap cleaners.
-
Tools for simple checks
- Screwdrivers, fin comb, soft brush, and a cordless drill.
- A basic multimeter for voltage checks if you are trained.
-
Parts to leave to pros
- Refrigerant, compressors, and sealed-system components.
- Control boards and advanced diagnostics often need factory tools.
When I teach homeowners, I stress safe limits. Know what you can do and when to stop.

Personal insights and common mistakes in Carrier Air Conditioner Troubleshooting
I learned practical lessons after fixing many Carrier systems. Here are things I want you to avoid.
-
Mistake: Skipping simple checks
- I once replaced a part only to find a dead thermostat battery. Check simple items first.
-
Mistake: Over-cleaning coils with high pressure
- High-pressure wash can bend fins or force water into electrical parts. Use gentle cleaning.
-
Tip: Document steps
- Write down error codes and actions. This speeds up follow-ups.
-
Tip: Use OEM parts when possible
- Generic parts can cause fit or function issues. OEM parts keep systems reliable.
These real-world tips make Carrier Air Conditioner Troubleshooting faster and less risky.
PAA-style questions answered briefly
How do I reset my Carrier air conditioner?
- Turn off the thermostat, switch off power at the breaker, wait 5 minutes, then restore power and restart. If the unit still won’t run, note any error codes.
Why is my Carrier AC freezing up?
- Freezing often means poor airflow or low refrigerant. Check filters, vents, and outdoor unit airflow first.
How often should I service my Carrier unit?
- Service once a year for most homes. Homes with pets or heavy use may need twice yearly checks.
Can I replace a capacitor myself?
- Only if you are trained. Capacitors store charge and can shock you even with power off.
What causes strange smells from a Carrier AC?
- Smells come from mold in the drain pan or ductwork, or burning odors from wiring. Inspect the drain and call a pro for electrical smells.
Frequently Asked Questions of Carrier Air Conditioner Troubleshooting
How do I tell if my Carrier AC has a refrigerant leak?
Look for reduced cooling, ice on the coil, or oily residue near fittings. A certified tech can confirm with gauges.
What should I do if my Carrier thermostat is unresponsive?
Replace the thermostat batteries and check wiring at the control board. If it still fails, test with a spare thermostat or call support.
Why does my Carrier unit short cycle?
Short cycling can be due to oversized unit, low refrigerant, or a failing compressor. Check airflow and record any error codes.
Is it OK to use the AC with a frozen coil?
No. Running with a frozen coil can damage the compressor. Turn off the system and thaw the coil before further use.
How long does a Carrier AC last with good maintenance?
With proper care, Carrier systems often last 12 to 20 years. Regular maintenance extends life and keeps efficiency high.
Conclusion
Carrier Air Conditioner Troubleshooting starts with simple checks and follows a clear, safe path from filters to diagnostics. Use the steps here to solve common issues, log error codes, and maintain your system. If you hit complex problems like refrigerant or major electrical faults, call a certified technician to avoid risk. Try the basic tips today: check filters, confirm thermostat settings, and clear the outdoor unit. If you found this guide helpful, leave a comment, subscribe for more HVAC tips, or share your troubleshooting story below.

