
Most Club Car chargers fail due to loose connections, corroded contacts, or a faulty charger board.
I have spent years repairing electric vehicles and golf carts, and I will walk you through Club Car charger troubleshooting with clear steps, quick tests, and real tips. This guide covers how Club Car chargers work, common symptoms, simple diagnostics you can do safely, when to repair or replace, and lessons from hands-on repairs. Read on to save time, avoid costly mistakes, and get your cart charging reliably.

How Club Car Chargers Work
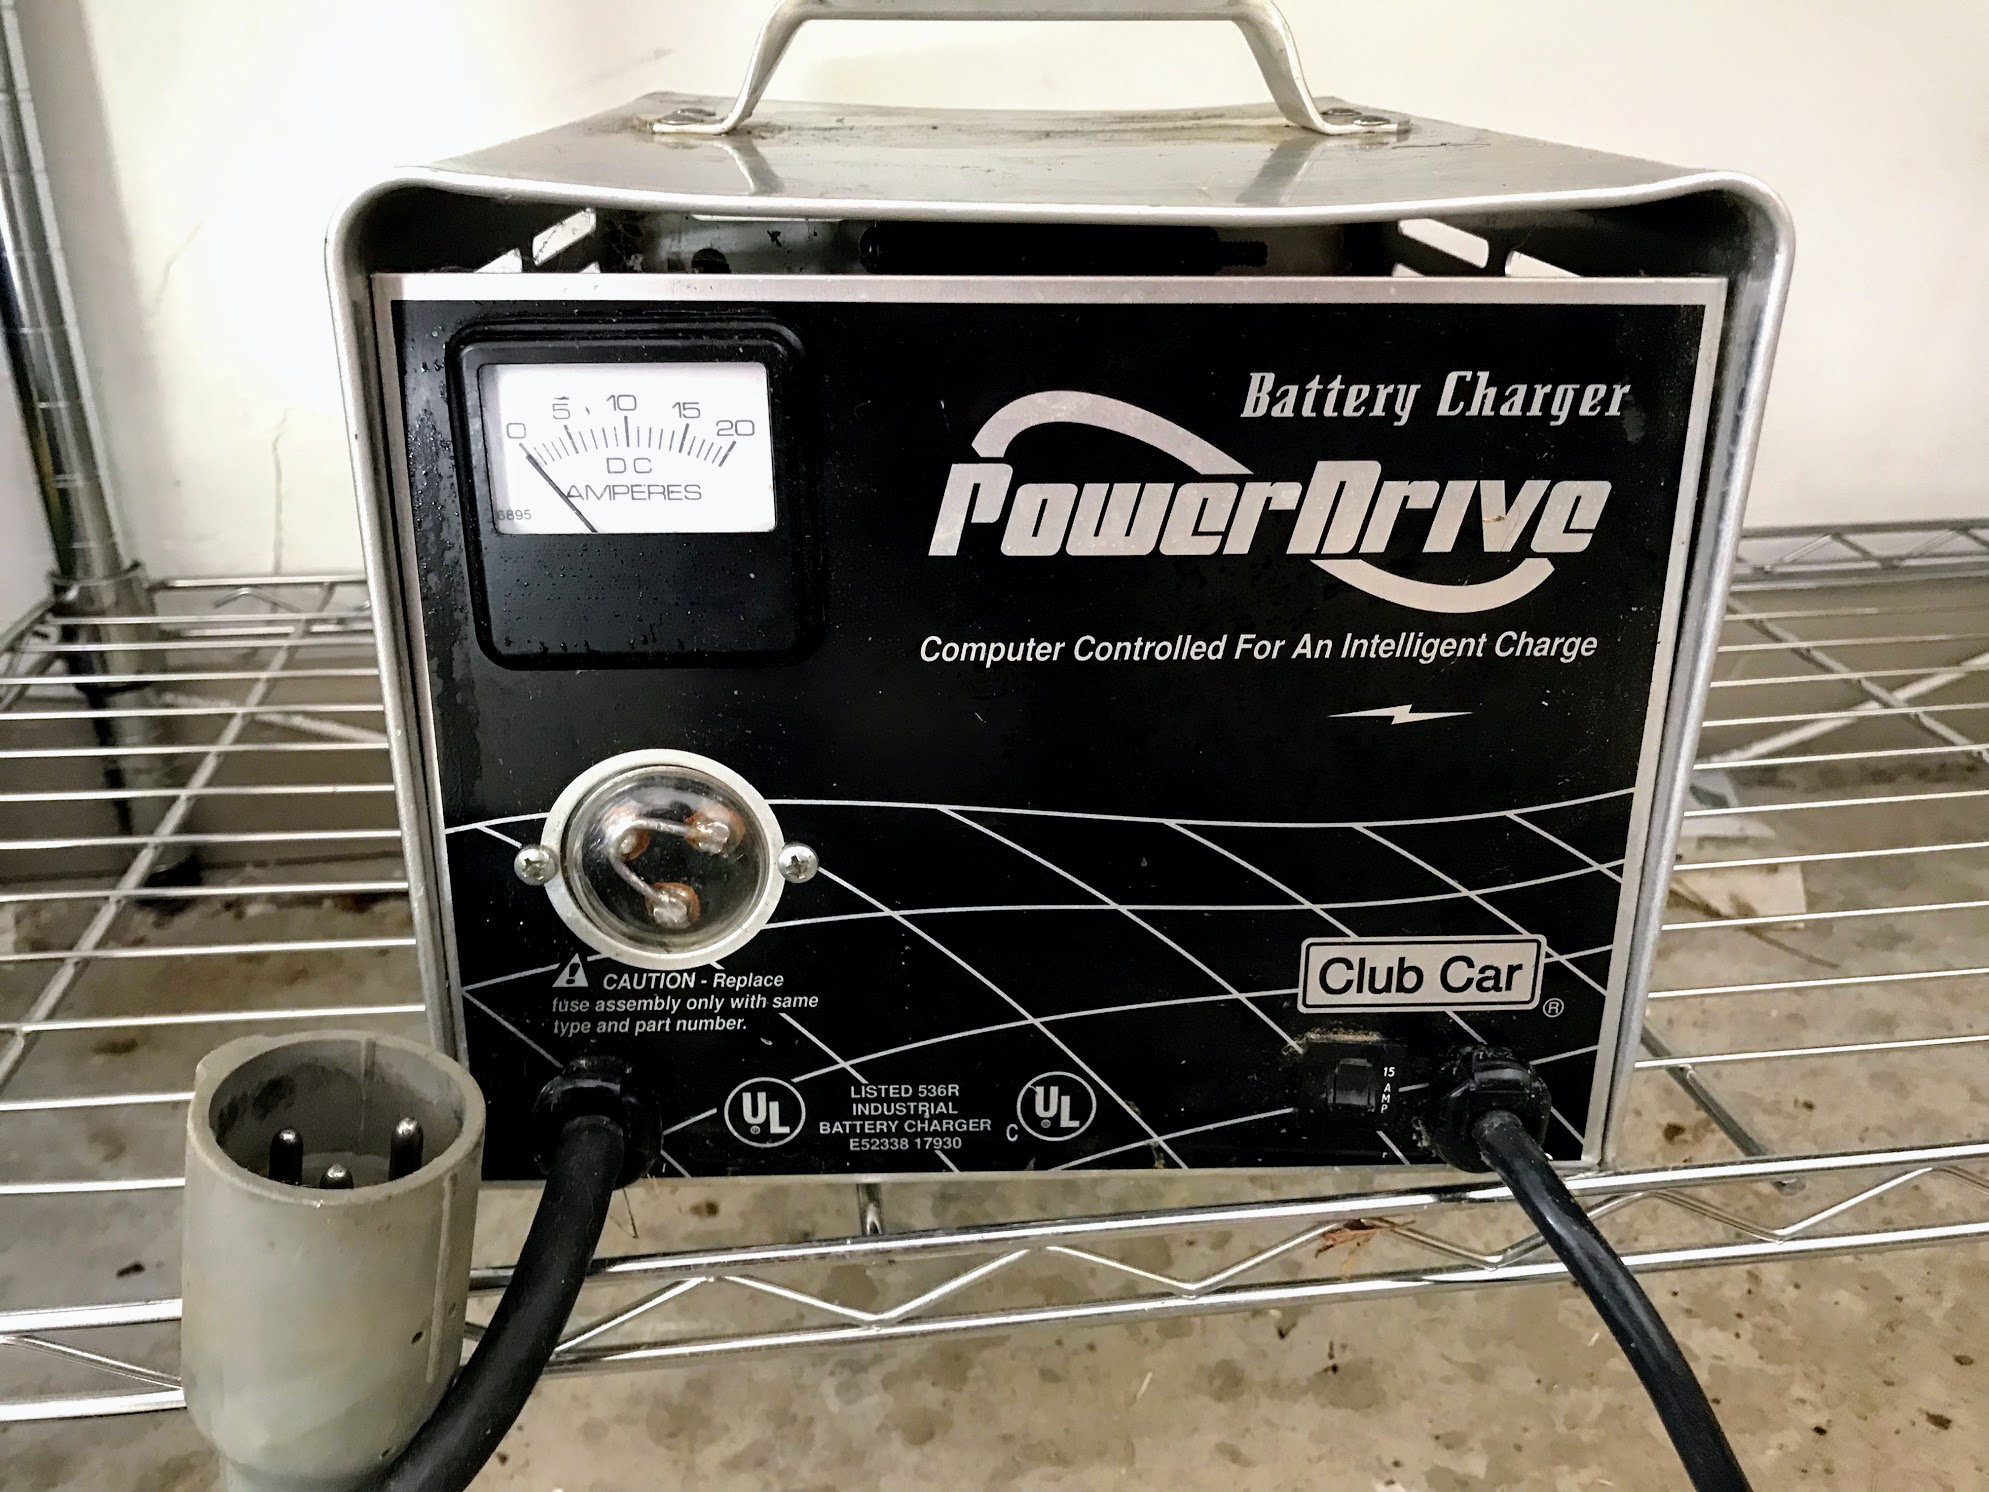
Club Car charger troubleshooting starts with knowing how the charger works. Most Club Car chargers are onboard units that convert AC mains power to DC voltage. They monitor battery voltage and charge rate. Chargers use transformers, rectifiers, voltage regulators, and control boards to deliver safe charging.
Key points to understand:
- Charger reads battery pack voltage and current.
- Charger reduces current as voltage nears full charge.
- Safety circuits stop charging if temperature or voltage is out of range.
Knowing these basics makes Club Car charger troubleshooting faster and safer. If the charger fails to turn on or shows error lights, the fault may be in any of these parts.

Common Symptoms and Causes of Charger Problems
Club Car charger troubleshooting often begins by spotting the symptom. Match what you see to the likely cause.
Common symptoms and likely causes:
- Charger won’t power on — blown fuse, bad AC outlet, or internal fuse.
- Charger LED off or blinking — loose connection, bad indicator, or failed board.
- Batteries won’t charge fully — weak batteries, bad charger output, or high resistance in wiring.
- Charger overheats or shuts down — poor ventilation, internal fault, or fan failure.
- Charger trips breaker — short circuit or grounded component.
Each symptom maps to a short list of probable causes. Focus your tests on the most likely items first to save time.
Step-by-Step Club Car Charger Troubleshooting Guide
Follow safe, ordered steps. Always disconnect power before touching wires.
- Visual inspection
- Verify power
- Check fuses and breakers
- Test charger output
- Inspect connections and batteries
- Test charging on another cart or known-good charger
Detailed steps:
- Visual inspection: Look for corrosion, frayed wires, melted insulation, or water damage around the charger and battery compartment.
- Verify power: Plug a known-good device into the same outlet. Use a multimeter to confirm 120V or 240V AC as appropriate.
- Check fuses and breakers: Inspect inline fuses on the charger and the cart. Replace blown fuses with the correct rating.
- Test charger output: With batteries connected, measure DC output at the charger output terminals. Compare to expected voltage printed on the charger label.
- Inspect connections and batteries: Clean terminals and tighten clamps. Measure individual battery voltages to find weak cells.
- Isolate the problem: Swap the charger to another cart or use a known-good charger on the cart to confirm whether the fault is the charger or the batteries/wiring.
When measuring voltage or current, follow safety rules and use insulated tools. If you see sparks or smoke, stop and seek professional help.
Testing and Diagnostic Tools
You don’t need expensive gear. A few tools take you far with Club Car charger troubleshooting.
Essential tools:
- Multimeter for AC and DC voltage checks
- Clamp meter for charging current
- Battery hydrometer (for flooded batteries) or voltmeter for sealed batteries
- Safety gloves and goggles
- Contact cleaner and wire brush
How to use them briefly:
- Multimeter: Check AC inlet, DC output, and battery voltages. Use proper ranges and probes.
- Clamp meter: Measure charge current on the battery cable while charging.
- Hydrometer: Test specific gravity of flooded cells to see if a cell is weak.
Keep the tool usage simple. Test logically and record readings so you can compare against expected values.

Charger Component Breakdown
Understanding charger parts helps with diagnosis during Club Car charger troubleshooting.
Main components and what to watch for:
- AC inlet and fuse — blown fuse or loose inlet causes no power.
- Transformer and rectifier — produce DC; noisy or warm components often indicate failure.
- Control board — manages charge algorithm; failed boards cause erratic behavior or no charging.
- Output connectors and cables — corroded contacts raise resistance and reduce charge.
- LEDs and indicators — provide status codes; learn the pattern for your model.
From experience, corroded connectors are a top cause of intermittent charging. A good cleaning often restores normal function. Replace control boards only after confirming the power side and batteries are good, as many replaced boards were not the root cause.
Preventive Maintenance Tips
Preventive care reduces future Club Car charger troubleshooting needs and keeps the cart reliable.
Maintenance actions:
- Clean battery terminals monthly to prevent corrosion.
- Inspect cables and connectors for wear each season.
- Ensure charger vents are clear and keep the charger dry.
- Rotate carts and avoid deep discharges to extend battery life.
- Replace batteries as a matched set to prevent charging imbalance.
Small steps prevent big problems. A clean battery pack and tight clamps halve the common charging faults I see on the job.
When to Repair vs Replace
Deciding if you should repair or replace the charger matters for cost and downtime.
Consider repair if:
- Fault is a simple part like a fuse, fan, or connector.
- Charger model has available replacement parts and the board is repairable.
- Cost of parts plus labor is less than a new unit.
Consider replacement if:
- Multiple components fail or the control board is irreparably damaged.
- The charger is old, inefficient, or obsolete.
- Warranty covers replacement.
As a rule of thumb, replace the charger if repair costs exceed 50% of a new unit’s price. Also factor in safety and warranty benefits of a new charger.
Real-Life Examples and Lessons Learned
Here are a couple of real cases from my repair work that show practical Club Car charger troubleshooting.
Example 1: No power, simple fix
- Symptom: Charger LED off.
- Root cause: Loose AC inlet and blown inline fuse.
- Action: Tightened inlet screws and replaced the fuse. Charger worked after.
Example 2: Slow charge, unexpected fix
- Symptom: Cart charged very slowly.
- Root cause: Corroded output lug on the charger cable, causing high resistance.
- Action: Cleaned and soldered the lug, then tightened the connector. Charging returned to normal.
Lessons learned:
- Start with the simple fixes first. Loose and corroded parts cause most problems.
- Replace batteries in matched sets to avoid repeated charger complaints.
- Keep records of voltages and repairs. Trends help diagnose recurring faults.

Frequently Asked Questions of Club Car Charger Troubleshooting
Why won’t my Club Car charger turn on?
Check the AC outlet, main fuse, and inline fuses first. If those are good, the AC inlet or internal power stage may be faulty and need professional inspection.
How can I test the charger output safely?
Use a multimeter set to DC volts at the charger output terminals while connected to the batteries. Compare the readout to the charger’s rated output and follow safety rules.
My charger LED blinks a code — what should I do?
Consult the charger manual for the blink code. Codes point to issues like over-temperature, battery disconnect, or voltage errors and guide targeted fixes.
Can a single bad battery stop the entire pack from charging?
Yes. One weak or open cell can prevent proper charging or cause the charger to terminate early. Test individual battery voltages to identify weak cells.
Is it worth repairing an older Club Car charger?
It depends on parts cost, availability, and safety. Repair if the fault is small; replace if the internal board or many components have failed.
Conclusion
Club Car charger troubleshooting is a practical skill that saves time and money when you follow a clear, safe process. Start with simple checks—power, fuses, and connections—then move to voltage and current tests. Clean, tighten, and replace small parts early to avoid bigger failures. If the charger shows multiple internal faults or repair costs are high, replacement is often the wiser choice.
Take action today: make a quick inspection of your charger and battery connections, log your findings, and schedule basic maintenance. If you found this guide helpful, leave a comment, share your story, or subscribe for more hands-on repair tips.

