
Running an ice maker in a busy restaurant or hotel kitchen can be stressful. You rely on it for clean ice, but sometimes you notice the ice tastes odd or looks cloudy. Atosa ice makers are popular because they’re strong and easy to use. If you own one, you might have seen a Clean button on the control panel and wondered, “What does this do?” This article will help you understand the Clean button on an Atosa ice maker, why it matters, and how to use it for better ice and a longer-lasting machine.
Understanding The Atosa Ice Maker Control Panel
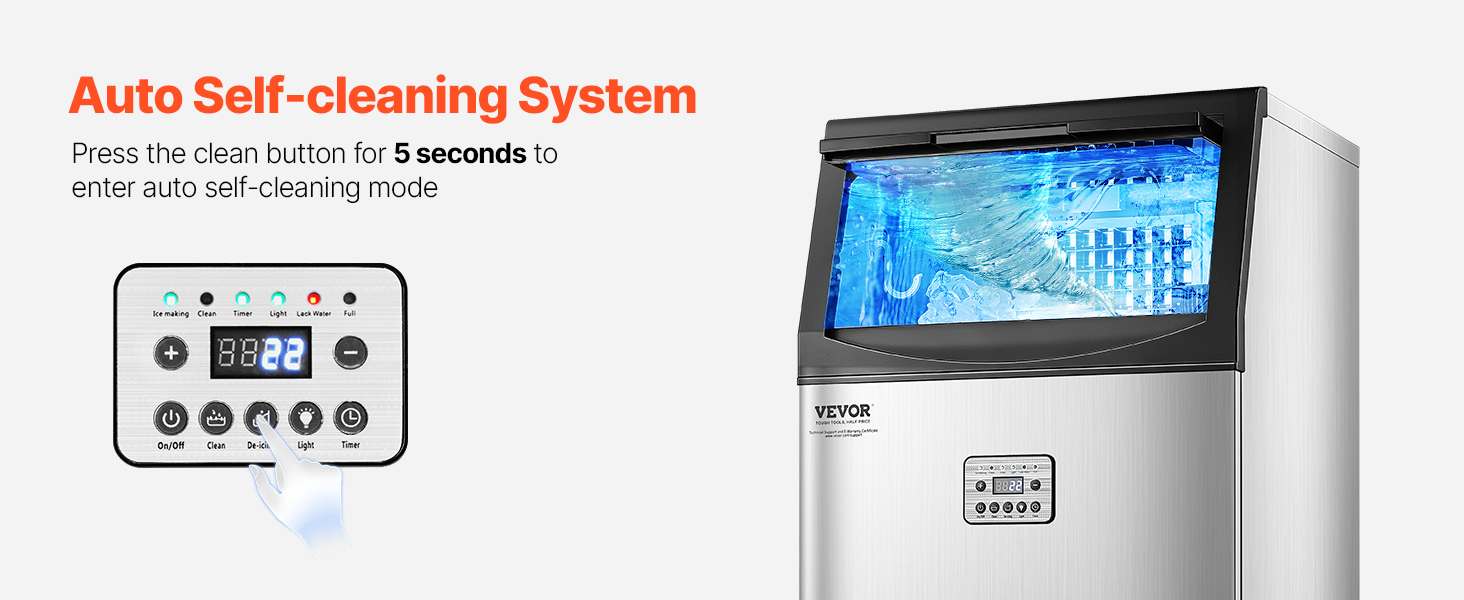
Atosa ice makers come with a simple control panel. You’ll usually see buttons like Power, Clean, and Reset. Each button has a job. The Clean button is often ignored, but it’s important for keeping your ice tasting good and your machine running well.
The panel might also have indicator lights to show if the machine is making ice, needs maintenance, or is in cleaning mode. When you press the Clean button, the machine enters a special cycle. It doesn’t just rinse water. It follows a process designed to remove minerals, scale, and bacteria that build up during normal use.
What Happens When You Press The Clean Button
Pressing the Clean button on an Atosa ice maker doesn’t just spray water around. It starts a programmed cleaning cycle that goes through several steps:
- Flush Stage: The machine fills with water and flushes out loose dirt and old ice residue.
- Circulation Stage: A cleaning solution (usually made for ice makers) is pumped through the water lines and ice-making parts. This solution breaks down minerals and scale.
- Rinse Stage: The machine rinses all parts with fresh water to remove the cleaning solution and loosened scale.
- Drain Stage: Dirty water is drained out completely.
This cycle can take 20–40 minutes, depending on your model and how dirty the machine is. During this time, the ice maker stops making ice. Most Atosa machines will show a cleaning status light so you know it’s working.

Why Cleaning Your Ice Maker Is Essential
Ice makers deal with water all day. Over time, minerals from water, dust, and bacteria build up inside the machine. If you don’t clean regularly, you’ll notice:
- Bad-tasting ice
- Cloudy or dirty ice cubes
- Lower ice production
- Possible health risks
Even if you use filtered water, minerals still collect. The Clean button makes it easy to run a cleaning cycle and helps prevent these problems. Many owners don’t realize that skipping cleaning can shorten the life of the machine, causing expensive repairs or replacements.
Manual Cleaning Vs. Clean Button: What’s The Difference?
Some people ask, “Should I clean the ice maker by hand, or just press the Clean button?” Both are important. Here’s how they compare:
| Cleaning Method | What It Does | Time Needed | Benefits | Limitations |
|---|---|---|---|---|
| Manual Cleaning | Scrubbing parts, removing buildup | 1–2 hours | Deep clean, removes tough scale | Labor intensive, needs tools |
| Clean Button Cycle | Automated cleaning with solution | 20–40 minutes | Easy, regular maintenance | May not reach all areas |
The Clean button is best for routine cleaning. Manual cleaning is needed every few months, especially if the ice maker is used heavily. If you only use the Clean button, some areas might stay dirty, especially the ice bin or hard-to-reach corners.
Step-by-step: How To Use The Clean Button On An Atosa Ice Maker
Using the Clean button is simple, but you need to follow a few steps for best results:
- Turn Off Ice Production
- Make sure the machine has finished making ice. Remove any ice left in the bin.
- Prepare Cleaning Solution
- Use an approved ice machine cleaner. Never use bleach or strong chemicals. Check the Atosa manual for recommended products.
- Mix the solution as directed (usually 4–8 oz per gallon of water).
- Add Solution to Reservoir
- Pour the cleaning solution into the water reservoir or as directed by your model.
- Press the Clean Button
- The machine starts the cleaning cycle. Watch for the cleaning status light.
- Wait for Cycle to Finish
- The process takes about 20–40 minutes. The machine flushes, circulates, rinses, and drains automatically.
- Remove Residual Solution
- After cleaning, run a rinse cycle (some models do this automatically). Make sure all cleaning solution is gone.
- Restart Ice Production
- When the cleaning cycle is finished and the machine is rinsed, start making ice again.
Extra tip: Always wear gloves when handling cleaning solution. If you notice foam or strong smell after cleaning, rinse again to avoid contaminating new ice.
Cleaning Frequency: How Often Should You Use The Clean Button?
How often you clean depends on:
- Water quality (hard water needs more cleaning)
- Ice maker usage (busy kitchens need frequent cleaning)
- Local health codes (some places require monthly cleaning)
Most Atosa owners should press the Clean button every 2–4 weeks. Heavy users might clean weekly. Check your ice for taste and clarity. If you notice problems, clean more often.
Here’s a quick cleaning frequency guide:
| Usage Level | Recommended Cleaning Interval |
|---|---|
| Light (home, small office) | Every 4–6 weeks |
| Medium (restaurant, bar) | Every 2–4 weeks |
| Heavy (hotel, large kitchen) | Every 1–2 weeks |
What Cleaning Solution Should You Use?
Not all cleaning solutions are safe for ice makers. Atosa recommends using nickel-safe ice machine cleaner. This prevents damage to internal parts, especially evaporators made from nickel-plated metal.
Never use bleach, vinegar, or household cleaners. They can ruin the machine or leave harmful residues in your ice.
Popular ice machine cleaning products include:
- Nu-Calgon Nickel Safe Ice Machine Cleaner
- Manitowoc Ice Machine Cleaner
- Ice-O-Matic Cleaner
Always follow the instructions on the label. Using too much cleaner can damage parts, while too little won’t remove scale. If you’re unsure, check Atosa’s official website or ask a technician.
What Does The Clean Button Not Do?
Some owners think the Clean button fixes all problems, but it has limits:
- Does not clean the ice bin: You must wipe and sanitize the bin yourself.
- Does not remove deep mold: If mold is visible, manual cleaning is needed.
- Does not fix mechanical issues: If your ice maker is broken, the Clean button won’t help.
The Clean button is for regular cleaning. For tough buildup or repairs, call a technician or follow a manual cleaning process.
Signs That Your Ice Maker Needs Cleaning
Sometimes it’s hard to know if your machine needs cleaning. Watch for these signs:
- Ice tastes bad or smells
- Ice cubes are cloudy or dirty
- Lower ice production
- Visible scale or slime inside the machine
- Warning lights for maintenance
If you see any of these, it’s time to press the Clean button or do a deeper clean.
How The Clean Button Improves Ice Quality
Clean ice is not just about looks. It matters for health and taste. When you use the Clean button regularly:
- Removes bacteria and mold
- Reduces mineral buildup (scale)
- Keeps ice clear and fresh
- Prevents strange tastes or odors
Restaurants and hotels depend on good ice. Dirty ice can ruin drinks or lead to complaints. Clean machines also meet health standards and avoid fines.
Common Mistakes When Using The Clean Button
Many users make errors with the Clean button. Here are some to avoid:
- Skipping the Cleaning Solution
- Running the Clean cycle without solution won’t remove scale or bacteria.
- Not Rinsing Properly
- If you don’t rinse after cleaning, chemical residue stays in the ice.
- Using Wrong Products
- Household cleaners can damage the machine and make ice unsafe.
- Ignoring Manual Cleaning
- The Clean button doesn’t reach all areas. Wipe the bin and corners by hand.
- Cleaning Too Rarely
- Waiting until ice tastes bad is too late. Clean regularly.
You’ll get the best results by following the steps, using the right products, and combining Clean button cycles with manual cleaning every few months.
Comparing Atosa’s Clean Button To Other Brands
Atosa ice makers are not the only ones with a cleaning function. Many brands offer similar features, but there are differences in speed, effectiveness, and ease of use. Here’s a comparison:
| Brand | Clean Cycle Length | Cleaning Solution Required? | Ease of Use |
|---|---|---|---|
| Atosa | 20–40 minutes | Yes | Simple button press |
| Manitowoc | 30–50 minutes | Yes | Button + menu |
| Ice-O-Matic | 25–45 minutes | Yes | Button press |
| Scotsman | 35–60 minutes | Yes | Button, sometimes manual |
Atosa stands out for its simple controls and quick cycle. Other brands may have menus or extra steps. Always check your machine’s manual for details.

Safety Tips For Using The Clean Button
Cleaning ice makers involves chemicals and water. Keep these safety tips in mind:
- Wear gloves when handling cleaning solutions.
- Keep children away during cleaning.
- Never mix cleaning products (this can create toxic fumes).
- Ventilate the room if using strong cleaners.
- Rinse thoroughly to avoid leftover chemicals in ice.
If you feel dizzy or see skin irritation after handling cleaner, wash your hands and call for medical help. Safe cleaning protects your health and your customers.
How The Clean Button Affects Machine Longevity
Regular cleaning keeps your Atosa ice maker running longer. Scale and mineral buildup can clog pipes, slow ice production, and cause breakdowns. Using the Clean button:
- Prevents scale buildup
- Keeps water lines clear
- Reduces risk of corrosion
- Avoids expensive repairs
A well-maintained ice maker can last 8–12 years. Machines that are rarely cleaned may fail after 4–6 years. This is a big difference, especially for businesses.
Troubleshooting: When The Clean Button Doesn’t Work
Sometimes, pressing the Clean button doesn’t start the cycle, or the cleaning doesn’t help. Here’s what to check:
- Power supply: Make sure the machine is plugged in.
- Water supply: Low water pressure can block cleaning.
- Cleaning solution: If none is added, cleaning is ineffective.
- Blocked drains: Dirty water may not drain, leaving residue.
- Control panel error: If the Clean light flashes, check the manual.
If you’ve checked these and the machine still doesn’t clean, contact a technician. Don’t force the cycle or use extra chemicals.
Environmental Impact Of Regular Cleaning
Cleaning ice makers is not just good for ice quality, but also for the environment. Machines that are cleaned regularly use less energy and water. Dirty machines work harder, increasing power bills and water use.
Some cleaning solutions are biodegradable. Choose eco-friendly products when possible. Proper disposal of used solution and rinse water helps keep chemicals out of drains and rivers.
Real-world Example: Restaurant Ice Maker Maintenance
In a busy restaurant, the ice maker runs all day. Staff often forget to clean, leading to complaints about ice taste. After regular Clean button cycles every two weeks, the ice is clearer, and customers stop noticing bad tastes.
The restaurant saves money on repairs. The machine works faster, and health inspectors give better ratings. Staff spend less time fixing problems and more time serving customers.
Non-obvious Insights Beginners Often Miss
- Cleaning removes invisible bacteria: Many owners clean only when ice looks dirty. However, bacteria can grow even when ice appears clear. Regular cleaning stops health risks before they start.
- Clean button cycles help prevent mold growth: Mold can grow in damp machines, especially in warm climates. Using the Clean button often prevents mold from spreading, even if you don’t see it.
Most beginners think cleaning is only needed for taste or appearance. It’s also about safety and machine health.
Frequently Asked Questions
What Happens If I Never Use The Clean Button?
If you skip cleaning, minerals and bacteria will build up. This leads to bad-tasting ice, slower production, and health risks. Your machine may break down sooner.
Can I Use Vinegar Or Bleach To Clean My Atosa Ice Maker?
No. Vinegar and bleach can damage machine parts and make ice unsafe. Always use nickel-safe ice machine cleaner recommended by Atosa.
How Do I Know When The Clean Cycle Is Finished?
Most Atosa ice makers show a cleaning status light. When the cycle ends, the light turns off or changes color. Check your manual for details.
Is The Clean Button Enough For Health Inspections?
The Clean button helps meet health codes, but you must also manually clean the ice bin and exterior. Inspectors may check both.
Can I Use The Clean Button If The Machine Is Making Ice?
No. Stop ice production and empty the bin before cleaning. Cleaning during ice-making can mix dirty water with new ice.
Final Thoughts
The Clean button on an Atosa ice maker is a simple but powerful tool. It helps you keep ice tasting good, protects health, and makes your machine last longer. Regular use, combined with manual cleaning, is the best way to prevent problems and keep your business running smoothly. Remember to use the right cleaning solution, follow safety tips, and check your machine often. With a clean ice maker, you’ll serve better drinks and avoid expensive repairs. For more details on ice machine cleaning, visit Atosa USA.

