
Steamist Troubleshooting Guide diagnoses common steam unit faults and helps restore safe operation fast.
I have worked with steam systems and service techs for years. This Steamist Troubleshooting Guide gives clear steps, checks, and tips. Read on to learn simple fixes, when to replace parts, and when to call a pro. You will get practical help you can use today.
Common causes of Steamist problems and what to expect
This Steamist Troubleshooting Guide starts by listing common root causes. Most failures come from water issues, electrical faults, controls, or poor maintenance. Knowing the likely cause saves time and avoids guesswork.
Common causes include
- Mineral scale in the generator or valve seats.
- Low or blocked water supply.
- Tripped breakers or failed power connections.
- Faulty level or temperature sensors.
- Worn seals and plumbing leaks.
I have seen scale and supply problems cause more than half of service calls. A quick visual check often points to the real issue.
![]() troubleshooting”
troubleshooting”
style=”max-width: 100%; height: auto; border: 2px solid black; border-radius: 10px; display: block; margin: 0 auto;”
loading=”lazy”
/>
Quick checks before deep troubleshooting
Before you open panels, run this quick checklist from the Steamist Troubleshooting Guide. These steps catch common, easy fixes.
Do these checks
- Confirm the unit has power and the breaker is on.
- Verify the water supply valve is open and no filters are clogged.
- Look for visible leaks under the unit and around fittings.
- Check the controller display for error codes or status lights.
- Note odor or odd sounds that can indicate scale or vapor lock.
If an error code shows, write it down. Error codes shorten diagnosis time and guide parts replacement. These checks often fix the issue without tools or a service call.

No steam or low steam: step-by-step troubleshooting
When the unit produces no steam, follow this part of the Steamist Troubleshooting Guide. Use short, safe steps to isolate the problem.
Step-by-step
- Check power and controller status. Reset the unit if allowed by the manual.
- Confirm water flow to the generator. Look for closed valves or kinked hoses.
- Inspect the float or level sensor. Clean or replace if stuck or corroded.
- Test the heater or element for continuity if you have a multimeter.
- Look for heavy scale on the element or tank that reduces output.
If the heater element is open or shorted, replace it with the manufacturer part. If scale is heavy, a service clean or descaling may restore full output. Regular checks avoid no-steam surprises.

Water leaks, drips, and mineral buildup fixes
Leaks and scale problems are frequent in this Steamist Troubleshooting Guide. They cause poor steam, water on floors, and extra wear.
What to do
- Tighten loose fittings and replace worn gaskets.
- Replace cracked valves or fittings that show corrosion.
- Descale the unit if mineral buildup appears on parts.
- Install or replace a compatible water softener or treatment cartridge.
- Flush the generator following the manual to remove sediment.
I once replaced a leaking solenoid valve that was causing slow fills. The owner saved money and ended recurring leaks. Keep a small kit of common seals and O-rings on hand.
Electrical and control issues: resets, sensors, and safety
This Steamist Troubleshooting Guide covers common electrical faults and control problems. Safety is key when dealing with electricity.
Checklist for electrical issues
- Turn power off before touching wiring or parts.
- Check breakers and fuses for the steam unit circuit.
- Inspect connectors for burn marks or loose wires.
- Test sensors, switches, and relays for proper operation.
- Follow the controller manual for safe reset procedures.
If the controller shows an error, note it and consult the manual. Replacing a faulty relay or sensor often restores reliable operation. When in doubt, contact a licensed electrician.
Maintenance best practices to avoid problems
Good routine care is central to this Steamist Troubleshooting Guide. Simple maintenance extends life and cuts service calls.
Maintenance tips
- Flush the steam generator at the recommended interval.
- Clean or replace water filters monthly or as needed.
- Inspect seals, valves, and fittings for wear every three months.
- Use manufacturer-approved water treatments when required.
- Keep an access log of service dates and parts replaced.
From my experience, owners who log maintenance avoid most major failures. A short checklist on the wall helps house staff stay consistent.
Parts, tools, and when to call a pro
This Steamist Troubleshooting Guide helps you identify common parts and when to seek help. Knowing limits prevents costly mistakes.
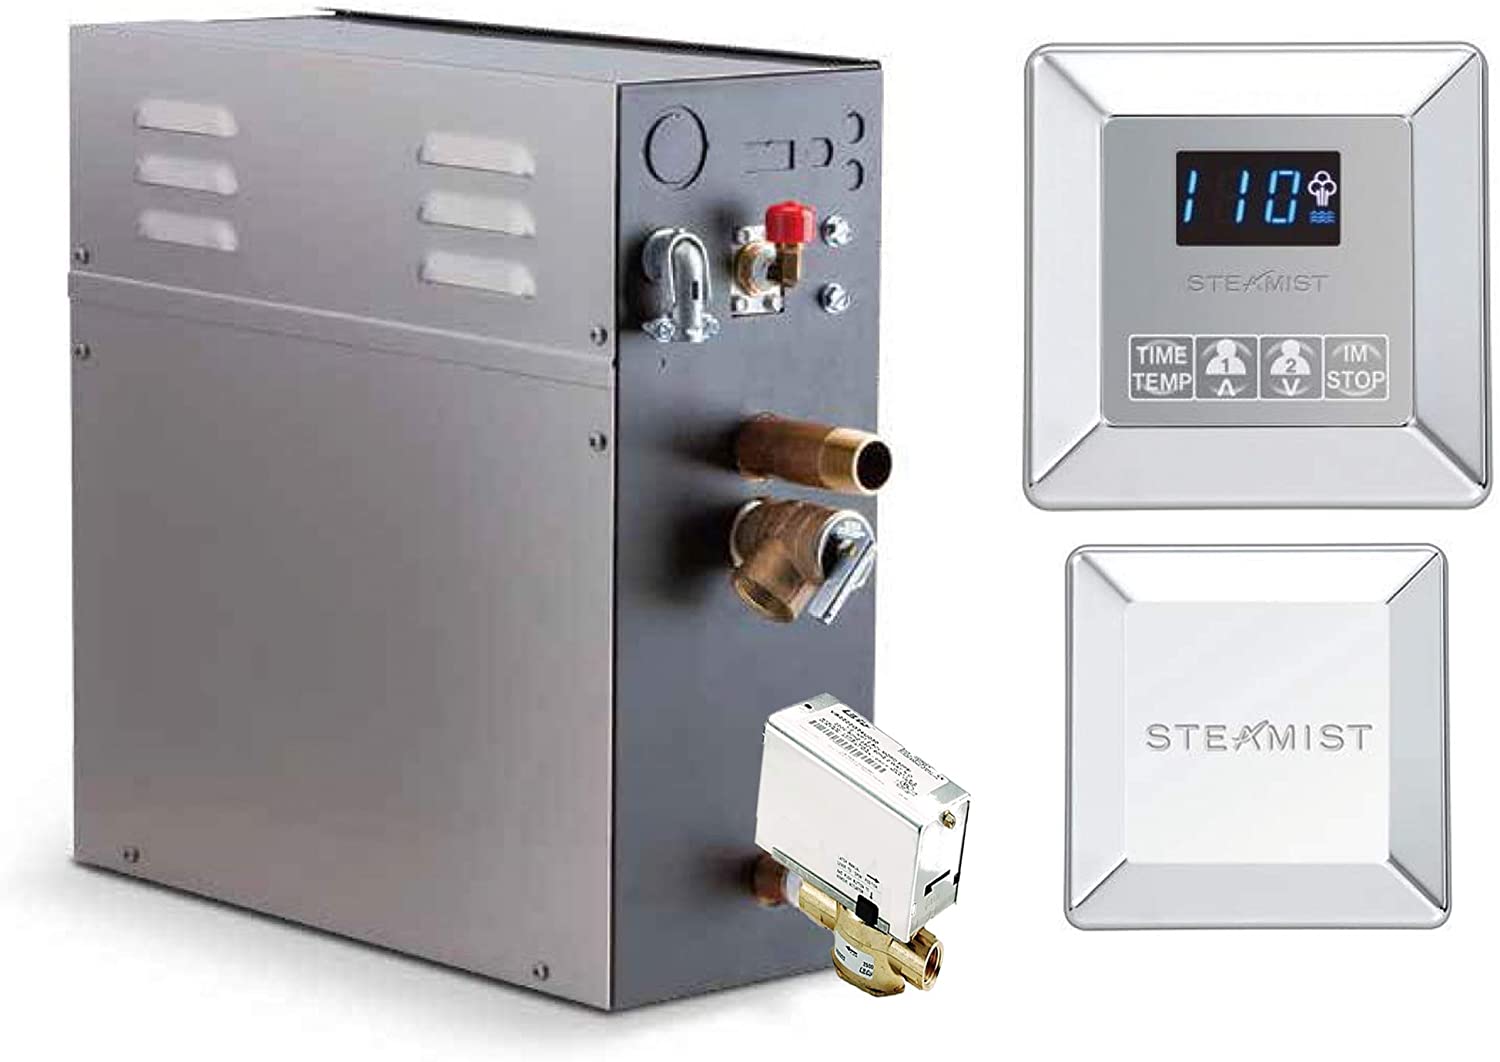
Common parts to check or replace
- Solenoid fill valve
- Heater element or cartridge
- Float switch and level sensors
- Pressure and temperature sensors
- Seals, O-rings, and drain valves
Basic tools to keep
- Multimeter for electrical checks
- Small socket and nut drivers
- Adjustable wrench and pliers
- Replacement O-rings and seal kit
- Cleaning brush and descaling solution
Call a professional when
- High voltage or complex wiring is involved.
- The unit needs internal repairs covered by warranty.
- You find extensive corrosion or multiple failed parts.
- You lack tools or confidence to work safely.
When I started, I attempted a complex controller replacement and learned to stop and call tech support. That saved time and protected the warranty.
Troubleshooting checklist and quick reference
Keep this checklist from the Steamist Troubleshooting Guide near your unit. It saves time during an issue.
Quick reference
- Check power and breaker.
- Verify water supply and valves.
- Inspect for leaks and scale.
- Record any error codes.
- Test key electrical components.
- Clean or descale if needed.
- Replace worn parts and seals.
- Call pro if unsure or if safety risk exists.
A printed checklist shortens service calls and guides staff actions. Use it as a first response plan for steam problems.
People also ask — quick answers from the Steamist Troubleshooting Guide
What causes a Steamist unit to trip the breaker?
- A shorted heater element, loose wiring, or a failing relay often trips the breaker. Check the element and wiring before replacing parts.
How often should I descale or flush the Steamist unit?
- Descale frequency depends on water hardness. Many owners flush monthly or as the manual states when water is hard.
Can I reset my Steamist control panel safely?
- Yes, follow the manual reset procedure after turning power off briefly. If errors persist, record codes and seek service.
Is it safe to run a Steamist unit with a small leak?
- No. Even small leaks can cause electrical hazards or damage. Stop use and fix the leak promptly.
How do I know if the float switch is bad?
- If the unit fails to fill or overfills, the float or level sensor may be stuck. Inspect, clean, or test continuity to confirm.
Frequently Asked Questions of Steamist Troubleshooting Guide
Why won’t my Steamist unit produce steam even with power on?
Check water supply and float switch first. If those are fine, test the heater element and look for heavy scale on the element.
What does a specific error code mean on the controller?
Error codes map to specific faults in the manual. Write the code down and match it to the manual for targeted fixes.
How do I safely descale a Steamist generator?
Follow the manufacturer’s descaling steps and use approved descaling solutions. Never use harsh acids or shortcuts that risk damage.
How long do Steamist replacement parts usually last?
Life varies by part and water quality. Elements and seals may fail in a few years with hard water, while sensors last longer with proper care.
Can I replace a Steamist heater element myself?
Yes, if you are comfortable with basic electrical safety and follow instructions. Turn power off and follow the manual or hire a pro if unsure.
How often should a professional service my Steamist unit?
A yearly professional check is a good rule for most systems. More frequent service helps in hard-water areas or heavy use.
Conclusion
This Steamist Troubleshooting Guide gives clear steps to find and fix common issues. Use the quick checks first, then follow step-by-step fixes for no steam, leaks, or electrical faults. Keep a simple maintenance plan and parts kit to prevent most problems. Take action today by running the quick checklist and logging any errors you find. Share your experience in the comments or subscribe for more practical guides.

