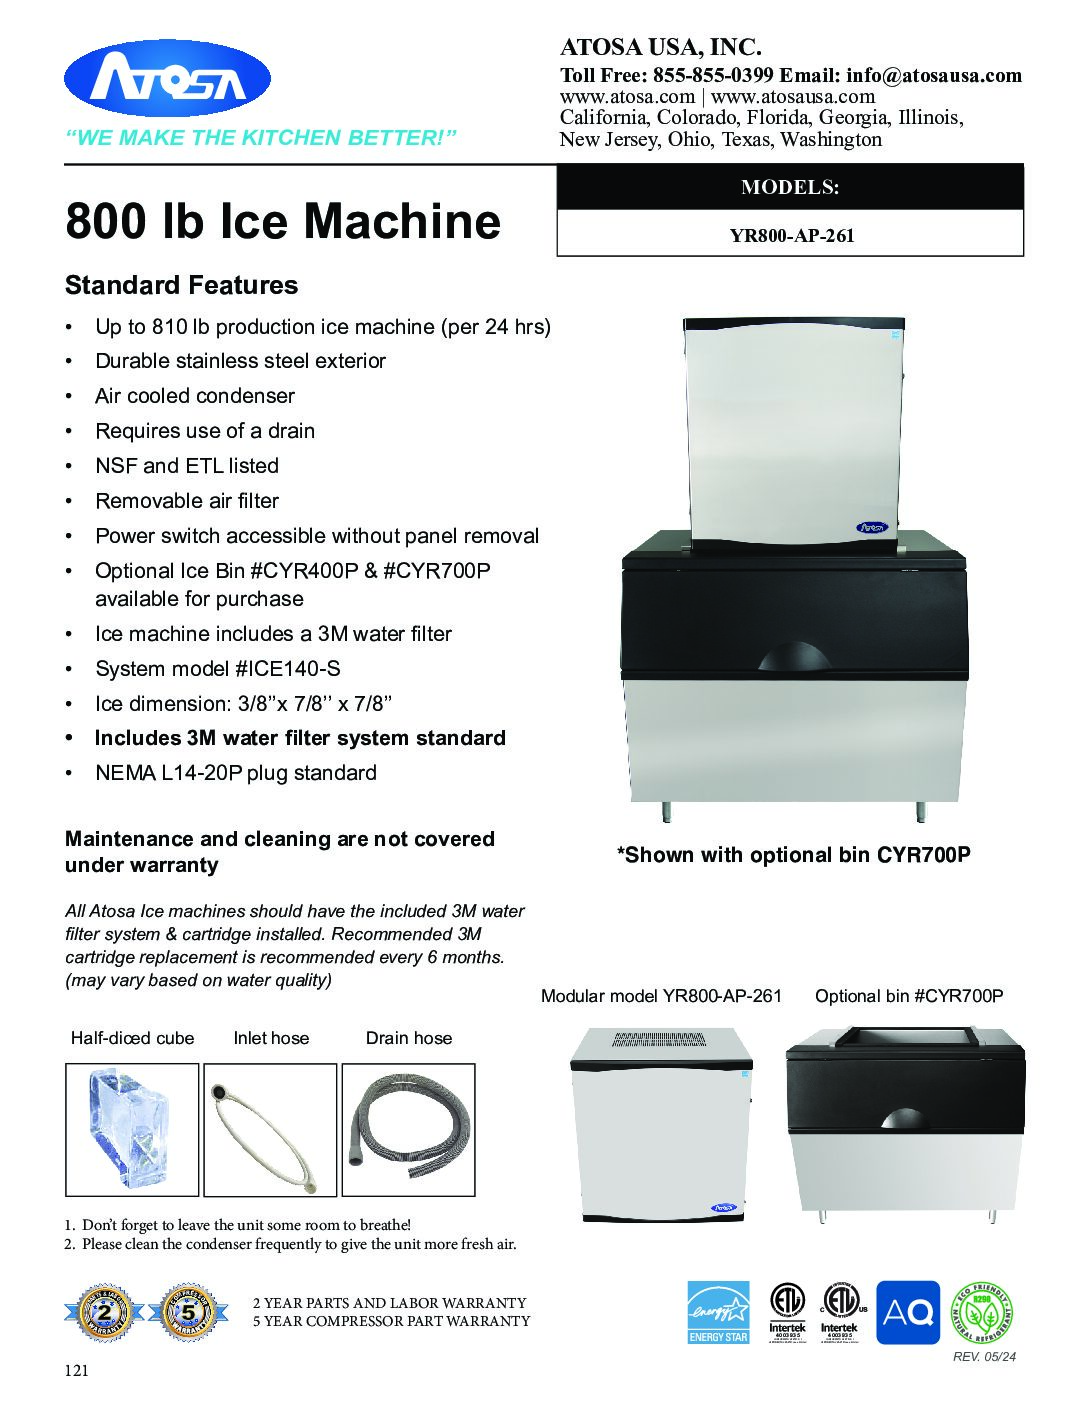
Cleaning an Atosa ice maker is not just a task—it’s a key part of keeping your business running smoothly. Ice makers in restaurants, hotels, bars, or even busy offices must produce clean, safe ice daily. A dirty machine leads to bad-tasting ice, can spread bacteria, and may even break down.
Many people think cleaning is simple, but there are steps, checks, and details that matter. If you follow the right process, your Atosa ice maker can last longer, work better, and produce ice that’s safe for everyone.

36% off Today’s Exclusive Deals
Limited-time Exclusive Deals. Check current discount on Amazon.
Check Price on Amazon As an Amazon Associate I earn from qualifying purchases.This guide is your practical roadmap. It explains how to clean an Atosa ice maker step by step, what tools and products you need, and how often to clean. You’ll also learn common mistakes, how to spot early trouble signs, and ways to avoid costly repairs.
Whether you’re new to Atosa machines or just want to improve your cleaning routine, you’ll find clear, simple instructions and expert advice here. Let’s make sure your ice stays clean, your machine stays healthy, and your customers stay happy.
Why Cleaning Your Atosa Ice Maker Matters
When you run a business or serve customers, ice quality is just as important as food quality. Dirty ice can carry bacteria like E. coli or Salmonella, which can lead to serious health problems. The U.S. Centers for Disease Control (CDC) report that contaminated ice has caused outbreaks in restaurants and hospitals. Even small amounts of mold or mineral buildup can change the taste and smell of ice, making drinks unpleasant.
Cleaning also protects your investment. Atosa ice makers are known for reliability, but like all machines, they need care. Hard water can leave scale—a chalky buildup that reduces efficiency. Dust and debris can block air vents, making the machine work harder and use more energy. Regular cleaning keeps your ice maker running at its best, saves money on repairs, and extends its life.
Tools And Products You’ll Need
Before you start, gather the right tools and supplies. Using the wrong products can damage your machine or leave harmful residues.
Basic Tools
- Soft cloths or sponges (non-abrasive)
- Small brush (like a toothbrush)
- Bucket or basin
- Gloves (nitrile or latex)
- Safety goggles (optional, but recommended)
Cleaning Solutions
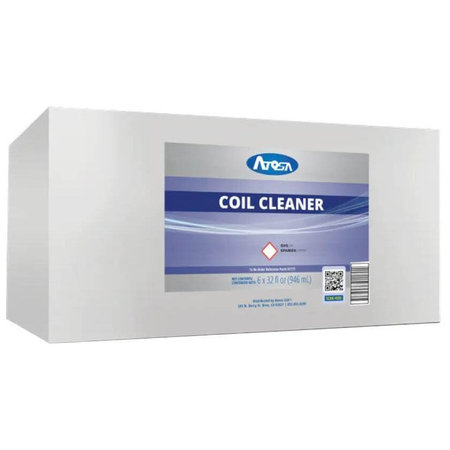
- Food-grade ice machine cleaner: Many brands are available, but Atosa recommends specific cleaners for their machines.
- Sanitizer: Use a commercial sanitizer approved for food equipment.
- Warm water
Other Supplies
- Screwdriver (for panels)
- Towels for drying
- Replacement filters (if your model uses them)
Never use bleach or harsh chemicals unless the manufacturer recommends it. These can damage seals and leave residues.
Step-by-step Cleaning Process
Cleaning an Atosa ice maker is more than just wiping surfaces. Each step is important for safety and performance.
1. Turn Off And Unplug
Always start by turning off the machine and unplugging it. This prevents accidents and protects the electronics.
2. Remove Ice And Empty Bin
Take out all ice from the bin. Discard the ice—it may contain bacteria or cleaning residues.
3. Disassemble Parts
Remove any ice trays, water troughs, or filters according to your model. Check your Atosa manual for diagrams. Most parts slide out easily, but some need a screwdriver.
4. Clean Removable Parts
Mix warm water with your food-grade cleaner. Soak removable parts for 10–15 minutes. Use the brush to scrub any buildup. Rinse thoroughly with clean water, then let them air dry.
5. Clean Interior Surfaces
Wipe the inside of the bin and ice-making area with a cloth dipped in cleaner. Pay extra attention to corners and seams—these spots often collect mold or minerals.
6. Sanitize
Mix your sanitizer as directed. Wipe all surfaces, including removable parts, with sanitizer. Let the solution sit for 5 minutes, then rinse with clean water.
7. Clean Exterior
Wipe the outside of the machine with a damp cloth. Clean air vents and panels—dust here can affect performance.
8. Replace Parts And Filters
Once dry, reassemble everything. If your machine uses water filters, replace them now. Old filters can slow ice production and reduce quality.
9. Run A Cleaning Cycle
Plug the machine back in. Run one or two cycles to flush out any leftover cleaner. Discard the first batch of ice.
10. Inspect And Test
Check for leaks, unusual noises, or error messages. Make sure ice looks clear and tastes clean.
How Often To Clean Your Atosa Ice Maker
Cleaning frequency depends on how much you use your ice maker, your water quality, and your environment.
- Daily: Wipe exterior and scoop
- Weekly: Clean bin, sanitize surfaces
- Monthly: Deep clean and sanitize, check filters
- Quarterly: Remove scale, inspect all parts
- Annually: Professional inspection
If your business is busy or your water is hard, clean more often. If you see mold, scale, or cloudy ice, clean right away.
Common Cleaning Mistakes And How To Avoid Them
Even experienced staff can miss key steps. Here are mistakes to watch for:
- Skipping the sanitizer: Cleaning removes dirt, but only sanitizing kills bacteria.
- Using the wrong cleaner: Some chemicals damage seals or leave taste in ice.
- Not rinsing well: Residue from cleaner or sanitizer can make ice taste bad.
- Forgetting air vents: Dust can block cooling and cause breakdowns.
- Ignoring filters: Old filters let minerals through, causing scale.
A non-obvious tip: Always check inside seams and corners with a flashlight. These are hidden spots where mold and scale start. Another overlooked detail is the drain line—clean and flush it every month to prevent clogs and odors.
Early Warning Signs Your Machine Needs Cleaning
If you notice any of these signs, clean your Atosa ice maker right away:
- Cloudy ice or odd taste
- Reduced ice production
- Unusual noises or vibrations
- Visible mold or scale
- Error codes on the display
Waiting until your machine stops working is risky and expensive. Quick action saves time and money.
Understanding Atosa Ice Maker Models
Atosa offers several ice maker models, each with unique features. Cleaning steps are similar, but there are differences in size, filter placement, and panel access.
Here’s a comparison of three popular Atosa models:
| Model | Ice Production | Cleaning Frequency | Removable Parts |
|---|---|---|---|
| MIM-50 | 50 lbs/day | Monthly | Tray, Filter |
| MIM-130 | 130 lbs/day | Every 2 weeks | Tray, Filter, Panel |
| MIM-360 | 360 lbs/day | Weekly | Multiple Trays, Filters |
Larger machines need more frequent cleaning because they handle higher volumes and are more likely to develop buildup. Always check your model’s manual for specific cleaning instructions.
Water Quality: The Hidden Factor
Water quality plays a huge role in ice maker health. Hard water contains minerals that cause scale. Soft water is less likely to cause buildup, but may still carry bacteria.
A study by the National Sanitation Foundation (NSF) found that machines in areas with hard water needed cleaning twice as often. If your water is hard (over 120 ppm calcium), use a filter and descale regularly.
Here’s a quick guide to water types:
| Water Type | Cleaning Frequency | Filter Needed? | Scale Risk |
|---|---|---|---|
| Hard (over 120 ppm) | Weekly | Yes | High |
| Soft (under 60 ppm) | Monthly | Optional | Low |
| Chlorinated | Monthly | Yes | Medium |
If you’re not sure about your water quality, ask your local supplier or use a test kit.
Sanitation And Health Standards
To stay compliant with health codes, always follow sanitation guidelines. The U. S. Food and Drug Administration (FDA) requires food equipment to be cleaned and sanitized regularly. Failure can lead to fines or shutdowns.
Some states require logs showing cleaning dates and methods. Keep a cleaning log with staff initials and dates. This simple record can help you pass inspections and spot trends.
Cleaning Frequency Vs Ice Quality: What The Data Shows
Many owners ask: “Will more frequent cleaning really improve ice?” The answer is yes. A survey by the International Association of Food Protection found that ice samples from machines cleaned monthly had 80% fewer bacteria than machines cleaned quarterly. Ice produced after cleaning tasted noticeably better and melted more slowly.
Here’s a quick summary of cleaning frequency and ice quality:
| Cleaning Frequency | Bacterial Count (CFU/ml) | Customer Complaints |
|---|---|---|
| Weekly | 10 | Rare |
| Monthly | 50 | Occasional |
| Quarterly | 150 | Frequent |
Non-obvious insight: Even if ice looks clear, bacteria can still be present. Relying only on appearance is risky. Always sanitize, even after thorough cleaning.
Practical Tips For Busy Businesses
If your staff is busy, cleaning can get skipped. Here’s how to make it easier:
- Create a cleaning checklist: Simple, step-by-step tasks help staff remember each action.
- Schedule cleaning during slow hours: Early morning or late night is best.
- Use color-coded tools: Separate brushes for ice bin and exterior prevent cross-contamination.
- Train all staff: Don’t rely on one person. If everyone knows the process, cleaning happens on time.
A tip many miss: Label cleaning bottles clearly and store them away from food. Accidentally using food-prep tools for ice maker cleaning can cause contamination.
Troubleshooting Common Problems After Cleaning
Sometimes, issues arise even after cleaning. Here’s how to handle them:
- Machine won’t start: Check connections and make sure panels are secure.
- Ice is cloudy: Run extra rinse cycles; check water filter.
- Strange taste: Rinse again, check for leftover cleaner.
- Low ice production: Inspect for blocked vents or scale in water lines.
- Leaks: Check seals and drain line; reseat parts if needed.
If problems continue, contact Atosa support or a qualified technician.
When To Call A Professional
Most cleaning is simple and can be done by staff. But some issues need expert help:
- Heavy scale buildup
- Electrical problems
- Persistent mold
- Broken parts
Professional technicians have tools for deep cleaning and can spot early signs of trouble. Atosa recommends a yearly inspection by a certified tech.
Sustainability And Eco-friendly Cleaning
If you care about the environment, choose biodegradable cleaners and low-phosphate sanitizers. These products work well without harming water systems. Reuse towels and avoid single-use wipes to cut waste.
Some businesses use filtered water for both ice and cleaning. This reduces minerals and helps the machine last longer.

Keeping Your Atosa Ice Maker Clean: Summary Checklist
Here’s a quick cleaning checklist for Atosa ice makers:
- Turn off and unplug
- Remove ice and empty bin
- Disassemble removable parts
- Clean parts with food-grade cleaner
- Rinse and air dry
- Wipe interior surfaces
- Sanitize all areas
- Clean exterior and vents
- Replace parts and filters
- Run cleaning cycle and discard first ice
- Inspect for issues
Follow this routine for safe, tasty ice every day.
Frequently Asked Questions
How Do I Know Which Cleaner To Use For My Atosa Ice Maker?
Use food-grade ice machine cleaners recommended by Atosa. Check your model’s manual for approved products. Never use bleach unless specified. These cleaners remove scale and bacteria without harming parts.
How Long Does The Cleaning Process Take?
A full deep clean takes about 60–90 minutes. Quick daily cleaning (wiping surfaces) takes 10–15 minutes. Plan cleaning during slow hours to avoid disrupting business.
Can I Use Vinegar To Clean My Atosa Ice Maker?
Vinegar can remove scale, but it’s not a sanitizer. Atosa does not recommend vinegar for routine cleaning. Always use commercial cleaners and sanitizers for best results.
What Happens If I Don’t Clean My Ice Maker Regularly?
Skipping cleaning leads to bacterial growth, bad-tasting ice, lower production, and machine breakdowns. It can also cause health code violations and costly repairs.
Where Can I Find Official Cleaning Instructions?
Official instructions are available from Atosa and food safety organizations. For more details, visit Atosa USA Support.
Keeping your Atosa ice maker clean is simple when you follow the right steps. Safe, tasty ice is a sign of quality and care. Regular cleaning protects your customers, your reputation, and your machine. With these tips and expert advice, you can make cleaning easy, efficient, and effective—no matter how busy your business gets.