

Installing Windows 11 can seem challenging, especially if you have never done it before. But with the right steps, the process becomes much easier. Whether you are upgrading from Windows 10, doing a clean install, or setting up a new PC, this guide will help you understand every part of the process.
In this article, you will learn how to prepare your computer, download the official Windows 11 files, and complete the installation. You will also find important tips and answers to common questions. By the end, you will feel confident about installing Windows 11 on your own.

36% off Today’s Exclusive Deals
Limited-time Exclusive Deals. Check current discount on Amazon.
Check Price on Amazon As an Amazon Associate I earn from qualifying purchases.System Requirements For Windows 11
Before you start, it’s important to know if your computer meets the Windows 11 system requirements. Microsoft has set stricter rules for Windows 11 compared to previous versions. These requirements help make your PC more secure and reliable.
| Component | Minimum Requirement | Recommended for Best Experience |
|---|---|---|
| Processor | 1 GHz, 2 cores, 64-bit | Modern Intel/AMD, 4+ cores |
| RAM | 4 GB | 8 GB or more |
| Storage | 64 GB | SSD, 128 GB or more |
| Graphics Card | DirectX 12, WDDM 2.0 | Recent GPU, WDDM 2.0+ |
| System Firmware | UEFI, Secure Boot | Latest UEFI BIOS |
| TPM | TPM 2.0 | TPM 2.0 enabled |
| Display | 720p, 9” diagonal | 1080p or higher |
| Internet | Required for updates & setup | Fast, stable connection |
Key requirements that often cause trouble are Secure Boot and TPM 2.0. Many older PCs do not have these features, or they are turned off in the BIOS. Double-check these before you begin.
How To Check If Your Pc Is Compatible
To avoid problems, you should check if your computer meets all Windows 11 requirements.
- Download the PC Health Check tool from the official Microsoft website.
- Install and run the tool.
- Click on “Check now.” The tool will tell you if your PC can run Windows 11.
If your PC fails the check, you will see which parts do not meet the requirements. Sometimes, enabling Secure Boot or TPM in your BIOS will fix the issue. If your PC is too old, you may need to upgrade your hardware or stay on Windows 10.
Backup Your Important Data
Backing up data is a step many people skip, but it is very important. Even if you plan to upgrade (not do a clean install), things can go wrong. Always protect your files before making big changes.
- Use an external hard drive or a large USB flash drive.
- Use cloud storage like OneDrive or Google Drive.
- Copy important folders: Documents, Pictures, Desktop, Downloads.
- Export your browser bookmarks and passwords if you use local accounts.
You can also use the built-in Windows Backup tool to create a full system image. This way, you can restore your system if the installation fails.
Choosing The Right Installation Method
There are three main ways to install Windows 11:
- Upgrade using Windows Update: This is the easiest way if you have a compatible Windows 10 PC.
- Clean install with a USB drive: This wipes your PC and installs Windows 11 fresh.
- Install using the Installation Assistant: This tool helps you upgrade directly from Windows 10.
The best method depends on your needs. Upgrading keeps your files and apps. A clean install is best for old or slow PCs, or if you want a fresh start.
| Method | Keeps Files & Apps? | Best For | Difficulty |
|---|---|---|---|
| Windows Update | Yes | Most users with compatible PCs | Easy |
| Clean Install (USB) | No | Old PCs, major problems | Medium |
| Installation Assistant | Yes | Manual upgrade, more control | Easy |
How To Upgrade Using Windows Update
If you are running Windows 10 and your PC is compatible, this is the simplest way.
- Open Settings > Update & Security > Windows Update.
- Click Check for updates.
- If Windows 11 is available for your PC, you will see an option to download and install.
- Click Download and install.
- Follow the on-screen instructions. Your PC will restart several times.
This method keeps your files and most apps. However, some old programs may not work after the upgrade. You can roll back to Windows 10 within 10 days if you have problems.
Practical tip: After upgrading, check your drivers. Some devices may need new drivers for Windows 11.
How To Use The Installation Assistant
The Windows 11 Installation Assistant is a tool from Microsoft that helps you upgrade if Windows Update does not offer the upgrade.
- Download the tool from the official Microsoft website.
- Run the program and accept the license terms.
- The tool will check your PC for compatibility. If you pass, click Next.
- Windows 11 will download and install automatically.
- Your PC will restart several times during the process.
This method also keeps your files and apps. It is useful if Windows Update is slow or not working on your system.
Non-obvious insight: The Installation Assistant sometimes bypasses minor hardware warnings, but you still need TPM 2.0 and Secure Boot.
How To Do A Clean Install Using A Usb Drive
A clean install removes everything from your PC and installs Windows 11 fresh. This is the best way to fix deep system problems or remove old files and viruses.
What You Need
- A USB drive (at least 8 GB)
- Another computer to create the USB installer
- The Media Creation Tool from Microsoft
Steps To Create A Bootable Usb Drive
- Download the Media Creation Tool from Microsoft’s Windows 11 download page.
- Plug your USB drive into the computer.
- Run the tool, choose “Create installation media for another PC.”
- Select your language and edition (Windows 11).
- Choose “USB flash drive” and pick your USB from the list.
- The tool will download Windows 11 and make the USB bootable.
Installing Windows 11 From The Usb
- Plug the USB drive into the PC where you want to install Windows 11.
- Restart the computer. Enter the BIOS/UEFI settings (often by pressing F2, F12, Delete, or Esc during startup).
- Change the boot order so the USB drive is first.
- Save and exit. Your PC will boot from the USB drive.
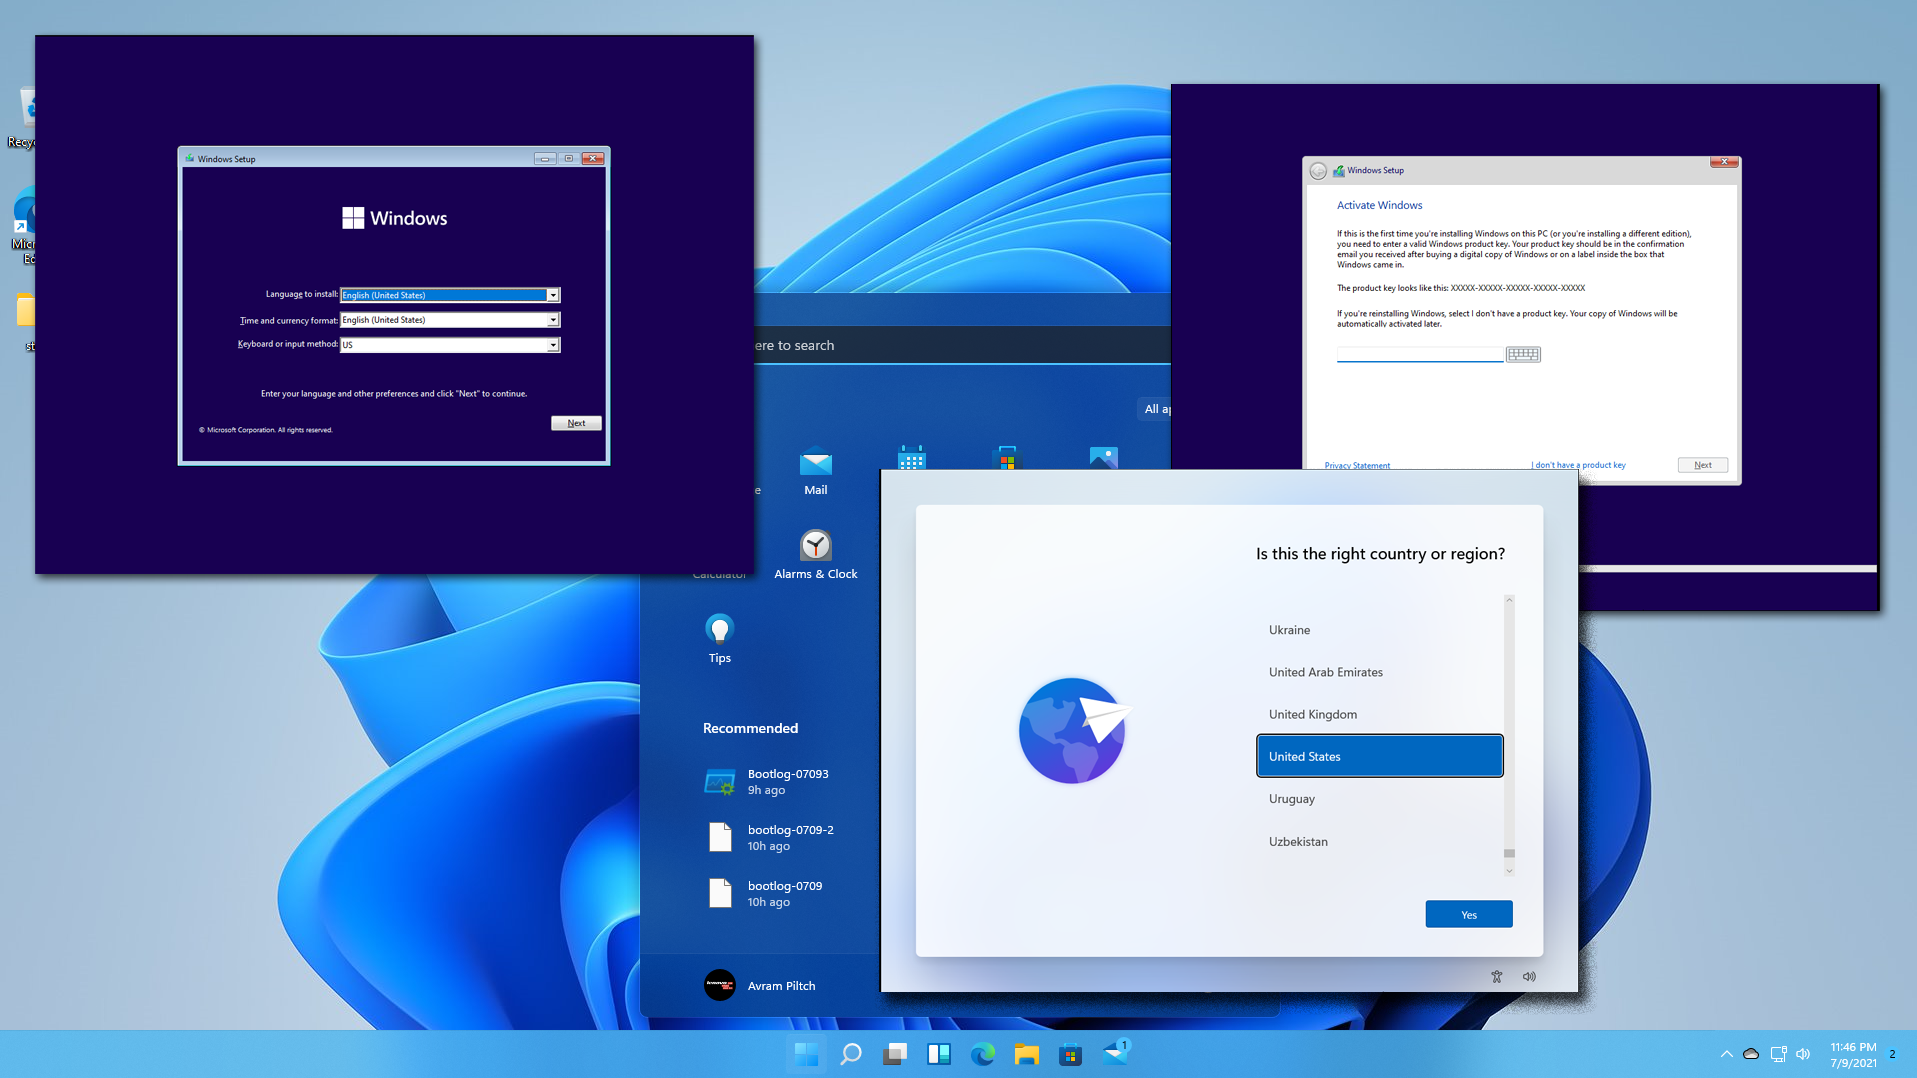
- When the Windows setup screen appears, choose your language and region.
- Click Install Now.
- If asked, enter your Windows 11 product key, or click “I don’t have a product key” to use it later.
- Choose “Custom: Install Windows only (advanced)” for a clean install.
- Select the drive/partition to install Windows 11. Delete old partitions if you want a completely fresh start (be careful, this erases all data).
- Click Next and let the installation finish. Your PC will restart several times.
Important: After a clean install, you will need to reinstall your programs and restore your files from backup.
Common Mistakes To Avoid
- Not backing up data before a clean install.
- Deleting the wrong partition (double-check before you erase).
- Forgetting to enable TPM or Secure Boot in the BIOS.
- Using an old USB drive that fails during installation.
First-time Setup After Installing Windows 11
Once Windows 11 is installed, you need to finish the setup.
- Choose your region and keyboard layout.
- Connect to Wi-Fi or Ethernet.
- Sign in with a Microsoft account (required for most features).
- Set up a PIN for quick sign-in.
- Choose privacy settings (location, diagnostics, ads).
- Restore your files from backup if you did a clean install.
- Install drivers for graphics, sound, and network devices if needed.
Non-obvious insight: Windows 11 can sometimes skip device drivers. Always check Device Manager for missing drivers after setup.

Troubleshooting Common Problems During Installation
Even with careful preparation, some issues can happen during installation. Here are some of the most common, and how to fix them:
Installation Stuck Or Slow
- Check your internet speed. A slow connection can make downloading files take hours.
- Try a different USB port if installing from a USB drive.
- Disconnect extra devices (printers, webcams, etc.) During setup.
Error Messages About Tpm Or Secure Boot
- Enter your BIOS/UEFI settings.
- Find the Security or Boot section.
- Enable TPM (sometimes called PTT or fTPM) and Secure Boot.
- Save changes and restart.
Not Enough Space
- Delete old files or uninstall unused apps.
- Attach an external drive temporarily for extra space.
- Use Disk Cleanup or Storage Sense in Windows.
Activation Issues
- If you had Windows 10 activated, Windows 11 should activate automatically.
- If not, enter your product key manually in Settings > System > Activation.
- If you still have problems, contact Microsoft support.
Key Features And Changes In Windows 11
You may be wondering what’s new in Windows 11. Here are some highlights:
- Redesigned Start Menu: Centered, clean, and focused on apps.
- Snap Layouts: Easily arrange windows on your screen.
- Widgets: Quick access to weather, news, and calendar.
- Better Gaming: Improved graphics, Auto HDR, and DirectStorage.
- Enhanced Security: Stronger requirements for TPM and Secure Boot.
- Microsoft Teams Integration: Chat and video right from the taskbar.
Practical tip: If you dislike the new centered Start Menu, you can move it back to the left in settings.
Should You Upgrade To Windows 11?
Deciding to upgrade is a personal choice. Windows 11 brings new features and better security, but not all apps and devices are compatible yet. Here’s a quick comparison:
| Windows 10 | Windows 11 | |
|---|---|---|
| Support End Date | October 2025 | Ongoing |
| System Requirements | Lower | Higher |
| New Features | Fewer | Many |
| Stability | Very Stable | Still Improving |
If your PC is compatible and you want the latest features, Windows 11 is a good choice. If you use special software or old hardware, you might want to wait.
Experience-based insight: Many users find Windows 11 runs faster on modern hardware, but some older programs may not work without updates.
Essential Tips Before And After Installation
- Check driver availability: Visit your PC maker’s website for Windows 11 drivers before starting.
- Write down your product key: If you have a retail copy, keep the key safe.
- Have a backup: Even if nothing goes wrong, it’s better to be safe.
- Plan for downtime: The process can take 1–3 hours, depending on your PC and internet speed.
- Update after installation: Run Windows Update multiple times to get all the latest fixes and drivers.
When You Should Not Install Windows 11
Not everyone should install Windows 11 right away. You may want to wait if:
- Your PC is not compatible and you don’t want to use workarounds.
- You run critical business software not yet tested with Windows 11.
- You have older hardware (pre-2017) that lacks TPM or Secure Boot.
- You rely on features removed in Windows 11 (like Live Tiles or certain taskbar customizations).
Non-obvious insight: Forcing Windows 11 onto unsupported PCs can cause update problems later, and some security features may not work.
Where To Download Windows 11 Safely
Always download Windows 11 from the official Microsoft website. This protects you from malware and fake installers. Here’s where you can get it:
- Windows Update (built into Windows 10)
- Microsoft’s Windows 11 download page for the Installation Assistant or Media Creation Tool: Microsoft Windows 11 Download
Never use unofficial sources. Pirated or modified installers can damage your PC or steal your data.
Frequently Asked Questions
What Happens If My Pc Is Not Compatible With Windows 11?
If your PC fails the compatibility check, you cannot install Windows 11 using official tools. Some people use workarounds, but this is not recommended. Unsupported PCs may miss security updates, and some features won’t work. Staying on Windows 10 is safer until you can upgrade your hardware.
Can I Go Back To Windows 10 After Upgrading?
Yes, you can return to Windows 10 within 10 days of upgrading, using the built-in recovery option. After 10 days, you must do a clean install of Windows 10. Remember to back up your files before downgrading.
Is Windows 11 Free?
Windows 11 is a free upgrade for most Windows 10 users with genuine licenses. If you are doing a clean install, you can use your Windows 10 product key. New PCs often come with Windows 11 included. For other cases, you may need to buy a license.
Will My Old Programs And Devices Work With Windows 11?
Most programs and devices that work on Windows 10 will work on Windows 11. However, some older apps or hardware may not be supported. Always check with the software or device maker before upgrading.
How Can I Make Windows 11 Run Faster?
To improve performance, update all drivers, uninstall unused apps, and use an SSD instead of an old hard drive. Also, keep Windows updated and avoid installing programs from unknown sources.
Upgrading to Windows 11 is a big step, but it is easier than many people think. Taking your time to prepare, backing up your data, and following each step carefully will help you avoid problems. With your PC running Windows 11, you can enjoy the latest features, better security, and a fresh new look.
If you have questions, the official Microsoft support pages and community forums are also very helpful.

