
Most Raynor opener issues are simple fixes: check sensors, remote, wiring, tracks, and power.
I’ve worked on many residential garage systems and trained with technicians on Raynor Garage Door Opener Troubleshooting. This guide explains clear steps to diagnose and repair common Raynor problems, share real-world tips I’ve learned, and help you decide when to DIY and when to call a pro. Read on to get fast wins and long-term care advice for your Raynor garage door opener.

Why Raynor Garage Door Opener Troubleshooting Matters
Raynor Garage Door Opener Troubleshooting saves time and money. A small fix can keep your door safe and reliable. Ignoring a squeak, sensor fault, or weak remote battery can lead to bigger failures. This section explains why early troubleshooting matters and how simple checks can prevent costly repairs.
Common benefits of routine troubleshooting:
- Keeps family safe by ensuring sensors and auto-reverse work.
- Extends opener life by preventing motor strain.
- Reduces emergency service calls and unexpected lockouts.
I’ve seen people call out technicians for problems that were fixed in 10 minutes by aligning sensors or resetting codes. That’s why learning basic Raynor Garage Door Opener Troubleshooting is worth your time.

Safety First: Tools and Precautions for Raynor Garage Door Opener Troubleshooting
Safety is the top priority when you do Raynor Garage Door Opener Troubleshooting. Garage doors are heavy and springs store dangerous energy. Follow these safety rules before any checks or repairs.
Basic safety steps:
- Disconnect power to the opener before working on wiring or the motor.
- Keep fingers clear of moving parts and pinch points.
- Do not try to adjust springs unless you are trained. Springs can cause severe injury.
- Use a ladder and proper lighting for overhead work.
- Wear safety glasses and gloves for small repairs.
Tools that help with Raynor Garage Door Opener Troubleshooting:
- Multimeter for voltage checks.
- Small screwdriver set for sensor adjustments.
- Ladder and flashlight.
- Replacement batteries for remotes.
- Lubricant for rollers and tracks.
Quick Diagnostic Checklist for Raynor Garage Door Opener Troubleshooting
Start with a short checklist to identify the problem fast. Use this when the door won’t move, reverses, or the remote fails.
Step-by-step quick check:
- Verify power: Is the opener plugged in and is the circuit breaker on?
- Test wall switch: Does the wall button work? If yes, remote may be at fault.
- Inspect safety sensors: Are the LED lights on and aligned on both sides?
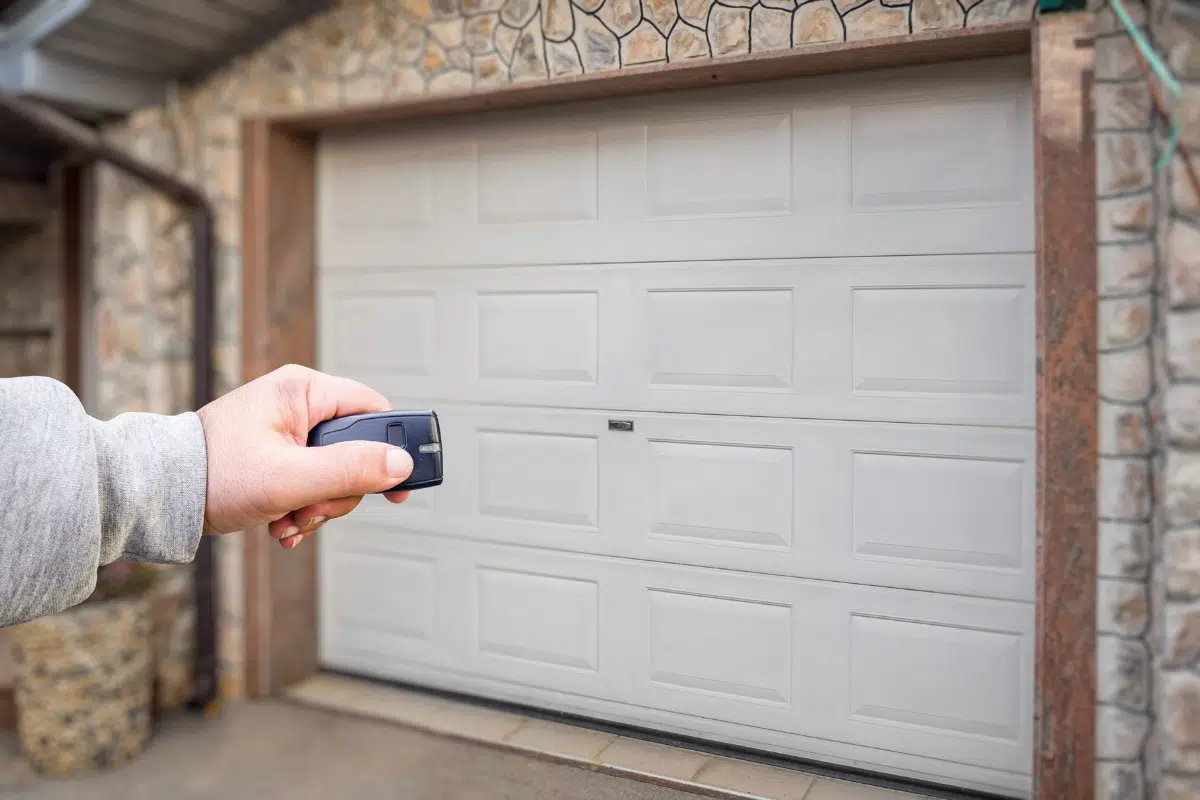
- Check remote battery: Replace batteries and re-test.
- Look for obstructions: Clear tracks and sensors of objects or dirt.
- Listen for the motor: Does the motor hum but the door won’t move? Could be a drive or gear issue.
- Try manual release: Pull the emergency release to operate door by hand. If the door is heavy, don’t force it.
These steps cover most common failures found during Raynor Garage Door Opener Troubleshooting and give a quick path to a solution.

Common Problems and Fixes in Raynor Garage Door Opener Troubleshooting
Below are the most frequent issues and how to fix them. I describe simple fixes first, then advanced signs that need a technician.
Door Doesn’t Respond to Remote or Wall Switch
- Check power and circuit breaker. Replace remote battery.
- Test wall switch; if it works and remote doesn’t, reprogram the remote.
- Reprogramming tip: Follow Raynor’s pairing steps or hold learn button then press the remote.
Safety Sensors Not Working or LED Blinking
- Clean lenses with a soft cloth. Misalignment is the top cause.
- Realign sensors until LED lights are steady. Check wiring for breaks.
- If sensor wiring is damaged, replace the sensor; do not bypass sensors.
Door Reverses When Closing
- Check photo-eye alignment and lens cleanliness.
- Inspect travel limits and force settings on the opener; reduce force if the door hits resistance.
- If reversing continues, test with the door manually to see if binding occurs.
Opener Makes Loud Grinding or Humming Noise
- Humming with no movement often means stripped gears or motor issues.
- For belt or chain drives, inspect for tension and wear. Lubricate chain drives lightly.
- If internal gears are worn, schedule a replacement—this is a common Raynor Garage Door Opener Troubleshooting outcome for older units.
Door Moves Unevenly or Sticks
- Check rollers and tracks for dents, debris, or lack of lubrication.
- Tighten loose hardware. Replace worn rollers for smooth travel.
- For severe track damage, call a pro to avoid misalignment of the door.
Remote Range is Poor
- Replace remote battery. Reposition antenna on opener so it points down.
- Check for nearby radio interference from Wi-Fi routers or other devices.
- Reprogram remote and test from different distances.
Lights Won’t Turn On or Flicker
- Replace bulbs with recommended types.
- Inspect opener’s wiring for loose connections.
- Flickering may indicate voltage issues; measure with a multimeter and consider an electrician if voltage is unstable.
Personal tip: I once fixed a unit where the motor ran but the door didn’t move. The emergency release was partially engaged. A quick tug and full reset solved it in minutes. Many people overlook the release mechanism during Raynor Garage Door Opener Troubleshooting.
Advanced Diagnosis and When to Call a Pro
Some issues go beyond simple fixes. These signs mean call a trained Raynor technician.
Red flags to call a pro:
- Broken spring or snapped cable. These are dangerous and need special tools.
- Motor runs but drive gears are stripped. Gear replacement requires opener disassembly.
- Persistent electrical faults or smoke smell. Stop and call a professional electrician or technician.
- Door off the track or bent tracks. Correcting this needs experience.
What a pro will do:
- Use torque and spring tools to adjust tension safely.
- Inspect opener internals and replace worn gear sets or circuit boards.
- Perform full system safety checks and code resets.
Maintenance Tips to Avoid Future Problems
Routine care cuts down emergency repairs. Use these simple maintenance steps for long life.
Monthly checks:
- Test auto-reverse and sensor alignment.
- Check rollers and tracks for debris.
- Listen for odd sounds during operation.
Every 6 months:
- Lubricate rollers, hinges, and opener chain or screw per manufacturer guidelines.
- Inspect weatherstripping and seals.
Yearly:
- Have a professional inspect springs, cables, and opener internals.
- Replace worn parts before they fail.
These habits reduce the need for Raynor Garage Door Opener Troubleshooting and improve safety.

Troubleshooting Examples (Real Cases)
Case 1: Remote Pairing Problem
- Symptom: Remote stopped working after a power outage.
- Fix: Reset opener’s receiver by pressing the learn button, then reprogram the remote. Remote worked again.
Case 2: Door Reverses at Bottom
- Symptom: Door reversed every close attempt.
- Fix: Photo eyes were misaligned due to a washed-out lens. Realigned and cleaned sensor lenses. Problem solved.
Case 3: Humming Motor, No Movement
- Symptom: Motor hummed but door didn’t move.
- Fix: Gear set inside opener was stripped. Replaced gear set and drive sprocket—opener operated smoothly afterward.
These examples reflect common outcomes from Raynor Garage Door Opener Troubleshooting in homes I’ve worked on.

PAA-style Quick Questions
Q: How do I reset my Raynor garage door opener?
A: Press and hold the learn button on the opener for 6 seconds until the LED turns off. Then reprogram remotes and keypads as needed.
Q: Why does my Raynor door reverse before it hits the floor?
A: Misaligned sensors or incorrect force/travel limits are common causes. Clean sensors and adjust force/travel per the manual.
Q: Can I lubricate my Raynor opener?
A: Yes. Lubricate rollers, hinges, and the drive chain or screw per Raynor guidelines. Avoid oil on belts and motor parts.
Frequently Asked Questions of Raynor Garage Door Opener Troubleshooting
How do I know if my Raynor opener has power?
Check that the opener is plugged in and the circuit breaker is on. Test the wall switch and listen for motor noise when pressing it.
What if the safety sensors have steady lights but the door won’t close?
Steady lights usually mean alignment is okay. Check travel limits, force settings, and for any obstructions on the track or bottom seal.
How often should I replace the remote battery?
Replace remote batteries every 1 to 2 years or when the range drops. Cold weather can shorten battery life.
Is it safe to adjust the garage door springs myself?
No. Springs store high energy and can cause injury. Call a trained technician for spring adjustments or replacements.
My opener makes a new grinding noise—what should I do?
Stop using the opener and inspect for loose hardware, worn gears, or broken components. Schedule a service call if the noise continues.
Can I reprogram a lost remote to prevent old remotes from working?
Yes. Clear the opener’s memory by holding the learn button until the LED clears, then reprogram only the remotes you keep.
Conclusion
Raynor Garage Door Opener Troubleshooting starts with simple checks: power, sensors, remote batteries, and tracks. Regular maintenance and early fixes keep doors safe and reliable. If you see broken springs, stripped gears, or persistent electrical issues, hire a pro to avoid risk. Apply these steps, test often, and you’ll cut repair costs and boost safety. Try the quick checklist today, subscribe for updates, or leave a comment with your Raynor troubleshooting story.

