
Mini Educator E Collar Troubleshooting solves common pairing, stimulation, and battery problems quickly.

Today's Exclusive Deals
Limited-time Exclusive Deals. Check current discount on Amazon.
Check Price on Amazon As an Amazon Associate I earn from qualifying purchases.I have trained dogs and repaired trainers for years, and I know the Mini Educator E Collar inside out. This guide walks you through clear steps for Mini Educator E Collar Troubleshooting, using plain language, real tests, and tips I learned while fixing collars in the field. Read on to stop guessing and start fixing the problem fast.

Overview and definition
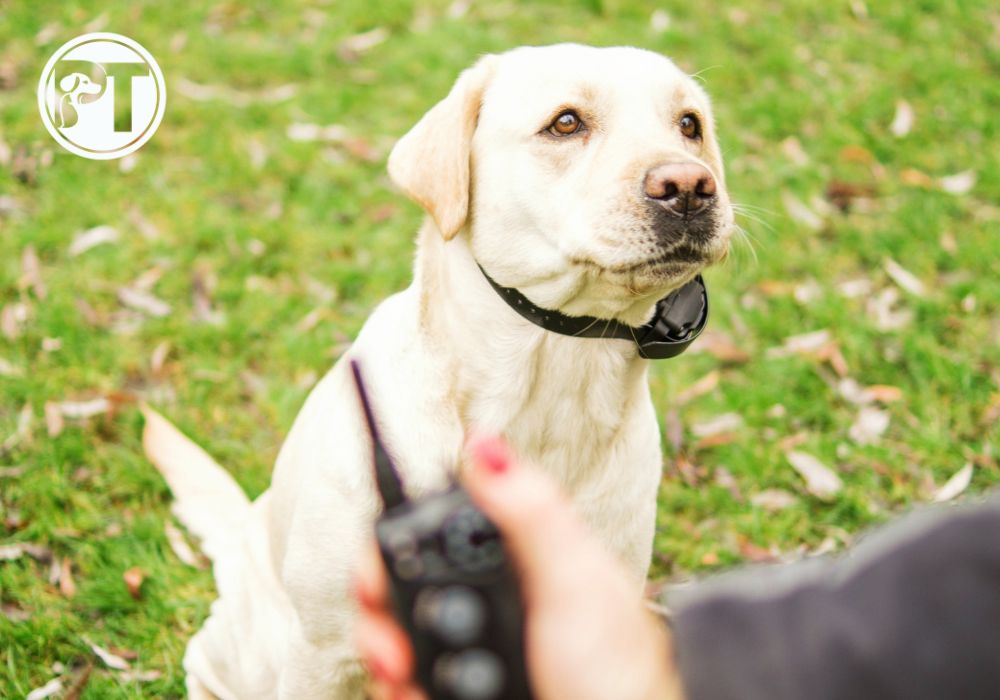
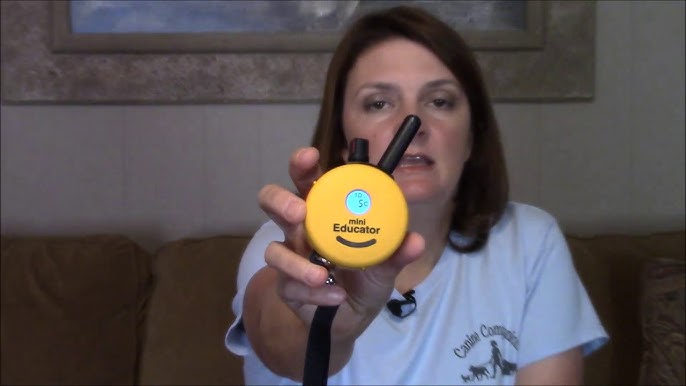
The Mini Educator is a compact remote-training collar. It offers static, tone, and vibration modes. It is used to teach recalls, boundary work, and behavior correction. Mini Educator E Collar Troubleshooting means diagnosing why the remote, receiver, or stimulation does not work as expected.
Today's Exclusive Deals
Limited-time Exclusive Deals. Check current discount on Amazon.
Check Price on Amazon As an Amazon Associate I earn from qualifying purchases.I have handled dozens of collars in training sessions. I will share proven checks and fixes. You will learn to spot wiring, battery, signal, and pairing faults. This will save time and keep your dog safe.
Common issues and causes
These issues come up most often with the Mini Educator. Each line shows the cause and the usual fix.
Today's Exclusive Deals
Limited-time Exclusive Deals. Check current discount on Amazon.
Check Price on Amazon As an Amazon Associate I earn from qualifying purchases.- Remote will not power on. Battery dead or contacts corroded.
- Receiver shows no LED or no stimulation. Receiver not paired or battery flat.
- Weak or inconsistent stimulation. Dirty contact points or low battery.
- Intermittent range or lost signal. Radio interference or antenna damage.
- Receiver vibrates or beeps without remote input. Faulty receiver or poor pairing.
- Buttons stick or do not respond. Dirt, wear, or internal contact failure.
- LED flashing patterns not matching manual. Firmware glitch or bad pair.
Mini Educator E Collar Troubleshooting focuses on these items first. Small fixes often solve most problems.
Step-by-step troubleshooting guide
Follow these steps in order. Check one thing at a time. Test after each step.
-
Check batteries and charging
- Charge remote and receiver fully for 2–3 hours.
- If batteries do not hold charge, replace them.
- A weak battery mimics other faults.
-
Inspect contact points and case
- Wipe metal contacts with a soft cloth and alcohol.
- Look for rust, bent prongs, or missing screws.
- Clean contacts often to avoid signal loss.
-
Verify power and LEDs
- Turn on both units and note LED colors or patterns.
- Compare LEDs to the manual to read status codes.
- No LED often means dead battery or broken LED.
-
Re-pair the units
- Put receiver in pairing mode, then press remote pair button.
- Wait until LED confirms pairing.
- Re-pairing fixes link and false stimulation issues.
-
Test modes at low setting
- Use the lowest stimulation to check function.
- Use tone and vibration first to confirm remote triggers.
- Gradually increase only if safe and needed.
-
Check range and line-of-sight
- Test in an open area with no walls or cars.
- If range improves, interference was the issue.
- Note any consistent dead zones.
-
Swap parts if available
- Test with another receiver or remote if possible.
- This isolates whether the fault is in the remote or receiver.
- Swapping is the fastest way to narrow the problem.
-
Perform a factory reset
- Follow manual steps for reset. This clears odd glitches.
- Reset often resolves firmware hiccups.
-
Inspect antenna and external damage
- Look for cracks or loose antenna parts.
- Physical damage can cut radio range permanently.
-
Seek help if still failing
- If these steps fail, collect serial numbers, photos, and test notes before contacting support.
- This speeds warranty and repair actions.
Repeat tests after each step. Mini Educator E Collar Troubleshooting is a process of elimination. Keep notes. That makes the fix faster.

Advanced diagnostics and repairs
When basic checks fail, move to deeper tests. These require tools or experience.
-
Multimeter checks
- Measure battery voltage under load.
- Test continuity to find broken traces.
- A multimeter tells if a battery or circuit is bad.
-
Replace contact points
- Contacts wear and can be replaced or bent back into place.
- Use exact parts to keep voltage and spacing correct.
-
Open and inspect the PCB
- Look for cracked solder joints or corrosion.
- Reflow solder or secure loose connections if you can solder.
-
Firmware and software updates
- Some Mini Educator units accept updates.
- Update per manual to fix bugs and pairing issues.
-
Receiver water damage
- Drying may help short-term but corrosion often follows.
- Replace the receiver if corrosion is present.
-
Professional repair options
- If under warranty, contact the maker first.
- Authorized service centers can replace parts safely.
When you try advanced fixes, work in a clean area and document steps. Mini Educator E Collar Troubleshooting at this level can restore units that seemed beyond hope.

Maintenance and best practices
Small habits prevent many problems. Use these tips to avoid future trouble.
-
Clean contacts weekly
- Wipe with alcohol and a soft cloth after wet or salty outings.
- Dry thoroughly before use.
-
Charge on a schedule
- Keep batteries topped up between uses.
- Avoid deep discharges to extend battery life.
-
Fit the collar correctly
- Closely trimmed fur and tight fit help contact.
- Check fit before each session.
-
Rotate training modes
- Use tone and vibration as primary cues.
- Reserve static for clear, safe corrections.
-
Store in a dry place
- Avoid hot cars or damp basements.
- Heat and moisture shorten battery life and corrode parts.
-
Log issues and dates
- Note when you clean, charge, or pair units.
- A log speeds Mini Educator E Collar Troubleshooting next time.
Good care makes the device last years. My clients who follow these tips see fewer failures.
When to seek professional help
Some problems need expert attention. Get help when safety or warranty is at stake.
- Dog shows signs of injury or skin irritation from the collar.
- Device has internal corrosion or visible damage.
- You cannot pair or there is persistent false stimulation.
- Battery swells, leaks, or overheats during charging.
- Units are under warranty; ask the maker for repair or replacement.
If you call support, give them your troubleshooting notes. That speeds up help. Mini Educator E Collar Troubleshooting has limits. Know when to stop and ask for trained help.

Frequently Asked Questions of Mini Educator E Collar Troubleshooting
Why won’t my Mini Educator turn on?
Check both batteries and charge fully. Clean the contacts and swap a known-good charger if available.
How do I re-pair the remote and receiver?
Put the receiver in pairing mode then press the remote pair button as the manual directs. Watch LEDs to confirm a successful pairing.
What if the collar only works at very close range?
Test in an open area to rule out interference. Inspect the antenna and check for physical damage or low battery voltage.
Can water ruin the Mini Educator receiver?
Minor splashes may be fine, but full immersion or saltwater can corrode internal parts. Drying may help short-term, but replacement is often needed.
Why does the receiver beep or vibrate by itself?
This may mean a faulty receiver or corrupted pairing. Try re-pairing and a factory reset; if it persists, repair or replace the receiver.
How often should I replace contact points?
Replace when metal is worn, bent, or coated with pits. Check them with each deep clean and after heavy use.
Is it safe to use static every day?
Use static sparingly and with care. Prefer tone and vibration for daily cues and reserve static for clear, humane corrections only.
Conclusion
You now have clear steps to diagnose and fix most Mini Educator E Collar Troubleshooting issues. Start with batteries, contact cleaning, and re-pairing. Move to range tests and part swaps if needed, and call support for warranty or safety problems. Take one step at a time, keep a log, and treat the collar with basic care to avoid common faults. Try these tips on your next session, subscribe for more gear guides, and share your experiences or questions below.


