
Electric Fence Troubleshooting fixes power, shorts, connections, and grounding issues quickly and safely.

Today's Exclusive Deals
Limited-time Exclusive Deals. Check current discount on Amazon.
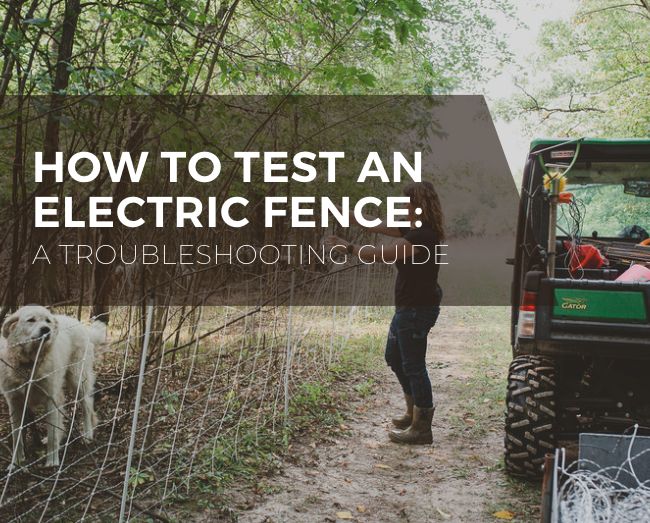
Check Price on Amazon As an Amazon Associate I earn from qualifying purchases.I have worked on dozens of fencing systems and trained with electric fence technicians. This guide to Electric Fence Troubleshooting walks you through causes, tests, tools, and safe repairs. Read on for clear steps, real-world tips, and easy checks you can use today to restore a reliable fence.
How electric fences work
Electric Fence Troubleshooting starts with knowing how the system works. A fence energizer sends pulses of high voltage down the wire. The wire is insulated from ground except when an animal or fault bridges the circuit and returns current through grounding rods.
Today's Exclusive Deals
Limited-time Exclusive Deals. Check current discount on Amazon.
Check Price on Amazon As an Amazon Associate I earn from qualifying purchases.Key parts to know:
- Energizer or charger that creates the pulse.
- Live wire or tape that carries the shock.
- Earth ground system that completes the circuit.
- Insulators, posts, and connectors that keep the system isolated.
Understanding these parts makes Electric Fence Troubleshooting faster and safer. When you see low pulses or no pulses, you now know which components to test.

Today's Exclusive Deals
Limited-time Exclusive Deals. Check current discount on Amazon.
Check Price on Amazon As an Amazon Associate I earn from qualifying purchases.Common problems and why they happen
Electric Fence Troubleshooting focuses on real, repeatable faults. Here are common issues and their usual causes.
Common faults:
- No output from energizer: blown fuse, dead battery, or faulty energizer.
- Low voltage along the line: poor ground, long run, or heavy vegetation contact.
- Intermittent pulse: loose connections or cracked insulators.
- Short circuit: wire touching wet vegetation, metal, or broken insulators.
- Ground faults: corroded ground rods or insufficient grounding.
Environmental and human causes:
- Wet weeds or tree branches touching the wire.
- Animals chewing wires or damaging insulators.
- Poor installation and undersized ground systems.
- Lightning or surge damage to energizer.
These patterns guide Electric Fence Troubleshooting by narrowing where to look. Track the symptom, then test the related part.
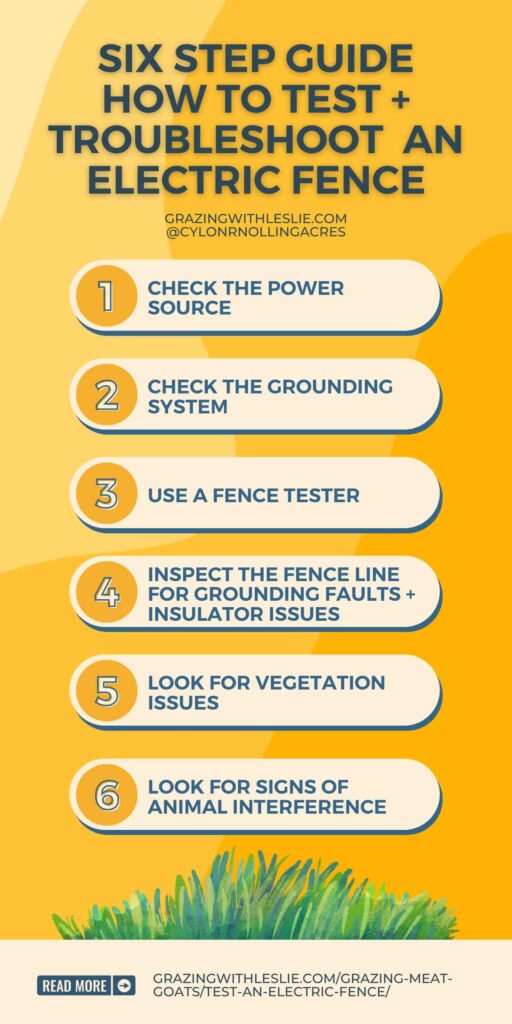
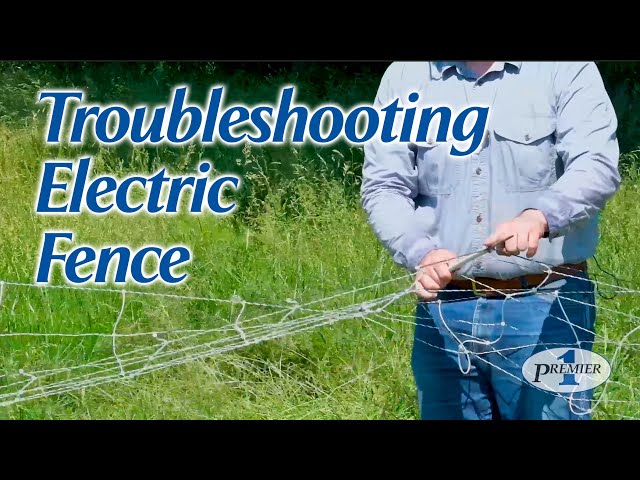
Step-by-step Electric Fence Troubleshooting checklist
Follow a logical order. Work from the energizer outwards. Always keep safety first.
Steps:
- Power and safety check
- Turn off the energizer before touching the fence.
- Wear gloves and keep bystanders clear.
- Visual inspection
- Walk the line and look for broken wires, leaning posts, or vegetation.
- Note wet spots or places animals frequent.
- Energizer test
- Verify power at the energizer and check fuses or battery condition.
- Look for fault LEDs or error codes.
- Measure output
- Use a fence voltmeter at the energizer output. Expect pulses in thousands of volts.
- If no output, test energizer on a short known-good section.
- Isolate sections
- Disconnect multi-zone outputs and test one zone at a time.
- Use splices or temporary isolators to narrow faults.
- Find shorts
- Move along the line and lift each wire off insulators in sections.
- If voltage returns when a segment is lifted, that segment has the short.
- Check grounding
- Measure between the earth stake and fence return. Poor grounding often causes low shock.
- Add ground rods or improve connections if needed.
- Repair and retest
- Replace broken wire, insulators, or corroded connectors.
- Clear vegetation and secure loose wires.
- Final test with a known load
- Use a fence tester to simulate an animal and confirm pulse strength.
I once traced a persistent low-voltage problem to a tiny rusted clamp hidden inside a t-post sleeve. Small failures cause big headaches. Electric Fence Troubleshooting works best when you methodically eliminate possible causes.

Tools and equipment for Electric Fence Troubleshooting
Good tools speed repairs and improve safety. Keep these on hand.
Essential tools:
- Fence voltmeter or tester to measure pulse and load.
- Multimeter for battery, fuse, and continuity checks.
- Insulated wire cutters and strippers for safe repairs.
- Spare insulators, crimps, and wire for quick fixes.
- Ground rod driver and extra ground rods for grounding work.
- Gloves and eye protection for personal safety.
Use tools as intended. A voltmeter reads pulse peaks, while a tester gives a simulated load. Both help in Electric Fence Troubleshooting. Investing in a quality fence tester saves time.
Preventive maintenance and best practices
Regular maintenance reduces troubleshooting time and stops many faults before they start.
Routine tasks:
- Inspect lines every 1–3 months and after storms.
- Trim vegetation to keep wire clear by at least 6–12 inches.
- Tighten loose wires and replace rusty fittings.
- Test energizer output seasonally and after power events.
- Keep ground rods clean and connections tight.
Best practices:
- Use multiple ground rods driven at least 6–10 feet apart for non-rocky soil.
- Choose UV-resistant tape or wire for exposed runs.
- Mount energizer in a dry, ventilated location away from livestock.
- Label fence zones and keep a simple map of system layout.
Following these steps makes Electric Fence Troubleshooting easier. Preventive care reduces unexpected downtime and animal escapes.
![]()
Safety and legal considerations
Safety is the top priority in Electric Fence Troubleshooting. Treat every fence as live until proven otherwise.
Safety rules:
- Turn off and lock out energizer before major repairs.
- Post warning signs where required by law.
- Keep children and pets away during testing.
- Use insulated tools and protective gloves.
- Check local rules and codes on electric fence installation and signage.
Legal and ethical notes:
- Ensure voltages and designs meet local regulations.
- Avoid placing live wires where the public can easily touch them.
- Use humane settings when controlling animals; do not exceed recommended pulse parameters.
Being cautious protects you and others while doing Electric Fence Troubleshooting. When in doubt, stop and consult a licensed professional.
When to call a professional
Some problems need an expert eye. Call a professional when:
- The energizer shows faults you cannot fix.
- You cannot locate a complex short or buried fault.
- You suspect lightning or surge damage to electronics.
- The system serves public access areas with strict codes.
- You feel unsafe working at heights or near power sources.
Professionals have specialized testers and grounding tools. They can diagnose hidden faults quickly and safely. Use a pro to save time and avoid repeated repairs.
Quick answers (PAA-style)
What causes low voltage on a fence?
- Low voltage is often due to poor grounding, vegetation contact, or long wire runs with resistance. Fix ground rods and clear the line.
How do I find a short on my fence?
- Isolate sections and lift wires in segments. When voltage returns after lifting a segment, the short is in the section you lifted.
How often should I test the system?
- Test energizer output at least twice a year and after storms. Walk the line monthly in high-traffic or high-vegetation areas.
Frequently Asked Questions of Electric Fence Troubleshooting
How do I know if the energizer is working?
Check the output with a fence tester at the energizer. If the tester shows pulses in the expected range, the energizer is working.
Why does my fence show voltage but animals are not deterred?
Animals may get used to a weak pulse from poor grounding or heavy vegetation. Improve ground rods and clear the line to restore effective shocks.
Can wet grass cause a short?
Yes. Wet grass and weeds touching the wire conduct current and create a short. Keep vegetation cleared at all times.
Is it safe to use a multimeter on a live fence?
Standard multimeters can be damaged by fence pulses. Use a fence-rated voltmeter or tester instead for live measurements.
How many ground rods do I need?
Most systems start with three ground rods spaced 6–10 feet apart. Rocky or high-resistance soil may need more rods for reliable grounding.
Conclusion
Electric Fence Troubleshooting is a mix of careful observation, the right tools, and methodical testing. Focus on energizer checks, grounding, and clearing vegetation to resolve most issues. Start with safety, follow the checklist, and call a professional for complex faults.
Take action today: test your energizer, walk your line, and fix small problems before they grow. Share your results or questions below and subscribe for more hands-on guides to keep your fence working reliably.


