
Replacing the heating element in a Suburban water heater is a practical skill that can save you money and keep your hot water flowing smoothly. Whether you own an RV or use a Suburban water heater at home, knowing how to change the element can help you avoid cold showers and costly service calls.
This guide will walk you through the process step by step, highlight useful tips, and answer common questions. Even if you are not an expert, you can do this job with confidence and safety.
Understanding Suburban Water Heaters
Suburban water heaters are popular in RVs and homes for their reliability and efficiency. The most common models use both electric and gas heating. The electric heating element is what heats the water when you use electricity. Over time, this element can wear out or get coated with minerals, especially if you live in areas with hard water.
Knowing the basics helps you diagnose problems faster. If your Suburban water heater is not producing hot water when using electricity, the heating element is often the issue. Signs include water staying cold, tripped breakers, or strange noises from the tank.
Typical Specifications
Most Suburban water heaters use a 120V, 1440W or 120V, 1500W heating element. The element is usually located behind a panel on the heater’s side. Before replacing, always check the model number and element rating.
| Model | Voltage | Wattage | Location of Element |
|---|---|---|---|
| Suburban SW6DE | 120V | 1440W | Side panel |
| Suburban SW10DE | 120V | 1500W | Side panel |
| Suburban SW12DE | 120V | 1500W | Bottom panel |
Safety Precautions
Before starting, always keep safety in mind. Working with electricity and water can be dangerous if you do not follow basic rules.
- Turn off power: Shut off the circuit breaker to the water heater.
- Turn off gas: If your unit uses gas, shut off the gas supply.
- Let the water cool: Hot water can cause burns. Wait until the tank is cool.
- Disconnect power: Unplug the unit or remove the fuse if possible.
- Wear gloves: Protect your hands from sharp edges and hot surfaces.
- Have a towel ready: Some water may spill when you remove the element.
Ignoring these steps can lead to shocks, burns, or water damage. Safety is always the first priority.

Tools And Materials Needed
You do not need many tools for this job, but having the right ones makes the process smoother.
- Element wrench or socket (usually 1 1/2”)
- Screwdriver (Phillips and flathead)
- Multimeter (for checking power)
- Plumber’s tape (for sealing threads)
- Replacement heating element (match your model)
- Bucket (for draining water)
- Rag or towel
- Gloves
Some people try to use regular pliers, but an element wrench is much better and reduces risk of damage.
Step-by-step Process To Replace The Heating Element
Replacing the heating element does not need advanced skills. Follow these steps for a smooth experience.
1. Shut Off Power And Gas
Locate the circuit breaker and turn it off. If your heater uses gas, shut off the gas valve. Unplug the unit if possible. Double-check with a multimeter to ensure no power is present.
2. Drain The Water Heater
Open a hot water faucet in your home or RV to relieve pressure. Locate the drain valve at the bottom of the heater and attach a hose or place a bucket underneath. Open the drain valve and let the water flow out.
This prevents leaks when removing the element.
3. Access The Heating Element
Remove the cover panel using a screwdriver. You will see two wires connected to the element. Take a photo for reference before disconnecting.
4. Disconnect Wires
Carefully remove the wires from the heating element using a screwdriver. If the connectors are tight, gently wiggle them loose. Check for corrosion or damage on the connectors.
5. Remove The Old Element
Use the element wrench to unscrew the old heating element. If it is stuck, apply gentle pressure—do not force it. Once loose, pull it out. Inspect for mineral buildup or damage.
6. Install The New Element
Wrap the new element’s threads with plumber’s tape to prevent leaks. Insert the new element and tighten with the wrench. Do not overtighten—it should be snug but not forced.
7. Reconnect Wires
Attach the wires back to the new element as per your photo reference. Ensure they are tight and secure. Loose connections can cause heating problems or sparks.
8. Refill The Tank
Close the drain valve. Open the cold water supply and let the tank fill. Once water flows from the faucet, shut it off.
9. Restore Power And Gas
Turn the circuit breaker back on. If your heater uses gas, open the gas valve. Plug in the unit if needed.
10. Test The Water Heater
Wait 30-60 minutes for the water to heat. Check for leaks around the element. If you notice any, shut off power and retighten the element. Test the hot water tap to confirm heating.
Common Mistakes To Avoid
It is easy to make small mistakes that cause bigger problems. Here are some things to watch out for:
- Skipping power shut-off: Always ensure the unit is off before starting.
- Not draining the tank fully: Water left inside can spill and cause damage.
- Wrong element size: Using the wrong wattage or shape can damage your heater.
- Loose wires: Can lead to poor heating or electrical hazards.
- Overtightening the element: Can crack the tank or threads.
- Forgetting plumber’s tape: Increases risk of leaks.
Many beginners forget to check for leaks after installation. Always test before restoring full power.
Choosing The Right Heating Element
Selecting the correct heating element is crucial for both performance and safety. Check your Suburban heater’s manual or look for a label near the element access panel.
Comparison Of Common Elements
Here is a quick comparison of popular heating elements for Suburban models:
| Element Type | Wattage | Material | Best For |
|---|---|---|---|
| Standard Copper | 1440W | Copper | Soft water areas |
| High-Watt Density | 1500W | Stainless steel | Hard water areas |
| Low-Watt Density | 1500W | Incoloy | Long life, hard water |
High-watt density elements heat faster but may wear out faster in areas with hard water. Low-watt density elements resist mineral buildup and last longer.
Practical Tips For A Smooth Replacement
Some real-world advice can make your job easier:
- Take a photo before disconnecting wires. This helps avoid confusion later.
- Clean the element opening with a rag before inserting the new element.
- Check for leaks with a dry towel after installation.
- Use a multimeter to check the new element’s resistance (should be 9-13 ohms for 1440W).
- Flush the tank yearly to prevent mineral buildup. This extends the element’s life.
- Buy extra plumber’s tape—it is cheap and useful for other plumbing jobs.
A non-obvious tip: Many people forget that hard water causes faster wear. If you live in a hard water area, consider a low-watt density element for longer life.
Signs Your Heating Element Needs Replacement
Sometimes the heater stops working quietly, but there are clues:
- Water stays cold when using electric mode
- Circuit breaker trips often
- Strange noises from the tank (popping or rumbling)
- Visible corrosion on the element
- Mineral buildup on the element
If you notice these signs, inspect the element before calling a technician.

Cost And Time Estimates
Replacing the heating element is not expensive or time-consuming. Most elements cost $15–$40, depending on material and brand. The job takes about 45–90 minutes for beginners.
| Task | Estimated Time | Estimated Cost |
|---|---|---|
| Draining tank | 15–30 min | $0 |
| Removing element | 10–20 min | $0 |
| Installing new element | 10–15 min | $15–$40 |
| Testing | 10–15 min | $0 |
Hiring a professional usually costs $80–$200, so DIY saves a lot.
Expert Advice For Beginners
If you are new to plumbing or electrical work, do not worry. Many people successfully replace heating elements without any prior experience. Read the manual for your Suburban heater. Use proper tools, and take your time. If you feel unsure, ask a friend with experience to help.
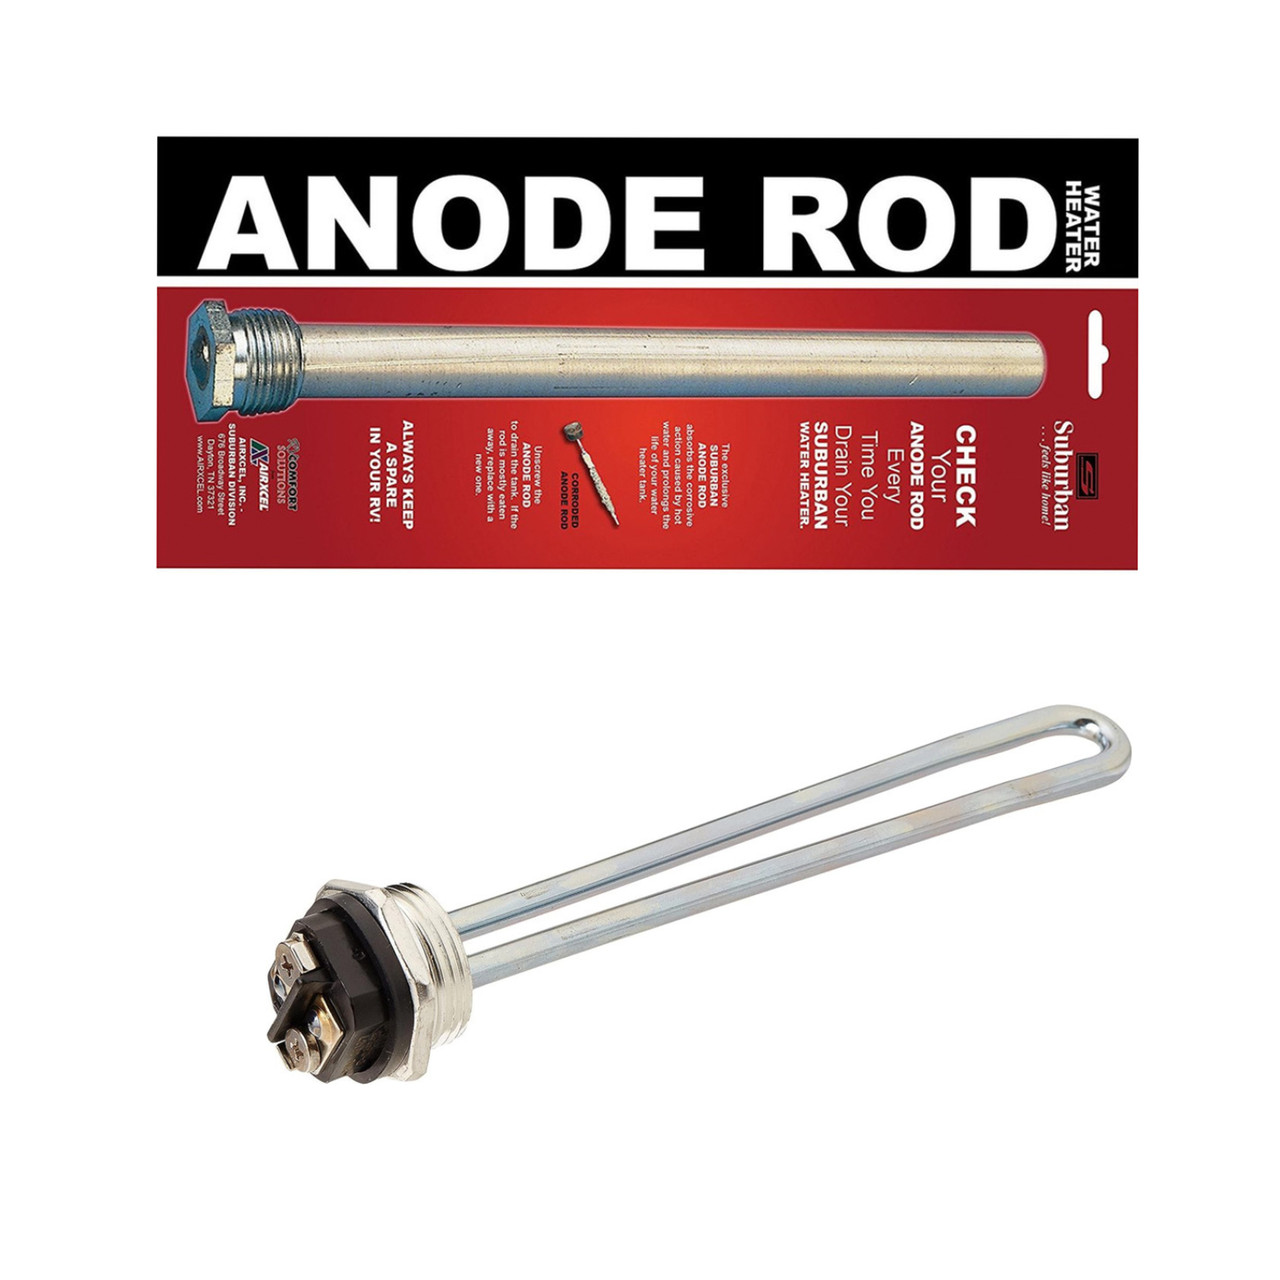
One insight many beginners miss is checking the anode rod while the tank is drained. The anode rod protects the tank from corrosion. If it looks worn, replace it at the same time as the heating element.
For more details on water heater maintenance, you can check resources like RV.edu.
Frequently Asked Questions
What Size Heating Element Does My Suburban Water Heater Use?
Most Suburban models use a 120V, 1440W or 120V, 1500W heating element. Check your heater’s manual or look for a sticker near the access panel to confirm the correct size.
How Often Should I Replace The Heating Element?
Typically, heating elements last 3–5 years. If you live in an area with hard water, replace them more often. Inspect the element yearly during maintenance.
Can I Use Any Brand Of Heating Element?
No, always use a heating element that matches your model and wattage. Using the wrong type can damage your water heater or void the warranty.
Is It Safe To Do This Repair Myself?
Yes, it is safe if you follow basic safety steps like turning off power, draining the tank, and using proper tools. If you are unsure, ask a friend or hire a professional.
What Should I Do If I See Leaks After Replacement?
If you notice leaks, turn off power immediately. Check if the element is tight and if plumber’s tape is applied. Reinstall the element and test again. Persistent leaks may mean a damaged tank or gasket.
Replacing the heating element in your Suburban water heater is a manageable task for most homeowners and RV owners. With careful planning, the right tools, and attention to detail, you can restore hot water quickly and safely. This job can save you money and teach you more about your plumbing system.
Remember, always follow safety steps and check for leaks before finishing. If you run into problems, there are plenty of resources and experts ready to help.

