
Most John Deere electric PTO issues are electrical faults, worn relays, or loose connectors.

Today's Exclusive Deals
Limited-time Exclusive Deals. Check current discount on Amazon.
Check Price on Amazon As an Amazon Associate I earn from qualifying purchases.I have spent years repairing tractors and mowers and have deep experience with John Deere Electric Pto Troubleshooting. This guide explains how the Electric PTO works, how to spot symptoms, step-by-step tests, and practical fixes you can try safely. Read on for clear, proven steps to diagnose and repair common John Deere Electric Pto Troubleshooting problems with confidence.

How John Deere Electric PTO Works
The electric PTO uses a switch, relay or solenoid, wiring, and the mower clutch or actuator. It lets you engage and disengage the mower blade with the press of a switch. Modern John Deere machines use sealed connectors and safety interlocks to avoid accidental starts. Knowing how the parts work helps you focus during John Deere Electric Pto Troubleshooting.
Today's Exclusive Deals
Limited-time Exclusive Deals. Check current discount on Amazon.
Check Price on Amazon As an Amazon Associate I earn from qualifying purchases.
Common Symptoms and Likely Causes
Recognizing symptoms makes troubleshooting faster and safer.
- No PTO response when you press the switch — usually a blown fuse, bad switch, or dead battery.
- PTO clicks but does not engage — often a weak relay, weak solenoid, or worn clutch.
- Intermittent PTO operation — likely loose wiring, corroded connectors, or a failing ground.
- PTO works only when key turned in certain positions — ignition or safety switch issue.
- Smoke, burning smell, or hot components — electrical short, overheated relay, or seized clutch.
Each symptom points to a small set of likely causes. Use focused tests to save time during John Deere Electric Pto Troubleshooting.
Today's Exclusive Deals
Limited-time Exclusive Deals. Check current discount on Amazon.
Check Price on Amazon As an Amazon Associate I earn from qualifying purchases.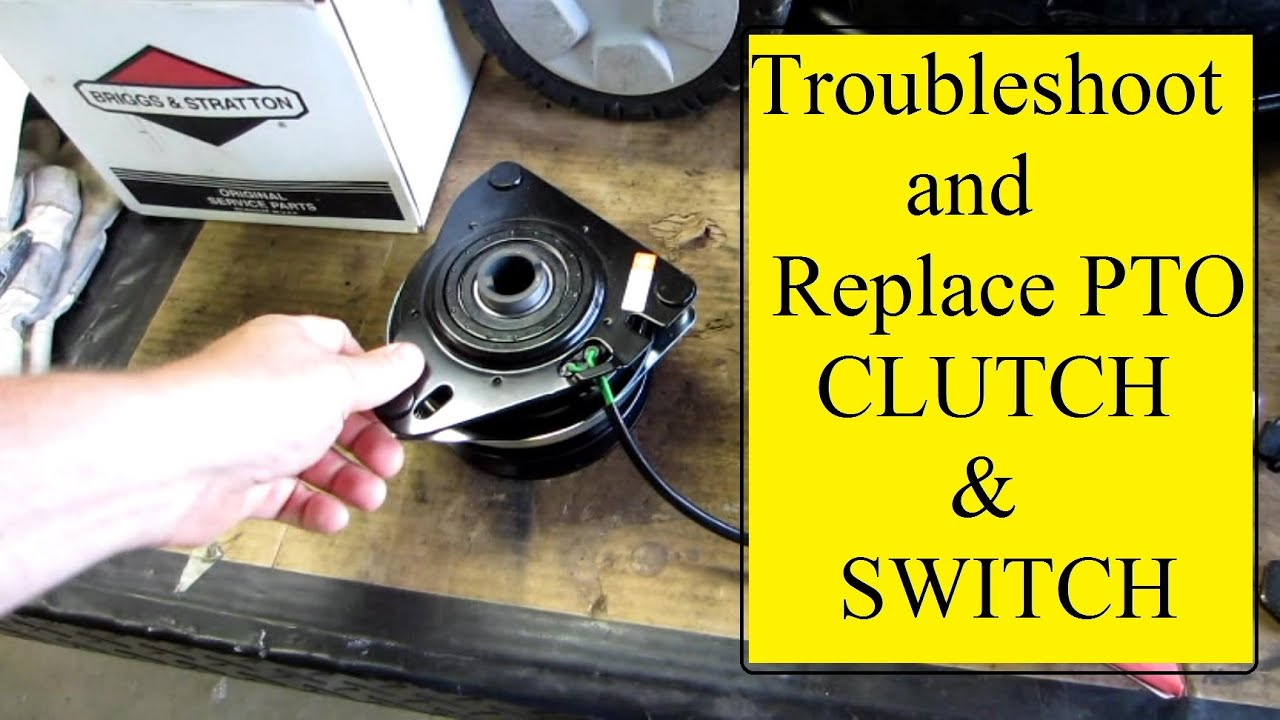
Step-by-Step John Deere Electric Pto Troubleshooting Guide
Follow this ordered approach. Work safely and disconnect battery before working on live wiring.
- Safety first. Park on level ground, set parking brake, remove key, and unplug spark plug or battery tip when working on blades. Simple safety cuts risk serious injury.
- Check the basics. Inspect the battery charge, main fuses, and master switch. Low battery or a blown main fuse stops the PTO.
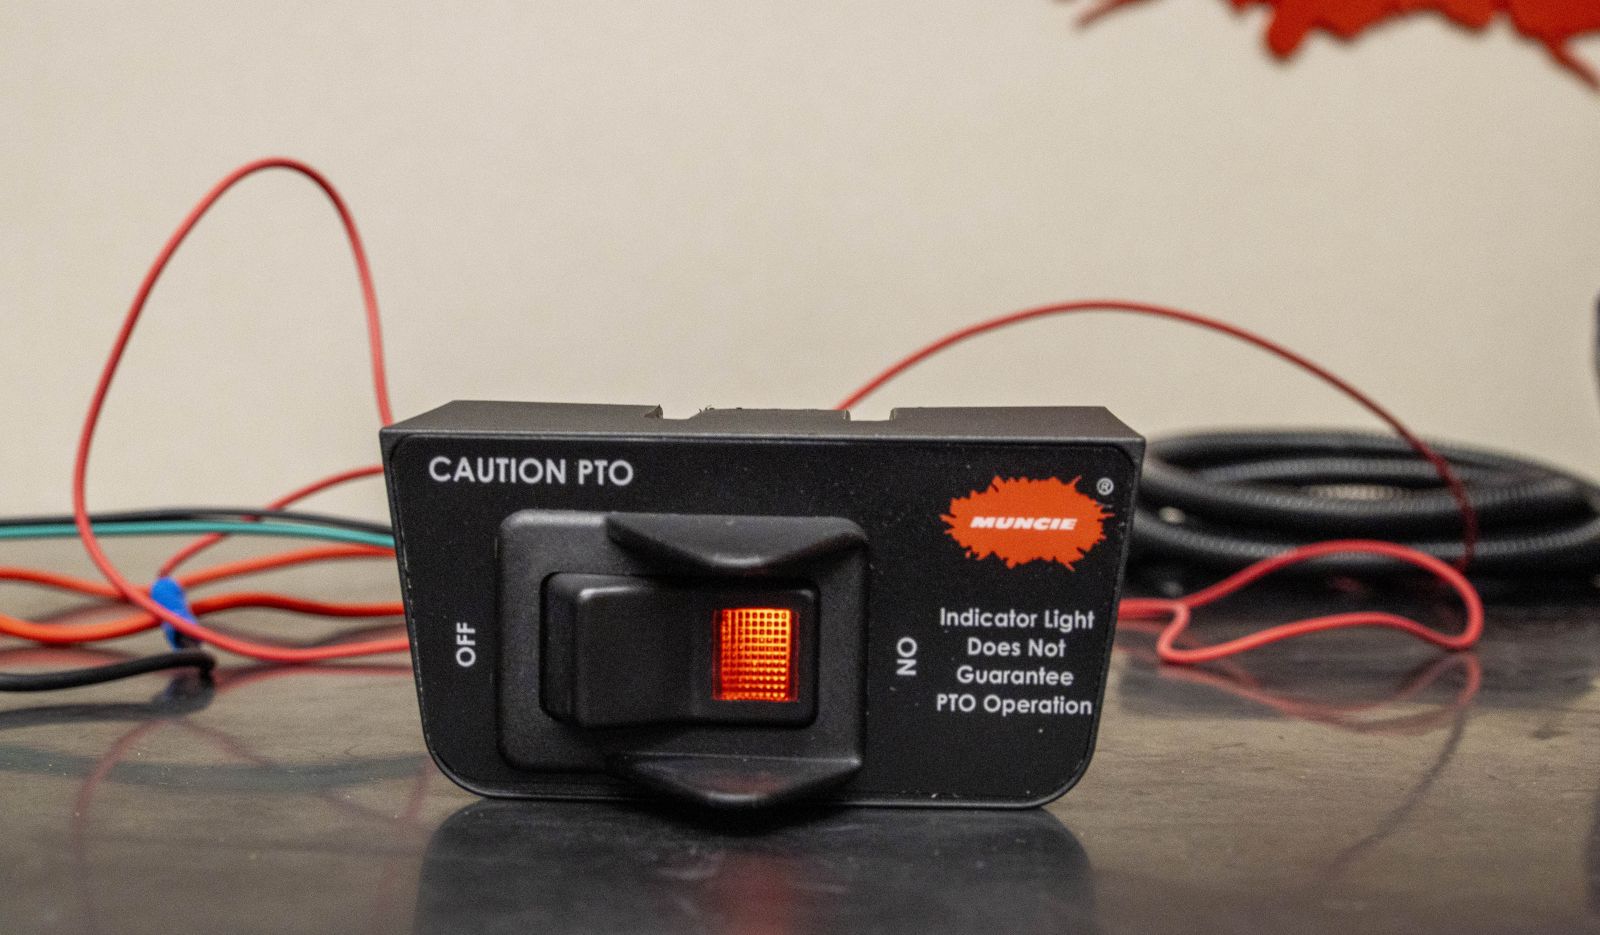
- Test the PTO switch. Use a multimeter to check continuity when the switch is pressed. Replace the switch if it fails continuity.
- Inspect fuses and circuit breakers. Find the PTO fuse and test it visually and with a meter. Replace faulty fuses with correct rating parts.
- Listen for the relay. Turn the key to run and press the PTO switch. A click usually means the relay or solenoid is getting power. No click points to wiring or switch issues.
- Check wiring and grounds. Look for loose connectors, corrosion, or frayed wires. Clean and tighten grounds and connectors.
- Test the relay and solenoid. Swap with a known-good relay when possible, or bench test the solenoid with proper voltage.
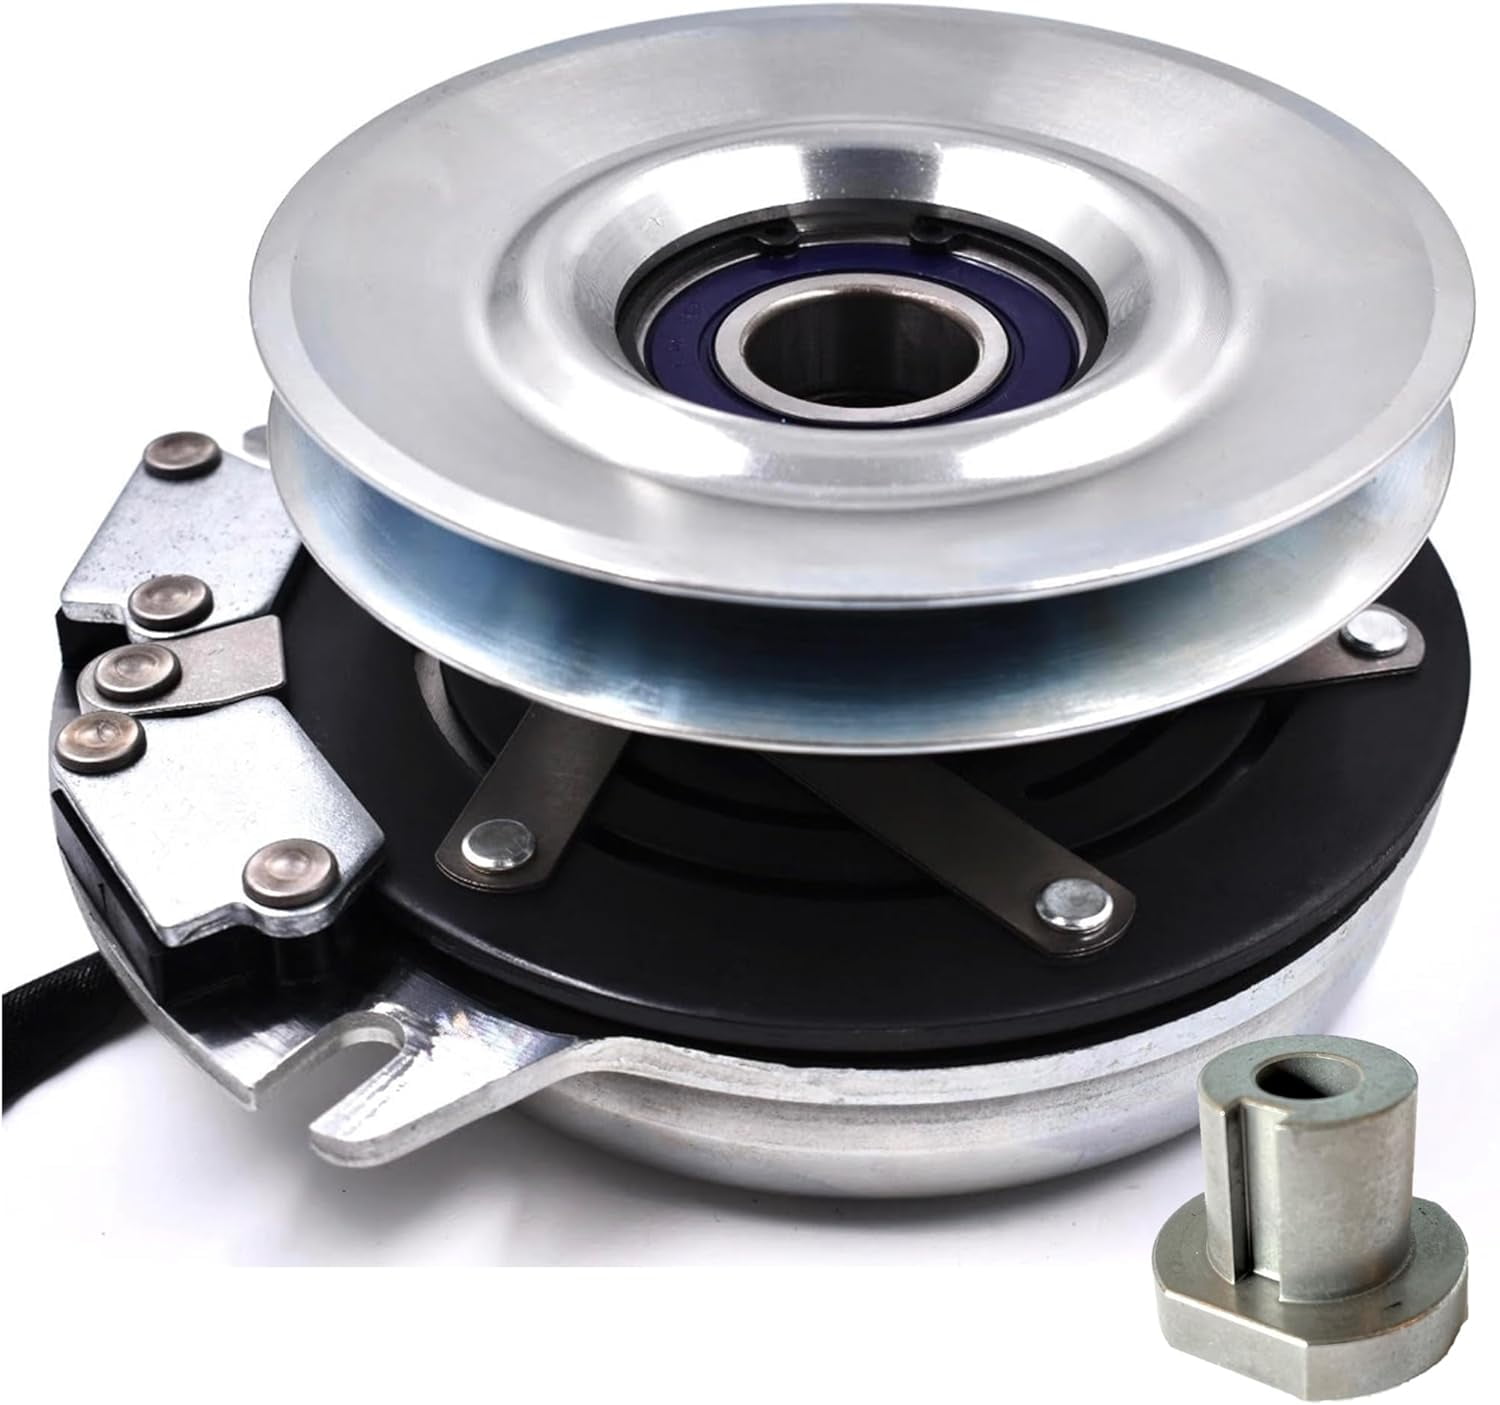
- Inspect the clutch or actuator. If electrical parts work but blades don’t turn, check the mechanical clutch, belt tension, and blade hub.
- Re-test after each fix. Try the PTO between steps. This saves time and helps isolate the exact cause.
Following this plan reduces guesswork in John Deere Electric Pto Troubleshooting.
Electrical Tests and Tools You Need
Good tests require a few simple tools and safe procedures.
- Essential tools
- Multimeter for voltage and continuity checks.
- Test light for quick voltage checks.
- Socket set and screwdrivers for access.
- Contact cleaner and dielectric grease.
- Basic tests
- Battery voltage: should be 12.4V or higher at rest.
- Voltage at PTO switch: verify the switch receives power.
- Switch continuity: press the switch and check continuity.
- Relay coil and contacts: check for 12V at coil when engaged and continuity of switched contacts when energized.
- Ground checks: ensure a solid chassis ground with low resistance.
Record results step by step. Clear notes speed up John Deere Electric Pto Troubleshooting and parts ordering.

Mechanical Checks and Common Replacements
When electrical checks pass, look at mechanical parts.
- Clutch and drive assembly
- Check for worn clutch plates or slipping.
- Inspect belts for wear and correct tension.
- PTO shaft and hub
- Ensure shaft spins freely and is not seized.
- Check shear pins and hub bolts.
- Safety interlocks and switches
- Seat switches and brake interlocks can stop the PTO.
- Replace faulty safety switches as needed.
Replacing a worn clutch or burned relay often solves persistent problems. These parts are common targets in John Deere Electric Pto Troubleshooting.
Preventive Maintenance to Avoid PTO Failures
Small habits prevent most failures.
- Clean and inspect connectors yearly.
- Check battery health and charge regularly.
- Replace small fuses and worn relays proactively.
- Keep belts and clutches adjusted per the manual.
- Store equipment dry and cover wiring harnesses from heat and moisture.
Routine care cuts down time spent on John Deere Electric Pto Troubleshooting. A bit of prevention saves money and keeps you working.

Parts, Costs, and When to Call a Technician
Know when to DIY and when to get help.
- Common parts replaced
- PTO switch, relay, solenoid, fuses, wiring harness, clutch assembly, belts.
- Typical costs (varies by model and region)
- Switch or fuse: low-cost part.
- Relay or solenoid: moderate cost.
- Clutch or complete hub: higher cost and labor.
- Call a technician when
- You find combustion-smell or melted wiring.
- The problem involves hydraulic PTO models or complex electronics.
- You lack the tools or confidence for electrical testing.
If you try John Deere Electric Pto Troubleshooting and still have problems, a trained tech prevents accidental damage and keeps warranties intact.

Personal Experience and Lessons Learned
I once fixed a mower that had a dead PTO after it rained. The owner had cleaned the deck but missed a corroded connector under the seat. I found the corroded ground and cleaned it. The PTO worked again. The lesson: check the simple things first. Trust the order of testing above. Swap relays with a known-good part. Keep notes. Small fixes often solve big headaches in John Deere Electric Pto Troubleshooting.
Frequently Asked Questions of John Deere Electric Pto Troubleshooting
How do I know if the PTO relay is bad?
If you hear no click when you press the PTO switch but the switch has power, the relay may be bad. Swap the relay with a similar known-good relay to confirm.
Why does my PTO click but not engage?
A click means the relay energizes but the clutch or solenoid may be weak or mechanically stuck. Check the clutch, belts, and solenoid operation next.
Can a weak battery cause PTO problems?
Yes. A low battery may not supply enough current to the relay or solenoid, causing the PTO to fail to engage. Test battery voltage first.
Is it safe to run tests with the blades installed?
Do not run tests with blades engaged. Remove blades or disconnect spark and keep the mower stable. Safety first.
How often should I replace PTO-related parts?
Inspect annually and replace worn relays, fuses, or connectors as needed. Clutches and belts last longer but check them each season.
Conclusion
John Deere Electric Pto Troubleshooting becomes straightforward when you follow a clear plan: check power and fuses, test switch and relay, inspect wiring and grounds, and then look at mechanical parts. Use simple tools, take safety precautions, and do one test at a time. Start with the easy checks and keep notes. Try these steps, and share your results or questions below to get more help.


