
Most Legacy 850 issues stem from power, sensors, or limit switch misalignments.
I have spent years diagnosing commercial and residential openers, and this guide on Overhead Door Legacy 850 Troubleshooting gathers tested steps, safety tips, and real fixes you can try today. Read on for clear diagnostics, step-by-step actions, and smart maintenance to keep your Legacy 850 running smoothly.

Understanding the Overhead Door Legacy 850 system
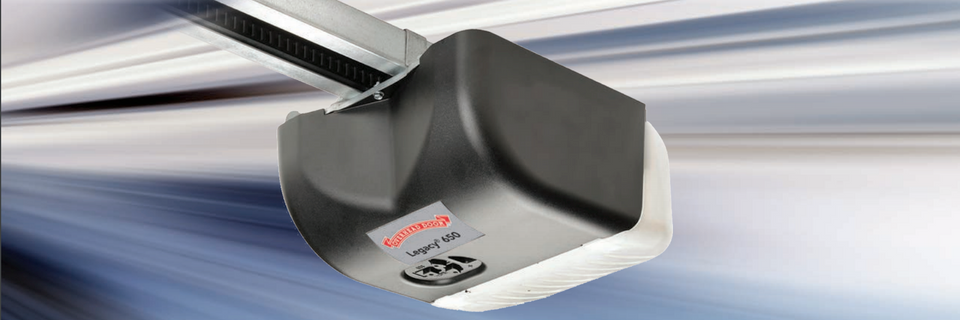
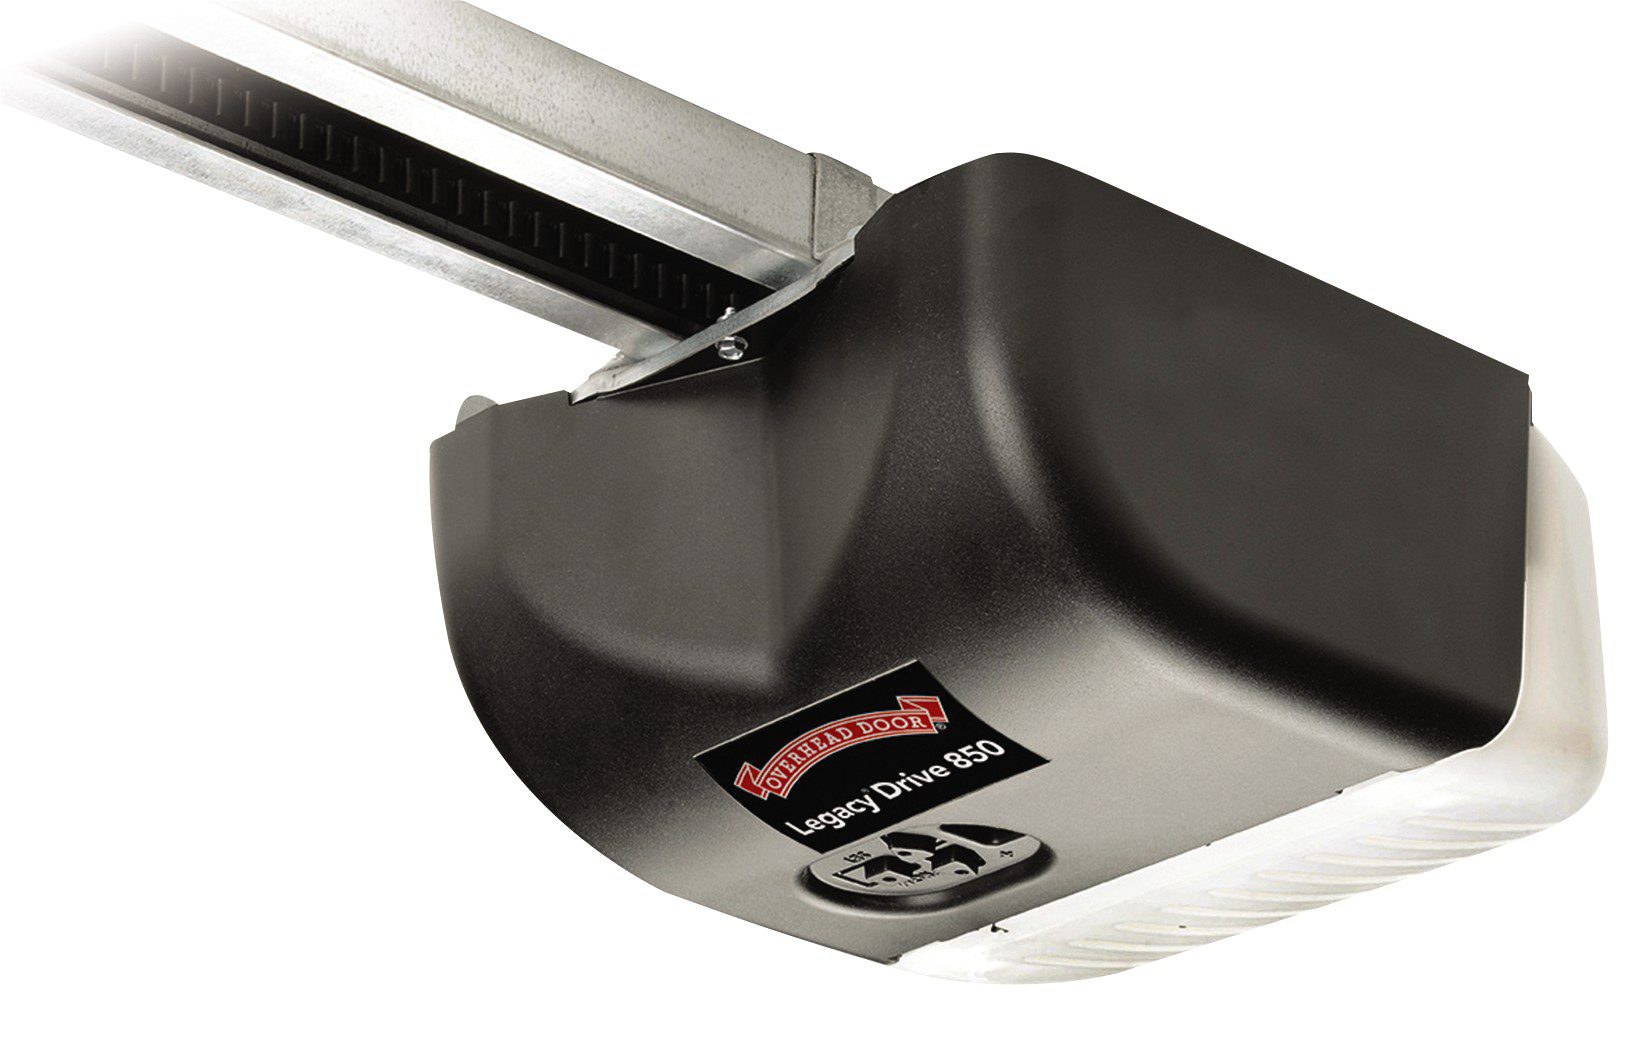
The Overhead Door Legacy 850 is a heavy-duty sectional door opener used in homes and light commercial sites. Knowing its core parts helps with fast Overhead Door Legacy 850 Troubleshooting: motor, carriage, belt or chain, limit switches, safety sensors, and control board.
This opener uses a trolley-driven system with features for safety and automatic reversal. Familiarity with these parts will speed up repairs and reduce repeat visits.
Common problems and root causes
Most calls about the Legacy 850 fall into a few clear categories. When you approach Overhead Door Legacy 850 Troubleshooting, check these common symptoms first.
- Door won’t move at all. Often caused by power, dead battery in remote, or a tripped breaker.
- Door opens but reverses or won’t close fully. Usually safety sensor issues or limit switch settings.
- Loud noises or grinding. May point to worn gears, loose bolts, or failing motor bearings.
- Slow or erratic movement. Could be lubrication, belt tension, or electronic faults.

Source: overheaddoorpartsonline.com
Tools and safety checklist before troubleshooting
Always work safe. Simple tools and precautions speed diagnostics and protect you.
- Tools to have on hand: multimeter, ladder, socket set, screwdriver set, level, and insulated gloves.
- Safety steps: disconnect power before touching wiring, keep hands clear of springs, and work with a helper when testing.
- Documentation: have the opener manual or wiring diagram nearby for reference.
Source: overheaddoor7riversregion.com
Step-by-step Overhead Door Legacy 850 Troubleshooting guide
Below are focused checks organized from easy to advanced. Follow the order and test after each fix.
1. Check power and control board
- Verify outlet and breaker. Reset breaker and try another outlet if possible.
- Inspect wiring to the control board for loose or burnt terminals.
- Use a multimeter to confirm incoming voltage. A lack of steady voltage often stops the opener.
2. Test remotes and wall control
- Replace remote batteries and reprogram if needed.
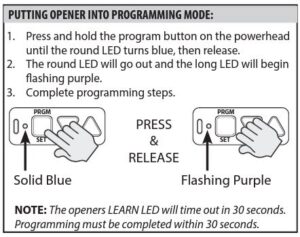
- Test the wall switch to isolate remote issues. If wall switch works but remotes don’t, re-sync the remotes.
- Clear and re-learn codes only after ensuring the control board is healthy.
3. Inspect safety sensors and alignment
- Check the photo-eye sensors for dirt, spider webs, or misalignment. Clean lenses with a soft cloth.
- Use a level or sight line to confirm sensors face each other. A blink or error light usually means misalignment.
- For persistent faults, test sensor continuity with a multimeter.
4. Adjust limit switches and force settings
- If the door reverses while closing, the close limit may be set too far open. Adjust the close limit in small increments.
- Decrease force if the door hesitates; increase if it stops short. Make tiny changes and test repeatedly.
- Refer to the manual values as safe starting points, then fine-tune.
5. Inspect trolley, chain, belt, and carriage
- Look for loose mounting bolts, worn chain links, or belt fraying. Tighten or replace as needed.
- Lubricate moving parts per manufacturer guidance; do not over-lubricate plastic components.
- Ensure the trolley moves smoothly and is not binding on the rail.
6. Check motor, gearbox, and clutch
- Listen for grinding or whining from the gearbox. Unusual sounds often mean worn gears.
- Test motor voltage during operation; voltage drop under load points to electrical problems or a failing motor.
- If equipped with a manual release, disengage and operate door by hand to test balance.
7. Springs, cables, and door balance
- A properly balanced door lifts easily by hand for a few inches. If not, springs may need adjustment.
- Never adjust high-tension springs without experience. Call a pro for torsion or extension spring work.
- Inspect cables for fraying and replace damaged ones promptly.

Source: overheaddoorpartsonline.com
Preventive maintenance to avoid future faults
Routine care reduces most troubleshooting visits. A little time each season goes a long way.
- Monthly: clean sensor lenses, inspect fasteners, and test auto-reverse.
- Quarterly: lubricate recommended parts and check belt/chain tension.
- Annually: full inspection of springs, cables, motor, and control board. Schedule a pro if you see wear.
- Keep replacement parts like batteries and small sensors handy for quick swaps.

Source: overheaddoor7riversregion.com
When to call a pro
Some problems are simple. Others are not. For Overhead Door Legacy 850 Troubleshooting, call a trained technician if you see any of these:
- Damaged or high-tension springs. These can be dangerous.
- Persistent electrical faults after basic checks. A pro can test the motor and board safely.
- Major gearbox or motor failure requiring disassembly.
Let a licensed technician handle complex repairs to ensure safety and warranty compliance.
Source: overheaddoorpartsonline.com
Personal experience and practical tips
I’ve repaired many Legacy 850 units. My most useful lessons come from small fixes that prevent big headaches.
- Tip: Always start with the simple checks—power, remotes, sensors—before opening the unit. Ninety percent of my calls end there.
- Mistake I learned from: adjusting springs without a partner. It’s risky and leads to repeat service calls.
- Helpful habit: keep a short log of adjustments you make. It helps track what worked when issues return.

Source: overheaddoor.com
Quick questions (PAA-style)
How do I reset my Overhead Door Legacy 850?
Power-cycle the unit by unplugging or switching off the breaker for 30 seconds, then restore power. Reprogram remotes if the reset cleared settings.
Why does my Legacy 850 reverse when closing?
Most often the safety sensors are misaligned or the close limit is set incorrectly. Clean sensors and fine-tune the limit settings.
Can I lubricate the gear and chain myself?
Yes. Use manufacturer-approved lubricant on metal gears and chains. Avoid silicone on plastic parts and do not over-apply.
Frequently Asked Questions of Overhead Door Legacy 850 Troubleshooting
What should I check first when the door won’t open?
Check power at the opener, test the wall switch, and replace remote batteries. These fixes solve many no-power issues.
Why does the opener close then reopen?
This usually means the safety sensor beam is blocked or misaligned. Clean the lenses and verify they face each other.
How do I know if the motor is failing?
Listen for unusual grinding, smell burning, or notice slow operation under load. These signs suggest motor or gearbox issues.
Is it safe to adjust the springs myself?
No. Torsion and extension springs hold a lot of energy and can cause injury. Hire a trained technician for spring work.
How often should I service the Legacy 850?
Do basic checks monthly, lubricate quarterly, and get a full inspection annually. Regular care prevents most breakdowns.
Can I reset the remote codes myself?
Yes. Use the control board’s learn button sequence in the manual to erase and reprogram remotes. Follow the steps carefully to avoid conflicts.
What causes strange noises during operation?
Loose bolts, worn gears, or lack of lubrication are common causes. Tighten hardware and inspect moving parts to find the source.
Conclusion
Overhead Door Legacy 850 Troubleshooting becomes simple when you follow a clear order: check power, test controls, inspect sensors, and then move to limits and mechanical parts. Start with the easy fixes, log changes, and prioritize safety—especially with springs and wiring. If a repair feels risky, call a licensed technician to protect yourself and your door. Try one focused check today and prevent tomorrow’s emergency; leave a comment or subscribe for more troubleshooting guides.

