
4L60E transmission problems often show as slipping, hard shifts, or stored transmission codes.
I’ve spent years diagnosing and fixing GM automatics, and this guide pulls that hands-on experience into a clear, step-by-step roadmap for 4l60e Transmission Troubleshooting. You will learn what to inspect first, how to read codes, which tests give the best answers, common repairs that actually work, and tips to avoid wasted time and money. Read on to get confident diagnosing and fixing the 4l60e transmission in everyday cars and trucks.

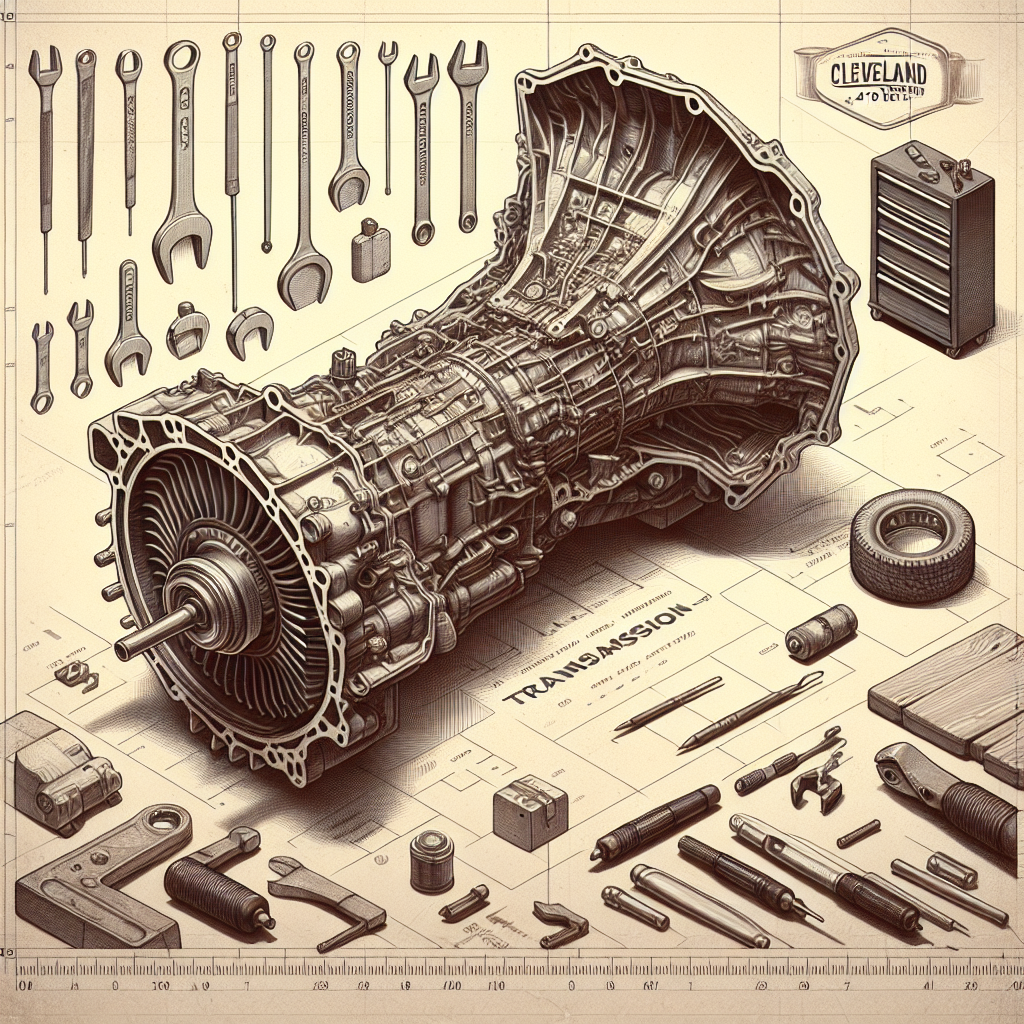
Understanding the 4L60E transmission
The 4l60e is an electronic, four-speed automatic used widely in GM cars and light trucks. It blends hydraulic controls with electronic solenoids and a transmission control module. That mix is why electrical faults and fluid issues both cause similar symptoms.
Key design points
- Electronic control via TCM or ECM. Sensors and solenoids direct hydraulic circuits.
- Planetary gearsets produce the four forward gears.
- Torque converter locks in higher gears for fuel economy.
Why that matters for troubleshooting - Problems can be electrical, hydraulic, mechanical, or thermal.
- A simple fluid issue can mimic a bad solenoid or clutch pack.
- Accurate diagnosis saves parts and labor.

Common symptoms to watch for
Symptoms often point you toward likely causes when you know how to read them. Here are common signs and what they typically mean.
- Slipping between gears
- Often low fluid, worn clutch packs, or torque converter issues.
- Harsh or delayed upshifts
- Could be bad shift solenoids, low fluid, or valve body problems.
- No drive or stuck in one gear
- Likely severe internal damage, failed solenoid, or limp mode from a control issue.
- Overheating transmission
- Low fluid, heavy towing, clogged cooler, or failing torque converter.
- Check engine or transmission light with codes
- P0700 means TCM fault; P0705–P0715 cover sensors and circuits; solenoid codes like P0750–P0755 point to shift solenoids.
Diagnostic workflow for 4l60e Transmission Troubleshooting
Follow a stepwise plan. Short, logical checks reduce guesswork and cost.
- Visual and fluid check
- Inspect fluid level and color. Dark, burnt fluid signals internal wear.
- Check for leaks around pan, cooler lines, and seals.
- Scan for codes
- Read both engine and transmission codes. Note freeze frames and pending codes.
- Electrical checks
- Inspect wiring harness and connectors for corrosion or damage.
- Test solenoid resistance and power at the connector.
- Pressure and mechanical tests
- Perform a line pressure test to verify hydraulic pressure.
- Do a stall test to check torque converter performance.
- Road test with live data
- Watch shift solenoid activation, RPMs, and gear changes.
- Compare expected behavior to live-streamed data.
People also ask
- What first step should I take when a 4L60E slips?
- Check fluid level and color, then scan for stored codes.
- Can low fluid cause hard shifts in a 4L60E?
- Yes. Low or contaminated fluid commonly causes harsh or delayed shifts.
- Is a transmission cooler necessary for a 4L60E?
- For towing or heavy use, an auxiliary cooler greatly improves longevity.
Tools and equipment you need
A few tools make 4l60e Transmission Troubleshooting accurate and fast.
- Basic tools
- Socket set, torque wrench, screwdrivers, jack stands.
- Diagnostic tools
- Scan tool that reads transmission codes and live data.
- Multimeter for electrical checks.
- Transmission-specific tools
- Line pressure gauge, vacuum gauge, stall speed tester.
- Pan gasket, filter kit, and fluid pump for service.
Practical tip: a decent scan tool that shows live data saves hours. I learned this early; cheap code readers that only show P0700 lead to wasted parts.

Common repairs and fixes with real-world guidance
Here are the repairs you’ll encounter most often with the 4L60E and how to approach them.
- Fluid and filter service
- Change fluid and filter first when the fluid is dark or maker-recommended interval passed. This often restores normal behavior.
- Solenoid replacement
- Replace faulty shift solenoids if codes or resistance tests point to them. Use OE or high-quality aftermarket parts.
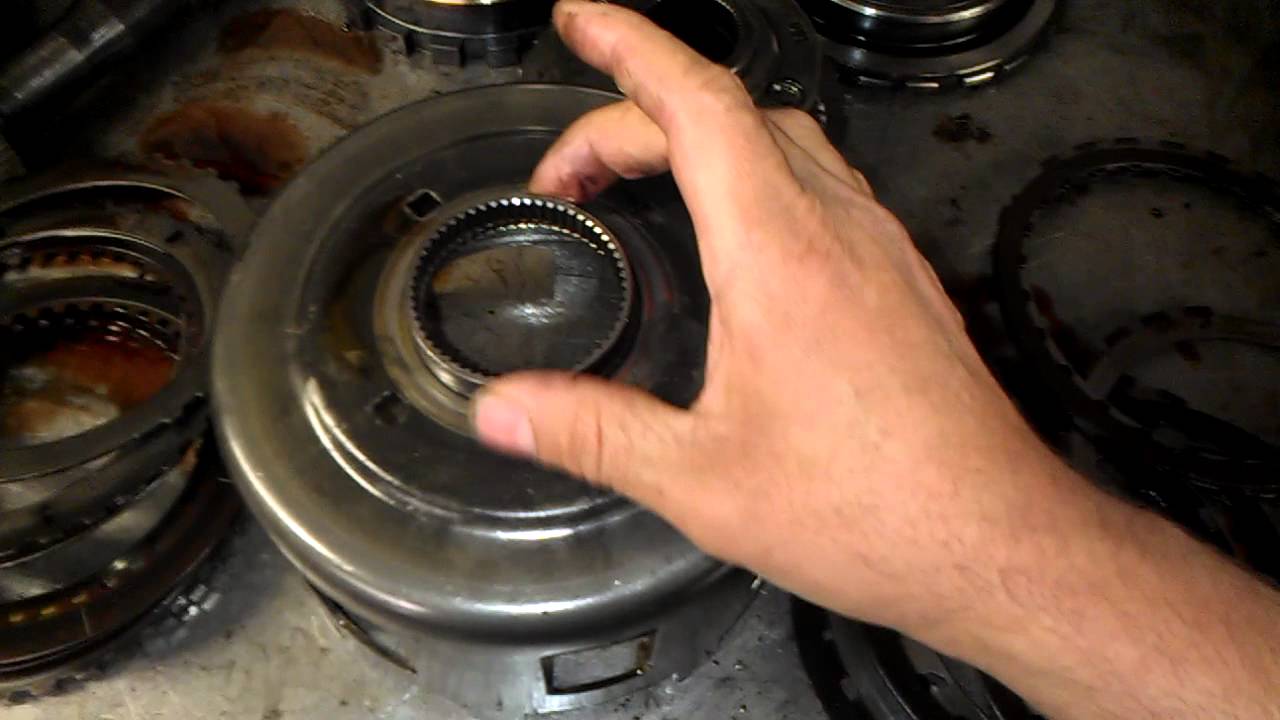
- Valve body service or rebuild
- Clean or replace the valve body if shifting is rough and electrical checks are clean.
- Clutch packs and band repair
- Internal wear needs a rebuild or core replacement. Diagnose with pressure tests first.
- Torque converter replacement
- If stall tests show low converter stall or there is severe shudder, replace torque converter.
- TCM/ECM and wiring fixes
- Repair damaged wiring and connectors. Reflash or replace the TCM only after ruling out mechanical and hydraulic causes.
Real example: I once replaced a valve body after repeated harsh shifts. After a fluid/filter change and cleaning the harness, the vehicle shifted fine for months. That saved a full rebuild.

Preventive maintenance and best practices
Good habits extend transmission life and reduce troubleshooting time.
- Change fluid early and often
- Use the correct Dexron/Mercon fluid and follow interval recommendations for towing or severe use.
- Keep the cooler clean
- Inspect and clean the radiator cooler and lines yearly.
- Avoid overheating
- Overheating accelerates wear. Use an auxiliary cooler for towing.
- Inspect and seal leaks
- Fix pan bolts, seals, and cooler-line leaks promptly to maintain fluid level.
- Drive gently during break-in
- Avoid aggressive towing and heavy launches until the transmission warms.
Personal tip: I recommend a mid-life fluid change (not just a pan drop) for vehicles used in heavy duty. It’s cheap insurance.

Troubleshooting case studies and lessons learned
Short, real cases highlight what works and what wastes time.
Case 1: Slip that wasn’t a clutch
- Symptom: Intermittent slipping under light load.
- Fix: Replaced low-quality fluid with proper Dexron and tightened a loose cooler line. Slipping stopped.
Lesson: Always check fluid and pressure before blaming internal parts.
Case 2: Hard shifts and codes
- Symptom: Harsh 2-3 shifts, P0753 stored.
- Fix: Repaired chafed wiring in harness near trans mount and replaced the solenoid.
Lesson: Wiring failures are common where harness flexes.
Common mistakes to avoid
- Replacing parts without pressure tests.
- Assuming a single code equals a single failed part.
- Skipping a thorough visual inspection.

Frequently Asked Questions of 4l60e Transmission Troubleshooting
What is the quickest diagnostic step for a 4L60E that slips?
Check transmission fluid level and color, then scan for codes. These steps rule out many simple issues.
Can I drive a vehicle with a slipping 4L60E?
Short distances may be possible, but driving risks further damage and unsafe conditions. Repair soon to avoid costly rebuilds.
How often should I change the fluid on a 4L60E?
Every 30,000–60,000 miles for normal use, and every 15,000–30,000 miles for towing or severe service. Use the correct fluid type.
Will a flush fix most 4L60E problems?
A proper fluid and filter change helps many issues, but flushing alone won’t fix mechanical wear or electrical faults. Diagnose first.
Are shift solenoids a common failure on the 4L60E?
Yes. Solenoid failure and wiring issues are common and often produce hard or erratic shifts. Test resistance and wiring before replacing.
Conclusion
You now have a clear, practical roadmap for 4l60e Transmission Troubleshooting: check fluid and codes first, inspect wiring, run pressure tests, and only then replace parts. Start with the simple checks to save time and money, and use systematic testing when problems persist. Take action: scan your vehicle, document symptoms, and use the steps here to make informed repairs or to talk with a trusted mechanic. If this guide helped, try a live-scan yourself or share your story in the comments.

