
Most Craftsman Garage Door Opener 12 Hp issues stem from sensors, travel limits, or wiring faults.
I have worked on residential door openers for years and have diagnosed dozens of Craftsman Garage Door Opener 12 Hp problems. This guide walks you through clear steps, common causes, and safe fixes so you can troubleshoot with confidence. Read on to learn how to spot symptoms, use simple tools, and decide when to call a pro for Craftsman Garage Door Opener 12 Hp troubleshooting.

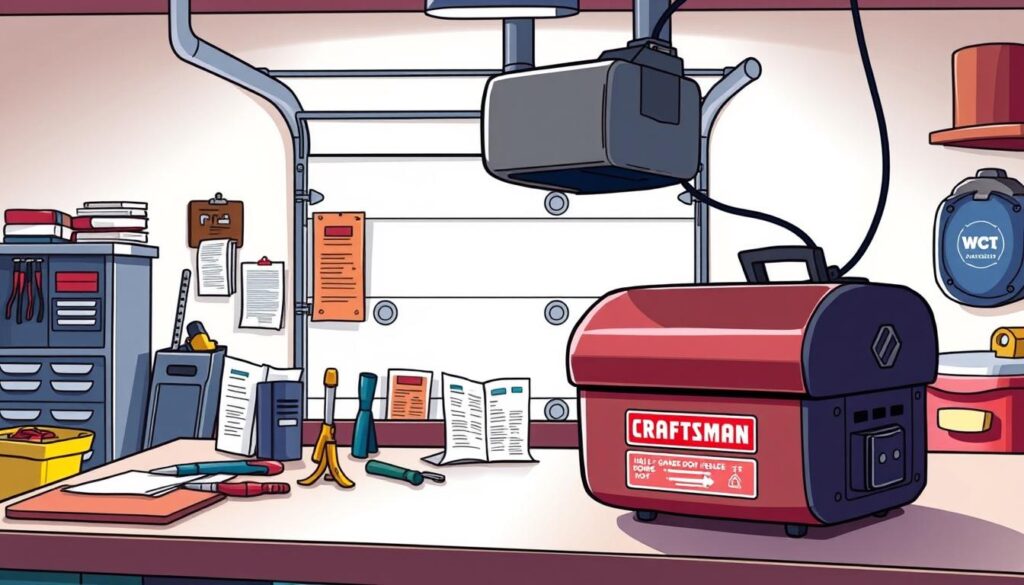
Understanding the Craftsman Garage Door Opener 12 Hp
The Craftsman Garage Door Opener 12 Hp refers to a common residential opener class that uses a motor, travel limits, sensors, and control electronics. Knowing the core parts helps you troubleshoot: motor and drive, trolley and carriage, limit switches, force adjustment, photo-eye sensors, remote receiver, and wall control.
A basic approach to Craftsman Garage Door Opener 12 Hp troubleshooting is to check safety sensors, power and wiring, travel and force settings, and noisy mechanical parts in that order. That order saves time and reduces risk.

Common symptoms and likely causes
Here are the typical signs and what they usually mean for Craftsman Garage Door Opener 12 Hp troubleshooting.
- Door won’t move at all. Likely power loss, blown fuse, bad outlet, or failed motor.
- Door reverses immediately or won’t close. Possible photo-eye misalignment, dirty sensors, or force/limit set too low.
- Opener runs but door doesn’t open. Disconnected trolley, broken belt or chain, or disengaged manual release.
- Loud grinding or clunking noise. Worn gear assembly, stripped sprocket, or loose bolts.
- Intermittent remote operation. Weak remote battery, signal interference, or receiver fault.
- Door moves unevenly or sticks. Damaged rollers, bent track, or broken spring.
Using this symptom-to-cause map speeds up Craftsman Garage Door Opener 12 Hp troubleshooting and helps you pick the correct fix.

Safety checklist before you start troubleshooting
Always make safety your first step when doing any Craftsman Garage Door Opener 12 Hp troubleshooting.
- Cut power. Unplug the opener or switch off the circuit before touching parts.
- Secure the door. Use C-clamps on the track or clamp the trolley to prevent accidental movement.
- Avoid the spring. Garage door springs hold massive tension; do not touch or adjust them unless you are trained.
- Wear safety gear. Use eye protection and gloves to avoid injury from small parts or debris.
Following these safety rules keeps troubleshooting safe and effective.
Tools and parts you will need
Gather these basics before you begin Craftsman Garage Door Opener 12 Hp troubleshooting.
- Multimeter for voltage and continuity checks.
- Screwdrivers and socket set for panel and bracket work.
- Ladder and flashlight for inspections.
- Replacement batteries for remotes and keypads.
- Lubricant for rollers and track, and an adjustable wrench.
- Spare photo-eye or sensor, lift cable, and limit switch kit if available.
Having the right tools speeds repairs and reduces the chance of mistakes.
Step-by-step Craftsman Garage Door Opener 12 Hp troubleshooting guide
Follow this ordered checklist to isolate and fix common faults.
- Verify power
- Check the outlet and cord. Test the outlet with a lamp or multimeter. Reset any tripped breakers.
- If the opener has no lights and no motor hum, focus on power and wiring first.
- Inspect safety sensors
- Photo-eye sensors should face each other and show no obstructions. Clean lenses with a soft cloth.
- Use a small mirror or test by covering one sensor to see if the opener stops closing. Misaligned or bad sensors often cause reversal.
- Check remotes and keypad
- Replace remote battery and reprogram if needed. Confirm wall control works to separate remote issues from opener faults.
- Move closer and test to reduce interference from metal structures or other electronics.
- Test travel and force settings
- Adjust travel limits so the door closes fully without extra force. Increment limits in small steps.
- Increase force only slightly; too much force is a safety hazard. If limits or force adjustments don’t help, check mechanical binding.
- Examine drive and trolley
- If motor runs but door doesn’t move, the trolley might be disengaged. Re-engage per manual.
- Inspect belt or chain drive for breakage or slack. Tighten or replace as needed.
- Listen for unusual noises
- Grinding indicates worn gears or sprockets. Replace gear kits rather than forcing continued use.
- Squeaks often need lubrication; use a silicone-based lubricant on rollers and hinges.
- Check limits, switches, and wiring
- Use a multimeter to test continuity of safety switches and wall control wires.
- Look for frayed wires, loose connectors, and rodent damage.
- Test the motor and circuit board
- If you see power at the board but no motor action, the motor capacitor or motor may be faulty.
- Smell for burned components and look for bulging or leaking capacitors on the control board.
If a step reveals a bad component you cannot easily replace, consider calling a technician. Proper diagnosis prevents unnecessary part swaps and saves money.
Interpreting LED indicators and diagnostics
Many Craftsman openers use LED flashes or panel lights to show faults. Learning the pattern helps speed repairs.
- Fast blinking lights may mean sensor obstruction or misalignment.
- Slow flash codes often point to circuit board faults or motor overload.
- No LED activity with power present can indicate a failed board or blown fuse on the board.
When you see an LED pattern, record the sequence, power-cycle the unit to see if it clears, and then follow troubleshooting steps for sensors, wiring, or control board inspection.

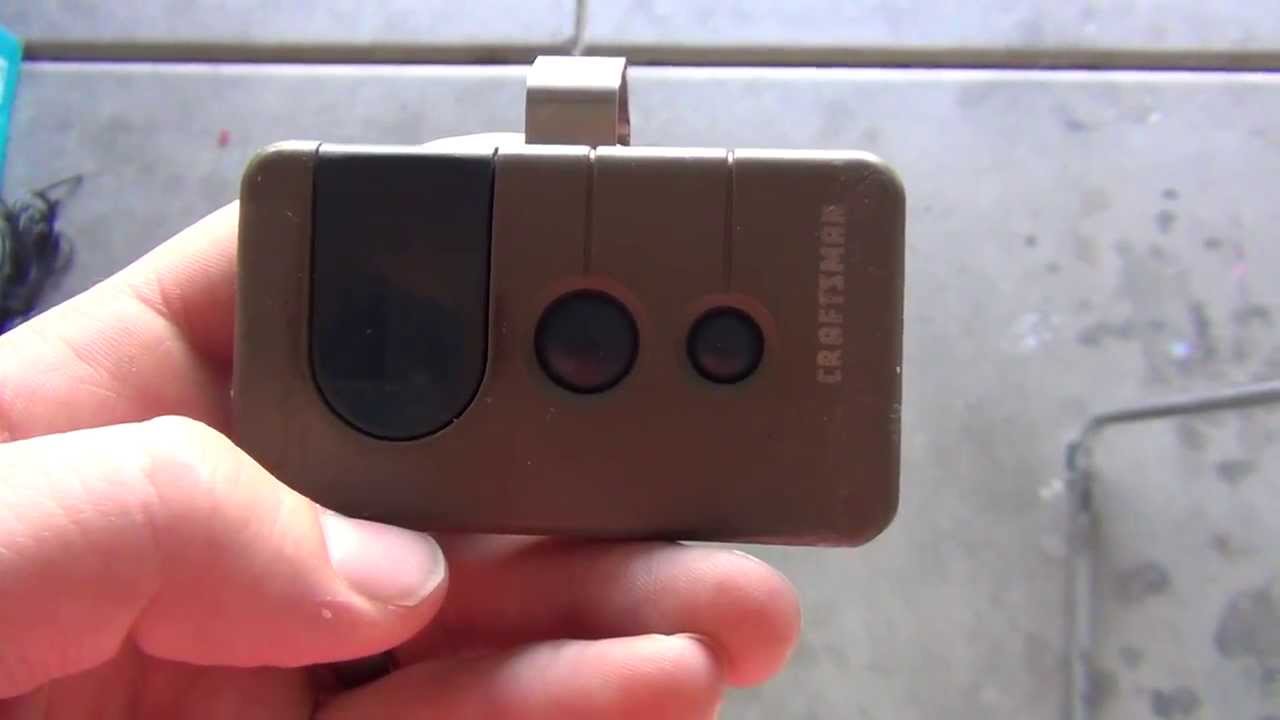
Remote, keypad, and radio troubleshooting
Remote and keypad issues are common but often simple to fix.
- Replace batteries first. Weak batteries cause intermittent or short-range operation.
- Reprogram the remote per your opener’s manual to clear code conflicts.
- Reduce interference by relocating wireless devices or using a different frequency if supported.
- If multiple remotes fail, the receiver at the opener may be defective.
Testing the wall button helps isolate whether the problem is remote or opener-side.

Maintenance tips to prevent problems
Regular care extends the life of your Craftsman Garage Door Opener 12 Hp and reduces future troubleshooting.
- Lubricate rollers, hinges, and the opener’s rail every six months.
- Check garage door balance annually; imbalance stresses the opener.
- Replace worn rollers and cables promptly to avoid damage to the drive and trolley.
- Clean photo-eye lenses monthly to prevent sensor-based reversals.
- Inspect mounting hardware and tighten loose bolts.
A little maintenance avoids many common Craftsman Garage Door Opener 12 Hp troubleshooting hours later.

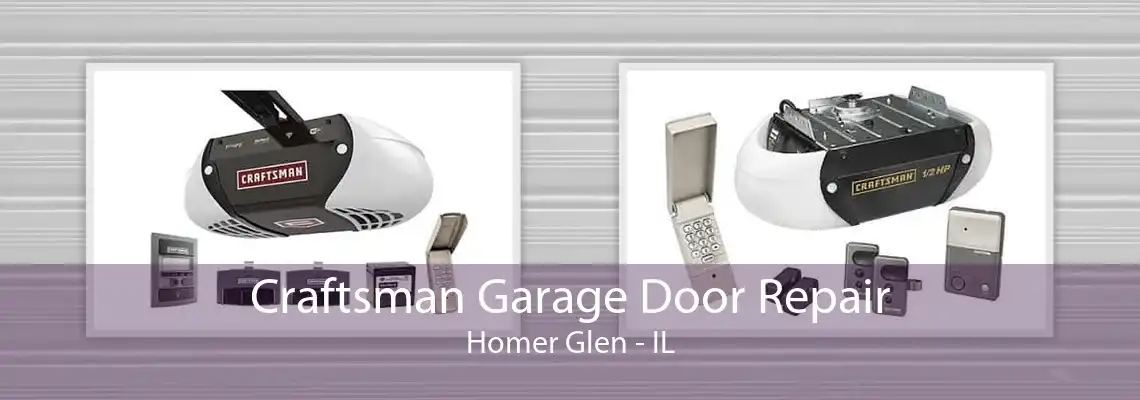
Replacing common parts and upgrade options
Sometimes replacement is the best long-term fix. Typical parts to replace include:
- Photo-eye sensor pairs for reliable safety operation.
- Gear and sprocket kits for smoother, quieter operation.
- Belt or chain drives if worn or broken.
- Capacitors and relays on the control board for motor start issues.
- Upgrade to a newer opener model for quieter motors, battery backup, and smart home integration.
When replacing parts, match model numbers and torque specs. Proper parts reduce repeat troubleshooting.
When to call a professional
Some tasks require a trained technician for safety and correctness.
- Any spring adjustment or replacement. Door springs carry extreme tension and are dangerous.
- Motor replacement if you find motor windings burned or seizing.
- Complex electrical board repair or diagnosing intermittent board faults.
- If you are unsure about force or limit settings after basic attempts.
Calling a pro can be safer and prevent costly mistakes when Craftsman Garage Door Opener 12 Hp troubleshooting goes beyond basic fixes.
Personal experience and lessons learned
I have serviced many Craftsman Garage Door Opener 12 Hp units and learned a few reliable habits. Always start with the photo-eyes; 40% of my service calls were solved by cleaning or alinment. I once replaced a motor unnecessarily because I skipped a wiring check—later it was a loose connector. My best tip: document each change and test after every adjustment. That keeps troubleshooting logical and reversible.
Frequently Asked Questions of Craftsman Garage Door Opener 12 Hp Troubleshooting
What should I check first if my Craftsman Garage Door Opener 12 Hp won’t run?
Check power first—confirm the outlet, cord, and breaker. Then test the wall control to see if the issue is remote-related.
Why does my door reverse when closing?
Most reversals come from misaligned or blocked photo-eye sensors, or from force and limit settings that are too low. Clean sensors and adjust limits carefully.
How do I know if the motor or gear is bad?
If the motor hums but the door does not move, the gear assembly or sprocket may be stripped. Loud grinding is another sign of worn gears.
Can I adjust the travel limits and force myself?
Yes, small adjustments are safe if you follow the manual and observe reversing behavior. Avoid large force increases because they can create safety risks.
When is it time to replace the whole opener?
Consider replacement if the motor or control board fails and repair costs approach 50% of a new unit, or if you need quieter, smarter features like battery backup or Wi-Fi.
Conclusion
Craftsman Garage Door Opener 12 Hp troubleshooting is a stepwise process: verify power, inspect sensors, test controls, check mechanical links, and only then dig into boards or motor parts. Regular maintenance and simple checks prevent many common issues. Try the clear steps above, document your findings, and act safely—call a pro when springs, motors, or complex boards are involved. If this guide helped, try the steps on your opener, subscribe for more repair tips, or leave a question below so I can help further.

