
Overhead Door Troubleshooting often starts with checking sensors, springs, and opener power.
I have spent years fixing and diagnosing garage doors. This guide on Overhead Door Troubleshooting brings that hands-on experience to you. You will find clear steps, real-world tips, safety checks, and solutions for common faults. Read on to learn how to inspect, diagnose, and often fix overhead door issues yourself, or know when to call a pro.
Common Symptoms of Overhead Door Problems
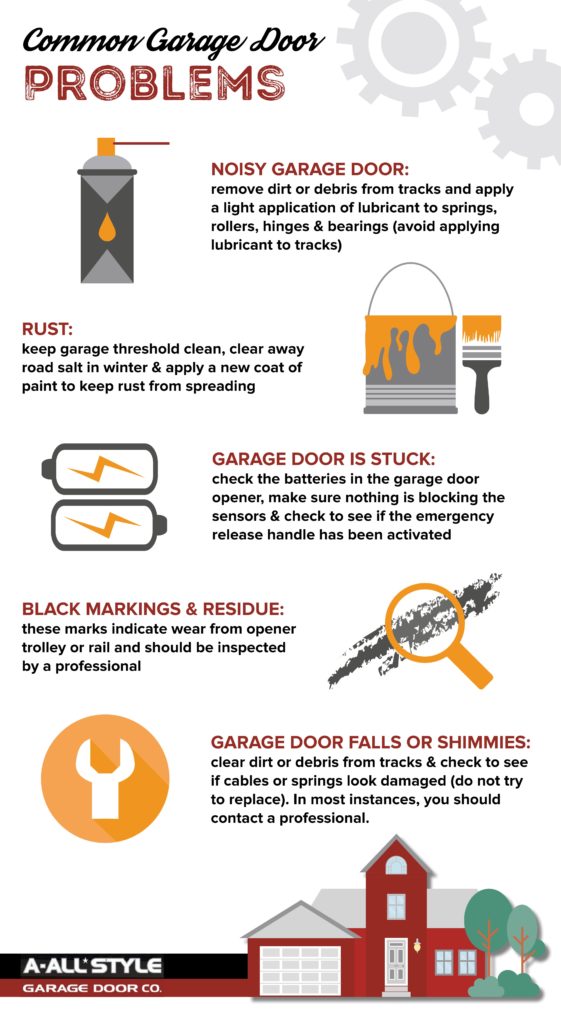
Overhead Door Troubleshooting begins with spotting symptoms. Listen, look, and note how the door behaves. Common signs include the door reversing suddenly, grinding noises, uneven movement, or complete failure to respond.
Each symptom points to likely causes. For example, jerky movement often links to worn rollers or track issues. Noisy operation may mean loose hardware or a failing opener. Pay attention to patterns—intermittent problems often trace to wiring or sensor faults.
Tools and Safety for Overhead Door Troubleshooting
Safety is critical in any Overhead Door Troubleshooting session. Garage door springs and cables store a lot of energy. Do not attempt spring repairs unless you have the right tools and training.
Keep these tools handy:
- A sturdy ladder to reach the tracks and opener.
- A multimeter for testing switches and power.
- Adjustable wrenches and pliers for fasteners.
- A flat-blade screwdriver for sensor alignment.
- Safety glasses and gloves for protection.
Before any work, disconnect power to the opener and clamp the door in place if possible. Mark or photograph setups before you loosen parts. If you feel unsure at any step, contact a licensed technician.

Step-by-Step Overhead Door Troubleshooting Guide
Follow a logical path to diagnose problems. This method reduces guesswork and protects you from unnecessary repairs.
- Check power and remote battery
- Verify the opener has power. Test the wall switch and outlet with a lamp.
- Replace remote batteries and reprogram if needed.
- Inspect safety sensors
- Ensure sensors are aligned and clean. Small obstructions or misalignment cause reversals.
- Clean lenses with a soft cloth and test operation.
- Look at tracks and rollers
- Check for dents, bends, or debris. Clean tracks and lubricate rollers.
- Replace worn rollers to restore smooth travel.
- Test springs and cables visually
- Do a visual check for broken spring coils or frayed cables. Never attempt spring replacement without proper tools.
- Listen to the opener
- Grinding or rubbing noises often mean gear wear or loose parts inside the opener.
- Check the opener manual for specific troubleshooting codes or LED indicators.
This order helps you find the easiest fixes first. Many issues resolve with simple cleaning, alignment, or a battery swap. If steps show complex failures, step back and prepare for professional help.

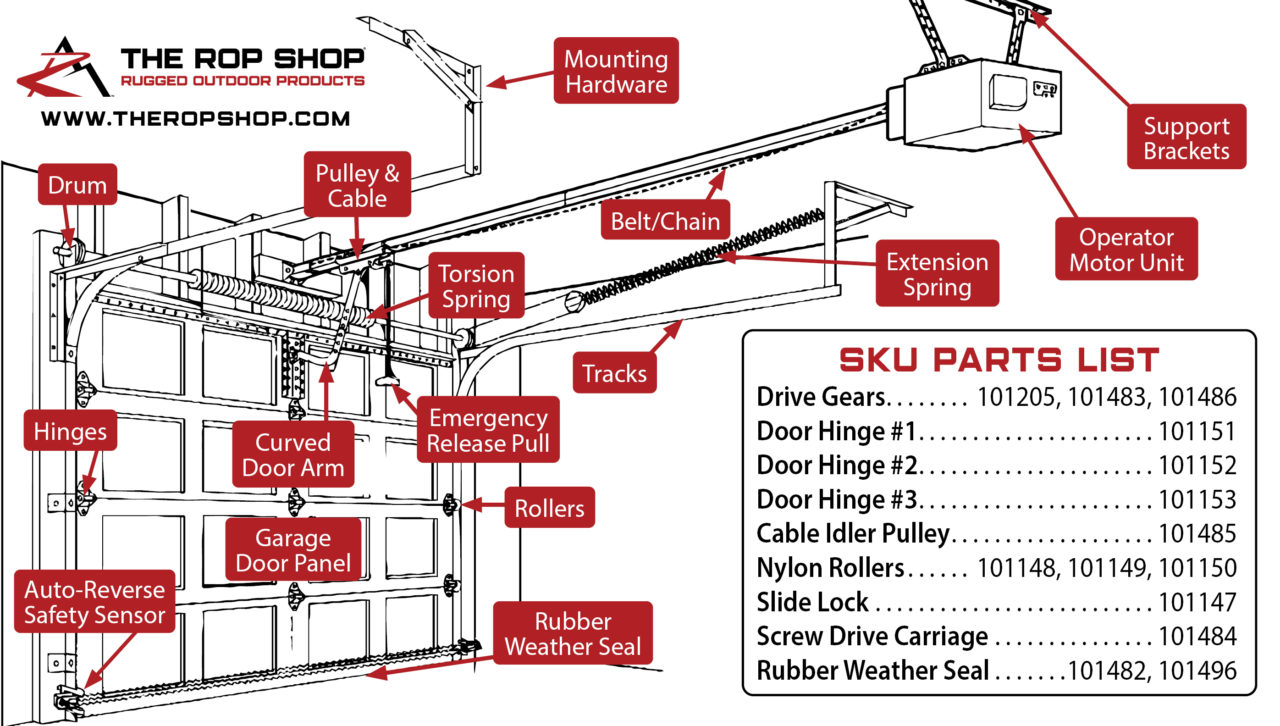
Troubleshooting Specific Components
Overhead Door Troubleshooting varies by the part that fails. Below are focused checks for major components.
Opener and Motor
If the door won't move or moves slowly, test the opener.
- Check power, fuses, and outlet.
- Listen for motor hum or grinding.
- If the motor runs but the door doesn’t move, check the trolley and drive gear.
Springs and Cables
Broken springs or frayed cables are hazardous and common.
- A broken spring is visible as a gap in the coils.
- Cables may show fraying or uneven winding.
- Replace springs and cables only with proper tools or hire a pro.
Tracks and Rollers
Tracks guide the door and must be straight.
- Look for dents or gaps where rollers catch.
- Clean tracks with a cloth and use a garage-door-specific lubricant on rollers.
- Bent tracks may require professional realignment.
Sensors and Remote Controls
Sensors keep people and objects safe.
- Misaligned sensors cause reversal; adjust until both LEDs show steady light.
- Dirt on lenses blocks signals; clean gently.
- Reprogram remotes and check for RF interference from other devices.
People also ask:
How do I realign garage door sensors?
Realign both sensors until their indicator lights are steady. Clean the lenses first, then adjust brackets slowly.
Why does my garage door reverse after closing?
Most likely a sensor obstruction, misalignment, or low opener force setting. Test sensors and adjust force per the manual.
Can I replace a torsion spring myself?
Spring replacement is risky. Only attempt it if you have the right tools and experience. Otherwise hire a licensed technician.
Preventive Maintenance and Tips
Regular upkeep reduces the need for Overhead Door Troubleshooting. A short routine once or twice a year goes a long way.
Maintenance checklist:
- Visual inspection for wear and damage. Replace parts showing fatigue.
- Lubricate rollers, hinges, and springs with a silicone-based or garage-door lubricant.
- Tighten loose bolts and hardware.
- Test auto-reverse safety features monthly by placing an object in the door path.
- Keep tracks clean and free from debris.
My own routine: I inspect my garage door every spring and fall. Small fixes like tightening bolts and lubing rollers saved me from a mid-winter breakdown. You can often catch problems early and avoid costly repairs.
When to Call a Professional
Not every issue fits a DIY fix. Call a pro when safety or complex parts are involved.
Call a technician if:
- You have a broken torsion spring or frayed cable.
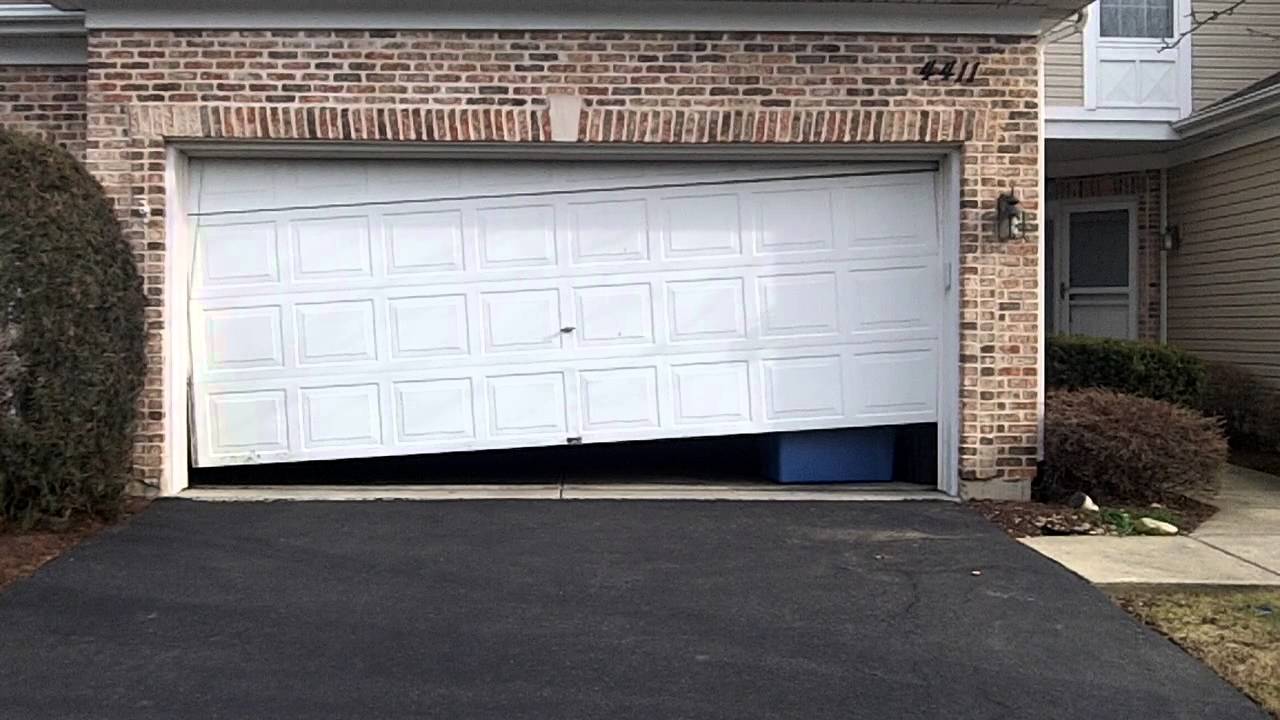
- The door is off its tracks or structurally damaged.
- The opener has internal failure or electrical faults you cannot isolate.
- You lack the tools or confidence to perform safe repairs.
A qualified technician carries proper tools and insurance. They can adjust springs, realign tracks, and ensure the door meets safety codes. Get multiple quotes for major repairs and ask for warranties.

Frequently Asked Questions of Overhead Door Troubleshooting
What causes a garage door to suddenly stop working?
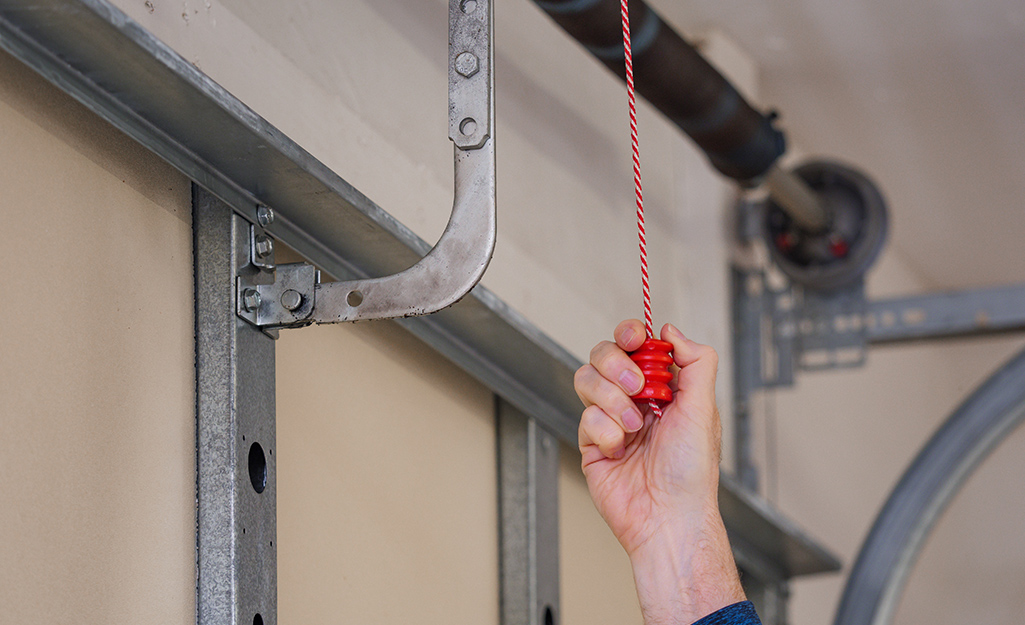
Power loss, dead remote batteries, or a tripped circuit can stop an opener. Check power, manual release, and wall switch first.
Why does my garage door reverse when closing?
Most reversals are due to misaligned or dirty safety sensors. Clean lenses and align sensors until LEDs are steady.
How often should I lubricate my garage door?
Lubricate rollers, hinges, and springs every 6 to 12 months. Use a garage-door-specific lubricant for best results.
Can a remote control stop working without obvious damage?
Yes. Batteries, reprogramming issues, or radio interference can make a remote stop working. Replace batteries and reprogram before replacing the unit.
Is it safe to adjust garage door springs myself?
No. Torsion springs store high tension and can cause severe injury. Hire a trained technician for spring adjustments and replacement.
How do I know if my opener gear is worn?
Listen for grinding or scraping during operation. Slipping, slow movement, or inconsistent travel also suggest gear wear.
What maintenance prevents cables and rollers from failing?
Regular visual checks, timely lubrication, and replacing worn rollers early prevent cable strain and premature failure.
Conclusion
Overhead Door Troubleshooting is about careful observation, basic checks, and smart decisions. Start with simple tasks like testing power, cleaning sensors, and tightening hardware. Use the step-by-step guide to diagnose issues safely, and call a pro for springs, cables, or complex opener faults.
Take one action today: run the quick checklist in this article to catch small problems early. If you found this guide useful, leave a comment, subscribe for more tips, or share your own troubleshooting story.

