
Electric PTO clutch issues usually stem from electrical faults, wear, or poor adjustment.

Today's Exclusive Deals
Limited-time Exclusive Deals. Check current discount on Amazon.
Check Price on Amazon As an Amazon Associate I earn from qualifying purchases.I have spent years repairing tractors, mowers, and utility vehicles, focused on Electric Pto Clutch Troubleshooting. This guide brings hands-on experience and clear steps to find and fix PTO clutch problems fast. Read on to learn causes, tests, fixes, and maintenance tips that save time and money.
Understanding Electric PTO Clutch Basics
An electric PTO clutch engages and disengages implements using an electromagnet. It converts electrical input into mechanical action. This part sits between the engine and accessory drive. Knowing how it works helps with Electric Pto Clutch Troubleshooting.
Today's Exclusive Deals
Limited-time Exclusive Deals. Check current discount on Amazon.
Check Price on Amazon As an Amazon Associate I earn from qualifying purchases.Key components:
- Armature and friction plate that move to engage power.
- Electromagnet coil that creates the holding force.
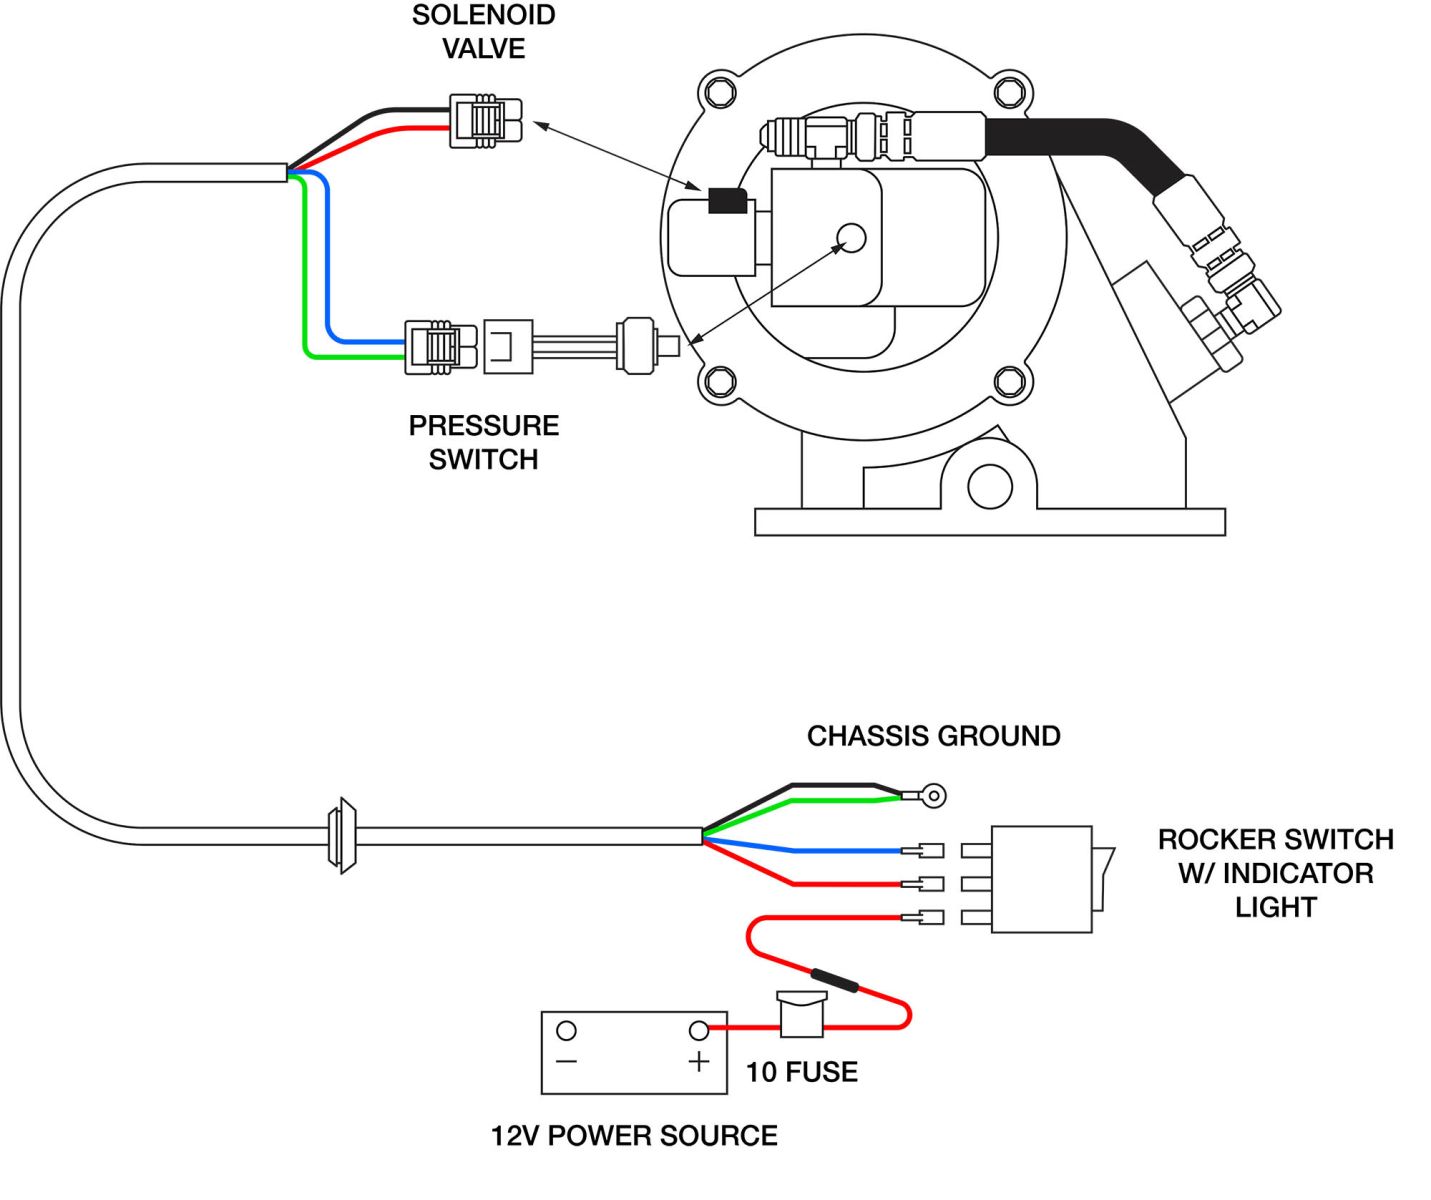
- Electrical connectors and switches that control the coil.
- Pulley or spline connection to the driven shaft.
Why it fails often:
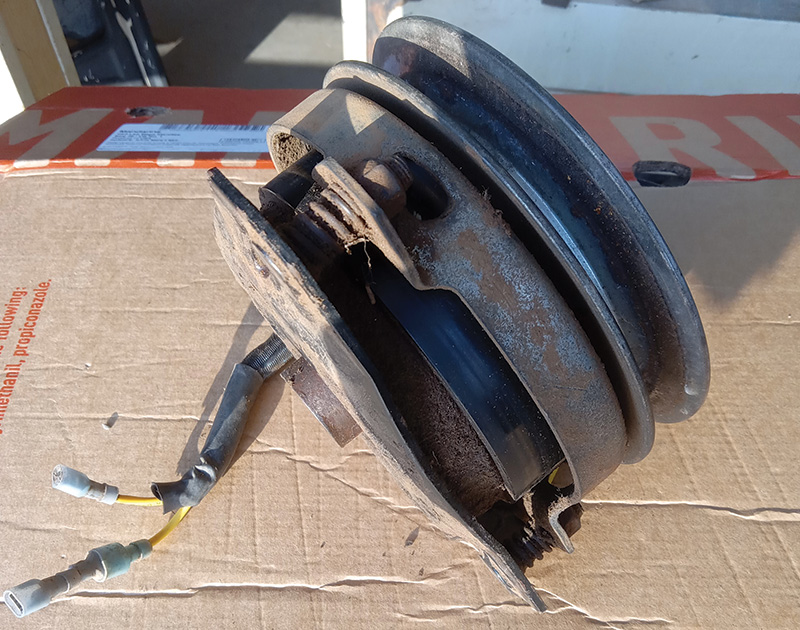
- Heat and wear reduce friction surface life.
- Electrical faults stop coil energizing.
- Dirt, rust, or poor cables block operation.
- Misadjusted linkage prevents full engagement.

Today's Exclusive Deals
Limited-time Exclusive Deals. Check current discount on Amazon.
Check Price on Amazon As an Amazon Associate I earn from qualifying purchases.Common Symptoms and Causes of Failure
Symptoms tell you where to start with Electric Pto Clutch Troubleshooting. Watch for clear signs.
Common symptoms:
- PTO won't engage when switched on.
- Clutch drags and won't release cleanly.
- Noisy engagement or grinding.
- Burning smell or smoke near the clutch area.
- Intermittent operation or delayed engagement.
Likely causes:
- Low battery voltage or weak alternator.
- Corroded or loose connectors.
- Worn friction plate or warped armature.
- Bad coil or shorted winding.
- Faulty switch, relay, or wiring harness.
Diagnostic Checklist and Step-by-Step Troubleshooting
Follow a simple checklist for Electric Pto Clutch Troubleshooting. Work methodically. Test one thing at a time.
Step-by-step:
- Safety first. Park on level ground, set parking brake, remove key, disconnect battery negative. Verify implement is lowered and isolated.
- Visual inspection. Look for broken wires, burnt smell, oil contamination, or loose bolts.
- Check battery voltage at rest and under load. Low voltage can prevent engagement.
- Try the PTO switch and listen. Clicking relays indicate switch action.
- Measure voltage at the clutch coil while engaging. You should see rated voltage. No voltage means wiring, switch, or relay issue.
- Test coil resistance with an ohmmeter. Compare to the OEM spec. Open or shorted coils need replacement.
- Manually check movement. With power off, try to move the armature. Excessive stiffness points to rust or warped surfaces.
- Inspect friction plate. If glazed or thin, replace it.
- Reassemble and test under load only after confirming all functions.
Electrical Tests and Tools You Need
Good tools speed Electric Pto Clutch Troubleshooting. Use proper gear to avoid mistakes.
Essential tools:
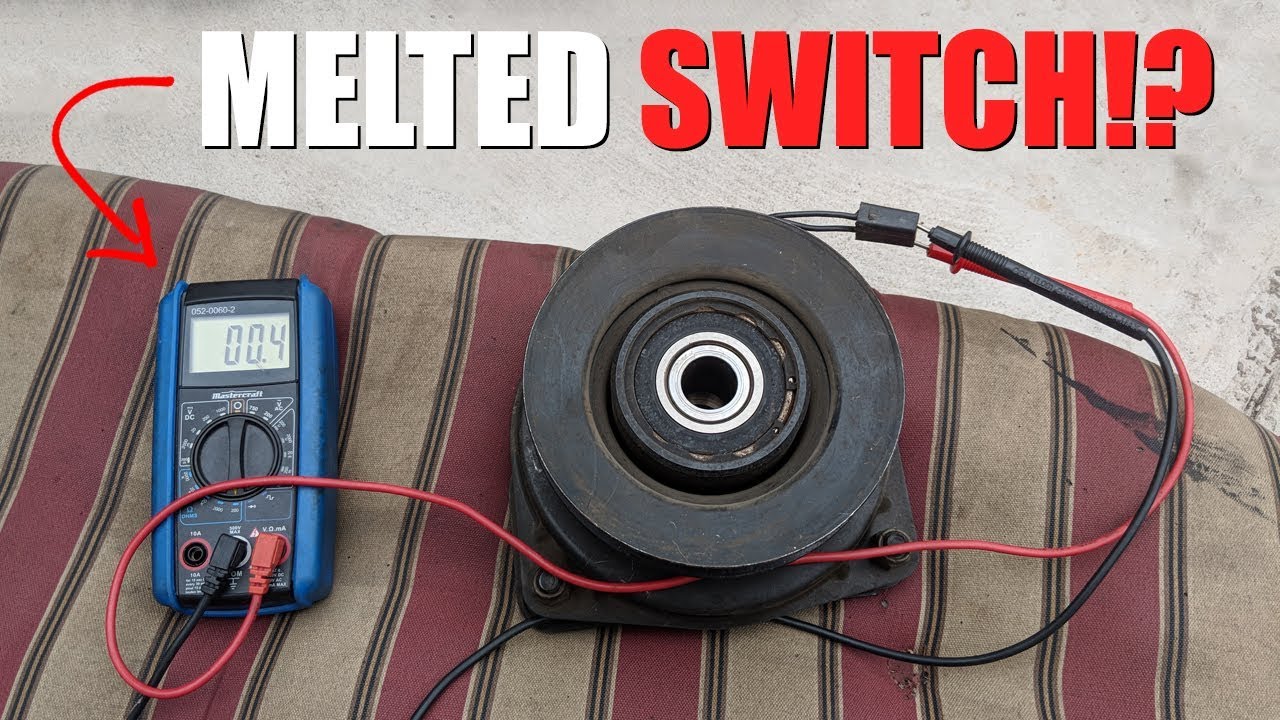
- Multimeter for voltage and resistance tests.
- Test light for quick voltage checks.
- Battery load tester or known-good battery.
- Socket set and screwdrivers for access.
- Contact cleaner and small wire brush for terminals.
Electrical checks:
- Measure battery voltage. Aim for 12.4V+ for lead-acid systems. Lower voltage can cause failure.
- Check voltage at the clutch switch and relay output. Voltage should be present when switch is on.
- Measure coil resistance. Typical values vary, so note OEM specs.
- Inspect grounds. A poor ground raises resistance and reduces coil current.
Practical tip: If voltage is present at the connector but clutch does not engage, suspect the coil or internal mechanical binding. If voltage drops when you switch on, suspect wiring or battery health.

Repair, Adjustment, and Replacement Tips
Fixes vary by problem. Use correct parts and torque values. Keep the work clean.
Repair tips:
- Replace worn friction plates in matched sets where required.
- Clean mating faces with light abrasive only. Avoid removing material.
- Replace coils that show open circuit or inconsistent resistance.
- Use dielectric grease on electrical connectors to prevent future corrosion.
- Tighten mounting bolts to specification to prevent warping.
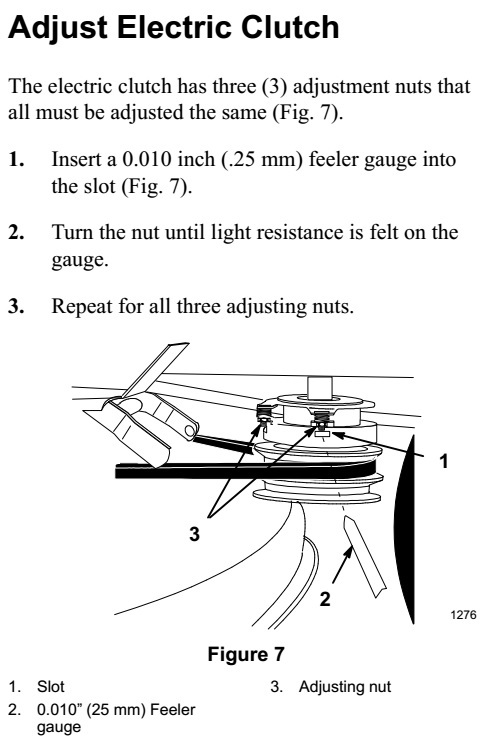
Adjustment tips:
- Adjust linkage so the clutch fully engages without excessive travel.
- Check sheave alignment to avoid belt or pulley wear.
- Verify switch and safety interlocks are intact and correctly wired.
Replacement tips:
- Use OEM or high-quality aftermarket clutches.
- Match clutch voltage (12V or 24V) and rated torque.
- When replacing, inspect the driven shaft and keyway for wear, and replace worn keys.

Preventive Maintenance and Best Practices
A regular plan reduces Electric Pto Clutch Troubleshooting calls. Small steps add up.
Maintenance checklist:
- Inspect electrical connections every season.
- Check clutch face thickness and replace before failure.
- Keep the area clean and dry; remove plant debris and dirt.
- Test PTO engagement monthly during warm-up.
- Maintain battery and charging system health.
Best practices:
- Store equipment in a dry, ventilated area.
- Avoid running clutch slipping; it overheats the friction material.
- Train operators on proper PTO use and safety.
- Keep a simple troubleshooting log to spot patterns early.
Troubleshooting Scenarios and Real-Life Examples
I have fixed many PTO clutches over the years. Here are common scenarios and how I solved them.
Scenario 1: PTO won't engage but relay clicks
- I found voltage at the relay but none at the clutch. A broken wire in the harness was the cause. Replacing the harness fixed it.
Scenario 2: Intermittent engagement in wet weather
- Corroded connector allowed intermittent contact. Cleaning and sealing the connector stopped the problem.
Scenario 3: Hot smell after a long mowing session
- The friction plate was glazed from slipping. I replaced the plate and corrected the belt tension to prevent reoccurrence.
Lessons learned:
- Always test voltage at the clutch before ordering a replacement.
- Small electrical issues cause most failures. Start with simple checks.
- Keep spare fuses, connectors, and a basic tool kit on hand.

Frequently Asked Questions of Electric Pto Clutch Troubleshooting
Why won't my electric PTO clutch engage?
Check battery voltage, switch function, and voltage at the clutch coil. If voltage is present but the clutch still won’t engage, the coil or mechanical parts may be faulty.
How do I test the PTO clutch coil?
Use an ohmmeter to measure resistance and a multimeter to check voltage while engaging. Compare readings to OEM specs to decide if the coil is good.
Can a weak battery cause clutch problems?
Yes. Low voltage reduces coil current and can prevent engagement. Always test the battery and charging system during troubleshooting.
How often should I replace the friction plate?
Replace the friction plate when it reaches the minimum thickness or shows glazing. Check it annually under heavy use, or sooner if you notice slippage.
Is it safe to test the PTO while the engine is running?
Only perform tests that require the engine running with strict safety measures. Keep hands clear of moving parts and use the parking brake and PTO safety locks.
What causes a burning smell from the PTO area?
A burning smell usually means slipping friction material or an electrical short. Stop operation immediately and inspect the clutch faces and wiring.
Conclusion
Electric Pto Clutch Troubleshooting is a mix of simple electrical checks and careful mechanical inspection. Start with battery and wiring tests, then move to coil and friction checks. Regular maintenance prevents most failures and keeps your equipment reliable. Try the checklist and tips here, keep a basic tool kit nearby, and document recurring issues to save time later. If you found this guide useful, subscribe for more repair tips or leave a comment with your PTO problem.


