
Fluorescent light troubleshooting often finds bad starters, ballasts, or loose tubes.
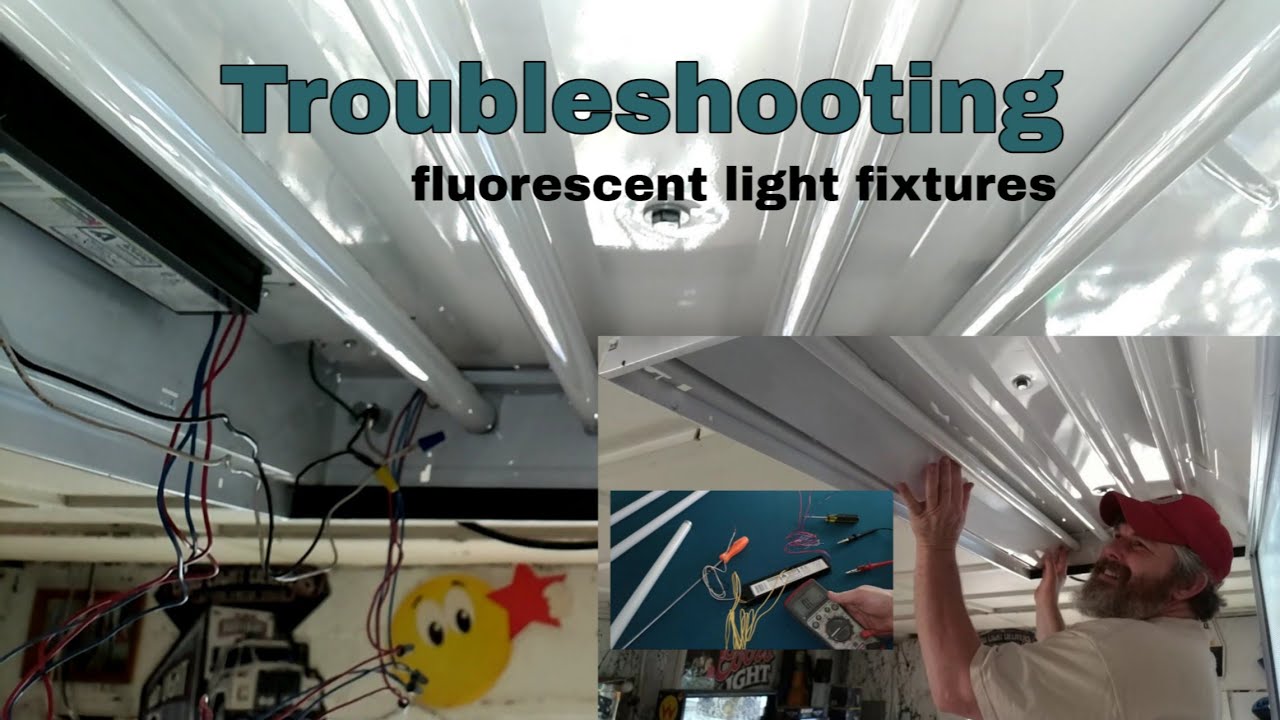
I have fixed hundreds of office and home lighting problems. I will walk you through clear, safe, and practical Fluorescent Light Troubleshooting steps. This guide explains common faults, simple checks, tools to use, and when to upgrade to LEDs. Read on to save time, avoid mistakes, and get lights working reliably.
Common Problems and What They Mean
Fluorescent Light Troubleshooting starts with spotting the symptom. Flicker, buzz, slow start, or no light each point to different causes. A bulb that pulses often has a failing starter or loose tube. A constant hum usually ties to an old magnetic ballast. Long warm-up or dim light can mean wrong tube type or weak ballast.
Other signs to watch for:
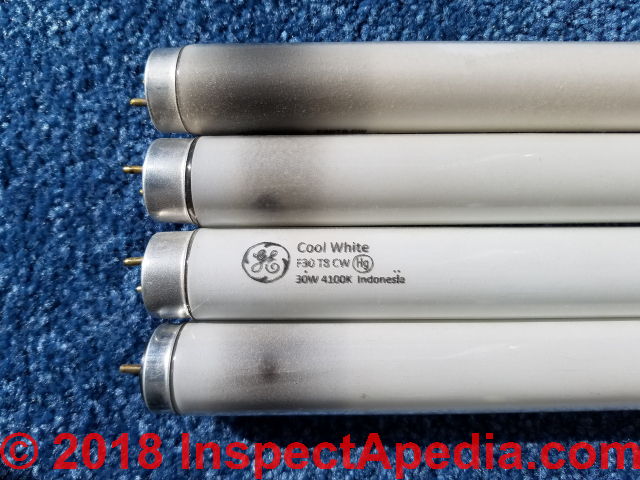
- Bulb glows but is dim at ends — tube nearing end of life.
- Light will not start in cold weather — starter or ballast issue.
- One fixture dark, others fine — wiring, switch, or breaker problem.
- Color shift or strobing — tube aging or ballast instability.
I use this symptom checklist first. It narrows down what to test next. Fluorescent Light Troubleshooting saves time when you match symptoms to likely causes.
Basic Fluorescent Light Troubleshooting Steps
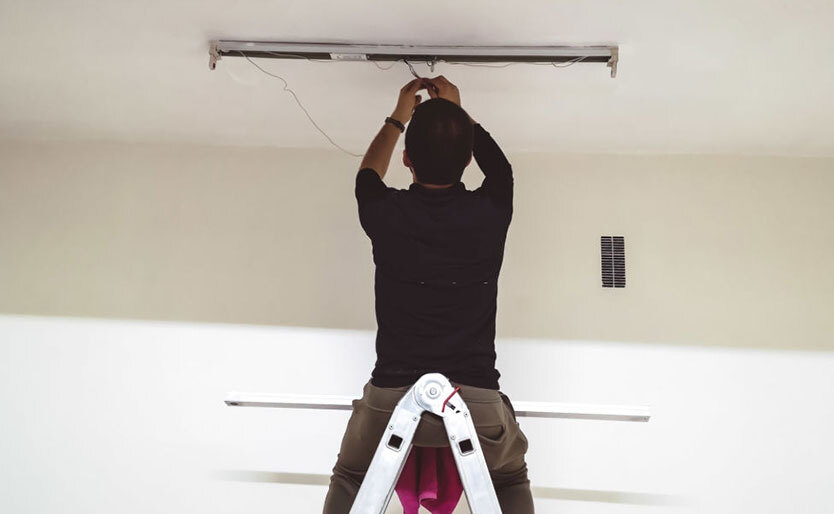
Start with power and safety. Turn off the switch and unplug or cut power at the breaker. Wear gloves and safety glasses when handling tubes.
Step-by-step checks:
- Confirm power at switch and fixture. A dead switch or tripped breaker is common.
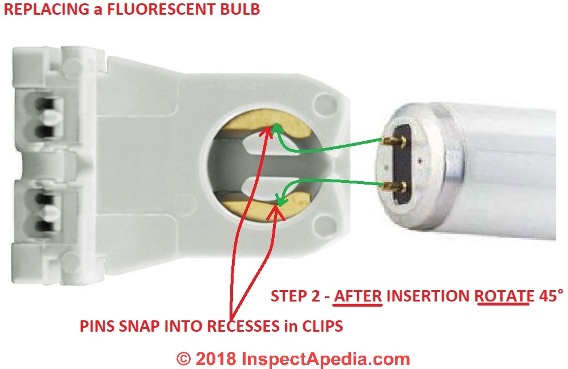
- Inspect tubes. Look for dark ends or visible damage. Replace suspect tubes with known-good ones.
- Reseat tubes. Rotate and push firmly into sockets. Loose contact causes flicker.
- Replace the starter on fixtures that use starters. Starters are cheap and often fix flicker.
- Listen for buzzing. If present after tube replacement, suspect the ballast.
If flicker stops after replacing the tube or starter, you are done. If flicker continues, move to ballast checks. Keep notes on what you tried and results. That data helps if you call a pro.

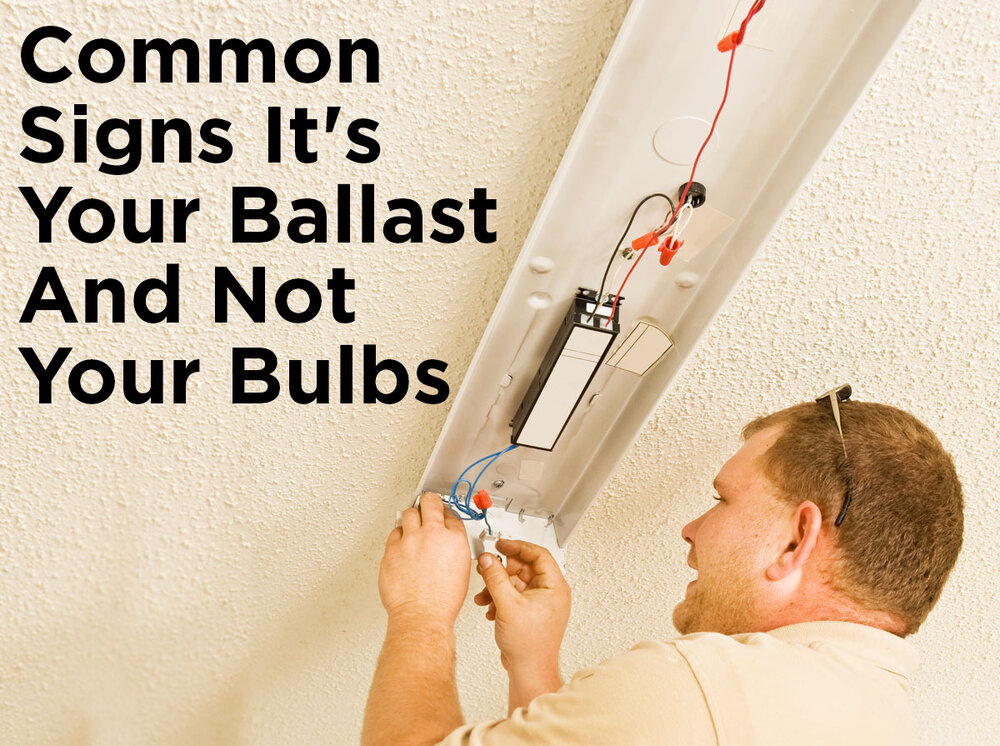
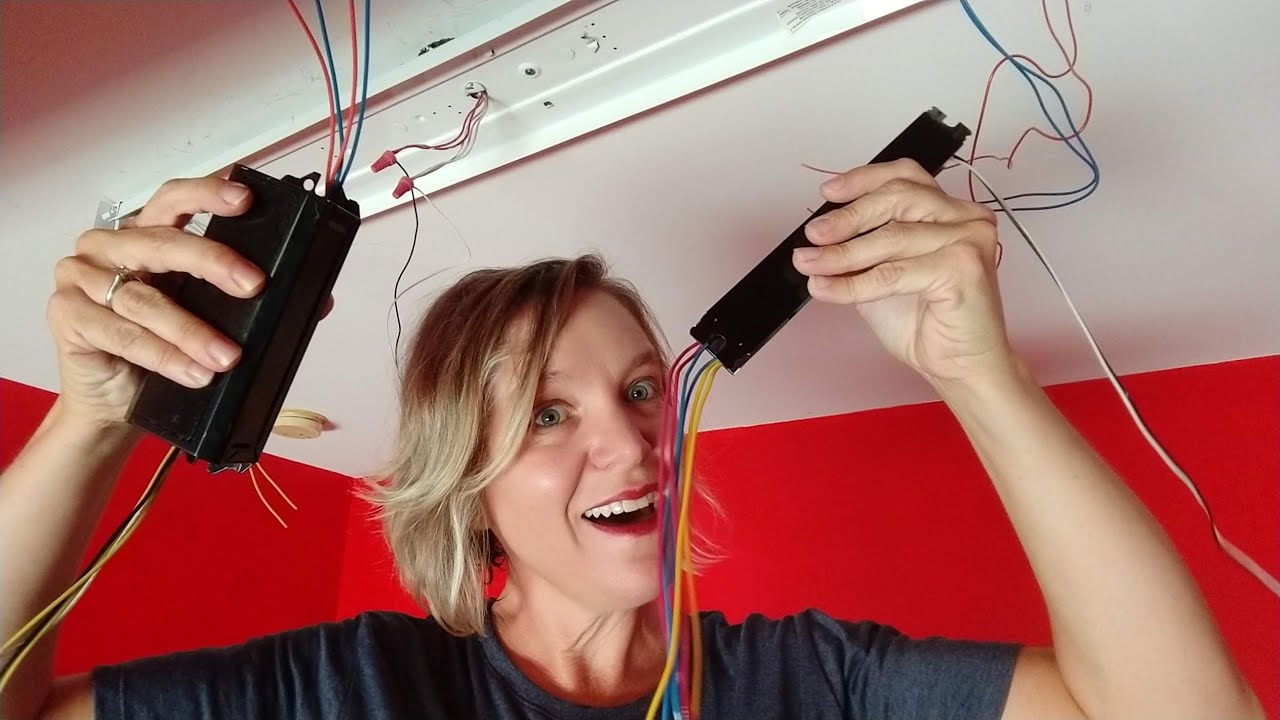
Ballasts, Starters, and Tube Types Explained
Understanding parts makes Fluorescent Light Troubleshooting easier. Fixtures use starters, ballasts, and tubes. Each can fail.
Key parts and how they behave:
- Starter — used with older fixtures. It briefly pulses current to start the tube. A bad starter yields repeated flicker.
- Magnetic ballast — heavy and makes a hum. It limits current. It can overheat and fail.
- Electronic ballast — lighter, quieter, and more efficient. Fails less often but can produce erratic dimming before stopping.
- Tube types — T12, T8, T5 vary in diameter and voltage. Replacing with the wrong type can cause poor light and short life.
When a ballast is failing, you may see slow start, flicker, or a burning smell. Replacing the ballast often restores steady light. For many settings, converting to LED tubes and bypassing the ballast is a long-term fix.
Advanced Diagnostics and Tools
When basic fixes fail, use simple tools. A multimeter and a non-contact voltage tester are most useful. Test for voltage at the fixture to confirm power. Check continuity in sockets and starters when power is off.
Advanced checks:
- Measure supply voltage at the fixture to rule out wiring problems.
- Test ballast output if you can access ballast specs and safe terminals.
- Check tombstones (lamp holders) for carbon build-up or cracks.
- Look for loose or burned wires in the fixture box.
My experience: most stubborn problems come from poor socket contact or intermittent wiring. Replacing tombstones fixed many flicker cases. If you are not comfortable with live testing, hire a licensed electrician.
When to Replace or Upgrade to LEDs
Fluorescent Light Troubleshooting should include cost and lifespan thinking. LEDs last much longer and save energy. They also avoid mercury. Consider these factors before replacing or retrofitting.
Upgrade options:
- Plug-and-play LED tubes that match ballast type — easy swap but check compatibility.
- Ballast-bypass LEDs — more efficient, require rewiring fixture to bypass ballast.
- Full fixture replacement — best for very old fixtures or when you want built-in LED drivers.
Benefits of switching to LED:
- Lower energy use and maintenance.
- No starter or ballast to fail.
- Better dimming and instant start.
If you fix fluorescents often, upgrade pays off. Factor in disposal rules for fluorescent tubes, as they contain mercury and need proper recycling.

Safety and Environmental Considerations
Safety matters in Fluorescent Light Troubleshooting. Fluorescent tubes contain mercury. Breakage requires careful cleanup and proper disposal.
Safety rules:
- Turn off power before working on fixtures.
- Use gloves and eye protection when handling tubes.
- Contain and recycle broken or spent tubes per local rules.
- For ceiling fixtures or unfamiliar wiring, use a pro. Commercial fixtures may need lockout/tagout.
Be honest about your skill level. Electric shocks and falls are real risks. When in doubt, stop and call a qualified electrician.
Tools and Parts Checklist
Having the right gear makes Fluorescent Light Troubleshooting faster and safer.
Must-have tools:
- Non-contact voltage tester.
- Multimeter.
- Insulated screwdrivers.
- Work gloves and safety glasses.
- Replacement tubes, starters, and tombstones.
- Small ladder and flashlight.
Spare parts to keep:
- Common tube sizes you use (T8, T12, T5).
- Starters for magnetic fixtures.
- Tombstones and quick-connect sockets.
- Common ballast models if you do a lot of repairs.
Keep a small kit with labels. It speeds repairs and avoids extra trips to the store.
Troubleshooting Scenarios and Quick Fixes
Here are quick fixes for common scenarios. These help in real time.
Scenario 1: Flicker at startup, then steady
- Likely bad starter. Replace starter and test.
Scenario 2: Continuous flicker or strobe
- Reseat tube. If it continues, replace tube. If still flicker, test ballast.
Scenario 3: One fixture dark, others fine
- Check breaker and switch. If power is present, inspect wiring and socket.
Scenario 4: Buzzing after tube change
- Probable magnetic ballast failure. Consider ballast replacement or LED retrofit.
PAA-style questions
- How do I stop a fluorescent light from flickering? Replace the starter or tube, then check the ballast if flicker persists.
- Can I swap tube types easily? Only if the fixture supports the tube type and ballast. Verify compatibility before swapping.
These short scenarios match what I see in homes and offices. They often fix lights quickly.

Frequently Asked Questions of Fluorescent Light Troubleshooting
How can I tell if the ballast is bad?
A bad ballast often causes a loud hum, long warm-up, or repeated flicker after replacing tubes. If tubes and starters are good and the problem stays, the ballast is likely at fault.
Is it safe to replace a starter myself?
Yes, if you turn off power and follow basic precautions. Starters are low-cost parts and easy to swap, but work on fixtures only when the circuit is off.
Why do fluorescent lights flicker only when cold?
Cold can slow the gas ignition inside tubes, making starters work harder. Old starters or ballasts may fail in low temperatures and cause flicker or slow start.
Do LED tubes work with my existing ballast?
Some LED tubes are ballast-compatible, but many require ballast bypass. Check manufacturer guidance and wiring needs before installing LEDs.
What do I do with broken fluorescent tubes?
Avoid vacuuming. Wear gloves and collect shards in a sealed container. Follow local recycling rules for hazardous waste, since tubes contain mercury.
Conclusion
You can fix many lighting issues with careful Fluorescent Light Troubleshooting. Start with simple checks: power, tubes, starters, then move to ballast and wiring. When repairs repeat or fixtures are old, consider LED upgrades for long-term savings. Take safety seriously and call a pro for complex wiring or commercial systems. Try the steps above, keep notes on what you test, and leave a comment with your most stubborn lamp problem — I’ll help troubleshoot.

