
Most GE Profile microwave issues are fixable with simple checks like power, door switches, and fuses.

Today's Exclusive Deals
Limited-time Exclusive Deals. Check current discount on Amazon.
Check Price on Amazon As an Amazon Associate I earn from qualifying purchases.I have worked on dozens of GE Profile Microwave Troubleshooting cases in service calls and at-home repairs. This guide will walk you through clear steps to diagnose and fix common problems. You will find easy tests, safety tips, parts advice, and when to call a pro. Read on to save time and money while keeping safety first.
How GE Profile Microwaves Work
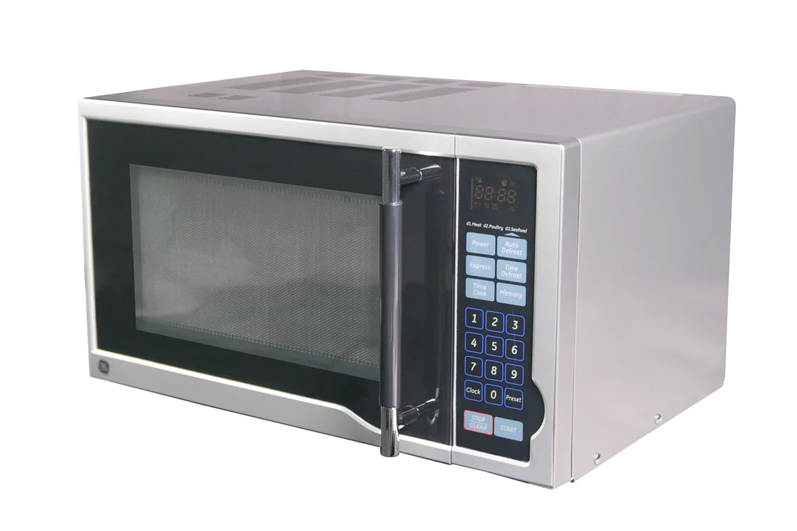
GE Profile Microwave Troubleshooting starts with a basic understanding of how the oven works. A microwave uses a magnetron to create microwaves. The control board, door switches, transformer, diode, and capacitor manage power and safety.
Knowing these parts helps you find the likely cause of a problem. I learned early that most issues trace back to power, door, or control parts, not the magnetron itself.
Today's Exclusive Deals
Limited-time Exclusive Deals. Check current discount on Amazon.
Check Price on Amazon As an Amazon Associate I earn from qualifying purchases.
Common Problems and What They Mean
GE Profile Microwave Troubleshooting covers a short list of frequent failures. Here are the top issues and what they usually indicate:
- Unit won’t start: power, fuse, or control lock problem.
- Microwave runs but does not heat: diode, magnetron, or high-voltage circuit.
- Keypad or display unresponsive: control board or touchpad failure.
- Sparks or arcing inside: metal in cavity, waveguide damage, or worn paint.
- Loud humming or buzzing: worn motor, transformer, or magnetron stress.
- Door won’t latch or door light won’t turn off: door switches or latch assembly.
These signs narrow your troubleshooting path quickly.
Today's Exclusive Deals
Limited-time Exclusive Deals. Check current discount on Amazon.
Check Price on Amazon As an Amazon Associate I earn from qualifying purchases.Safety First: Before You Start Troubleshooting
Always put safety first during GE Profile Microwave Troubleshooting. Unplug the microwave before opening panels. High-voltage parts can hold a charge even when unplugged.
Use insulated tools and never touch the high-voltage capacitor unless you know how to discharge it safely. If you feel unsure, stop and call a certified repair tech.

Step-by-Step Troubleshooting Guide
Follow these steps for practical GE Profile Microwave Troubleshooting. Work from simple to complex checks.
- Confirm power: test the outlet with another device. Reset the breaker and check GFCI if used.
- Check the control lock: many models have a lock icon. Turn off lock per manual.
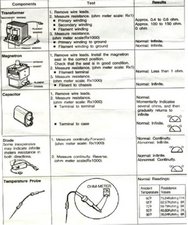
- Inspect fuses and thermal cutouts: unplug and open the access panel. Test for continuity with a multimeter.
- Test the door switches: press each switch with the door open and check continuity. Replace any that don’t switch reliably.
- Listen and observe: run the unit briefly with a cup of water to test heating and note noises.
- Check the magnetron circuit: diode and capacitor often fail. If you see no continuity or burnt parts, stop and seek pro help.
- Look for visible damage: burned spots in the cavity, damaged waveguide cover, or loose wiring.
- Reset the control board: unplug for 5 minutes or press a reset sequence if the manual lists one.
- Replace simple parts first: fuses, switches, and the keypad are lower cost and easy to swap.
- Call a pro for high-voltage parts: magnetron, high-voltage transformer, capacitor, or sealed cavities.
These steps reduce guesswork and keep risk low.

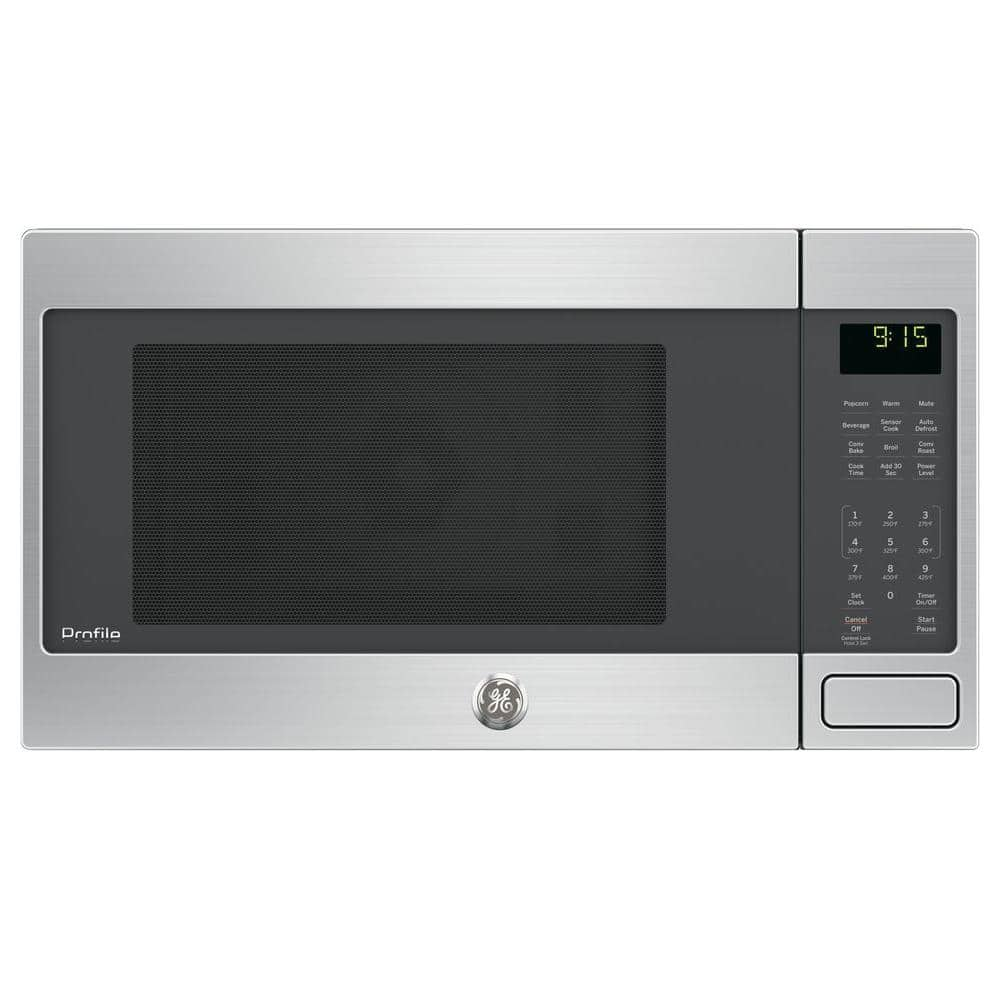
Understanding Error Codes and Displays
GE Profile Microwave Troubleshooting often begins with an error code on the display. Codes vary by model and can signal control faults, sensor issues, or keypad errors.
If you see a code, write it down, power cycle the unit, and try to clear it. If the code returns, look up the model-specific code in the manual or service sheet. When in doubt, a tech with diagnostic tools can read service mode codes and interpret them.

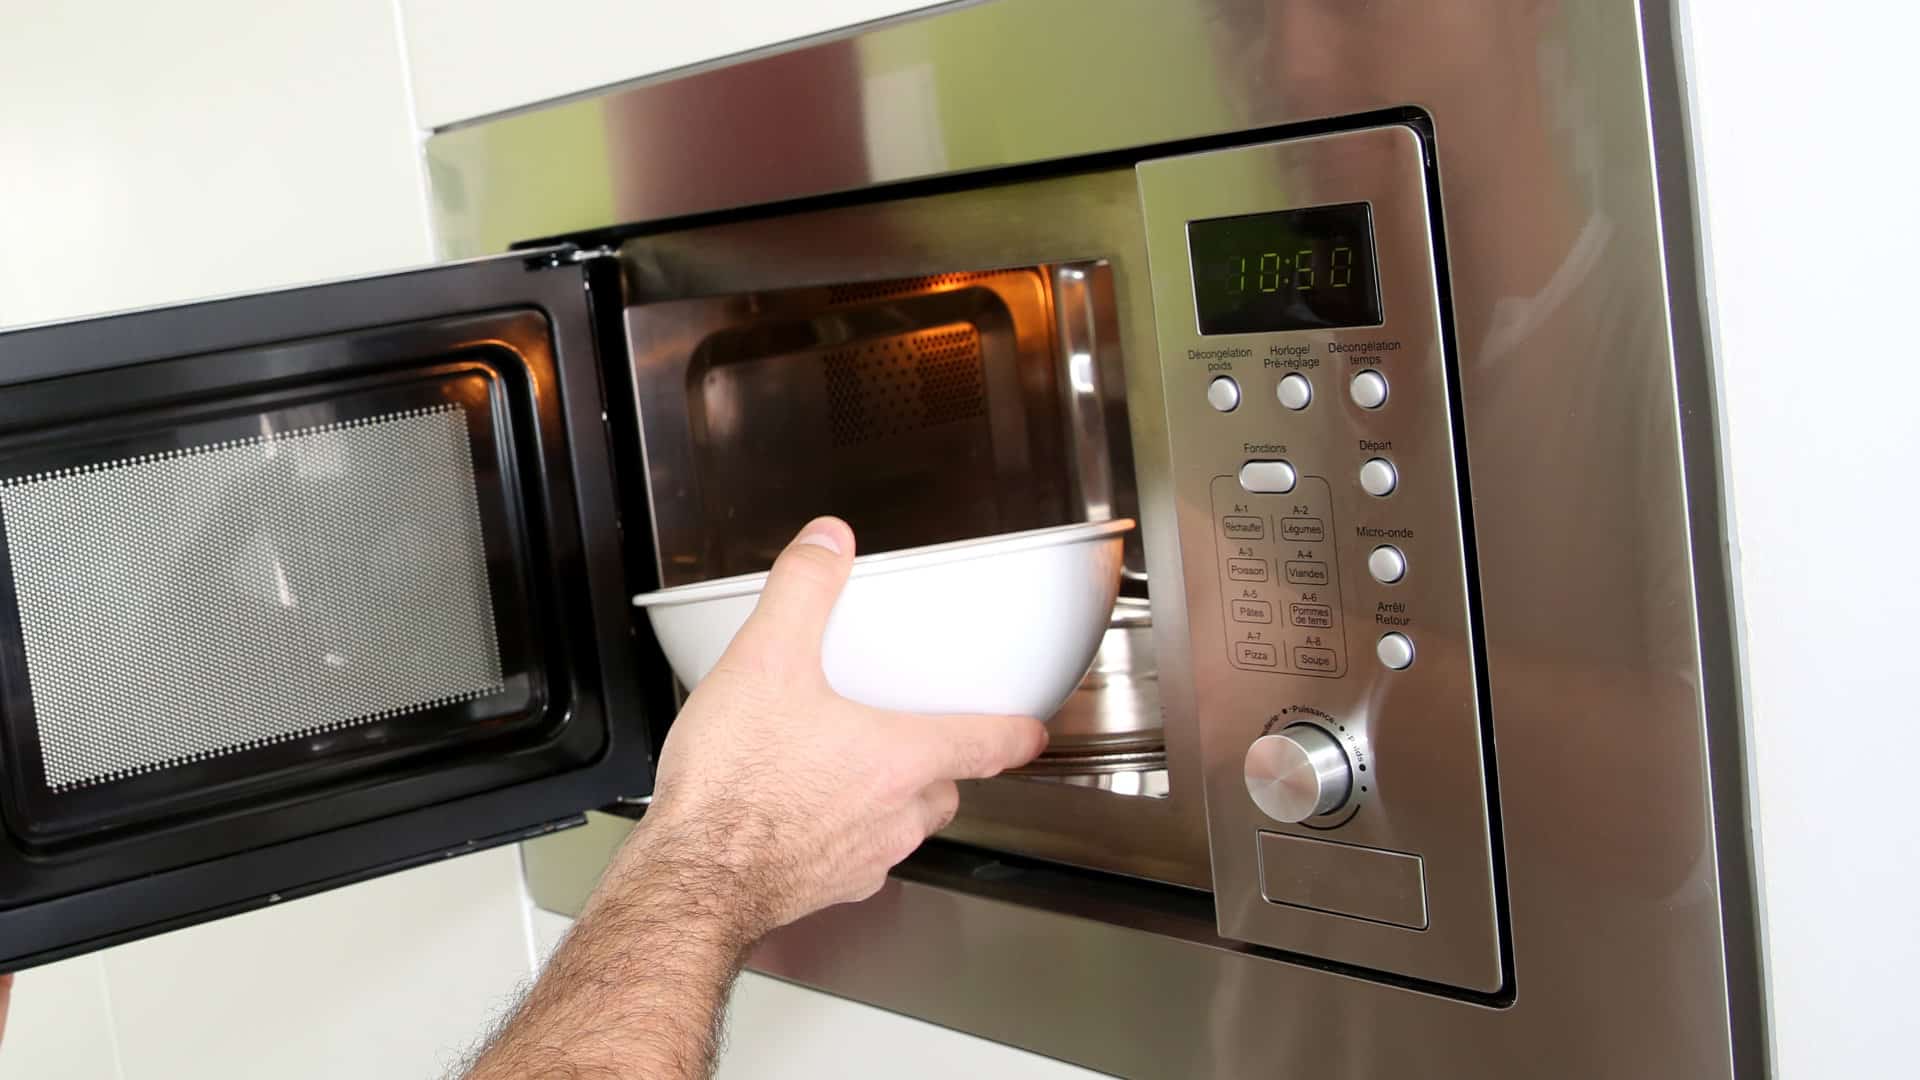
Door, Control Panel & Keypad Issues
Door and control faults are common in GE Profile Microwave Troubleshooting. A broken latch or misaligned strike stops the oven from starting.
Keypad issues can be caused by moisture, grease, or a failing membrane. Clean around the panel with a soft cloth and isopropyl alcohol. If cleaning fails, replace the touchpad or control board as needed.
Heating Problems: Causes and Fixes
Heating failures are the most worrying in GE Profile Microwave Troubleshooting. The usual culprits are:
- Magnetron failure: causes no heat. Replacement is costly and often makes repair less economical.
- High-voltage diode or capacitor: common failures that cut power to the magnetron.
- Faulty transformer: rare but possible in older units.
Test the diode and magnetron with a multimeter if you have experience. If you don’t, call a pro. Replacing high-voltage parts requires care and experience.

Noises, Sparking & Burning Odors
Unusual sounds or sparks need immediate attention in GE Profile Microwave Troubleshooting. Common causes and fixes:
- Rattling or grinding: turntable motor or support rollers need inspection.
- Loud hum: transformer or magnetron aging.
- Sparks or arcing: remove metal objects, check waveguide cover and cavity paint for damage.
- Burning smell: stop use, unplug, and inspect for burned wiring or components.
Always stop using the unit if you see sparks or smell burning. These can be fire hazards.
When to Call a Professional and Warranty Tips
Call a pro during GE Profile Microwave Troubleshooting when you face high-voltage parts, internal wiring, or unclear error codes. Here are quick rules:
- Call a tech if magnetron or transformer looks bad.
- Call if you can’t identify a persistent error code.
- Check your warranty or extended coverage before paying for repairs.
Keep the model and serial number handy. Many repairs are cheaper under warranty or a service contract.
Maintenance Tips to Prevent Future Problems
Good care reduces GE Profile Microwave Troubleshooting needs. Try these simple habits:
- Clean spills right away to prevent keypad faults.
- Use microwave-safe containers only to avoid arcing.
- Keep vents clear and allow airflow around the unit.
- Replace door gaskets or worn seals to maintain proper latching.
I once fixed a unit that stopped heating because a food spill clogged a vent. A quick clean fixed it in minutes.
Parts and Replacement Guide
When pursuing GE Profile Microwave Troubleshooting, know which parts to buy and how to choose them. Common parts to replace:
- Door switches and latch assemblies
- Control panel or touchpad
- Thermal fuses and cutouts
- Turntable motor and trays
- Waveguide cover and light bulbs
Use OEM parts for a reliable match. Aftermarket parts can save money but double-check fit and specs. Keep receipts and part numbers for returns.
Troubleshooting Checklist
Use this short checklist for faster GE Profile Microwave Troubleshooting:
- Is the outlet working? Test with another device.
- Is the unit locked? Disable control lock.
- Are fuses OK? Test continuity.
- Do door switches click and show continuity?
- Does the microwave heat water for 1 minute?
- Any sparks or burns inside?
- Any error codes on the display?
- Can you safely replace a low-cost part?
If you answer no or fail a test, either replace the simple part or get professional help.
Frequently Asked Questions of Ge Profile Microwave Troubleshooting
Why does my GE Profile microwave run but not heat?
Most often the high-voltage diode, capacitor, or magnetron is faulty. Try simple checks like fuses and power first, then call a tech for high-voltage parts.
How do I reset a GE Profile microwave?
Unplug the microwave for 60 seconds to reset the control board. If the problem persists, look for a dedicated reset sequence in your owner’s manual.
What should I do if my microwave sparks inside?
Stop use immediately and unplug the unit. Remove any metal objects, inspect the waveguide cover, and check for damaged cavity paint or foil.
Can I replace the door switch myself?
Yes, if you have basic tools and power is disconnected. Take care with alignment and always test continuity before reassembly.
How long do GE Profile microwaves usually last?
With good care, 8 to 12 years is common, but heavy use or poor ventilation shortens life. Regular maintenance helps extend service life.
How much does a typical repair cost?
Simple repairs like switches or fuses range from $20 to $100 in parts. High-voltage repairs like a magnetron typically cost $150 to $400 in parts and labor.
Conclusion
GE Profile Microwave Troubleshooting becomes simple when you follow safe, step-by-step checks. Start with power, locks, fuses, and door switches, then move to deeper tests only if you are confident. Keep safety at the top of your list and call a pro for high-voltage parts. Try the checklist, take notes, and share your experience below if you need help. If this guide helped, subscribe or leave a comment with your model and issue for targeted advice.


