
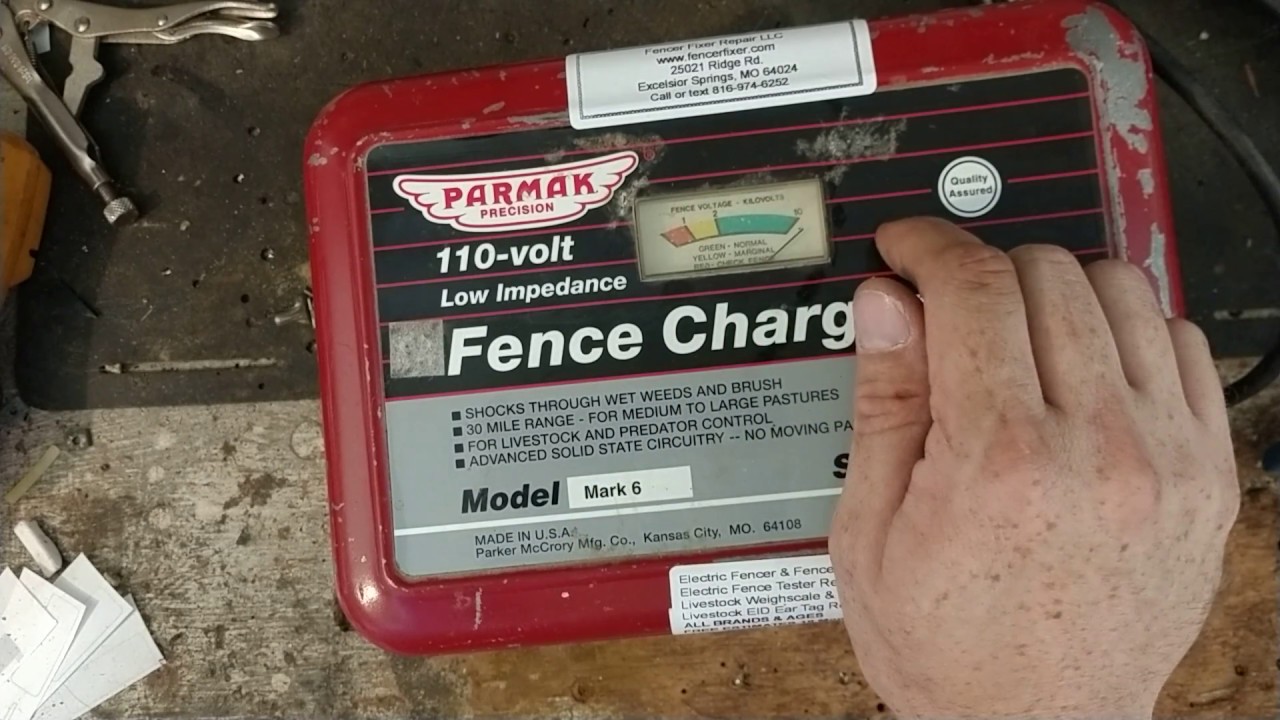
Parmak Fence Charger Troubleshooting often starts with checking ground, fence continuity, connections, and battery or solar power.

Today's Exclusive Deals
Limited-time Exclusive Deals. Check current discount on Amazon.
Check Price on Amazon As an Amazon Associate I earn from qualifying purchases.I have spent years installing and repairing electric fences on farms and small ranches. This guide on Parmak Fence Charger Troubleshooting draws on hands-on experience, manufacturer guidance, and field-tested steps so you can find and fix common faults fast. Read on to learn clear, practical checks and fixes that save time and keep animals safe.
Common causes and symptoms of Parmak Fence Charger Troubleshooting
Electric fence issues usually show as low or no shock, shorted lines, or erratic pulses. For Parmak Fence Charger Troubleshooting, expect these common causes:
Today's Exclusive Deals
Limited-time Exclusive Deals. Check current discount on Amazon.
Check Price on Amazon As an Amazon Associate I earn from qualifying purchases.- Poor grounding or a damaged ground rod
- Broken or corroded connections at posts, insulators, or the charger
- Vegetation or metal touching the fence causing a short
- Weak battery, faulty charger, or solar panel problems
- Lightning or surge damage leading to internal failure
Symptoms to watch for:
- No output light or low pulse indicator on the unit
- Measured voltage at the energizer is normal, but fence line voltage is low
- Intermittent pulses that stop after rain or high humidity
Parmak Fence Charger Troubleshooting focuses on isolating each cause with simple tests. Knowing the typical symptoms speeds up diagnosis and repair.

Today's Exclusive Deals
Limited-time Exclusive Deals. Check current discount on Amazon.
Check Price on Amazon As an Amazon Associate I earn from qualifying purchases.Safety first and tools needed for Parmak Fence Charger Troubleshooting
Safety is critical when working with electric fences. Follow these basics:
- Turn off and disconnect the charger before doing physical work on the fence
- Use insulated tools for tasks near live wires
- Wear rubber-soled shoes and gloves when handling the fence or charger
Useful tools for effective Parmak Fence Charger Troubleshooting:
- Digital voltmeter or fence tester with a high-voltage range
- Continuity tester or multimeter
- Insulated pliers and wire cutters
- Replacement clips, connectors, and a new ground rod (if needed)
- Basic hand tools and a ladder for fence posts
A sharp voltmeter and a simple continuity test cut diagnosis time. I always keep a spare set of connectors and a short test lead in my truck to speed repairs.

Step-by-step Parmak Fence Charger Troubleshooting
Follow this logical order to find the problem quickly and safely.
- Visual inspection
- Look for obvious damage to the charger, wires, insulators, and signs of corrosion.
- Check that the charger is switched on and that LEDs or fault lights show normal behavior.
- Inspect fence line for vegetation, fallen branches, or wire breaks.
- Check power source
- If the unit is AC, verify outlet power and fuse. If battery or solar, check battery voltage and connections.
- Replace or charge weak batteries. For solar units, clean panels and test charge controller.
- Test output at the energizer
- With the unit on and the fence disconnected, measure voltage across the live terminal and ground terminal.
- A normal output here means the charger is likely working and the fault is on the fence line.
- Test grounding system
- For Parmak Fence Charger Troubleshooting, grounding is often the root cause. Measure between ground rod and unit ground terminal.
- If readings are poor, drive a new ground rod or add parallel rods spaced a few meters apart and connect them with heavy gauge wire.
- Isolate fence sections
* Disconnect sections and test each length separately for voltage and continuity.
- This method narrows the location of a short or break quickly.
- Find shorts and vegetation problems
- Walk the fence with an insulated tester or meter to find where voltage drops.
- Clear vegetation and repair damaged insulators or wires.
- Repair connectors and joints
- Replace corroded clips and tighten loose connections.
- Use crimp or soldered joints for long-term reliability.
- Final check
- Reconnect everything and measure voltage at multiple points along the fence.
- Monitor the unit for several days, especially after storms.
These steps work reliably for many Parmak Fence Charger Troubleshooting cases. When I follow them, I find faults faster and avoid replacing perfectly good chargers.

Advanced Parmak Fence Charger Troubleshooting and diagnostics
If basic steps do not fix the issue, try these advanced checks.
Testing internal charger components
- Some Parmak units have user-serviceable parts. Look for blown fuses or burned components.
- Use a schematic (from the manual) and a multimeter to test transformer and pulse circuitry if you have electronics skills.
Lightning and surge damage
- After storms, look for visible scorch marks or melted plastic. Surge arrestors and spark gaps may fail and need replacement.
- If you suspect lightning damage and the charger still won’t output, replacement is often the lowest-risk option.
Measuring fence pulse and energy
- Use a dedicated fence tester to measure joules or microsecond pulse width (if available).
- Low joules with normal peak voltage can indicate internal energy loss or a weak battery.
Interference and long fence lines
- Very long fences or parallel utility lines can leak energy. Add more ground rods or split the fence into sections served by separate chargers.
- Keep fences away from metal rails and buried metallic objects.
When to call a professional
- If internal board work is needed and you lack electronics experience.
- If problems persist after grounding improvements and fence isolation.
I remember one site where multiple chargers failed after a lightning surge; a pro helped trace lightning-induced faults across several fence sections.

Maintenance, prevention, and best practices for Parmak Fence Charger Troubleshooting
Routine care reduces faults and makes troubleshooting easier later.
- Monthly checks of visual condition, LED status, and battery charge
- Keep vegetation trimmed away from the fence for at least 6–12 inches
- Tighten or replace loose connectors and maintain good corrosion protection
- Install lightning protection and surge suppressors where storms are frequent
- Use appropriately rated insulators and check fence tension annually
Good record keeping helps too. Note the date of each service, battery changes, and any parts replaced. I log every repair in a simple notebook. Over time, patterns emerge that let you prevent recurring faults.
Frequently Asked Questions of Parmak Fence Charger Troubleshooting
How do I know if my Parmak charger is working?
If the charger shows a steady power light and you measure normal output voltage at the energizer terminals, the unit is likely working; low or no voltage at the fence points to a line issue.
Why does my fence lose power after rain?
Moisture raises leakage to earth via vegetation or damaged insulators. Clean contacts, remove wet plants, and replace broken insulators to restore performance.
Can a weak battery cause intermittent charging problems?
Yes. Weak batteries or poor battery connections often cause intermittent pulses and low output, especially in solar-powered Parmak Fence Charger Troubleshooting setups.
How many ground rods do I need?
Most setups work with 1–3 ground rods, spaced several meters apart, but rocky or sandy soil may require additional rods to get a low resistance path.
When should I replace the charger instead of repairing?
Replace the charger if you see burn marks, failed internal components after surge damage, or if repairs are not cost-effective compared to a new unit.
What is the safest way to work on an energized fence?
Turn off and disconnect the charger, then test the line with a voltmeter before touching. Use insulated tools and stay cautious around live sections.
Conclusion
Parmak Fence Charger Troubleshooting becomes straightforward when you follow a clear process: inspect, test power and ground, isolate fence sections, and repair visible faults. Regular maintenance and good grounding prevent most issues and help you avoid emergency calls. Try the steps here on your next check, keep simple tools on hand, and log repairs to build a reliable fence system. If you found this useful, leave a comment, subscribe for more guides, or share your own troubleshooting wins.


