
Most Rv leveling systems fail from power, sensor, or hydraulic issues—and simple checks can fix them.
I’ve spent years diagnosing and fixing RV leveling systems for owners and shops. This guide on Rv Leveling System Troubleshooting cuts through jargon and shows you clear steps to find and fix the most common faults. You’ll get simple checks, safety tips, and real-world advice so you can get your rig level quickly and confidently.
How Rv Leveling Systems Work
Rv Leveling System Troubleshooting starts with a basic understanding of how the system works. Most RVs use one of three systems: hydraulic jacks, electric jacks, or auto-level systems that mix sensors, electric motors, and hydraulics.
Key parts to know:
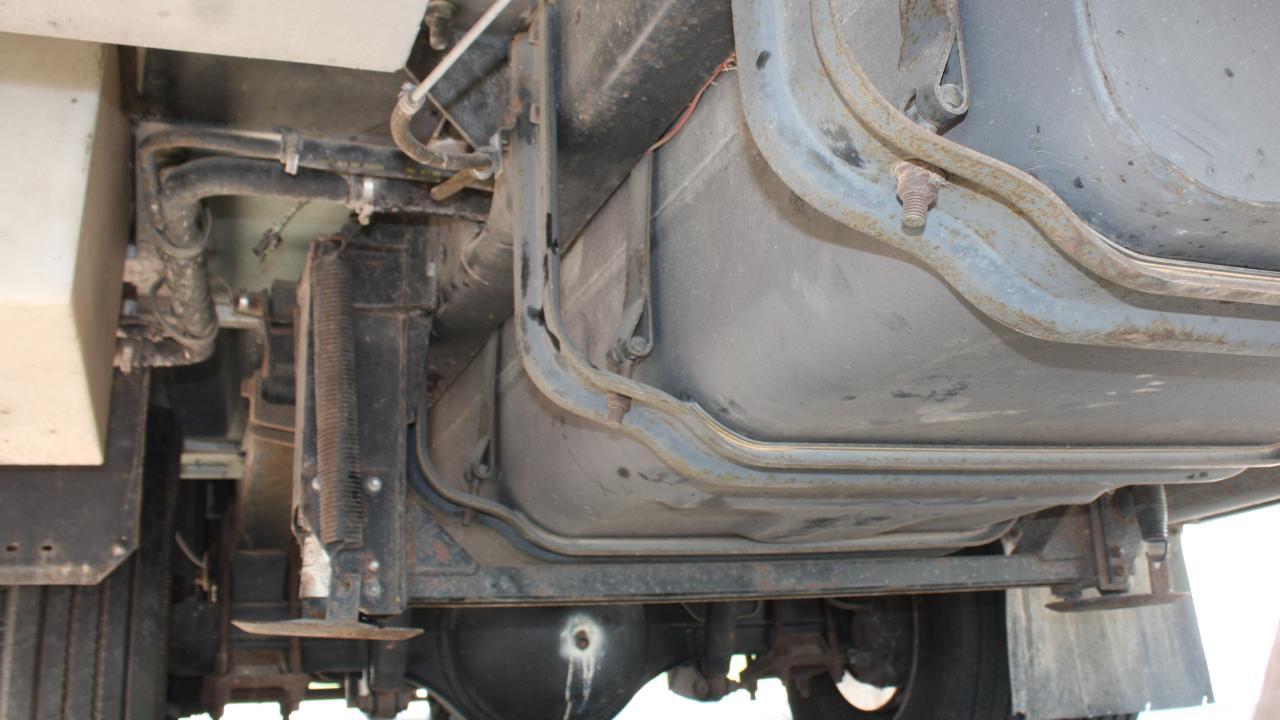
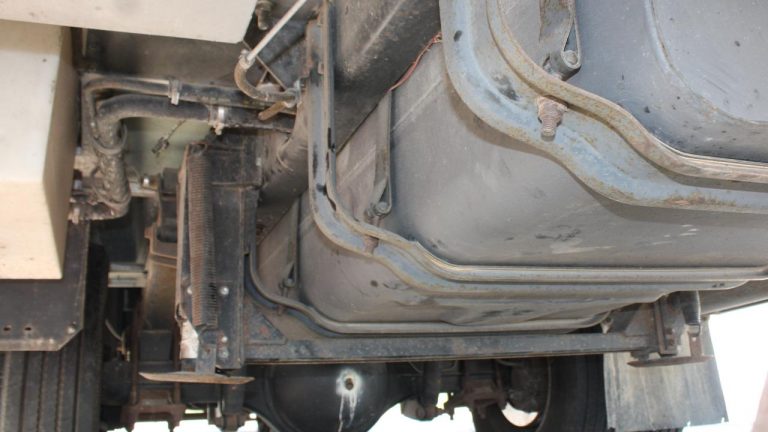
- Leveling jacks or stabilizers. These lift or steady the coach.
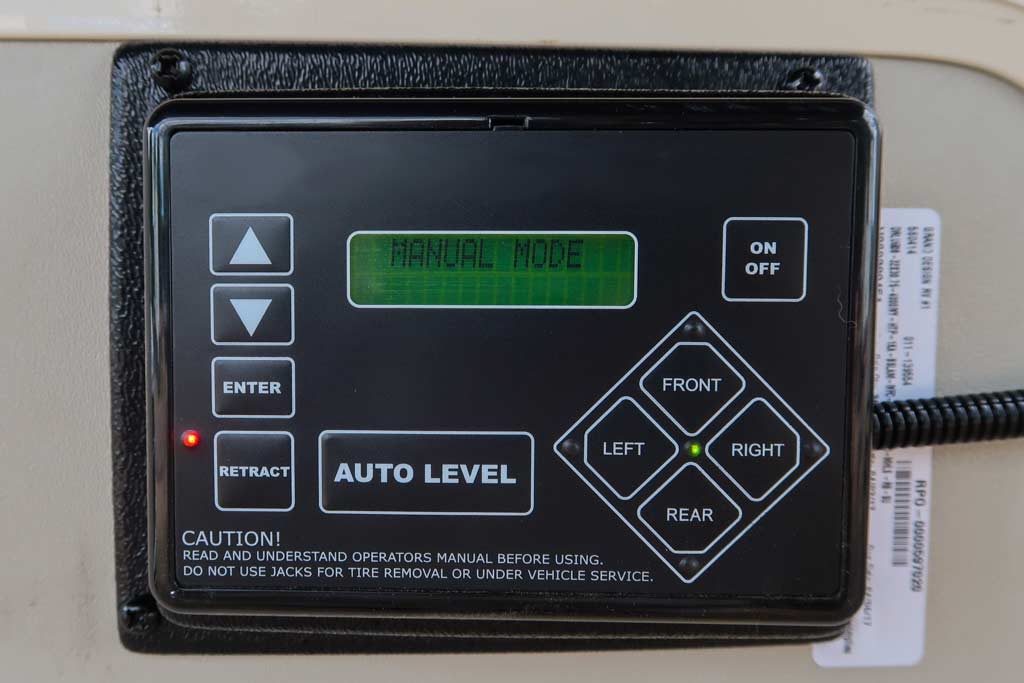
- Control panel. This runs the commands and shows errors.
- Power source. Battery voltage or shore power feeds the system.
- Sensors and switches. They detect tilt, travel position, and overtravel.
Knowing these parts makes Rv Leveling System Troubleshooting faster. When you see a fault, you can trace which part likely caused it.

Common Problems and Causes
Rv Leveling System Troubleshooting often starts with common symptoms. Here are the usual ones and what causes them.
Common symptoms and likely causes:
- Jacks won’t move. Likely low battery, blown fuse, or bad motor.
- System shows error codes. Could be sensor or wiring faults.
- Slow or jerky movement. Often low fluid, air in hydraulics, or weak pump.
- One side won’t raise. Bad valve, stuck cylinder, or wiring issue.
- System won’t auto-level. Sensor calibration, bad tilt sensor, or software error.
These patterns guide your troubleshooting. If you know the symptom, you can pick the right tests.

Step-by-Step Troubleshooting Guide
Follow this ordered checklist for Rv Leveling System Troubleshooting. Work from simple to complex. Keep each step short and test after each one.
-
Safety first
- Park on level ground if possible. Chock the wheels.
- Turn ignition off and set park brake.
- Wear gloves and eye protection.
-
Check power and fuses
- Verify battery voltage is 12.6V or higher. Low batteries are a top cause in Rv Leveling System Troubleshooting.
- Inspect fuses and circuit breakers. Replace blown fuses with the correct rating.
-
Inspect the control panel
- Look for error codes or lights. Write them down.
- Reset the system by turning power off for 30 seconds, then on.
-
Test manual functions
- Use the manual override or control switch. If manual works, problem is in the controller or sensors.
- Listen for motor or pump sounds. No sound may mean power or a burned motor.
-
Check wiring and connectors
- Look for corroded connectors, loose plugs, and chafed wires.
- Wiggle connections while testing to find intermittent faults.
-
Hydraulic checks
- Check fluid level and quality. Low fluid or dark fluid suggests leaks or old fluid.
- Inspect cylinders for leaks and damage.
- Bleed air from the system if movement is spongy.
-
Sensor and calibration
- Recalibrate the auto-level per manufacturer steps.
- Replace failed tilt or position sensors if calibration fails.
-
Test drive interlocks
- Some systems lock out while driving. Make sure the system is in park mode.
-
Seek patterns
- If a single jack fails, focus on its local wiring and valve. If all jacks fail, look at power and control modules.
These steps cover most Rv Leveling System Troubleshooting scenarios. Move slowly and test often to narrow the issue.
Tools, Parts, and Safety Tips
Good tools make Rv Leveling System Troubleshooting faster and safer. Keep a small kit with you.
Essential tools and parts:
- Multimeter for voltage and continuity.
- Hand pump and pressure gauge for hydraulic checks.
- Replacement fuses, connectors, and crimp tools.
- Basic socket set and screwdrivers.
- Hydraulic fluid and clean rags.
Safety tips:
- Support lifted jacks with blocks or jack stands. Never rely only on jacks for long-term support.
- Disconnect power before working on wiring.
- Use manufacturer fluid and parts to avoid damage.
Having the right tools prevents guesswork in Rv Leveling System Troubleshooting and reduces risk.

Preventive Maintenance and Best Practices
Regular upkeep makes Rv Leveling System Troubleshooting rare. Small tasks cut failures and extend system life.
Routine maintenance schedule:
- Inspect and clean electrical connectors every six months.
- Check hydraulic fluid and top off yearly or per use.
- Exercise the jacks monthly to keep seals and motors working.
- Update controller firmware when recommended.
Best practices:
- Keep batteries charged and serviced.
- Park on firm, level surfaces when possible.
- Record any error codes and fixes in a logbook.
Preventive care keeps you from needing urgent Rv Leveling System Troubleshooting at inconvenient times.
Advanced Issues and When to Call a Pro
Some problems need expert help. Know when to call a certified RV technician.
Advanced failures to escalate:
- Internal pump failure or burned-out motors.
- Complex control module faults and software issues.
- Major hydraulic leaks inside chassis components.
- Structural problems with mounting points or frame.
If you have repeated faults after basic Rv Leveling System Troubleshooting, get professional help. A pro has diagnostic tools and replacement parts that most owners don’t carry.

Personal Experience and Real-world Tips
I’ve fixed dozens of leveling systems on small and large RVs. Here are lessons I learned the hard way.
Lessons and tips:
- Always start with the battery. On one job, a unit that looked dead came back to life after a full charge.
- Keep a small spare fuse pack and a multimeter in the coach. They ended a roadside problem for me once.
- Clean connectors with electrical contact cleaner. Corrosion hides like rust on an old hinge.
- When bleeding hydraulics, purge air slowly. Fast bleeding traps air and causes spongy jacks.
I treat Rv Leveling System Troubleshooting like detective work. Follow the trail from symptom to cause, and you will save time and money.
Frequently Asked Questions of Rv Leveling System Troubleshooting
What is the first thing to check when my leveling system won’t work?
Check the battery voltage and main fuses first. Low voltage or a blown fuse is often the cause and is easy to fix.
How do I know if the problem is hydraulic or electrical?
Listen for pump or motor noise. If nothing runs, it’s likely electrical; if it runs but lacks force, it’s likely hydraulic.
Can I fix a stuck jack myself?
You can free a stuck jack if the issue is corrosion or dirt. If seals or cylinders leak, replacement by a pro is safer.
How often should I service my RV leveling system?
Inspect connectors and fluid at least once a year and exercise the jacks monthly. Regular checks prevent most failures.
Is it safe to use blocks instead of the leveling system?
Blocks are good for temporary support and fine-tuning. Do not rely solely on blocks without chocking wheels and using proper safety stands.
Conclusion
Knowing how to approach Rv Leveling System Troubleshooting saves time and stress. Start with power and fuses, move to manual tests, inspect wiring and hydraulics, and use simple tools to isolate faults. Regular maintenance and small upgrades prevent most problems and keep your RV ready to roll. Take what you learned today, do a quick system check before your next trip, and keep a simple troubleshooting kit on board. If you found this helpful, share your experience or ask a question below — I’m happy to help.

