
Most Ryobi charger issues are simple: check battery contact, LED codes, and power source first.

Today's Exclusive Deals
Limited-time Exclusive Deals. Check current discount on Amazon.
Check Price on Amazon As an Amazon Associate I earn from qualifying purchases.I have repaired dozens of battery chargers and tools over 10+ years. This guide on Ryobi Battery Charger Troubleshooting brings clear steps, safety tips, and easy fixes. I will walk you through common causes, exact checks to run, simple repairs, and when to replace your charger. Read on to save time and keep your Ryobi gear working reliably.
Understanding Ryobi Battery Charger Basics
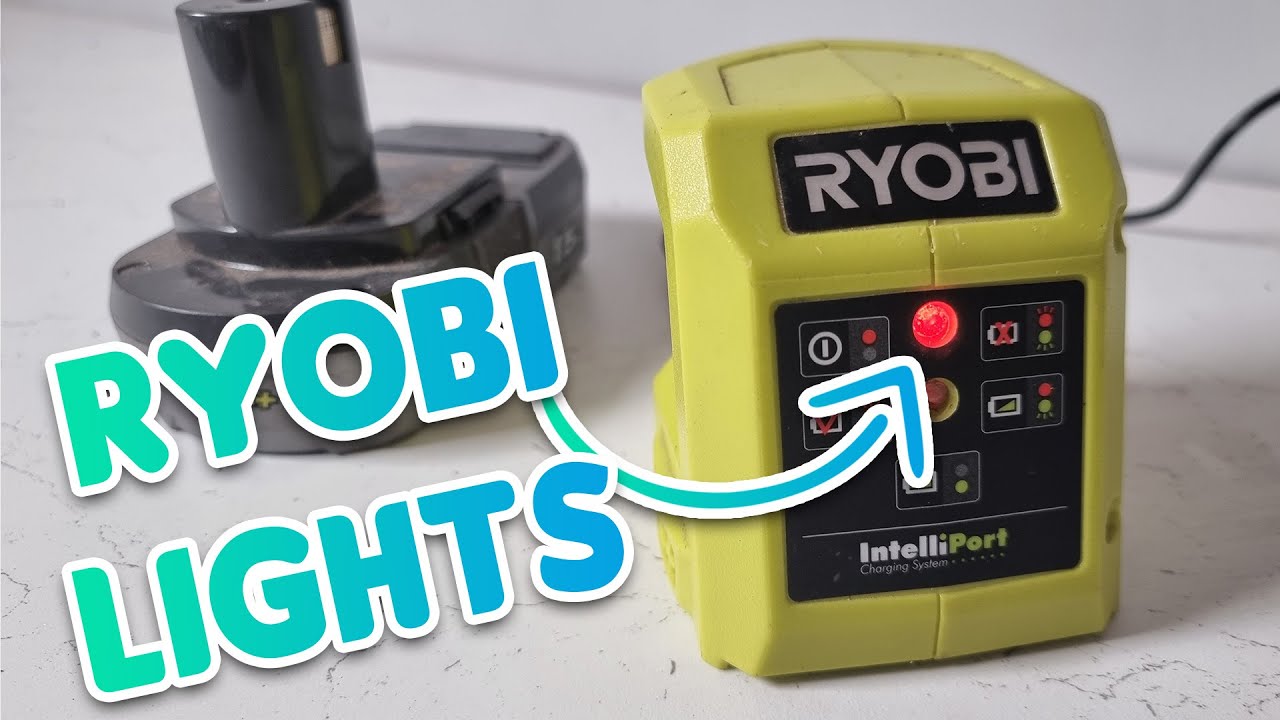
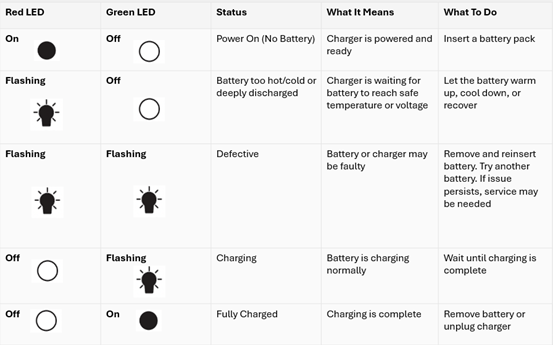
A charger looks simple but has a few key parts: AC input, transformer/circuit board, and the battery contact connector. Most Ryobi chargers use LED codes to show status. Knowing what each LED pattern means cuts diagnostic time.
Today's Exclusive Deals
Limited-time Exclusive Deals. Check current discount on Amazon.
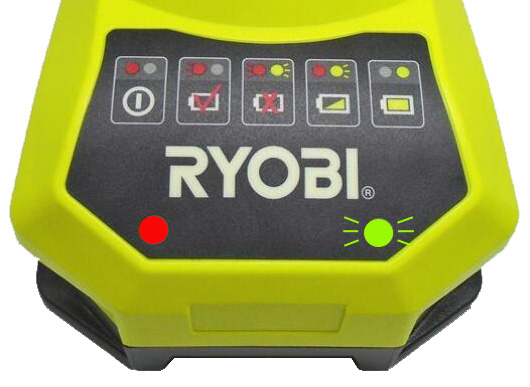
Check Price on Amazon As an Amazon Associate I earn from qualifying purchases.Common LED meanings:
- Solid light often means charging.
- Flashing combinations can mean battery too hot/cold, bad battery, or charger fault.
- No light usually points to no power or internal fuse/failure.
I learned to read LED patterns by comparing manuals and testing many chargers. That experience helps you narrow down issues fast.
Today's Exclusive Deals
Limited-time Exclusive Deals. Check current discount on Amazon.
Check Price on Amazon As an Amazon Associate I earn from qualifying purchases.Common Problems and Their Causes
Here are frequent reasons you need Ryobi Battery Charger Troubleshooting and what causes them.
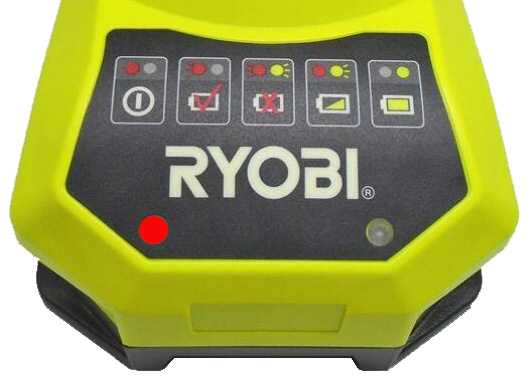
- Charger shows no lights
- Power outlet issues, damaged cord, or blown internal fuse.
- Charger flashes error or will not charge
- Battery too hot or cold, damaged battery cells, or bad connection.
- Charger stops mid-cycle
- Overheating, internal thermal cut-out, or battery protection circuitry triggered.
- Charger gets warm or smells
- Internal component failure; stop using and inspect.
Knowing likely causes helps you pick the right fix. In my shop, most “dead” chargers had loose contacts or simple power issues.
Step-by-Step Ryobi Battery Charger Troubleshooting Guide
Follow these steps in order. Work slowly and stay safe.
- Visual and power check
- Confirm outlet works by testing with a lamp or phone charger.
- Inspect charger cord and plug for cuts or bends.
- Clean contacts
- Remove dirt, dust, or corrosion from battery and charger contacts with a dry cloth or small brush.
- Re-seat the battery
- Insert battery firmly until it clicks. A loose fit often prevents charging.
- Observe LED pattern
- Note color and flashing. Compare to the charger’s manual or the sticker on the unit.
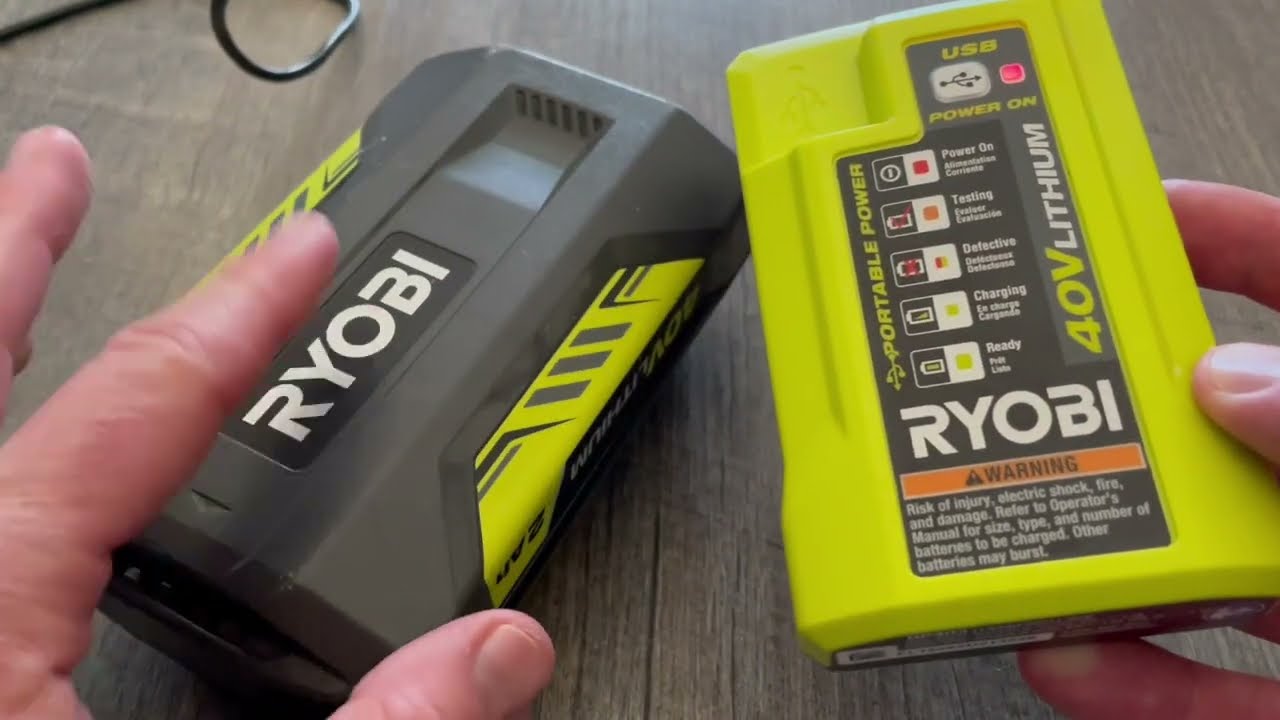
- Try a different battery
- Use a known-good Ryobi battery. This isolates charger vs battery problems.
- Let battery cool or warm
- If battery is hot, let it cool 30–60 minutes. Cold batteries may need a warm room to charge.
- Reset procedure
- Unplug charger for 10 minutes, then plug back in and reinsert battery.
- Test with multimeter (basic)
- Measure AC at the plug and DC at the charger output if marked. Low or no output suggests charger failure.
If these steps do not restore charging, move to advanced checks or replace the charger.
Advanced Diagnostics and Repair Tips
These steps require tools and comfort with electronics. If you are not comfortable, stop and consult a pro.
- Check internal fuse
- Many chargers have a small fuse or fusible trace. Unplug and open the case to inspect. Replace only with same rating.
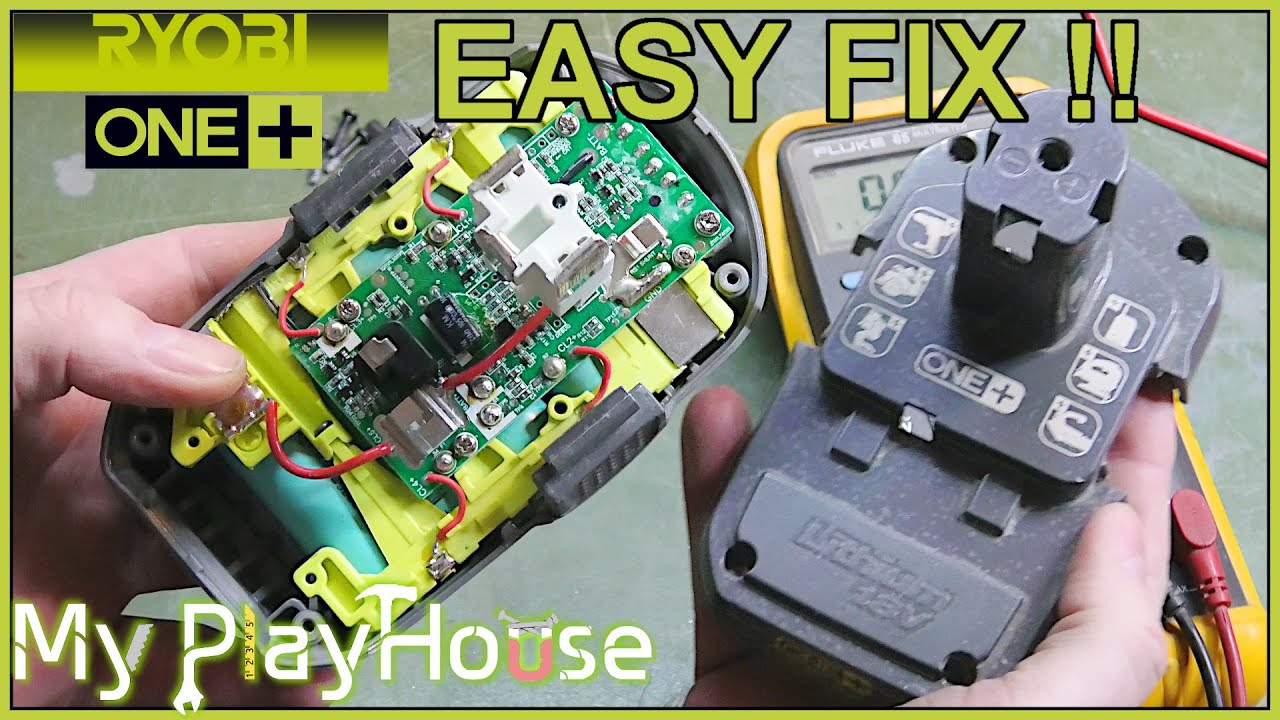
- Inspect PCB and solder joints
- Look for burnt components, swollen capacitors, or cracked solder joints. Resolder cold joints if you have experience.
- Test thermistor or temperature sensors
- Chargers use temperature sensors to prevent charging hot batteries. A faulty sensor can block charging.
- Replace worn contacts
- Bent or corroded spring contacts can be carefully cleaned or replaced.
- Use correct replacement parts
- Match model numbers. Using non-compatible parts can damage batteries or cause hazards.
I once repaired a charger by resoldering a cracked joint near the transformer. It worked like new after that. Always document steps and take photos before disassembly.
Safety Tips When Troubleshooting Ryobi Chargers
Safety must come first. Follow these simple rules.
- Always unplug before opening the charger case.
- Use insulated tools and avoid touching capacitors right after unplugging.
- Replace with manufacturer-rated parts or buy an OEM charger if unsure.
- Don’t charge damaged or swollen batteries; recycle them properly.
- Wear eye protection and gloves when handling battery cells.
I have learned that rushing leads to mistakes. Slow, careful work keeps you and your tools safe.
Maintenance and Best Practices to Prevent Problems
Preventive care reduces the need for Ryobi Battery Charger Troubleshooting.
- Store chargers and batteries in a dry, moderate-temperature place.
- Keep contacts clean and dry.
- Don’t leave batteries on the charger for months; remove after full charge.
- Rotate battery use to avoid deep discharge.
- Update your workflow: charge batteries before large jobs to avoid overloading chargers.
These small habits extend battery life and reduce charger stress. I charge batteries after each job and store them at about half charge for long-term storage.
When to Repair vs Replace Your Charger
Decide based on safety, cost, and time.
- Repair if:
- Issue is simple (cord, contacts, fuse) and parts are cheap.
- You have the skills to fix electronics.
- Replace if:
- The charger has major PCB damage or smells burnt.
- Repair cost approaches new charger price.
- The charger is out of warranty and safety is a concern.
Often replacing the charger is faster and safer. For warranty issues, contact the manufacturer first.

People Also Ask: Quick Answers
Q: Will a Ryobi charger charge all Ryobi batteries?
A: Most Ryobi chargers work with batteries from the same voltage family. Always match voltage and battery platform to avoid damage. Check labels before use.
Q: Why does my Ryobi charger blink and not charge?
A: Blink codes usually mean battery temperature issues or battery fault. Let the battery reach room temperature and try again.
Q: Can I repair a Ryobi charger myself?
A: You can repair minor issues like a broken cord or dirty contacts. For PCB faults, know electronics and follow safety rules.
Frequently Asked Questions of Ryobi Battery Charger Troubleshooting
What does a solid green light on a Ryobi charger mean?
A solid green light usually means the battery is fully charged or the charger is in standby. Confirm by removing and testing the battery in a tool.
My charger shows no light. What should I check first?
First check the outlet with another device, then inspect the cord and plug for damage. If power is fine, try a different battery to isolate the problem.
How do I know if the battery or charger is at fault?
Test the charger with a known-good battery and test the battery with a known-good charger. Swapping isolates the bad component in two quick steps.
Is it safe to open the Ryobi charger and repair it?
Opening is safe only if you unplug it and understand basic electronics. High-voltage capacitors can hold a charge; if unsure, seek professional help.
Why does my charger stop charging halfway?
This often indicates overheating, a thermal sensor cutoff, or a battery protection circuit being triggered. Let things cool and try again; if it recurs, inspect components.
Can cold weather cause charging problems?
Yes, cold batteries can refuse to accept charge until they warm to a certain temperature. Keep batteries at room temperature for reliable charging.
Conclusion
Ryobi Battery Charger Troubleshooting often starts with simple checks: power, contacts, LED patterns, and testing with a known-good battery. Many problems are fixable with cleaning, reseating, or safe basic repairs. When issues are complex or risky, replacing the charger is the safer and usually faster choice. Put safety first, use clear steps, and apply preventive care to avoid repeat issues. Try the steps here, and if you find this helpful, leave a comment, subscribe for more guides, or share your own Ryobi repair story.


