
Most trailer light problems come from loose connections, bad grounds, or blown bulbs.

Today's Exclusive Deals
Limited-time Exclusive Deals. Check current discount on Amazon.
Check Price on Amazon As an Amazon Associate I earn from qualifying purchases.I’ve spent years fixing trailers at roadside and in my garage. This guide on Trailer Light Problems Troubleshooting combines real experience with clear, step-by-step methods. Read on to learn simple tests, fast fixes, and lasting solutions so your trailer lights work every time you tow.
Why trailer lights fail
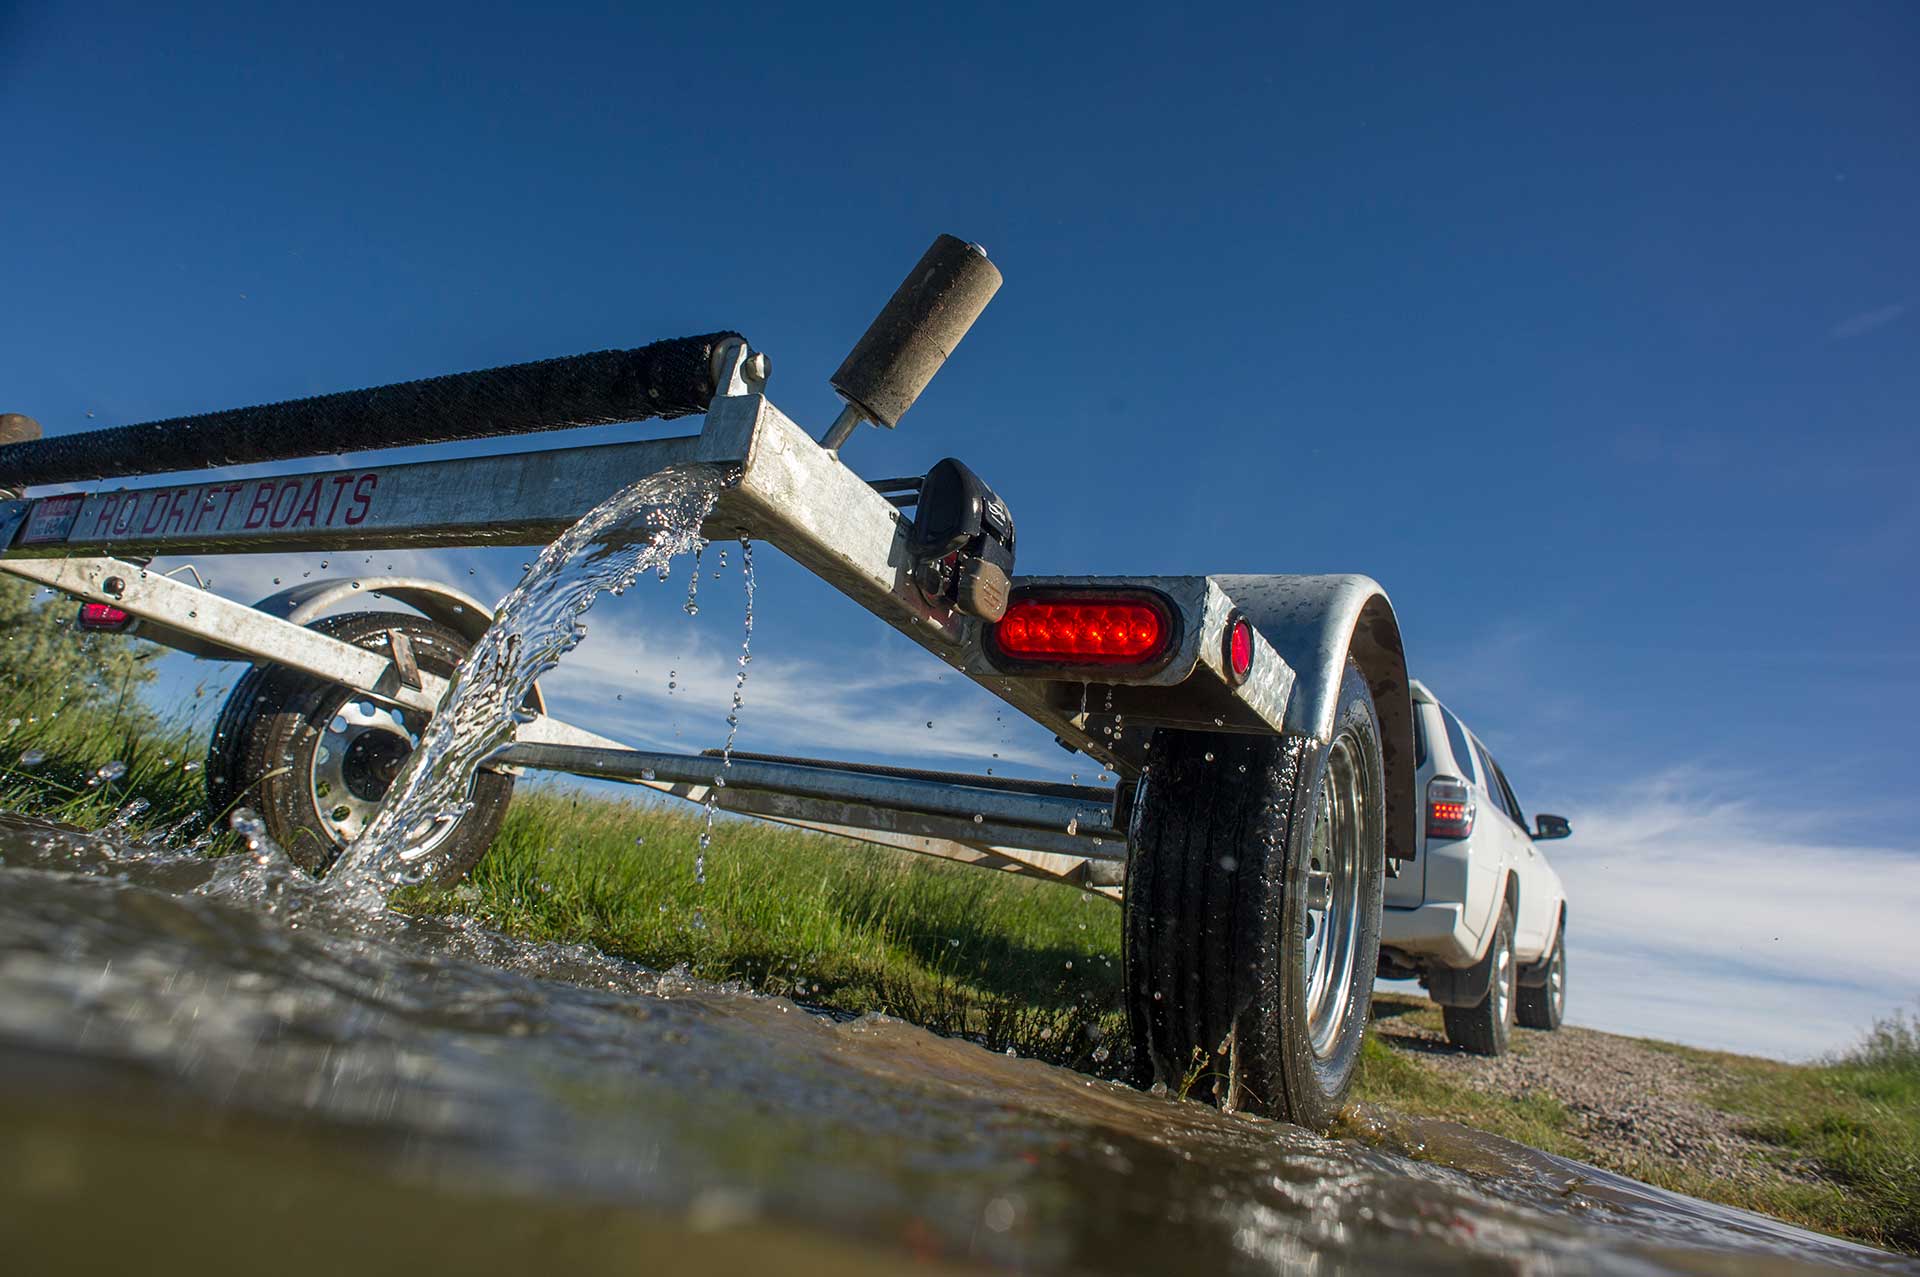
Trailer Light Problems Troubleshooting starts with knowing the common causes. Lights stop working because of corrosion, loose pins, burned bulbs, or bad grounds. Wiring chafes under the frame and connectors get water inside. Electrical faults on the tow vehicle side also cause failures.
Today's Exclusive Deals
Limited-time Exclusive Deals. Check current discount on Amazon.
Check Price on Amazon As an Amazon Associate I earn from qualifying purchases.Common root causes:
- Corrosion in connectors that blocks current.
- Loose or broken ground wires that stop circuits.
- Burned-out incandescent bulbs or failed LED circuits.
- Damaged wiring from road debris or wear.
- Faulty trailer or vehicle power supply and fuses.
Signs to watch for:
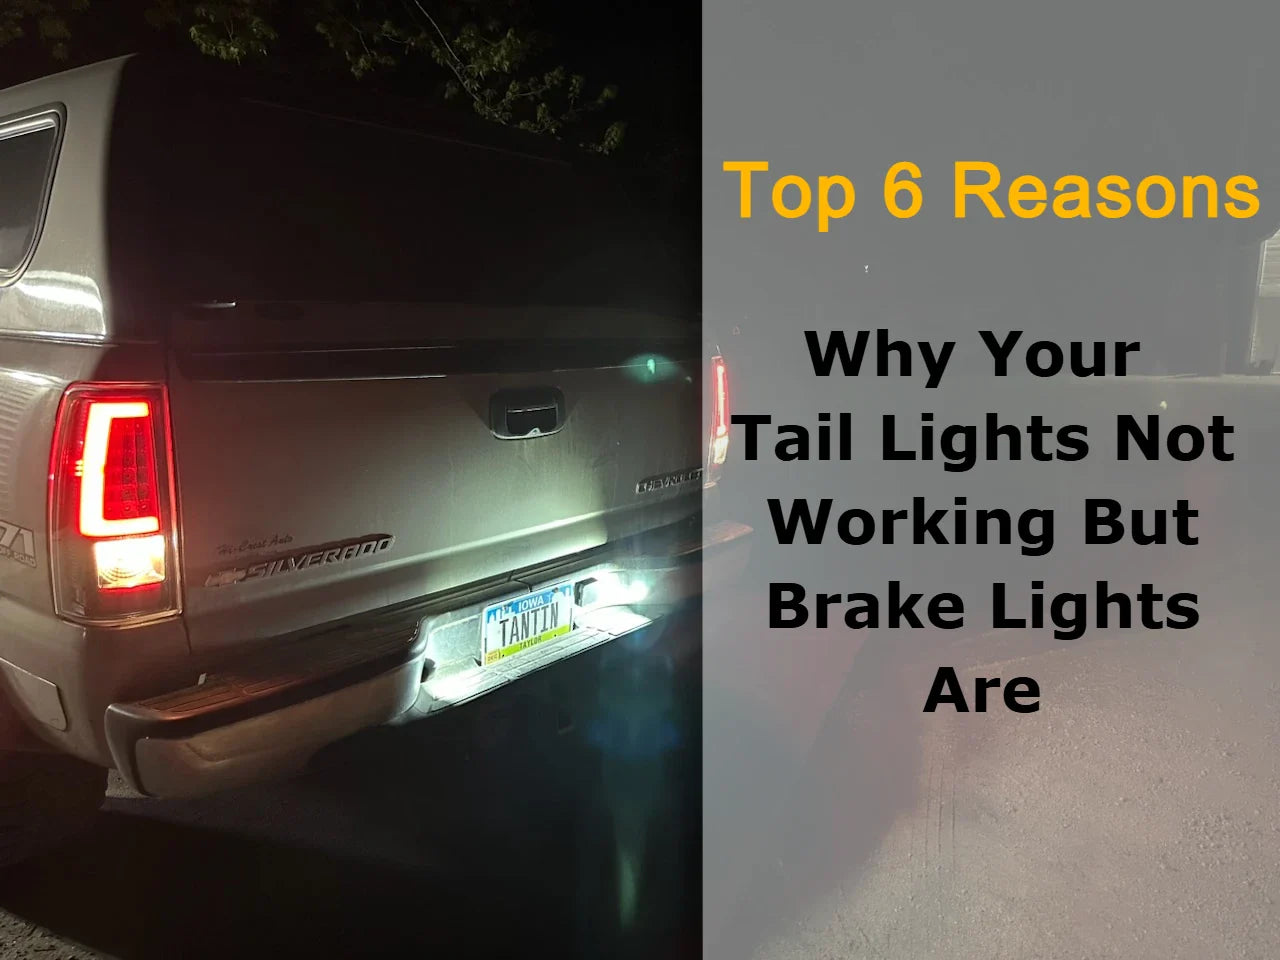
- One light type works but others don’t.
- Blink pattern is wrong or lights flicker.
- A single circuit fails, not the whole harness.
Today's Exclusive Deals
Limited-time Exclusive Deals. Check current discount on Amazon.
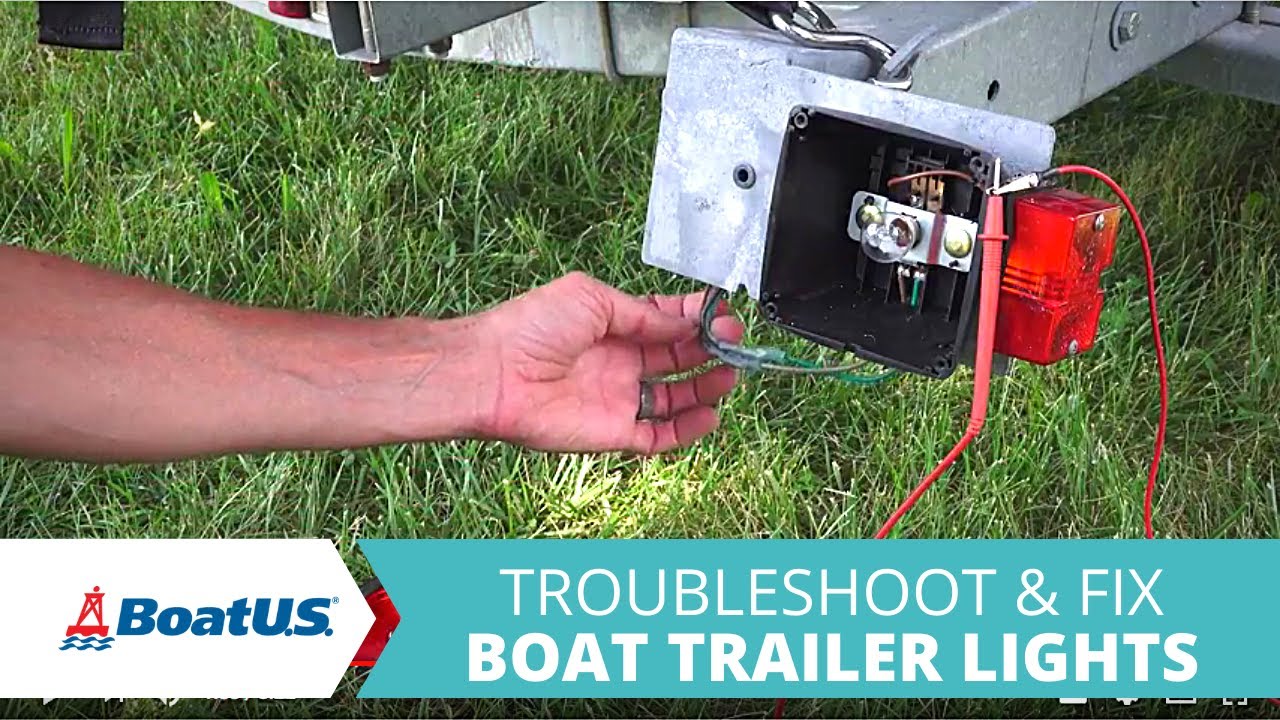
Check Price on Amazon As an Amazon Associate I earn from qualifying purchases.How to diagnose trailer light problems troubleshooting
Start with a simple list, then test step by step. Keep tools ready: multimeter, test light, spray contact cleaner, terminal brush, pliers, and spare bulbs or fuses.
Step-by-step checklist:
- Visually inspect bulbs and lenses for cracks or moisture.
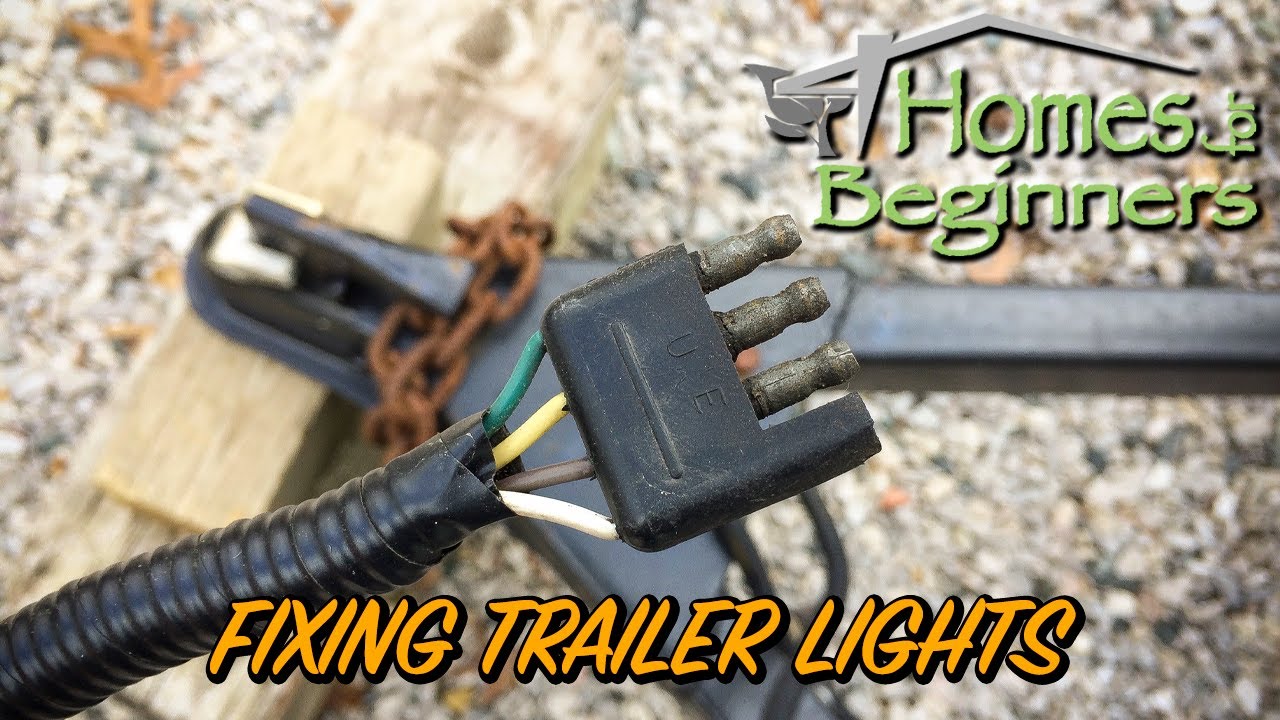
- Check the trailer connector for dirt, bent pins, or corrosion.
- Test vehicle output at the connector with a multimeter or test light.
- Verify continuity from connector pins to the bulb sockets on the trailer.
- Test the ground by removing paint where it mates and using a jumper wire.
PAA-style questions:
What’s the fastest way to find a bad trailer light?
Use a test light or multimeter at the vehicle plug. If the vehicle output is good, test continuity to each socket to isolate the fault.
How can I tell if it’s a ground problem?
Touch a jumper from the trailer frame to the bulb’s ground while lights are on. If the light returns, the ground is the issue.

Wiring, socket, and connector fixes
Wiring and connectors are often the weak link in Trailer Light Problems Troubleshooting. Clean, secure, and protect connections to stop repeat failures.
Practical fixes:
- Clean connectors with contact cleaner and a small brush.
- Straighten and replace bent pins in the plug.
- Replace worn or cracked sockets rather than trying to repair them.
- Use dielectric grease after cleaning to prevent future corrosion.
- Repair damaged wiring with heat-shrink butt connectors and solder when possible.
Connector types and tips:
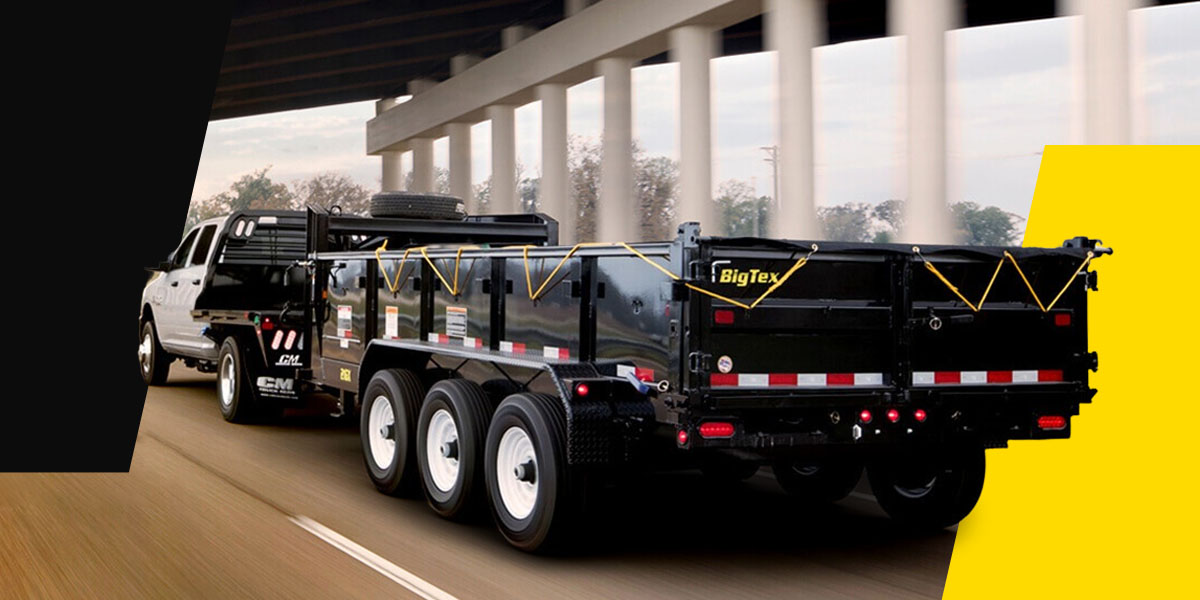
- 4-pin for basic lights; 7-pin for brakes and auxiliary circuits.
- Use matching trailer plugs and vehicle sockets.
- Secure the harness to the frame to reduce vibration chafing.
Bulb versus LED issues
Trailer Light Problems Troubleshooting must treat bulbs and LEDs differently. Each has unique failure modes and fixes.
Incandescent bulbs:
- Burn out over time and must be replaced in pairs or sets.
- Susceptible to vibration; use anti-vibration sockets if needed.
- Check filament and socket voltage to confirm failure.
LED lights:
- Draw less current and are more durable.
- Fail as a circuit; often one LED failure can darken the whole assembly.
- Some LED lights need a resistor or special flasher for correct blink rate.
- Replace the entire LED unit when internal circuitry fails.
When to upgrade:
- Consider LED upgrades for reliability and energy savings.
- Ensure wiring and connectors match LED requirements to avoid hyperflashing or no-flash conditions.

Grounding and electrical system issues
A poor ground causes more trouble than most people expect. Trailer Light Problems Troubleshooting always includes a ground check early in the process.
How to test and fix grounds:
- Use a multimeter to measure voltage between the bulb ground and the trailer frame; it should be near zero ohms.
- Clean the frame-to-socket contact and remove paint or rust where ground wires attach.
- Add a dedicated ground wire from each light assembly to the trailer frame for the best reliability.
- Inspect the vehicle’s ground from the hitch area back to the battery and chassis.
Common mistakes to avoid:
- Relying on a single thin ground strap.
- Leaving paint between the ring terminal and frame.
- Ignoring ground wires when lights flicker only under load.
Preventive maintenance and best practices
Preventive care reduces time spent on Trailer Light Problems Troubleshooting. A few small habits save headaches.
Maintenance checklist:
- Inspect lights and connectors before long trips.
- Clean connectors and apply dielectric grease every season.
- Replace cracked lenses to stop moisture entry.
- Tighten harness clamps and secure loose wires.
- Carry a small kit: spare bulbs, fuses, a 4-to-7-pin adapter, and a test light.
Storage and seasonal tips:
- Remove or seal trailer plugs when not in use.
- Park with connectors off the ground to prevent pooling water.
- Check lights after winter to catch corrosion early.
Troubleshooting real-world scenarios
Here are simple examples I’ve fixed while helping friends and clients. Each one shows how Trailer Light Problems Troubleshooting plays out on the road.
Scenario 1: Rear brake lights out on one side
- Cause found: corroded socket and loose ground.
- Fix: replaced socket, cleaned frame ground, lights restored.
Scenario 2: All lights dim at higher speeds
- Cause found: wiring chafed and shorting to frame.
- Fix: rewired section, added loom protection, problem solved.
Scenario 3: LED turn signals don’t flash
- Cause found: no load on LED circuit caused hyper or no flash.
- Fix: installed compatible flasher module and resistors where needed.
Lessons learned:
- Never skip the ground check.
- Small corrosion leads to big problems over time.
- Keep simple tools and spares in the vehicle.
Frequently Asked Questions of Trailer Light Problems Troubleshooting
How do I test my trailer lights with no multimeter?
Use a 12V test light or a spare bulb and jumper wires. Probe each pin at the connector while the vehicle lights are on to confirm power.
Why do my trailer lights work when parked but fail while driving?
This often points to a loose wire or a ground that only contacts under certain motion. Inspect harness mounting and ground connections.
Can a bad trailer brake controller affect tail lights?
Yes. Some controllers share circuits or ground paths. Test lights with the controller disconnected to isolate the issue.
How often should I replace trailer light bulbs?
Replace bulbs as soon as one fails and inspect all lights annually. For LEDs, inspect seals and connections each season instead of bulb swaps.
Will dielectric grease prevent all corrosion problems?
Dielectric grease greatly reduces corrosion but does not replace proper cleaning and repair. Use it after cleaning and ensuring solid metal contact.
Conclusion
Trailer Light Problems Troubleshooting is mostly about careful inspection, clean connections, and basic testing skills. Follow the steps here to find faults fast and fix them for good. Start with the ground, test power at the plug, and replace damaged parts rather than patching them endlessly. Take action today: check your trailer lights before your next trip, and save time and stress on the road. Share your experience or questions below, or subscribe for more practical towing tips.


