
Quick fixes: check power, lid switch, drain pump, and load balance to resolve issues.
I’ve spent years repairing and testing washers, and I wrote this Whirlpool Wtw4816fw3 Troubleshooting guide to help you find fast, reliable fixes. This article explains how the WTW4816FW3 works, how to diagnose common faults, step-by-step repair choices, maintenance tips, and when to call a pro. Read on to get clear, practical solutions that save time and money.
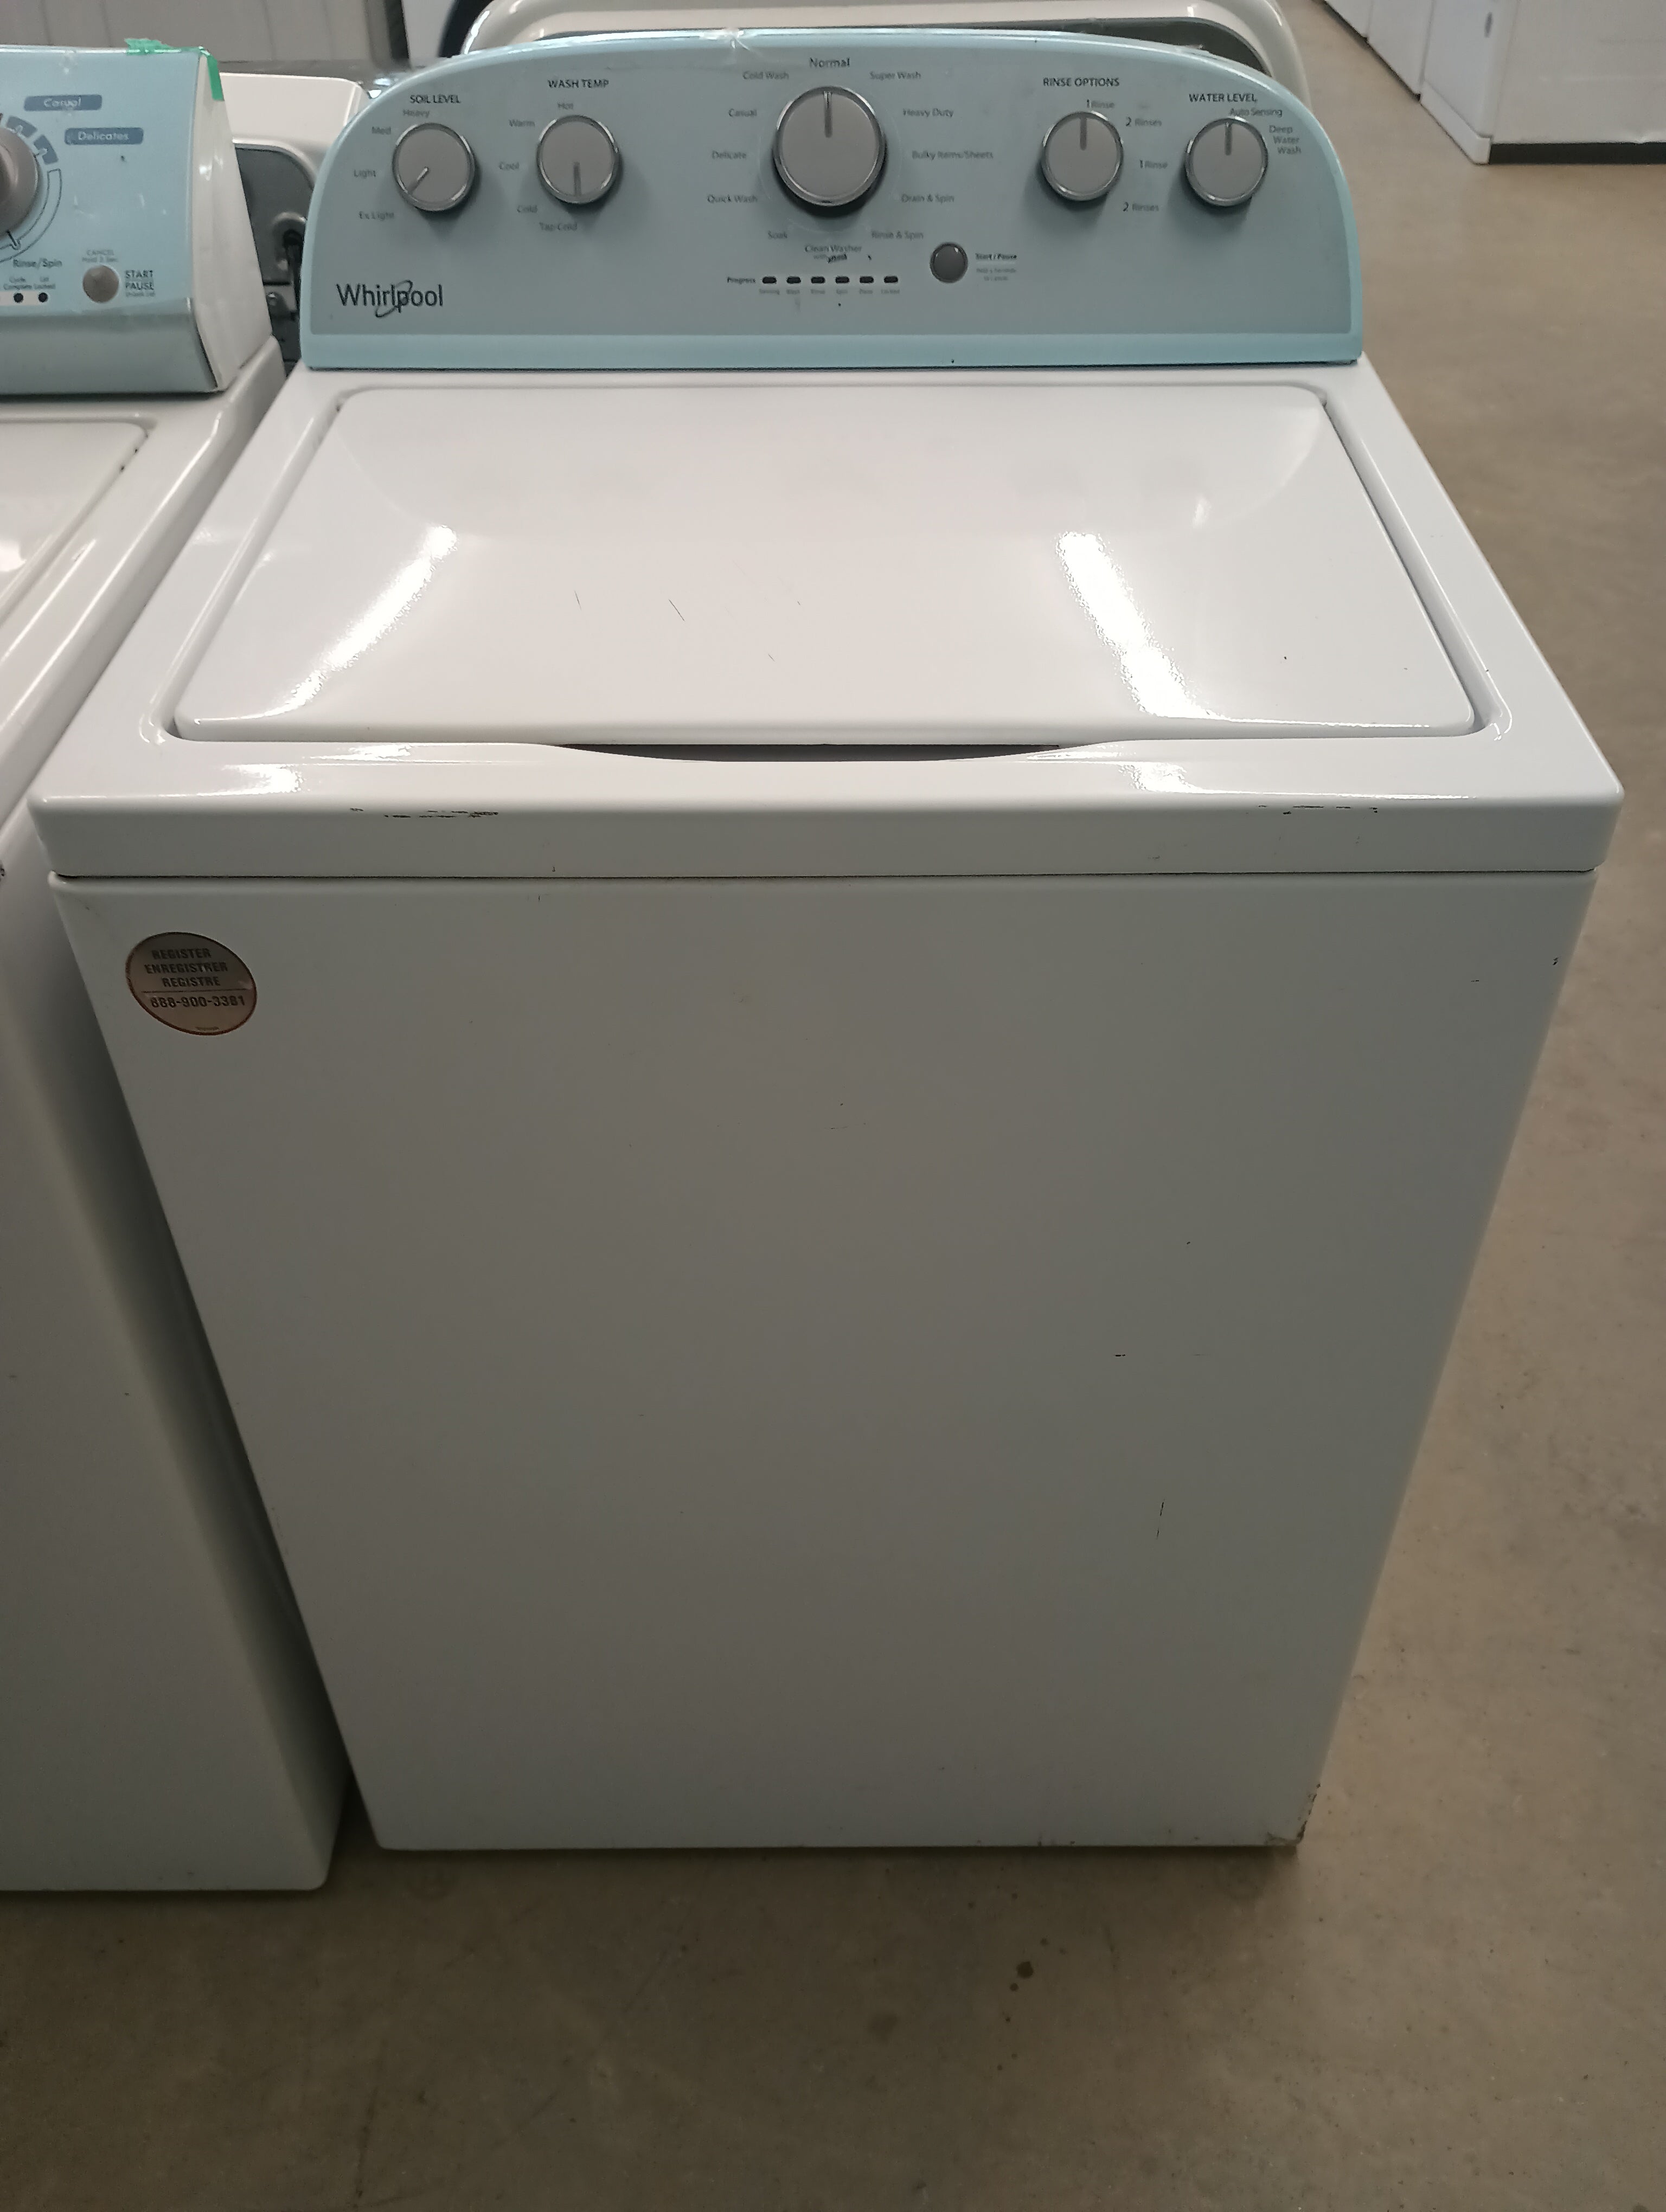
Understanding the Whirlpool Wtw4816fw3
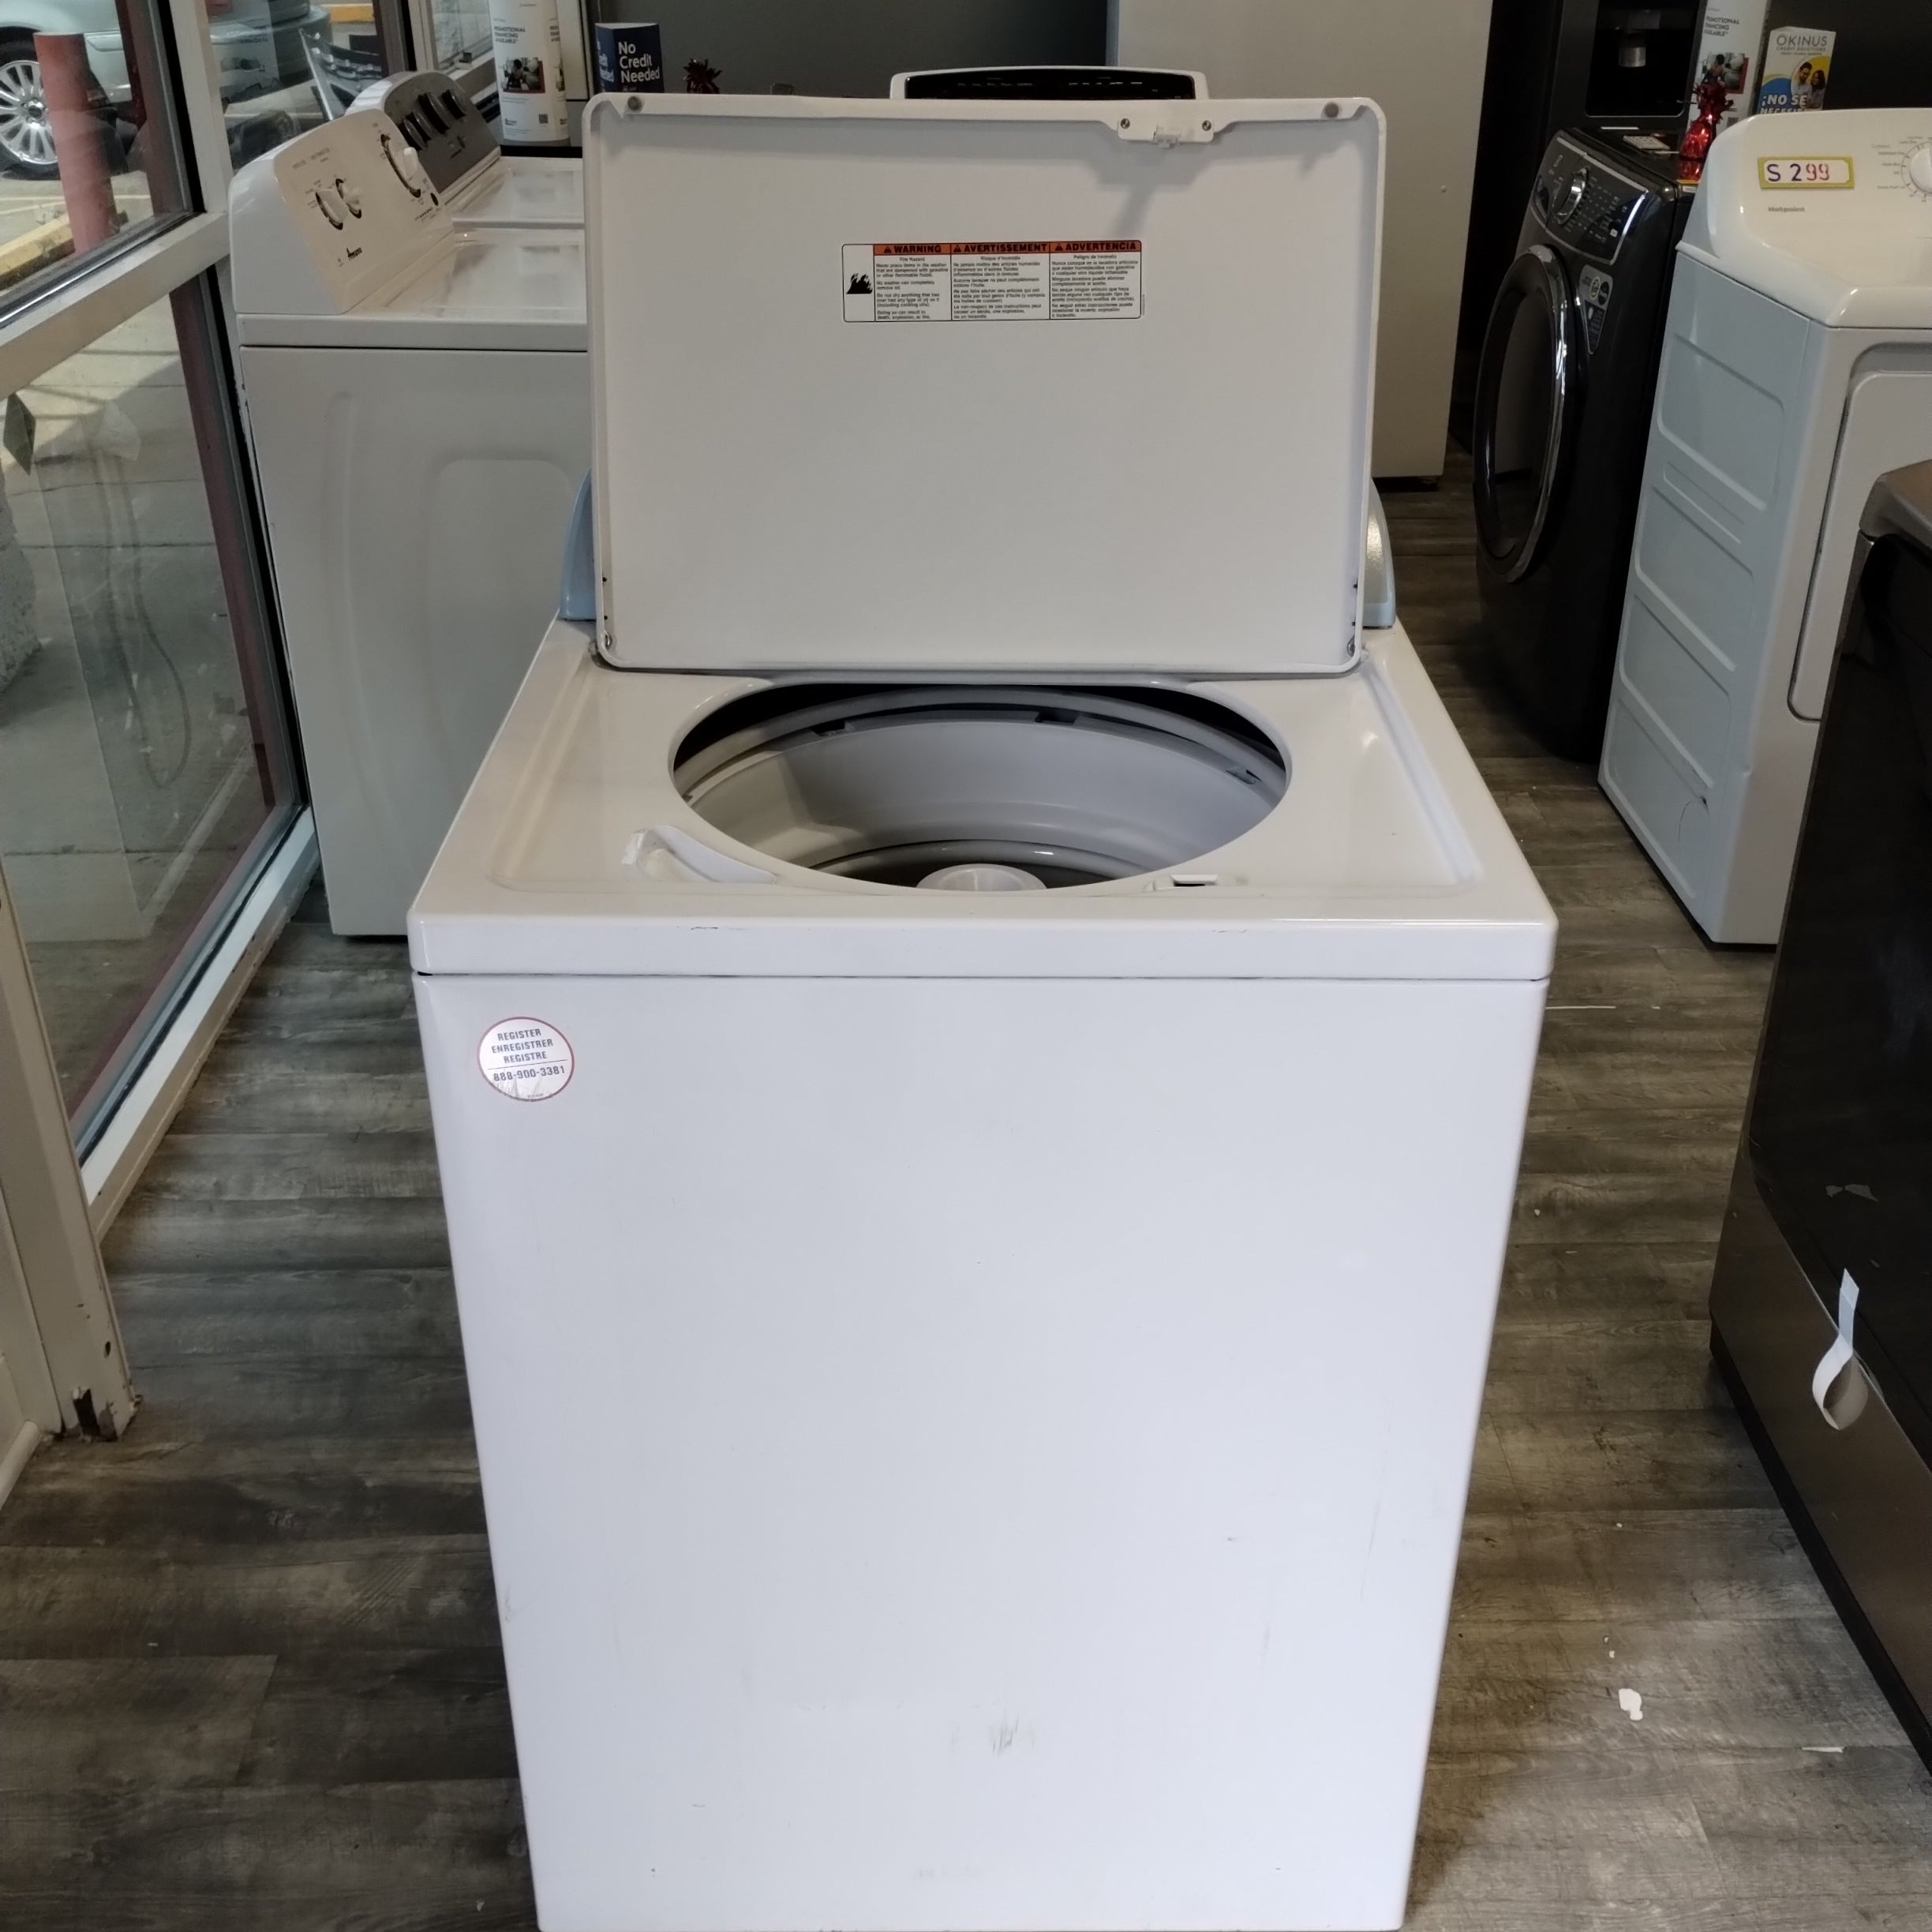
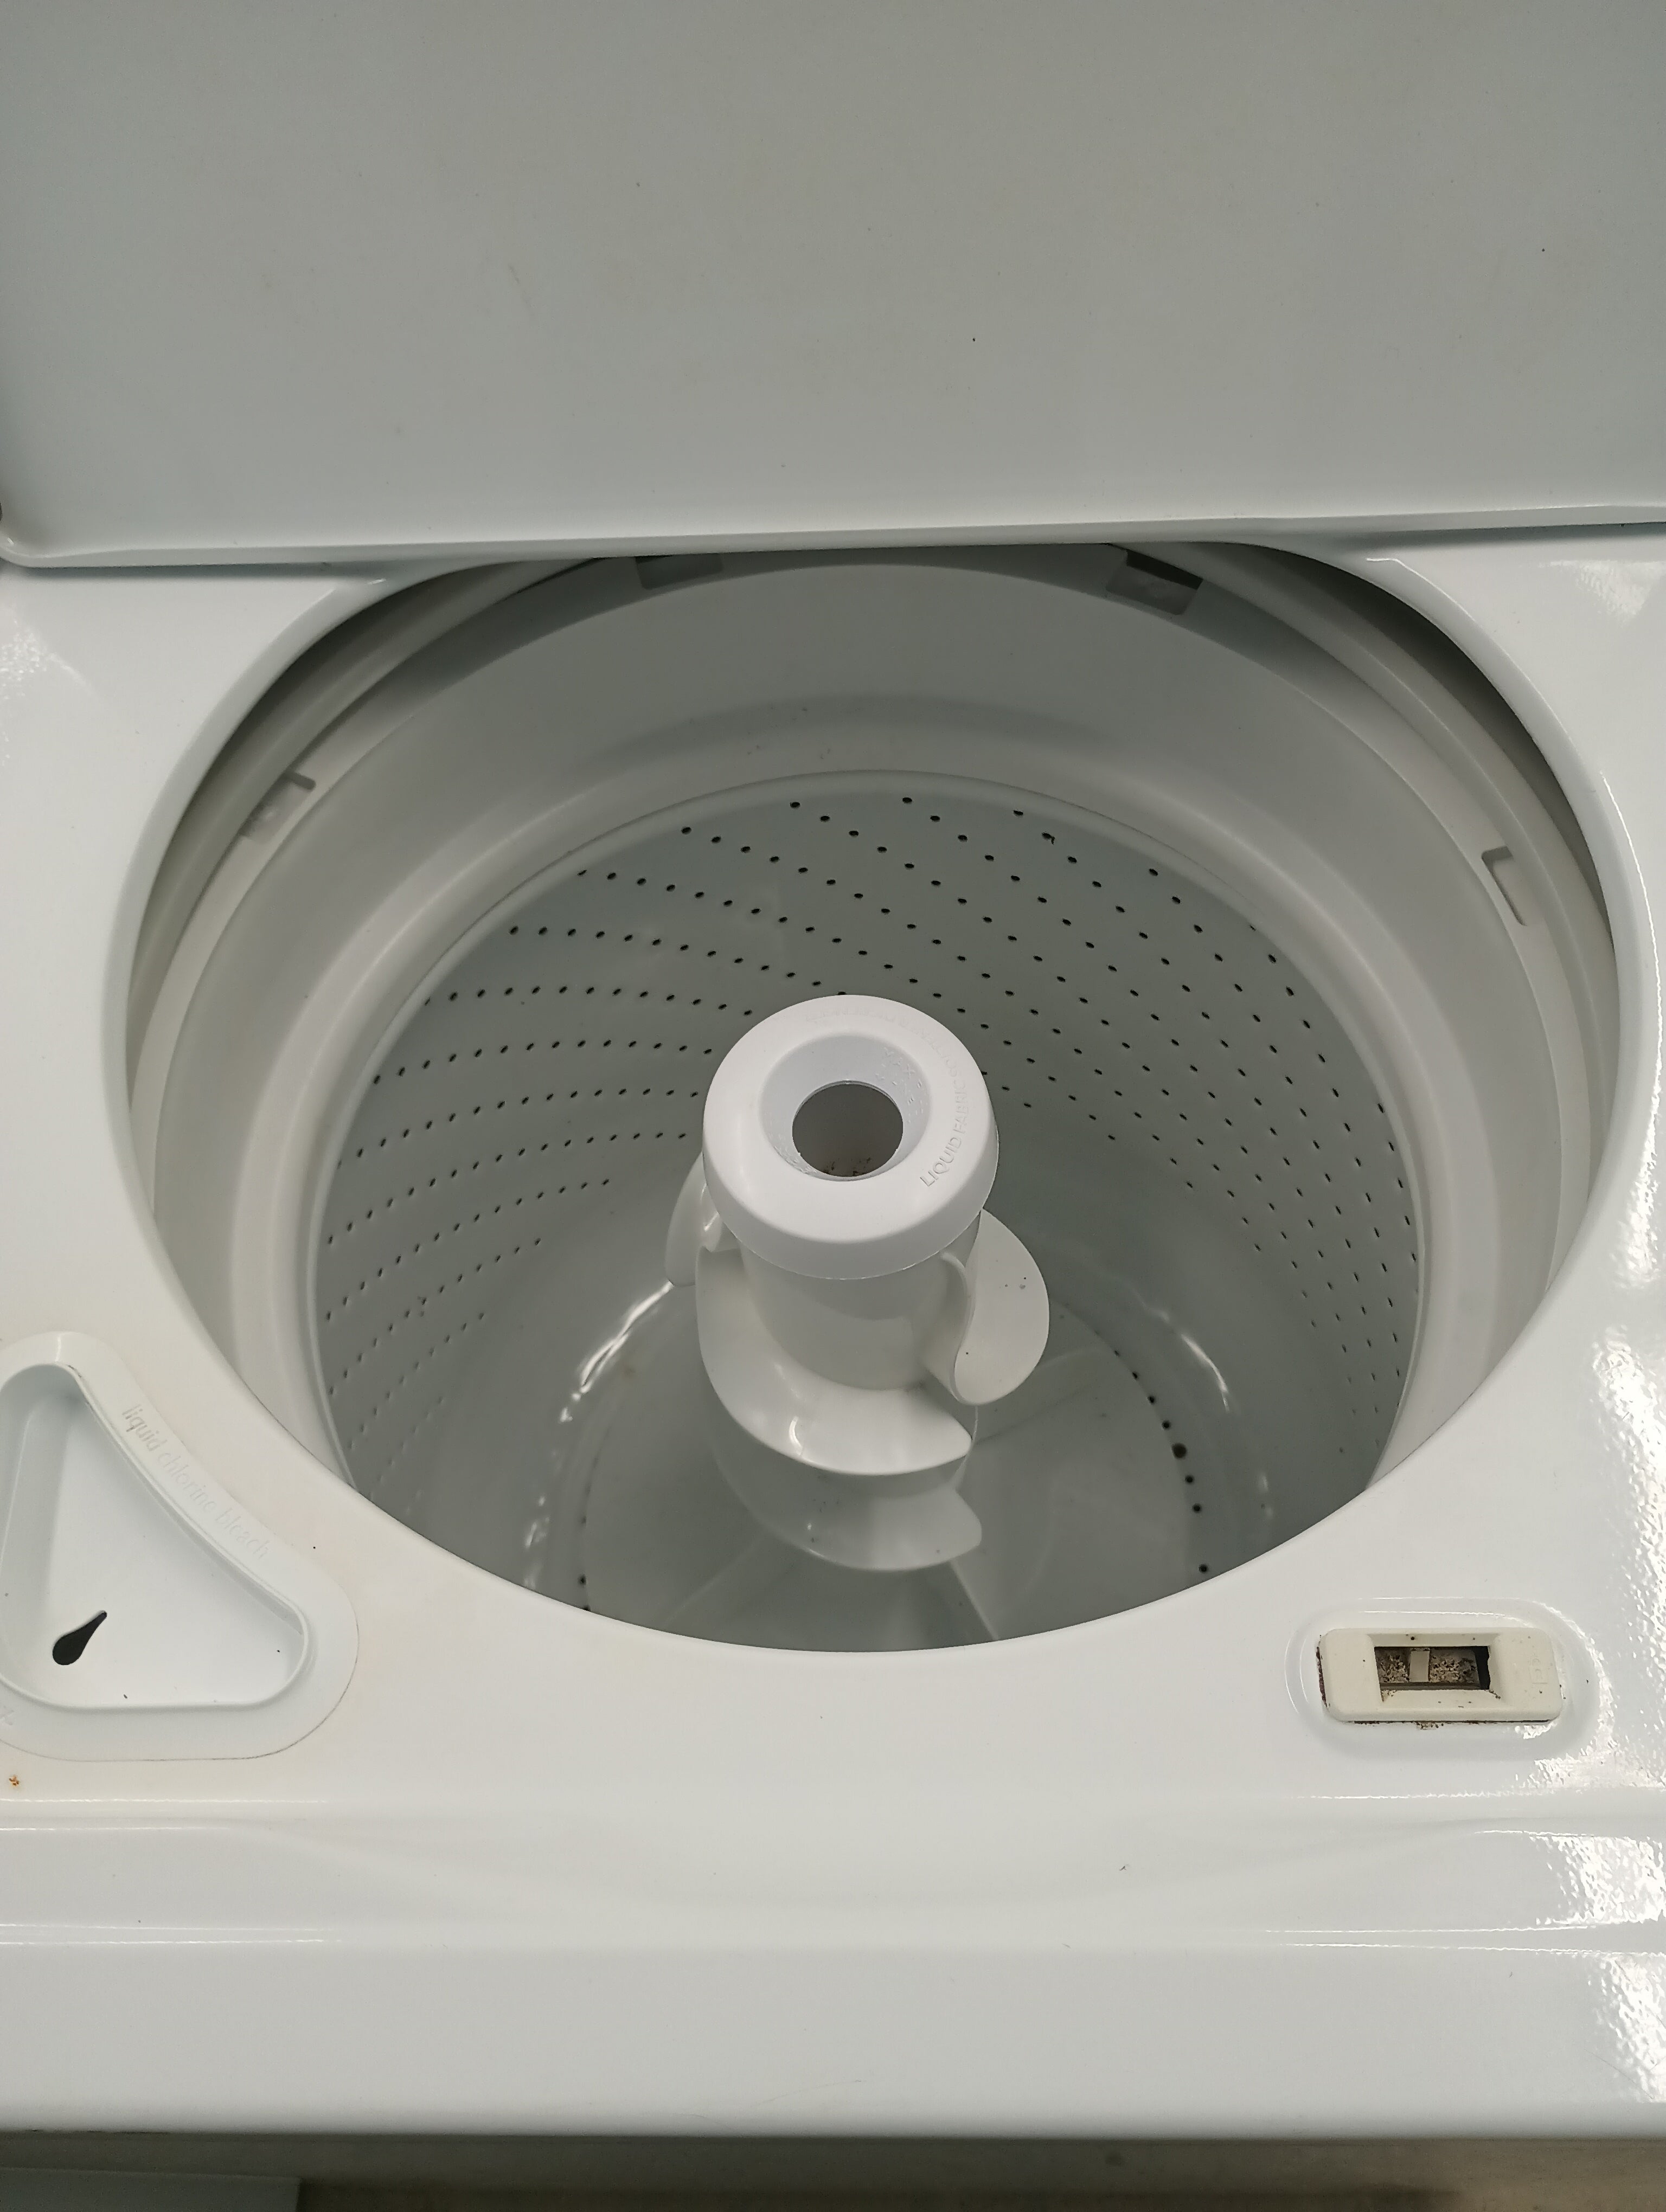
The Whirlpool Wtw4816fw3 is a top-load high-efficiency washer with an agitator. Knowing its core systems helps with Whirlpool Wtw4816fw3 Troubleshooting. Main systems include the control board, motor and drive system, lid switch, water inlet valves, drain pump, and suspension. Each part can cause specific symptoms when it fails.
Key specs that matter for troubleshooting:
- Capacity: medium load, important for balancing issues.
- Agitator design: can cause unusual noises if worn.
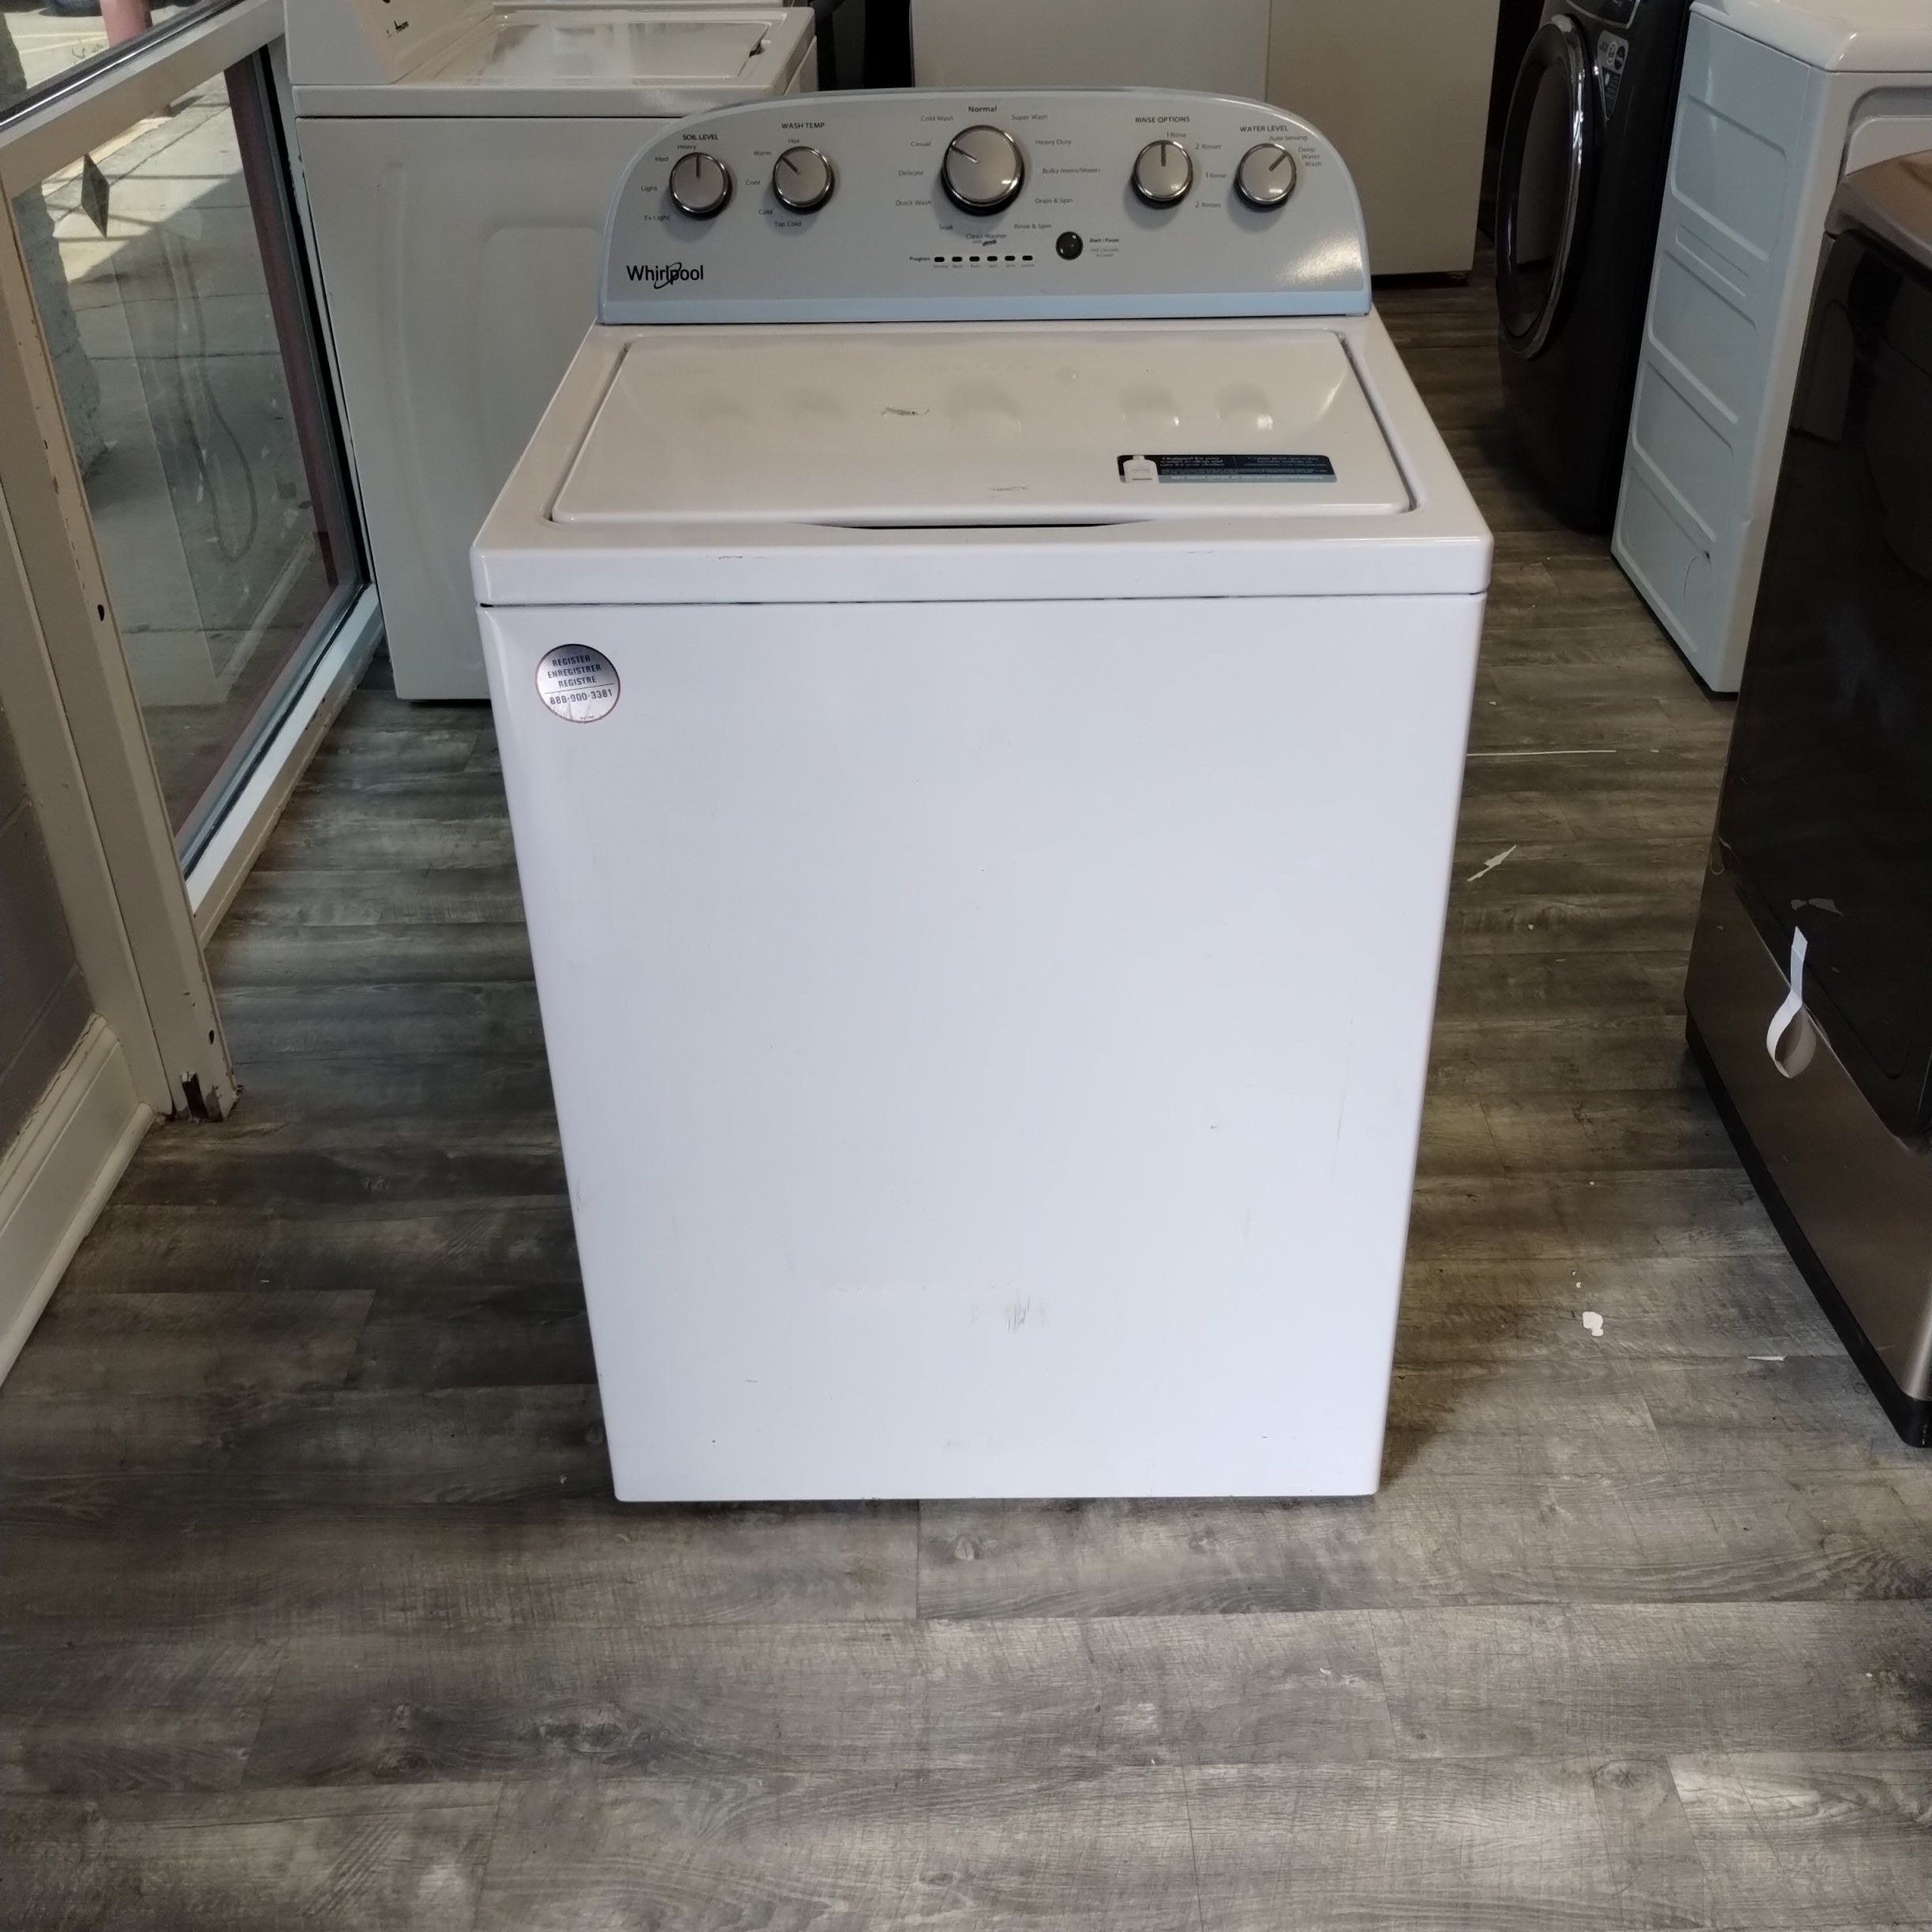
- Control panel: touch and dial inputs may fail or misread cycles.
When you troubleshoot the Whirlpool Wtw4816fw3, start with simple checks: power, water supply, and visible damage. Many problems are easy fixes. Understanding how each system behaves makes diagnosis faster and safer.

Common Problems with Whirlpool Wtw4816fw3
These are the faults most owners face when doing Whirlpool Wtw4816fw3 Troubleshooting:
- Washer won’t start: often power, lid switch, or control fault.
- Won’t spin or agitate: common causes are lid switch, drive belt, or motor.
- Won’t drain: clogged drain pump, kinked hose, or pump failure.
- Too noisy: worn tub bearings, worn agitator dogs, or foreign objects.
- Leaks: loose hose clamps, damaged hoses, or faulty water inlet valves.
- Error codes or blinking lights: control or sensor faults.
Symptoms point to different systems. Always observe when the problem happens: during fill, wash, spin, or drain. This narrows down Whirlpool Wtw4816fw3 Troubleshooting steps.
Step-by-Step Troubleshooting Guide
Use this checklist to find and fix many Whirlpool Wtw4816fw3 problems. Work safely and unplug the washer before opening panels.
- Basic checks
- Confirm power: try another appliance on the same outlet.
- Check circuit breaker: reset if tripped.
- Inspect water supply: valves must be fully open.
- If washer won’t start
- Check lid switch: replace if it doesn’t click when lid closes.
- Test control knob and cycle settings: try a different cycle.
- If it won’t spin
- Redistribute clothes: an unbalanced load prevents spin.
- Inspect drive components: check belt or gearcase for wear.
- If it won’t drain
- Remove standing water with a cup and check pump filter.
- Inspect drain hose for clogs or kinks.
- If noisy during wash
- Check agitator dogs and drive coupling.
- Look for coins or small items trapped under the tub.
- If it leaks
- Tighten hose clamps and inspect inlet hoses.
- Inspect tub-to-pump boot and other seals.
- When lights blink or show codes
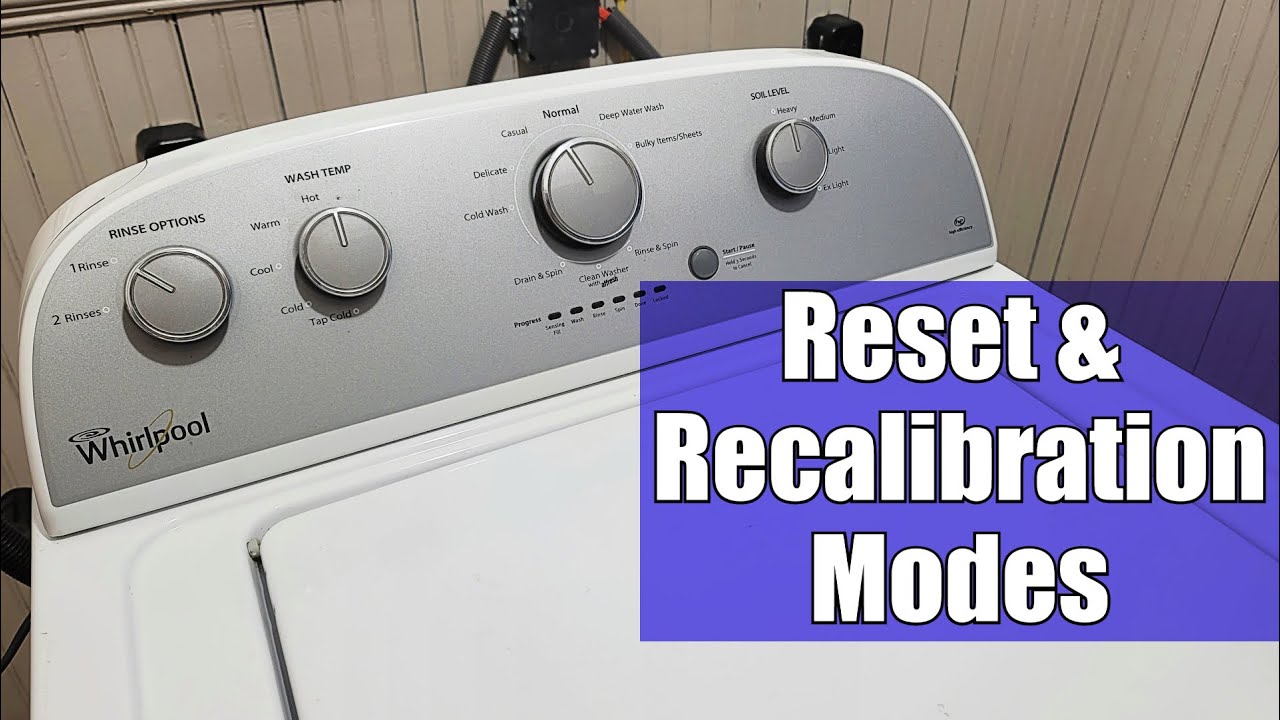
- Note the pattern; match it to service codes (see next section).
- Try a power reset: unplug for one minute then restore power.
Follow tests in this order to save time and avoid replacing parts unnecessarily. Whirlpool Wtw4816fw3 Troubleshooting works best with methodical checks.
Error Codes and What They Mean
Error codes speed up Whirlpool Wtw4816fw3 Troubleshooting. Here are common patterns and actions:
- F1 or F9: Control fault. Power-cycle the washer and try again. Replace control board if code returns.
- F6: Voltage fluctuation. Check outlet and wiring; run on a different circuit if possible.
- F8: Motor or rotor issue. Inspect motor coupling and wiring; call service if motor is damaged.
- LE or LO: Load error. Reduce load size and rebalance clothes.
- Sd: Suds detected. Run a rinse and spin with no detergent.
If an error code repeats after basic resets, plan for parts testing. Error codes often point to the subsystem that needs attention and speed up Whirlpool Wtw4816fw3 Troubleshooting.
Maintenance Tips to Prevent Future Problems
Routine care reduces repairs and improves washer life. Use these quick tips for effective Whirlpool Wtw4816fw3 Troubleshooting prevention:
- Clean inlet screens: every six months to ensure proper water flow.
- Inspect hoses: replace rubber hoses every five years to prevent leaks.
- Run a monthly tub clean cycle with washer cleaner or vinegar.
- Avoid overloading: follow load size guidelines to reduce strain on the motor.
- Use HE detergent in the correct amount to avoid suds and buildup.
Regular checks catch small issues before they become failures. Good maintenance reduces the need for Whirlpool Wtw4816fw3 Troubleshooting.

Parts, Tools, and When to Replace
Common parts you may replace during Whirlpool Wtw4816fw3 Troubleshooting:
- Lid switch assembly: inexpensive and often resolves no-start or no-spin issues.
- Drain pump: moderate cost; replace if noisy or not draining.
- Drive coupling or belt: affordable; replace if slipping or broken.
- Control board: pricier; replace only after confirming the issue isn’t wiring.
- Agitator dogs and hub: small parts that fix agitation issues.
Tools to have:
- Multimeter for electrical tests.
- Nut drivers and socket set for panel removal.
- Pliers and a hose clamp tool.
- Towel and bucket for water removal.
Always buy OEM or high-quality parts for longevity. Keep receipts and note part numbers when replacing components to streamline Whirlpool Wtw4816fw3 Troubleshooting in the future.

When to Call a Professional
Call a technician if:
- You find burned wiring, a burning smell, or visible electrical damage.
- The control board or motor tests indicate internal failure.
- The repair requires complex disassembly of the tub or gearbox.
- The washer is under warranty; a professional repair may be covered.
Professional service is safer for electrical or sealed-system repairs. Use a certified repair tech to avoid voiding warranty and to ensure thorough Whirlpool Wtw4816fw3 Troubleshooting.

Personal Experience and Lessons Learned
I once fixed a WTW4816FW3 that would not spin. It turned out to be a simple lid switch failure. I replaced the switch and the washer worked again. That taught me to always start with the small, inexpensive parts.
Lessons I learned:
- Check the obvious first. Many calls are caused by simple things like tripped breakers or kinked hoses.
- Keep a basic tool kit and a small stock of common parts.
- Document repairs and parts used. It helps with warranty claims and repeat issues.
Be patient and systematic. A calm approach makes Whirlpool Wtw4816fw3 Troubleshooting less stressful.
Frequently Asked Questions of Whirlpool Wtw4816fw3 Troubleshooting
Why won’t my Whirlpool Wtw4816fw3 start?
Check power and the lid switch first. If power is fine, test the lid switch and control settings before replacing expensive parts.
What causes the Whirlpool Wtw4816fw3 to leak?
Leaks often come from loose hose clamps, damaged hoses, or a failed inlet valve. Inspect visible hoses and seals, and tighten or replace parts as needed.
How do I fix a Whirlpool Wtw4816fw3 that won’t drain?
Clear blockages in the drain hose and pump, then test the pump electrically. Replace the pump if it does not run or is noisy.
Why is my Whirlpool Wtw4816fw3 noisy during spin?
Noises can come from unbalanced loads, worn bearings, or foreign objects in the tub. Try rebalancing the laundry and inspect the tub and agitator components.
What do blinking lights on my Whirlpool Wtw4816fw3 indicate?
Blinking lights usually signal a fault code or sensor issue. Note the pattern, power-cycle the washer, and consult the code list to narrow the problem.
Conclusion
This Whirlpool Wtw4816fw3 Troubleshooting guide gives you clear steps to diagnose and fix the most common washer problems. Start with basic checks, follow the step-by-step tests, and use preventive maintenance to avoid future failures. If you’re unsure or find electrical or complex mechanical faults, call a qualified technician. Try a few of these fixes today, keep a record of what you changed, and leave a comment or question below if you want help with a specific symptom.

