
Most Hampton Bay ceiling fan issues can be fixed with basic checks, cleaning, or simple part swaps.

Today's Exclusive Deals
Limited-time Exclusive Deals. Check current discount on Amazon.
Check Price on Amazon As an Amazon Associate I earn from qualifying purchases.I have spent years repairing and troubleshooting ceiling fans, including many Hampton Bay models. This guide on Hampton Bay Ceiling Fan Troubleshooting gives clear, step-by-step fixes, safety tips, and real-world advice. Read on to quickly identify issues, test components, and restore smooth, quiet operation without guesswork.

Common Symptoms and What They Mean
Hampton Bay Ceiling Fan Troubleshooting starts by spotting symptoms. Fans that wobble, hum, fail to start, or have lights that flicker point to different causes. A wobble usually means blade balance or loose screws. Humming or slow spin often ties to motor or capacitor issues.
Today's Exclusive Deals
Limited-time Exclusive Deals. Check current discount on Amazon.
Check Price on Amazon As an Amazon Associate I earn from qualifying purchases.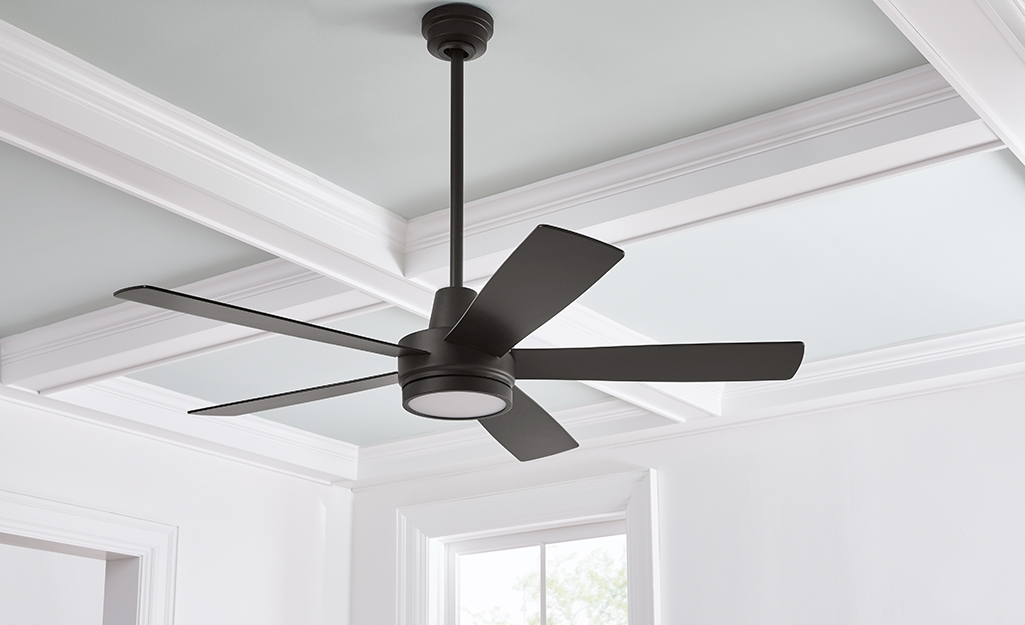
Quick Safety Checks Before You Start
Always cut power at the breaker before doing Hampton Bay Ceiling Fan Troubleshooting. Use a noncontact voltage tester to confirm power is off. Work on a stable ladder and have a helper hold the fan if you need to remove parts. Wear safety goggles when cleaning or handling wiring.

Today's Exclusive Deals
Limited-time Exclusive Deals. Check current discount on Amazon.
Check Price on Amazon As an Amazon Associate I earn from qualifying purchases.Step-by-Step Hampton Bay Ceiling Fan Troubleshooting Guide
Follow this ordered checklist to find most faults. Work from easy to complex fixes. Stop and test after each step.
- Visual inspection
- Look for loose screws on blades, canopy, and mounting bracket.
- Check blade alignment and gaps between blades and housing.
- Clean and tighten
- Clean dust from blades and motor housing.
- Tighten blade screws and canopy screws evenly.
- Test power and controls
- Restore power and test wall switch and remote.
- Try the fan on low and high speeds to detect unusual noises.
- Swap bulbs and check light kit
- Replace bulbs with recommended wattage.
- Inspect sockets and wiring for dark spots or burns.
- Check the remote and receiver
- Replace remote batteries and reset the receiver per manual.
- If the remote fails, remove the receiver and hardwire the fan to test.
- Examine the capacitor and motor
- A weak capacitor causes slow starts or no start.
- Smell for burned motor odor; overheating usually needs motor or kit replacement.
People also ask: Why does my Hampton Bay fan not start? Often the capacitor is weak, the wiring is loose, or the remote receiver failed.
People also ask: Why does my Hampton Bay fan wobble? Most often uneven blades, loose screws, or warped blades cause wobble.
People also ask: Can I replace the motor myself? You can, but it is safer to match the model and follow the manual or call a pro for complex wiring.
Wiring, Power, and Switch Troubles
Power problems are common in Hampton Bay Ceiling Fan Troubleshooting. Start at the wall switch. A loose wire at the switch can cut all power to the fan. Check the following.
- Circuit breaker
- Confirm the breaker has not tripped.
- Wall switch and wiring
- Turn power off and tighten wire terminals in the switch box.
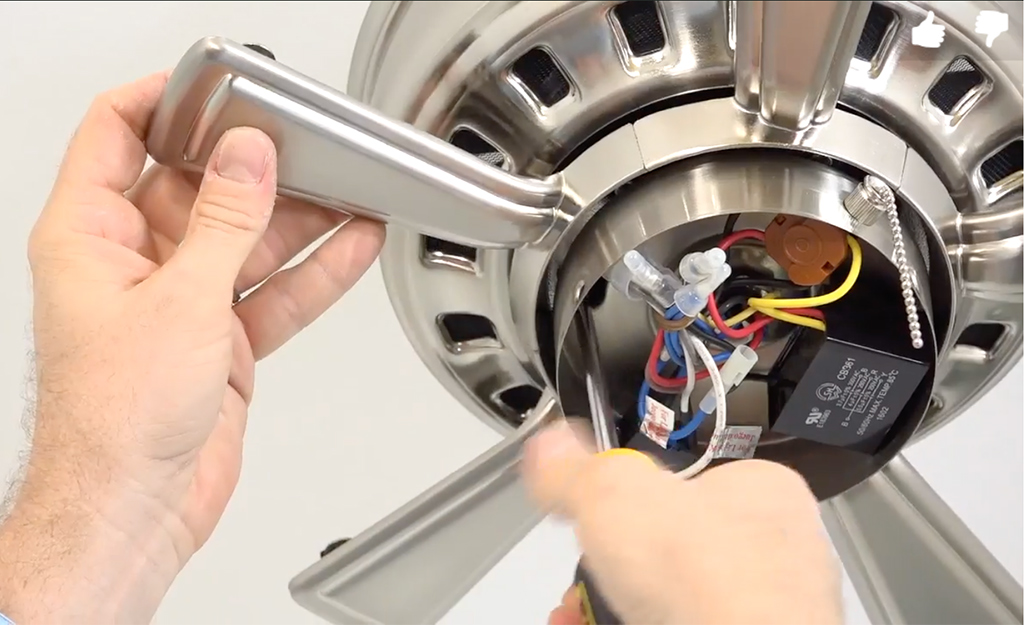
- Ceiling wiring
- Inspect the fan’s wiring connections in the canopy.
- Shared circuits
- Fans on a shared circuit can behave oddly when other loads trip the breaker.
If wiring is corroded or insulation is brittle, replace the wire or call an electrician. I once traced a dead Hampton Bay fan to a loose ground lug in the box. Tightening it restored power instantly.

Remote Control and Receiver Issues
Many Hampton Bay fans use a remote and receiver. These can fail and mimic motor faults.
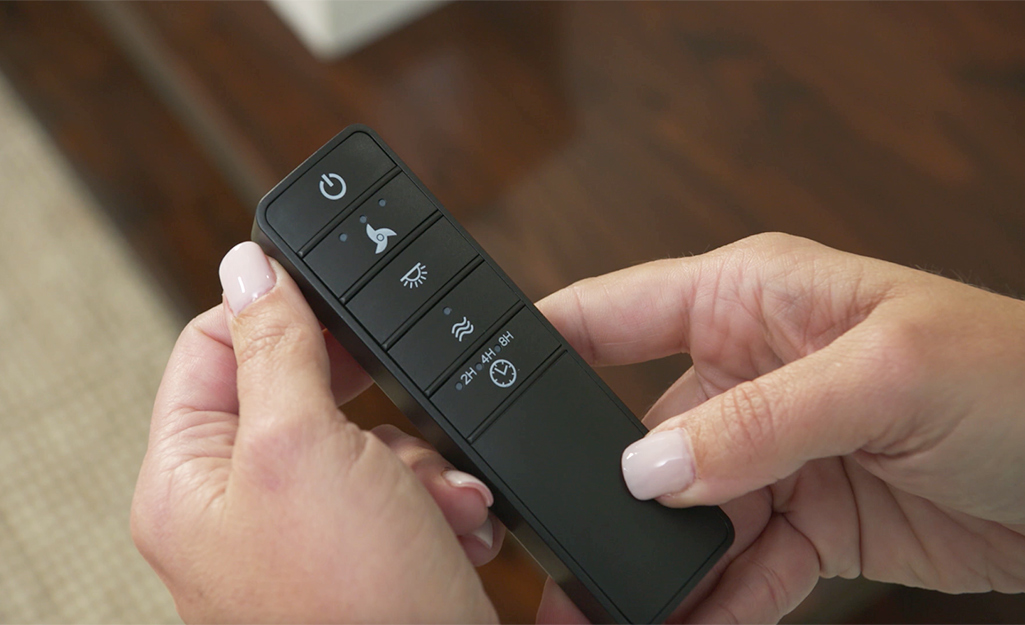
- Battery and signal
- Replace the remote batteries and test from different angles.
- Receiver reset
- Power-cycle the fan and follow the manual reset steps.
- Interference
- Other remotes or nearby transmitters can interfere.
- Bypass test
- Temporarily hardwire the fan to test motor and switch function.
If replacing the receiver, match the voltage and connector types. I keep a spare receiver for quick swaps; it saved me a service call once.

Motor, Bearings, and Noisy Fans
Noisy or rough-running fans often point to motor or bearing wear. Troubleshoot like this.
- Lubrication and bearings
- Many modern motors are sealed. Do not force oil into sealed bearings.
- If bearings are worn, replace the motor or fan.
- Motor windings and smell
- A burning smell suggests motor damage. Turn off power and replace.
- Capacitor role
- A failing capacitor can make the motor hum and stall.
- Vibration source
- Looseness at the mounting bracket transmits noise. Tighten all fasteners.
I have replaced motors on older Hampton Bay fans after hearing persistent clicking. New motors restored silent operation.

Light Kit and Bulb Problems
Light issues can distract from fan problems. Handle light kit troubleshooting separately.
- Bulb type and wattage
- Use correct bulb type and wattage for the light kit.
- Loose sockets
- Tighten or replace sockets if connections are loose.
- Dim or flicker
- Dim lights can be wrong bulbs, weak dimmer compatibility, or bad wiring.
- Switch compatibility
- Dimmers and LED bulbs may not work well with older fan kits.
When changing bulbs, test one at a time to isolate the fault. A new LED bulb can stop flicker if the socket is fine.
Maintenance Tips to Prevent Future Issues
Regular upkeep reduces the need for Hampton Bay Ceiling Fan Troubleshooting. Keep a small yearly routine.
- Clean blades every 3 months to reduce wobble and drag.
- Tighten screws after 6 months of use.
- Check remote batteries twice a year.
- Inspect canopy wiring yearly for heat marks or fray.
- Balance blades with a simple kit if you notice wobble.
I set calendar reminders for fan care. A little regular work prevents many common fan failures.

Tools and Parts You May Need
Have these items ready before you start Hampton Bay Ceiling Fan Troubleshooting.
- Noncontact voltage tester for safety checks.
- Screwdrivers and nut drivers for fasteners.
- Replacement capacitor and receiver if tests point to them.
- Blade balancing kit and cleaning cloths.
- Ladder and safety glasses.
Buying OEM replacement parts helps ensure fit and safety. I keep spare bulbs, screws, and a receiver in my tool box.
Frequently Asked Questions of Hampton Bay Ceiling Fan Troubleshooting
Why is my Hampton Bay fan wobbling at high speed?
Wobble is usually due to unbalanced blades, loose screws, or warped blades. Use a balance kit and tighten all blade and canopy screws to fix it.
Why does my Hampton Bay fan hum but not spin fast?
A humming fan often needs a new capacitor or has motor winding issues. Test the capacitor and replace it if values are low.
Can a remote control ruin my Hampton Bay fan?
A remote alone does not ruin a fan, but a failing receiver can stop control signals from reaching the motor. Replace the receiver if the fan works when hardwired.
How do I know if the motor is bad on my Hampton Bay fan?
A bad motor may smell burned, smoke, or not respond even when power and controls are good. Persistent humming or heat also points to motor failure.
Is it safe to replace parts on my own?
You can replace non-wired parts and do basic checks safely with the breaker off. For complex wiring or motor replacement, consider hiring a licensed electrician.
Conclusion
This Hampton Bay Ceiling Fan Troubleshooting guide gives clear steps, safety checks, and practical tips to solve common problems. Start with simple checks, move to the remote and wiring, and only replace parts when tests point to them. Regular cleaning and tight fasteners will keep your fan quiet and efficient. Try the steps here, keep spare parts on hand, and leave a comment with your issue if you need more help.


