
Check cables, permissions, drivers, and network settings to resolve most camera connection problems.
I have spent years setting up meeting rooms and fixing camera problems under pressure. I know how frustrating a failed video feed can be. This guide on Conference Camera Connection Issues Troubleshooting explains why connections fail and shows step-by-step fixes you can apply right away. Read on to learn practical checks, quick fixes, and prevention tips that actually work in real meetings.

What are Conference Camera Connection Issues?
Conference Camera Connection Issues Troubleshooting starts with a clear definition. These issues happen when a camera will not connect, drops video, shows poor quality, or is not recognized by software. Problems can be due to hardware, network, drivers, or settings. Understanding the type of failure helps you fix it faster.
Common Causes of Conference Camera Connection Issues Troubleshooting
Knowing common causes speeds repair. Here are the frequent culprits I see in the field.
- Faulty or loose cables, bad USB ports, or damaged connectors.
- Missing or outdated drivers and firmware on camera or host device.
- Insufficient USB power or wrong USB type (USB 2.0 vs USB 3.0).
- Network issues, NAT traversal problems, or blocked ports for IP/PoE cameras.
- App permissions, incorrect camera selection, or conflicting software.
- Power cycling needs for cameras with internal firmware bugs.
I once helped a team fix a camera that looked dead. The fix was one loose USB 3.0 plug. Small issues often create big headaches.
Step-by-step Troubleshooting Guide for Conference Camera Connection Issues Troubleshooting
Follow these steps in order. Each step rules out a likely cause.
- Check physical connections and power
- Confirm camera is powered on and any PoE injector or power brick is working.
- Firmly reseat USB, HDMI, or Ethernet cables at both ends.
- Try a different cable and port to isolate a bad cable.
- Verify device recognition
- Open system device manager or camera settings in your app.
- Look for the camera name or an “unknown device” entry.
- If not visible, try another computer to test the camera itself.
- Test with a simple app
- Use a basic camera app for a quick test. This isolates conferencing software issues.
- If the camera works in a simple app but not in the meeting app, focus on app settings next.
- Update drivers and firmware
- Download the latest driver and firmware for the camera.
- Follow the vendor’s update instructions carefully.
- Reboot after updates to apply changes.
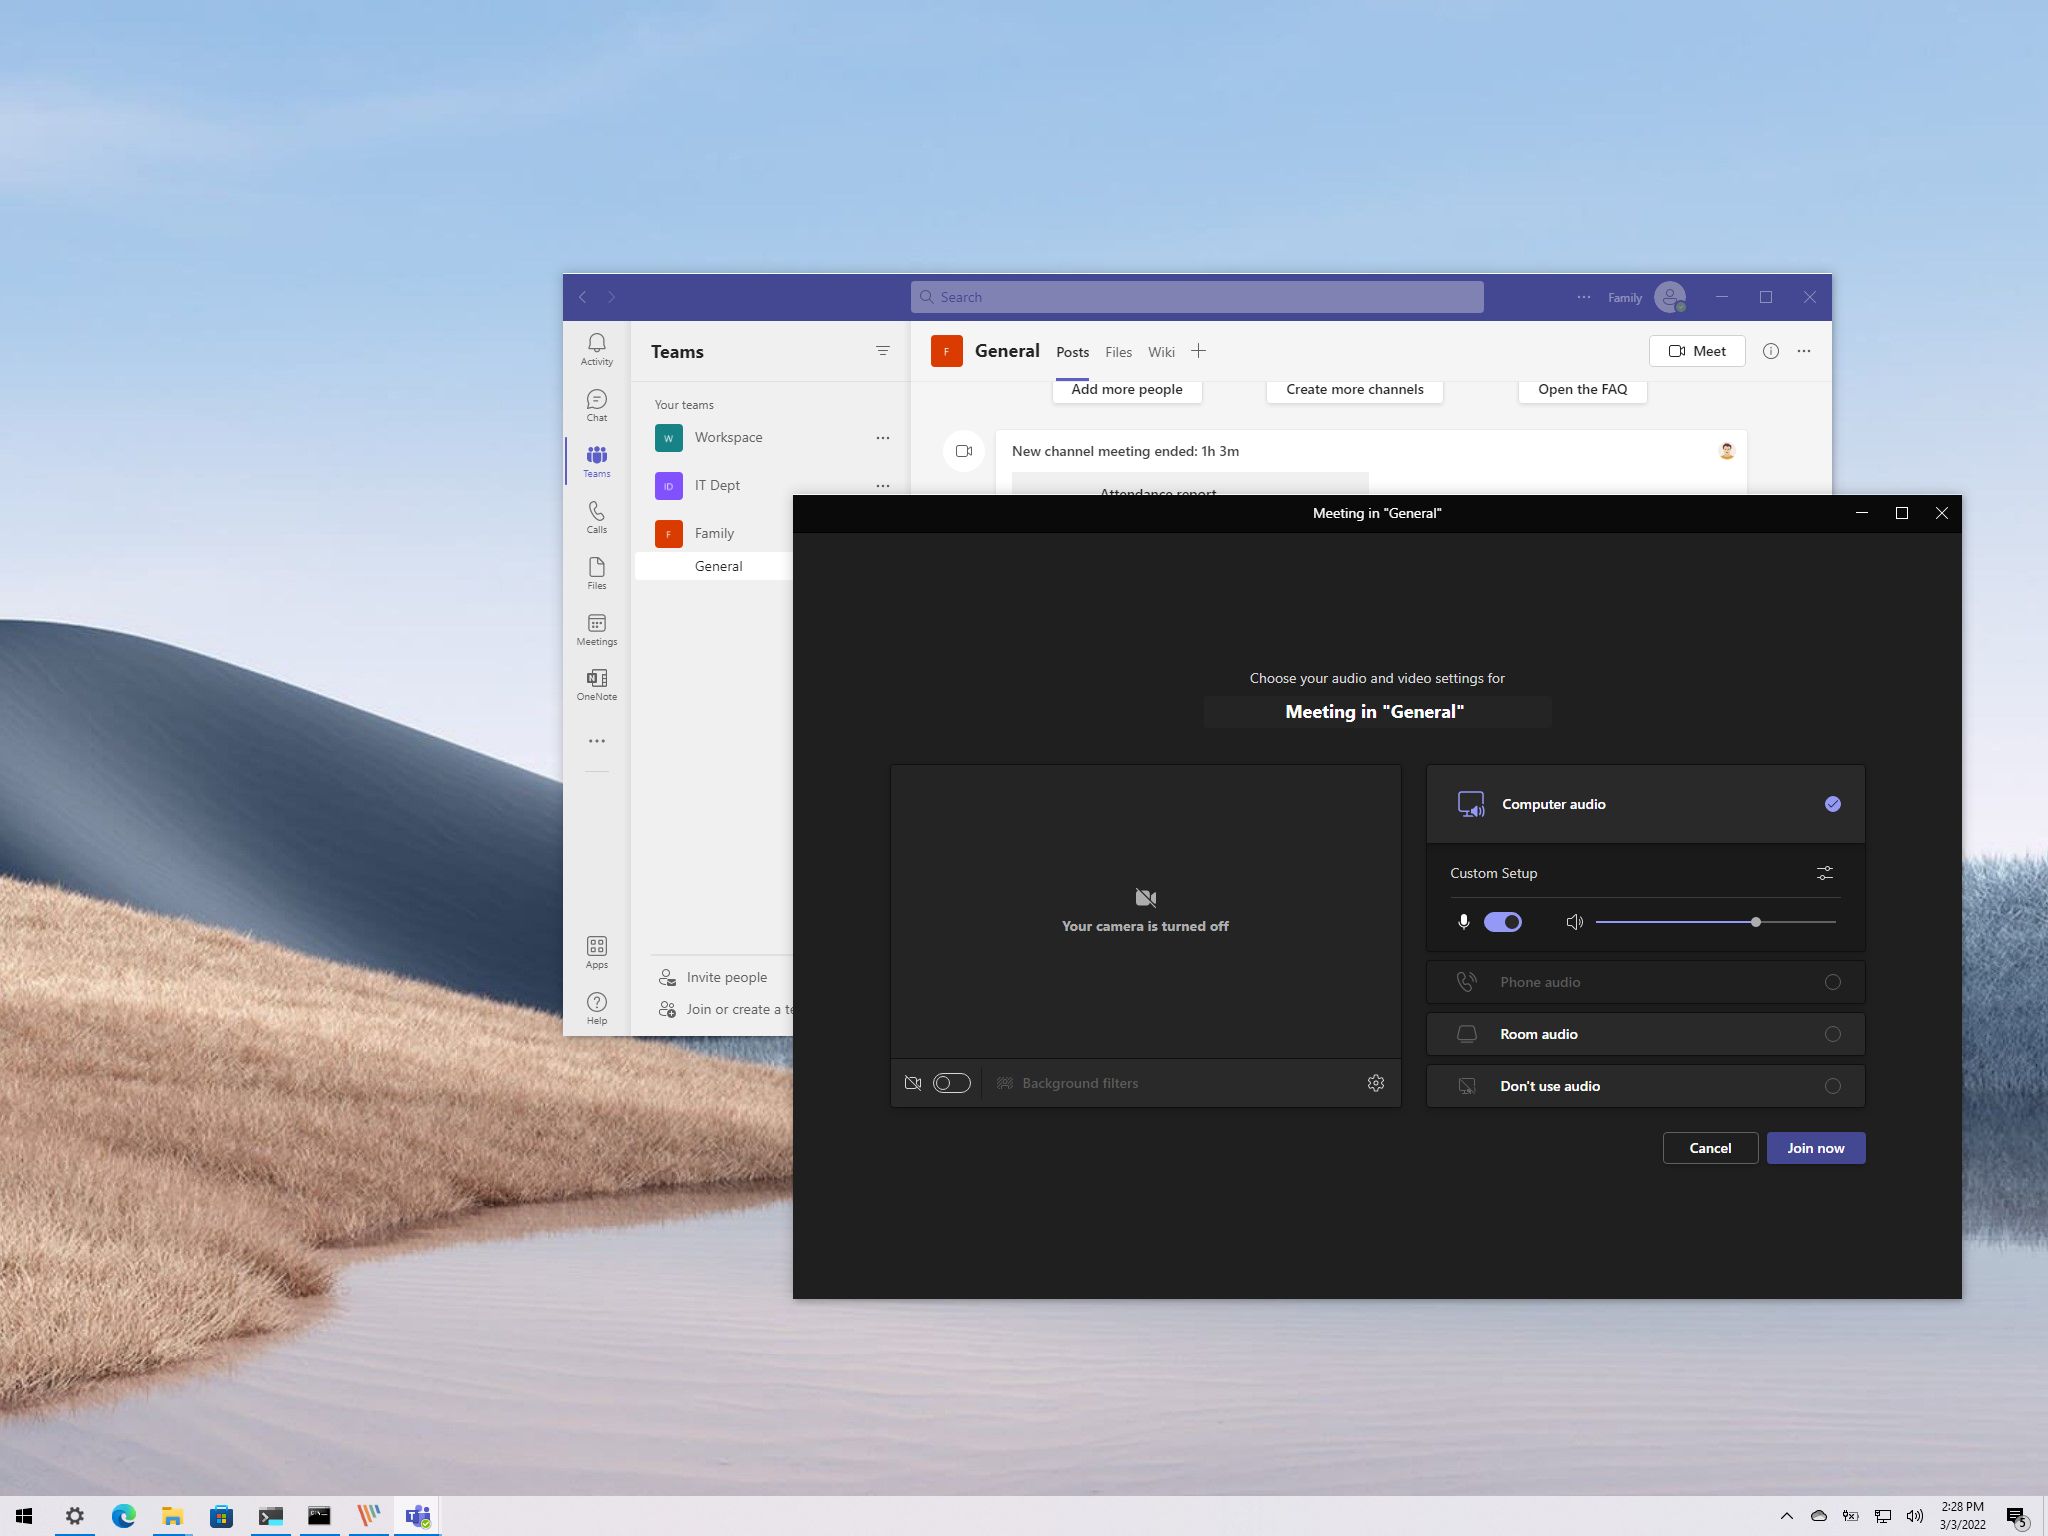
- Check app permissions and settings
- Ensure the meeting app has camera and microphone permission.
- Select the correct camera in the app’s device list.
- Disable other apps that might lock the camera.
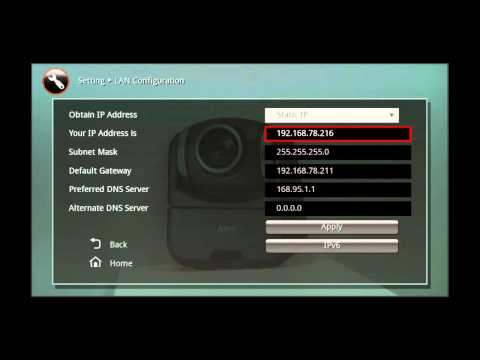
- Network checks for IP and cloud cameras
- Verify IP address, gateway, and DNS settings.
- Ensure required ports are open on firewalls and routers.
- Use ping and traceroute to check connectivity to the camera’s IP.
- Reboot and test again
- Power cycle the camera, computer, and network gear.
- Test one change at a time to identify the root cause.

Network and Firewall Checks for Conference Camera Connection Issues Troubleshooting
Network issues are often overlooked. IP cameras and cloud gear need open and stable networks.
- Check bandwidth and packet loss with a simple speed test.
- Confirm VLAN or subnet rules do not block the camera.
- Open required ports for signaling and media streams on firewalls.
- For cloud cameras, verify NAT and STUN/TURN settings for remote peers.
- If using Wi-Fi, reduce interference and test with a wired connection.
In one office, video cut out every 10 minutes. The cause was an overloaded Wi-Fi channel. Moving to Ethernet fixed the problem.
Hardware and Cabling Checks for Conference Camera Connection Issues Troubleshooting
Hardware can fail or behave poorly when under strain.
- Inspect cables for frays, bends, and broken connectors.
- Test alternate ports on the PC or hub to rule out bad USB sockets.
- Use powered USB hubs for long runs or if multiple devices draw power.
- For PoE cameras, check switches, injectors, and PoE budgets.
- Replace suspect cables and re-test.
Always keep a spare cable and a small toolkit near meeting rooms. They save time.
Software, Drivers, and Firmware Fixes
Outdated software often causes conflicts. Keep drivers and apps current.
- Update the camera firmware from the vendor site when available.
- Install the latest OS drivers or camera plugin for your system.
- Confirm meeting app updates and clear app cache if camera fails to load.
- Roll back recent updates if a camera worked before and then stopped after changes.
- Use vendor diagnostic tools to check camera health and logs.
I once spent hours on a room that lost video after an OS update. A driver rollback restored service in minutes.
Testing and Verification Best Practices
Use a structured testing routine. It speeds diagnosis and prevents repeat issues.
- Verify the camera in a native camera app before launching the meeting.
- Run a short test call with a colleague or a test account.
- Keep a checklist for room setup: power, video, audio, network, app rights.
- Document recurring faults and solutions in a room log.
- Schedule regular test calls for critical meeting rooms.
A routine test before big meetings gives teams confidence. It also reduces last-minute panic.
Preventive Measures and Maintenance
Prevention saves time and stress.
- Schedule firmware and driver updates monthly or quarterly.
- Label and secure cables to avoid accidental disconnection.
- Keep spare cameras, cables, and USB hubs on hand.
- Train staff on simple fixes like restarting and toggling camera selection.
- Monitor network health and set alerts for packet loss or device offline events.
Small maintenance steps stop many Conference Camera Connection Issues Troubleshooting problems before they start.
Personal Experiences and Lessons Learned
I have set up many conference rooms. I fixed cameras in tight windows before big briefings. Here are real lessons I learned.
- Always carry spare cables. One spare cable fixed a CEO’s day within five minutes.
- Test devices on different systems. This isolates whether the camera or the PC is the problem.
- Build a short SOP for room users. Clear steps reduce support calls and wasted time.
- Log problems and how you fixed them. Patterns show up fast and save hours later.
These small habits made my support work less stressful and more effective.
Frequently Asked Questions of Conference Camera Connection Issues Troubleshooting
How do I know if the problem is the camera or the computer?
Test the camera on another computer or use a simple camera app. If the camera works elsewhere, the computer or software is the issue.
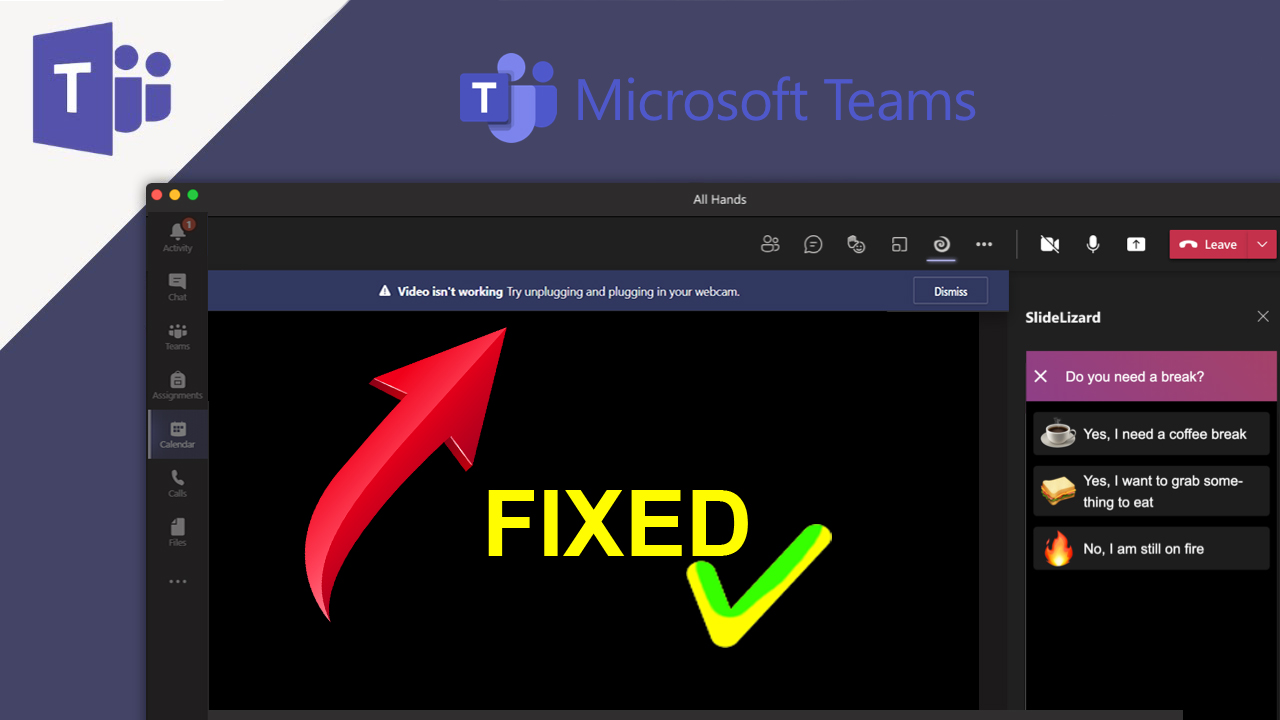
Why does video drop during meetings but work in tests?
This often points to network bandwidth, CPU load, or app conflicts. Monitor network and CPU during a meeting to find spikes.
Can a USB hub cause camera problems?
Yes. Unpowered or low-quality hubs can starve a camera of power or bandwidth. Use a powered USB 3.0 hub or connect directly when possible.
What basic cable should I swap first when troubleshooting?
Swap the data cable first: USB, HDMI, or Ethernet depending on camera type. Cables fail often and are quick to replace.
How often should firmware and drivers be updated?
Update firmware and drivers quarterly or as recommended by the vendor. Test updates in a non-critical room first to avoid surprises.
Conclusion
Conference Camera Connection Issues Troubleshooting becomes easy with a clear plan. Check power, cables, device recognition, drivers, and network in that order. Keep simple tools and spares on hand. Start using a short checklist and test routine today to cut down on meeting delays. If you found this guide useful, try the steps in your next meeting room and leave a comment or subscribe for more practical tips.

