
Most dryer issues are fixable: check power, vents, lint, belts, and sensors first.
I’ve spent years fixing laundry rooms and coaching homeowners on Laundry Dryer Troubleshooting. This guide breaks down the most common dryer faults, shows safe step-by-step fixes, and helps you decide when to call a pro. Read on for clear checks, real tips from field experience, and easy maintenance moves that save time, money, and dryer trips to the repair shop.
How a dryer works: basics you need to know
A dryer tumbles clothes while heating air and moving moisture out through a vent. Key parts are the drum, motor, heating element (electric) or gas burner (gas dryers), thermostat, lint filter, and the exhaust vent. Knowing how these parts work helps pinpoint why your dryer fails. I use this simple map in every repair: is the drum moving, is there heat, and can air leave the machine?

Common problems and likely causes
This section covers typical issues for Laundry Dryer Troubleshooting. I list symptoms, causes, and quick checks so you can diagnose fast.
-
No power at all
- Possible causes: tripped breaker, blown fuse, bad outlet, or a faulty door switch.
- Quick check: test the outlet and breaker before opening the dryer.
-
Dryer runs but gives no heat
- Possible causes: heating element failed, broken thermal fuse, faulty thermostat, or gas supply issue.
- Quick check: listen for burners on gas models or test heating element continuity on electric ones.
-
Drum won’t turn or tumbles slowly
- Possible causes: broken belt, seized drum rollers, bad motor, or worn idler pulley.
- Quick check: stop power and try to turn the drum by hand; resistance hints at a mechanical fault.
-
Takes too long to dry
- Possible causes: clogged vent, blocked lint trap, failing thermostat, or overloaded loads.
- Quick check: clean lint trap, run dry cycle with one towel, and time it.
-
Loud noises or banging
- Possible causes: worn bearings, foreign objects in the drum, or a failing motor.
- Quick check: remove clothes and run a short spin to hear where noise comes from.
-
Burning smell or scorching
- Possible causes: lint build-up, overheated motor, electrical short, or blocked vent.
- Quick check: stop using the dryer and inspect lint paths and vent for buildup.
-
Error codes or lights
- Possible causes: sensors or control board flags, airflow problems, or temperature issues.
- Quick check: consult the dryer’s manual for code meanings and reset per instructions.
Laundry Dryer Troubleshooting often starts with airflow and power checks. Airflow problems are the culprit in many slow-drying and overheating cases.
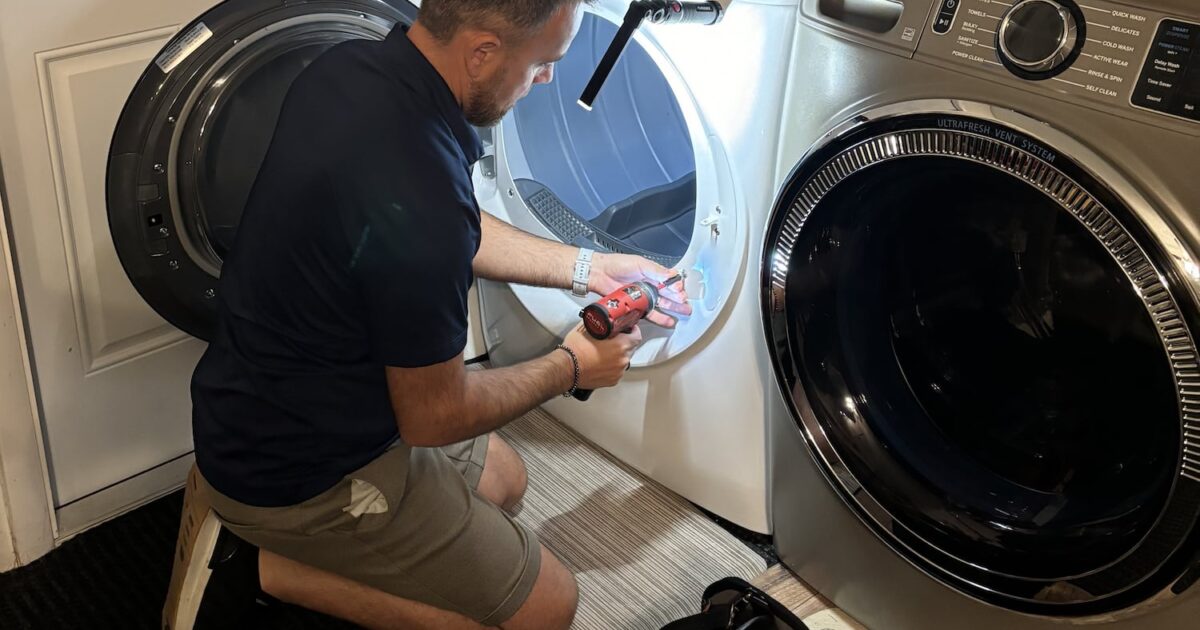
Step-by-step Laundry Dryer Troubleshooting checklist
Follow this checklist to diagnose most issues safely. I use these steps when I troubleshoot a client’s dryer.
- Safety first
- Unplug electric dryers or shut off gas and unplug for gas dryers.
- Turn off gas supply before working on a gas dryer.
- Check power and controls
1. Test the outlet with another appliance or a multimeter.- Inspect the door switch and control panel settings.
- Inspect and clean the lint trap
- Remove and clean the lint filter every load.
- Vacuum the slot to remove residue.
- Examine the venting path
- Disconnect the vent hose and check for blockages.
- Use a vent brush or call a vent-cleaning service if long or clogged.
- Test if the drum turns freely
- Manually spin the drum with the dryer off.
- Listen for scraping or grinding.
- Check heating components
- Use a multimeter to test the heating element, thermostats, and thermal fuse.
- Replace failed parts and retest.
- Inspect belts, rollers, and pulleys
- Look for worn or broken belts.
- Replace noisy rollers or cracked idlers.
- Run a diagnostic cycle if available
- Many dryers have self-test modes that reveal error codes.
- Note codes and reference the manual.
If you reach a step that requires advanced wiring, gas valve testing, or control board replacement, it’s time to call a certified technician. My rule: stop and call if you feel out of depth or smell gas.
:max_bytes(150000):strip_icc()/before-you-call-clothes-dryer-repairman-2147304-hero-01-26f6556cc48a47a18acef77947444d4a.jpg)
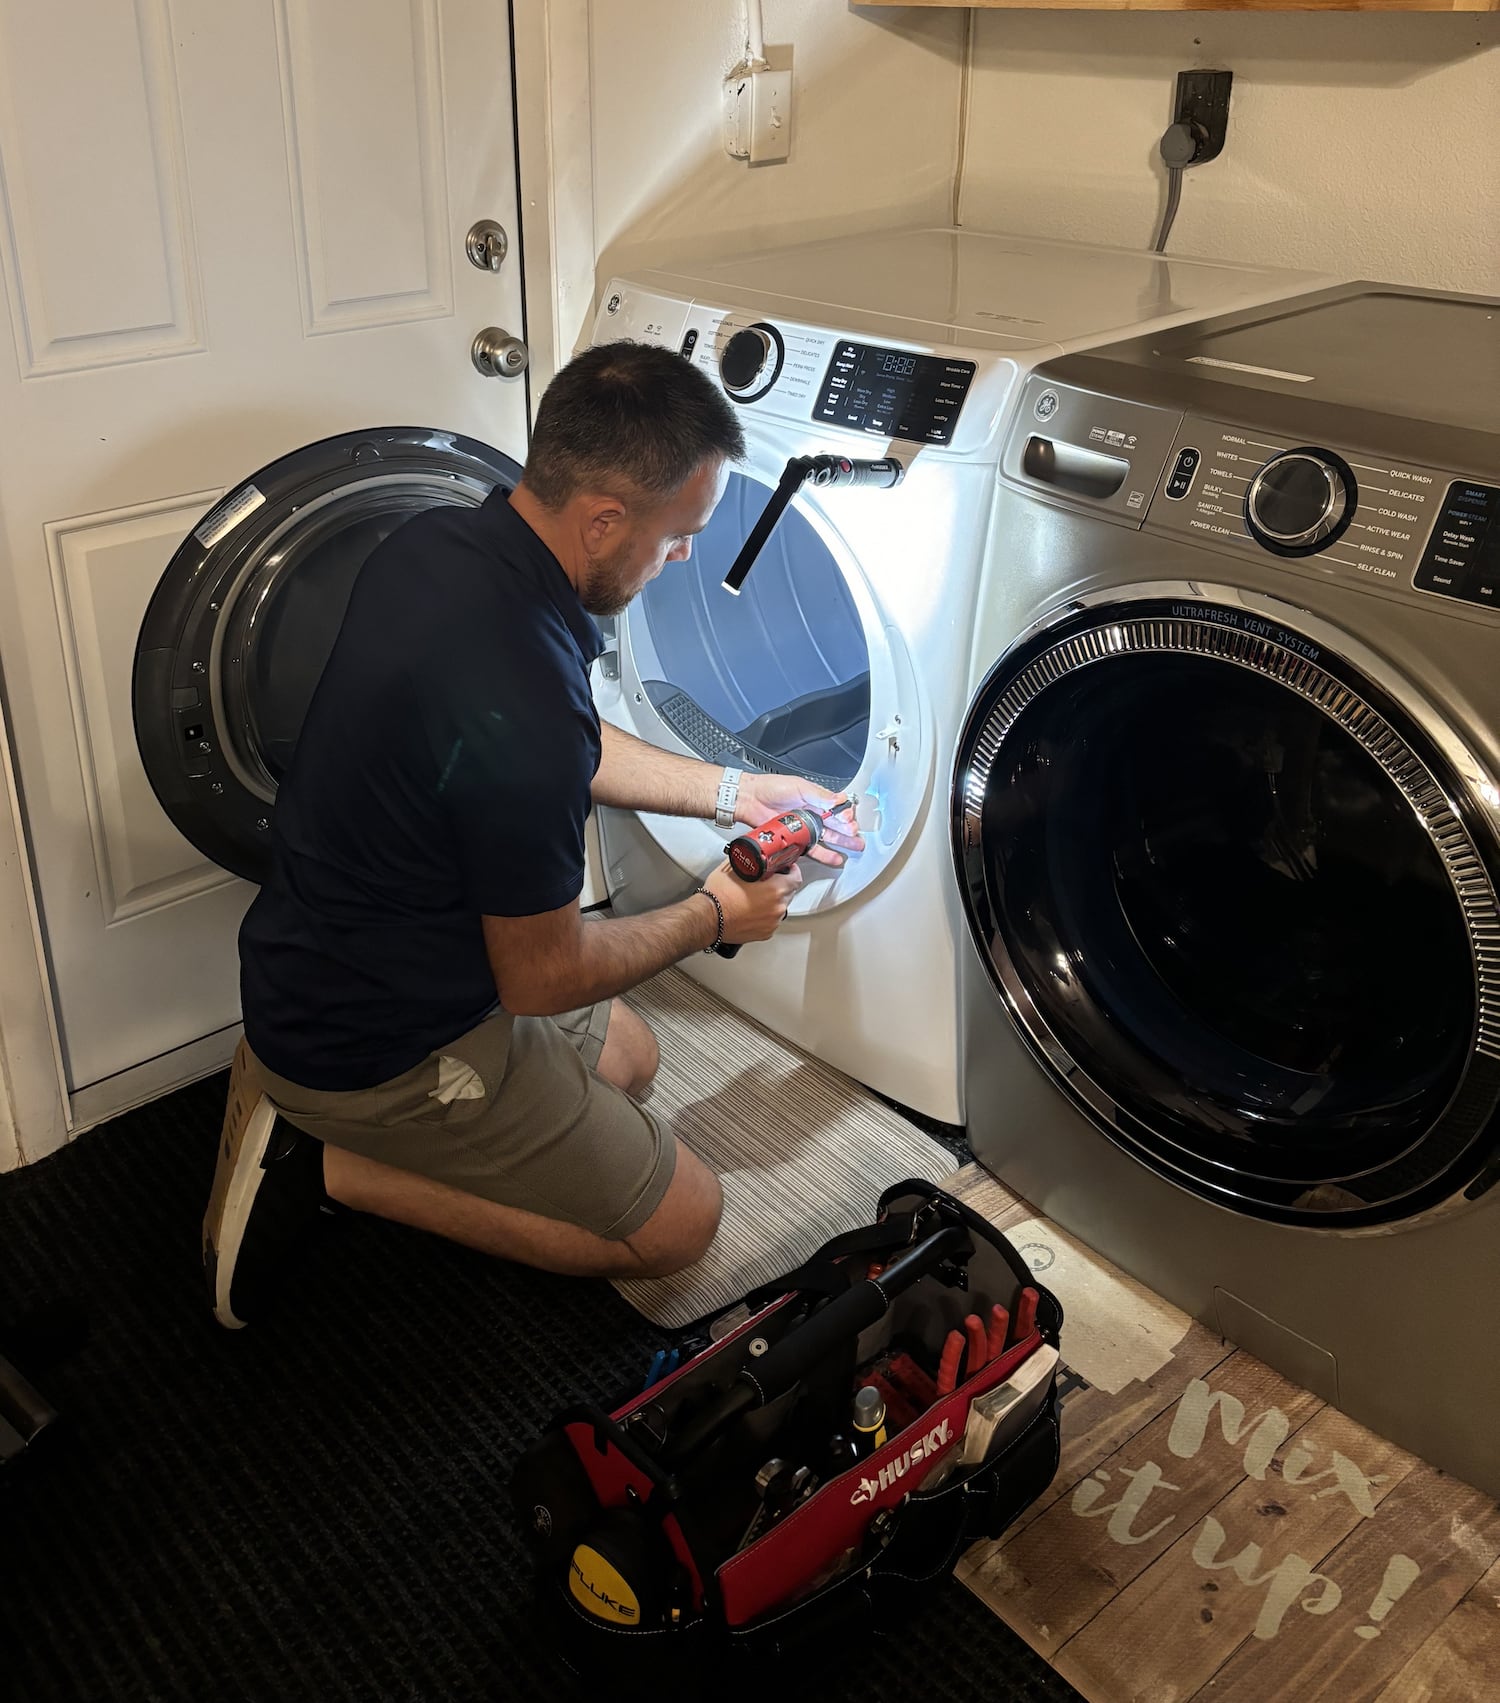
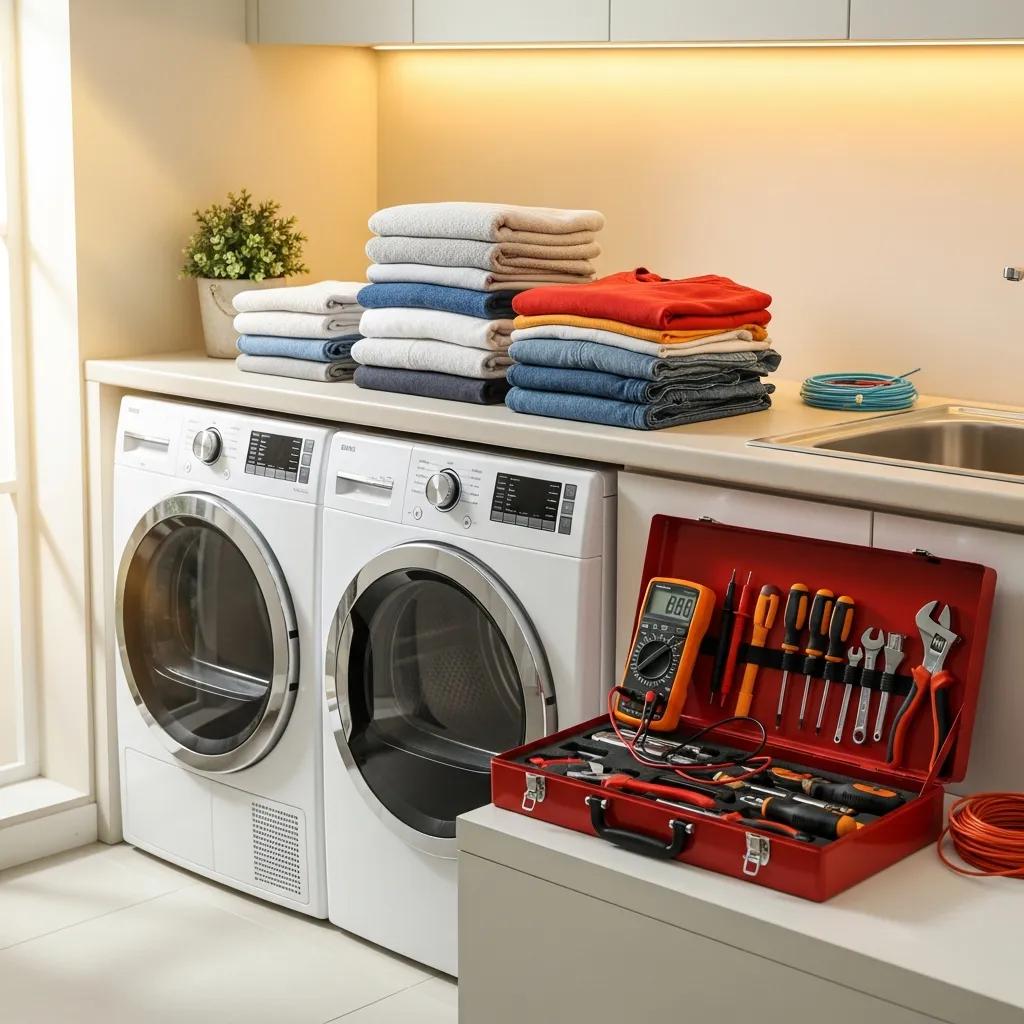
Tools and parts you'll commonly need
I keep this kit handy when I do Laundry Dryer Troubleshooting. Small investments save big repair bills.
- Screwdrivers (Phillips and flat head)
- Nut drivers and socket set
- Multimeter for voltage and continuity checks
- Pliers and a putty knife
- Vacuum or shop vac and vent brush
- Replacement parts: belts, thermal fuses, rollers, thermostats, heating element
- Flashlight and work gloves
- Gas leak detector spray (for gas dryers)
- Owner’s manual or model number noted for part lookups
A multimeter and a vent brush are the most used items in my kit. They solve half the common problems.
Preventive maintenance to avoid repairs
Routine care keeps dryers running well and reduces the need for Laundry Dryer Troubleshooting. Treat your dryer like a car: small tasks now prevent big problems later.
- Clean lint trap after every load and vacuum the slot monthly.
- Inspect flexible vent hose every three months and replace if crushed.
- Clean the full vent path annually, more often for long runs or heavy use.
- Don’t overload the dryer; give clothes room to tumble.
- Use dryer sheets sparingly; build-up can restrict airflow.
- Level the dryer to prevent extra wear on bearings.
- Leave the door open after cycles to dry the drum and prevent odors.
I recommend a yearly pro cleaning for long vent runs or multifamily homes. I once saved a client from a fire risk by cleaning a vent that hadn’t been cleared in five years.
Safety tips and when to call a pro
Laundry Dryer Troubleshooting can be simple, but safety matters. Know when to stop.
- Always disconnect power before opening panels.
- If you smell gas, stop, ventilate the area, and call a technician and your gas utility.
- If you see scorch marks, smoke, or repeated overheating, stop using the dryer and call an expert.
- Leave control board, complex wiring, and gas valve work to certified techs.
- Use OEM parts for gas and electrical safety; cheap substitutes can be dangerous.
Call a pro when repairs require gas calibration, complex electrical testing, or when warranty coverage is active. I advise clients to document repairs and parts used for warranty and resale value.
Quick questions (PAA-style)
What causes a dryer to stop heating but still tumble?
- Often a broken heating element or blown thermal fuse will stop heat while the drum still spins. Check the element or fuse with a multimeter.
How do I know if my vent is clogged?
- Slow drying, very hot lint trap, and a warm dryer cabinet point to clogged vents. Disconnect the vent and feel for airflow or use a vent brush.
Can I replace a dryer belt myself?
- Yes, if you are comfortable with basic tools and safety steps, replacing a belt is a common DIY repair. Follow the model’s manual and use the correct belt part.

Frequently Asked Questions of Laundry Dryer Troubleshooting
What is the first thing I should check when my dryer won’t start?
Check the power source: test the outlet, reset the circuit breaker, and ensure the door is fully closed. Simple power issues cause many no-start problems.
How often should I clean my dryer vent?
Clean the lint trap after every load and inspect the vent path every three months; schedule a professional clean at least once a year for long or shared vents. Regular cleaning prevents fire risks and efficiency loss.
Why does my dryer take so long to dry clothes?
Long dry times usually mean poor airflow from a clogged lint trap or vent, overloaded loads, or failing heating components. Start with the vent and lint checks, then test heating parts.
Is it safe to run a dryer with a slight burning smell?
No. A burning smell can indicate lint in the heater area, motor issues, or electrical problems. Stop using the dryer and inspect the lint paths and vent. Call a pro if the smell persists.
Can I use my dryer without a vent (ventless dryers aside)?
Only ventless or condenser dryers are designed to run without an external vent. Standard vented dryers must exhaust outside; running them unvented leads to moisture, heat buildup, and lint hazards.
How do I read error codes on my dryer?
Consult your dryer’s manual; many brands have diagnostic modes that flash codes for sensors and other faults. Note the code and follow manual steps or look up the code for parts to test.
When should I replace my dryer instead of repairing it?
Replace a dryer when repair costs exceed about half the price of a new unit, when it has chronic failures, or when energy inefficiency and safety concerns are high. Consider age, repair history, and energy savings.
Personal tips and lessons from real repairs
I’ve fixed dryers that stopped working because a toddler’s toy lodged in the drum, and others that nearly caught fire from clogged vents. My lessons:
- Always document what you try. It helps pros pick up where you left off.
- Small fixes often work: lint removal and vent cleaning solve many issues.
- Don’t ignore subtle signs like extra noise or faint smells; they get worse fast.
When I teach homeowners, I emphasize simple checks first. That saves time and prevents unnecessary part replacements.
Final thoughts and next steps
Laundry Dryer Troubleshooting is a mix of simple checks and safe hands-on fixes. Start with power, airflow, and lint checks, then move to belts and heating parts. Stop and call a qualified technician for gas issues, control board faults, or when you lack tools. Regular maintenance saves money and lowers fire risk. Try the checklist this week, subscribe for more home repair guides, and share your dryer story in the comments so we can learn from each other.

