
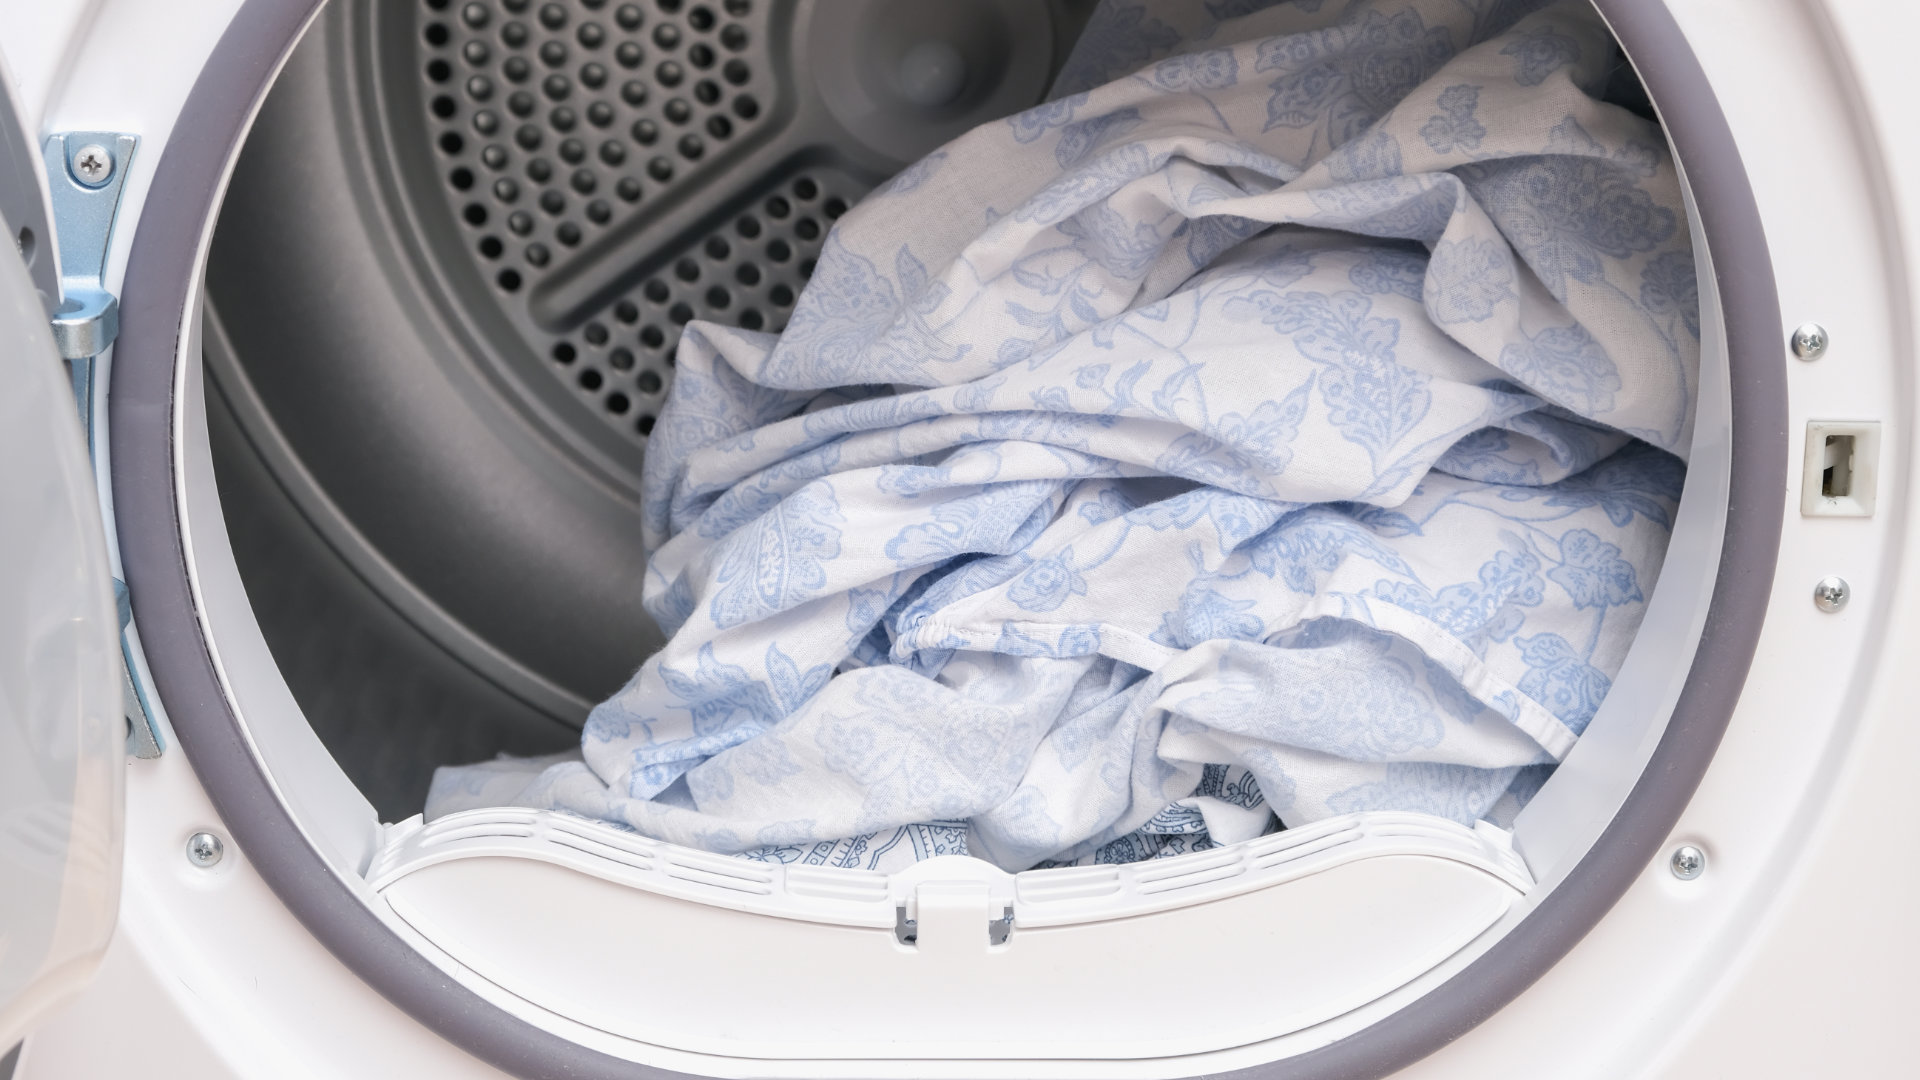
Most LG dryer issues are solved by checking the vent, lint filter, water supply, and error codes first.
I’ve worked on dozens of laundry appliances and I’ll walk you through LG Clothes Dryer Troubleshooting with clear steps you can trust. This guide covers common faults, error codes, step-by-step fixes, preventive maintenance, safety tips, and real-life advice so you can diagnose and fix most LG dryer problems quickly and confidently. Read on to save time, avoid unnecessary service calls, and keep laundry day smooth.
Common LG Clothes Dryer Problems and Why They Occur
LG Clothes Dryer Troubleshooting starts with knowing the most common symptoms. These repeat across models and are easy to check.
Common problems
- Dryer won’t start — Often a door latch, power issue, or child lock is active.
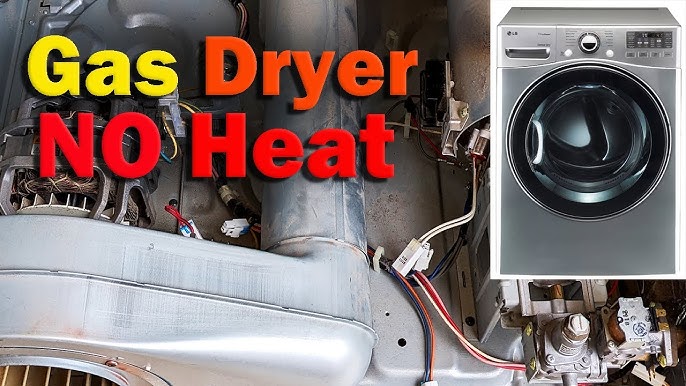
- Dryer runs but won’t heat — Typical causes are a tripped breaker, blown thermal fuse, or clogged vent.
- Dryer takes too long — Lint buildup, weak heating element, or overloaded drum.
- Drum won’t spin — Drive belt, motor, or blower jam may be the cause.
- Loud noises or vibrations — Objects in drum, worn bearings, or loose screws.
- Error codes on display — LG codes point to specific sensors or components.
Why these happen
- Poor airflow from blocked vents reduces heat and increases run time.
- Electrical faults or tripped breakers stop power to motors or heaters.
- Wear and tear on belts, bearings, and thermostats causes mechanical failures.
- Incorrect installation or venting makes problems worse.
Personal note: I once repaired a dryer that overheated after the homeowner used a non-vented laundry room setup. Clearing the vent and adding a booster fan solved it. That experience reinforced that simple airflow checks fix many issues.
Step-by-Step LG Clothes Dryer Troubleshooting Checklist
Use this checklist to diagnose problems logically. Follow steps in order to avoid unnecessary parts replacement.
Before you start
- Unplug or switch off the dryer at the breaker for safety.
- Gather a flashlight, multimeter, screwdriver set, and soft brush.
Step-by-step
- Visual and basic checks
- Ensure dryer is plugged in and breaker is on.
- Verify the door closes and door switch clicks.
- Check the control panel
- Look for active error codes or lights. Note the code for reference.
- Confirm cycle and timer settings are correct.
- Airflow and lint path
- Clean lint filter and inspect the lint trap for holes.
- Remove the exhaust hose and check for blockages with a flashlight.
- Inspect the outside vent hood and remove debris.
- Heat and thermostat checks
- If there’s no heat, confirm the dryer gets 240V (for electric) or gas supply is on.
- Test thermal fuses and thermostats with a multimeter for continuity.
- Motor, belt, and drum checks
- Listen for motor hum or clicking. Inspect belt for wear and drum for play.
- Remove the front panel if comfortable and check for obstructions.
- Error-code guided fixes
- Use the LG error code list to guide replacements like moisture sensors or flame sensors.
Practical tip: Always test the dryer after each fix. It helps isolate the actual cause and saves parts.
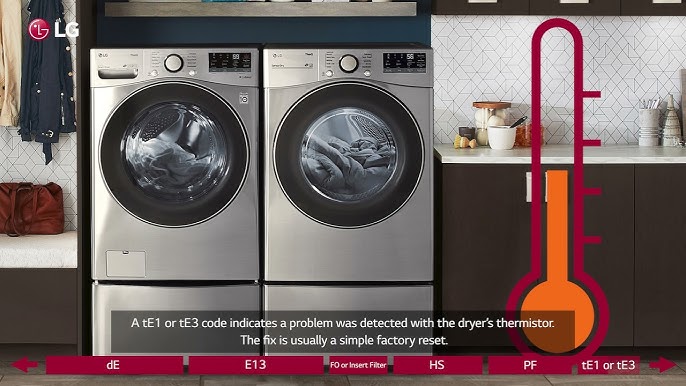
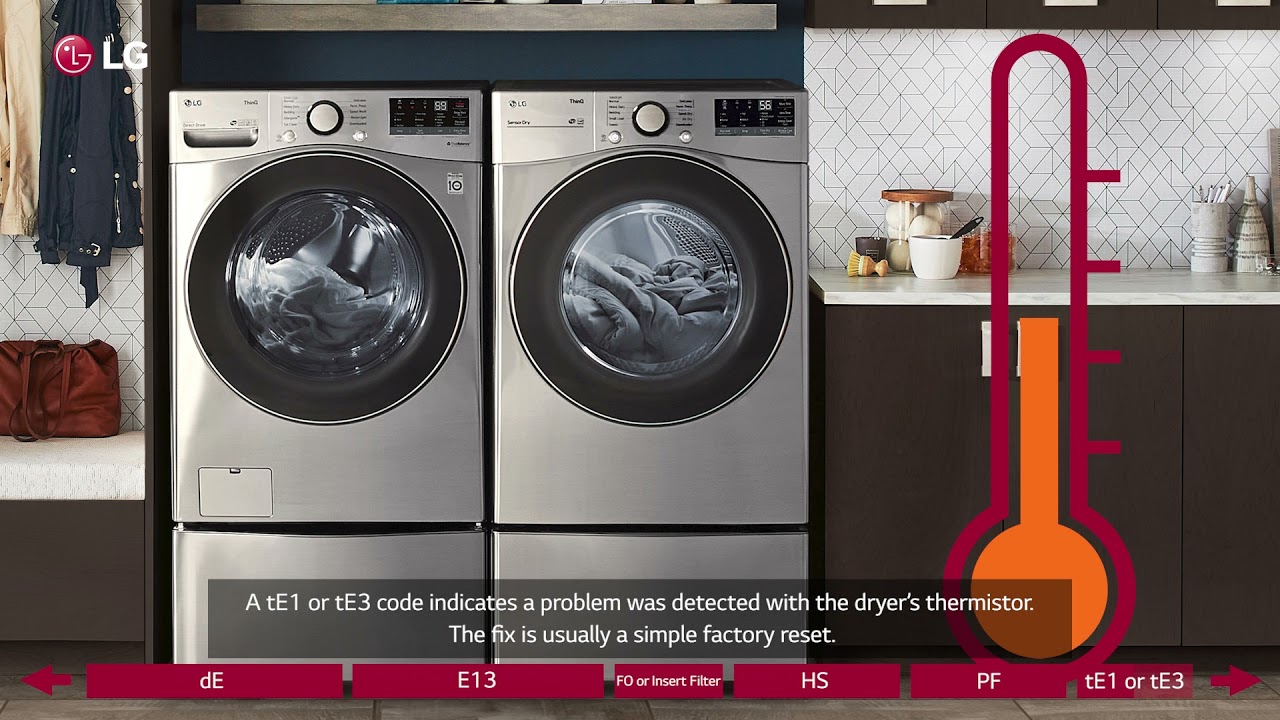
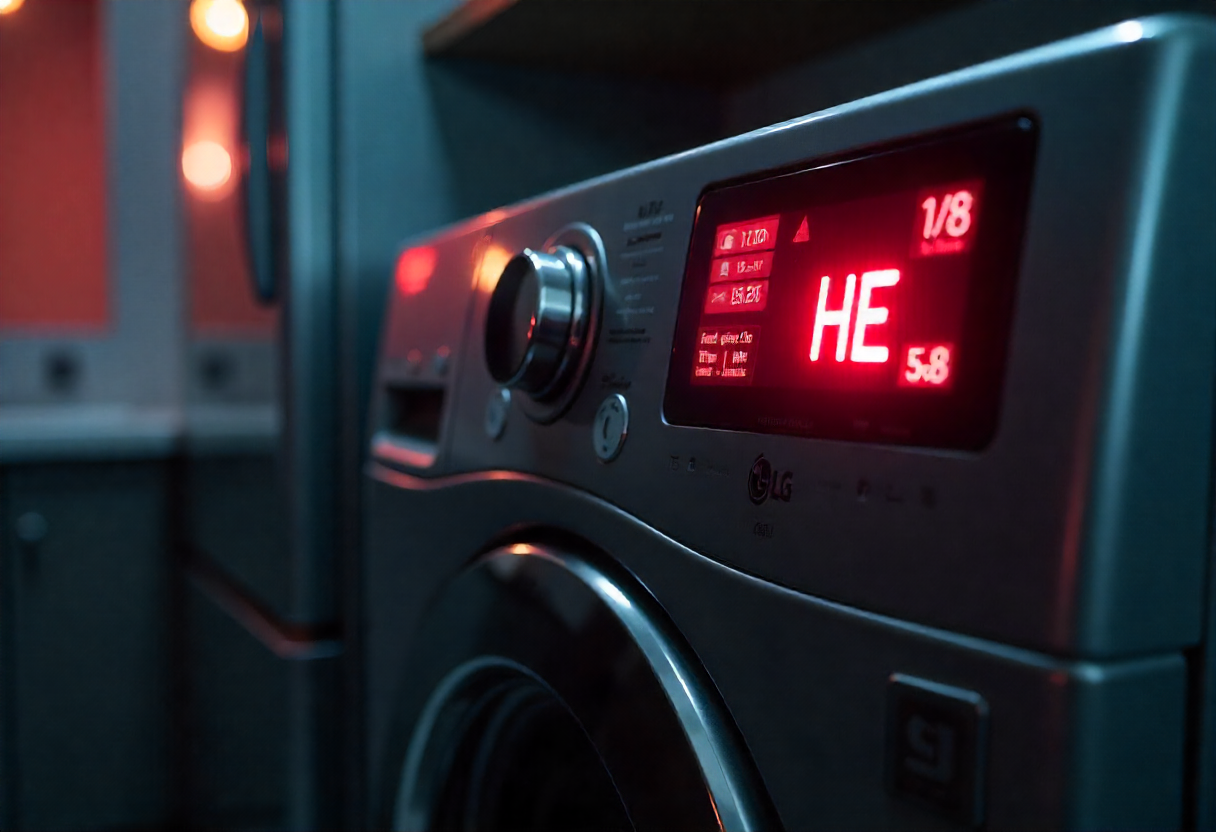
Decoding LG Dryer Error Codes (Common Examples)
Understanding error codes speeds troubleshooting. Below are user-facing codes and what they likely mean.
Common codes and meanings
- d80/d90 — Vent or duct blocked. Clean venting and check airflow.
- FE — Motor error or rotor position issue. Check motor connections and rotor.
- dE — Door error. Inspect door latch and switch.
- tE — Thermistor or temperature sensor faulty. Test sensor resistance.
- E4 — Overloading detected. Reduce load size.
How to act
- Note the code and restart the machine to confirm it reappears.
- Follow targeted checks for that code rather than guessing parts.
- If a code points to a sensor, test that sensor before replacing the main control board.
Experience note: I replaced a moisture sensor after repeated damp clothes; testing showed intermittent open circuit, confirming replacement was needed.

Preventive Maintenance to Avoid LG Clothes Dryer Problems
Regular care reduces service calls. A few minutes monthly prevents big issues.
Monthly tasks
- Clean lint filter before every load.
- Vacuum lint trap housing and wipe the drum.
- Check external vent hood for birds, nests, or debris.
- Run a quick cycle with a lint cleaner sheet to clear minor build-up.
Every 6 months
- Inspect and clean the full exhaust duct.
- Check electrical cord and connections for wear.
- Inspect drive belt and drum rollers for wear.
Seasonal or yearly
- Have a technician inspect gas lines and burners on gas models.
- Replace any aging exhaust duct older than 5 years.
Practical lesson: I recommend keeping a simple maintenance checklist near the dryer. Small steps prevent the most common issues that show up in LG Clothes Dryer Troubleshooting.
When to Repair Yourself vs. Call a Professional
Deciding whether to DIY depends on safety, tools, and warranty.
DIY-friendly jobs
- Clearing lint and duct blockages.
- Replacing a belt, door switch, or lint filter.
- Simple electrical checks like confirming power at outlet.
Call a professional when
- There’s a gas leak or you suspect faulty gas components.
- You need to open sealed parts or replace the main control board.
- The dryer repeatedly trips breakers or shows complex error codes.
Safety advice: If you are unsure about electrical or gas work, call a certified technician to avoid hazards.

Parts, Tools, and Estimated Repair Costs
Knowing parts and cost ranges helps plan repairs.
Common parts to replace
- Lint filter assembly
- Drive belt
- Thermal fuse
- Moisture sensor
- Drum rollers or support glides
- Heating element or igniter (gas models)
Typical cost ranges (parts only)
- Lint filter: $10–$25
- Drive belt: $15–$40
- Thermal fuse: $10–$30
- Heating element: $50–$150
- Professional labor: $80–$200 depending on region and job complexity
Money-saving tip: Always test parts before ordering. Replacing a sensor that’s fine is wasteful.
Safety Precautions for LG Clothes Dryer Troubleshooting
Stay safe and avoid damage.
Essential safety rules
- Unplug or disconnect power before opening panels.
- Turn off gas supply before servicing gas models.
- Use insulated tools for electrical checks.
- Keep kids and pets away during repairs.
- Replace parts with OEM or compatible replacements.
Personal caution: I once found a dryer still powered through a back outlet even after switching the breaker. Always unplug as a second line of defense.
People Also Ask — Quick Answers
What causes my LG dryer to not heat?
- Common causes include a tripped breaker, blown thermal fuse, faulty heating element, or blocked vent that prevents airflow.
How do I reset an LG dryer?
- Unplug the dryer or switch off the circuit breaker for one minute, then restore power. Many temporary errors clear with this reset.
How often should I clean the dryer vent?
- Clean the lint filter after each load and inspect the full vent at least every 6–12 months, or sooner if drying time increases.
Can I run an LG dryer without venting?
- Most LG dryers require external venting for peak performance; ventless options exist, but they need different installation and produce longer dry times.
Is it safe to replace a dryer thermal fuse myself?
- Yes, if you are comfortable with basic tools and have unplugged the dryer. If unsure about electrical work, contact a technician.
Frequently Asked Questions of Lg Clothes Dryer Troubleshooting
How do I find the error code meaning on my LG dryer?
Check your model’s user manual or control panel guide for codes; test the component indicated and restart the dryer to confirm.
Why does my LG dryer smell like burning?
A burning smell usually means lint build-up near the heating element or motor; stop the dryer, clean lint paths, and inspect for damage.
Why is my LG dryer taking longer than usual?
Poor airflow, clogged vents, or a failing heating element often increase drying time; clean vents and test heating circuits.
My LG dryer vibrates strongly; what should I check?
Check leveling feet, drum support rollers, and any foreign objects in the drum; tighten loose screws and balance the load.
What should I do if the LG dryer door won’t latch?
Inspect the door strike and latch for damage, test the door switch for continuity, and replace the latch assembly if faulty.
Conclusion
LG Clothes Dryer Troubleshooting is a mix of simple checks and targeted repairs. Start with airflow, lint traps, and error codes; test sensors and electrical components next, and save complex or gas-related jobs for a pro. Small, regular maintenance steps prevent most issues and extend dryer life. Take action today: run the quick checks in this guide, set a maintenance schedule, and leave a note below if you need help diagnosing a specific error code or symptom.

