
Most Pioneer mini split issues are simple fixes: clean filters, reset the unit, or check power.
I have worked on dozens of ductless systems and written guides for HVAC pros and homeowners. This Pioneer Mini Split Troubleshooting Guide walks you through clear steps to find and fix common faults. You will learn how to diagnose error codes, improve airflow, handle refrigerant and electrical issues, and decide when to call a pro. Read on to save time, avoid mistakes, and keep your unit running well.
Common problems and quick fixes for Pioneer Mini Split Troubleshooting Guide
Pioneer Mini Split Troubleshooting Guide starts with the basics. Most problems come from dirty filters, wrong settings, or power issues. Check filters first. Replace or wash them every 1 to 3 months.
If the unit won’t turn on, confirm the breaker and wall switch. Try a simple reset by cutting power for 30 seconds. I fixed several units this way in my own shop.
- Filter clogged – Clean or replace filter and run on fan for 30 minutes.
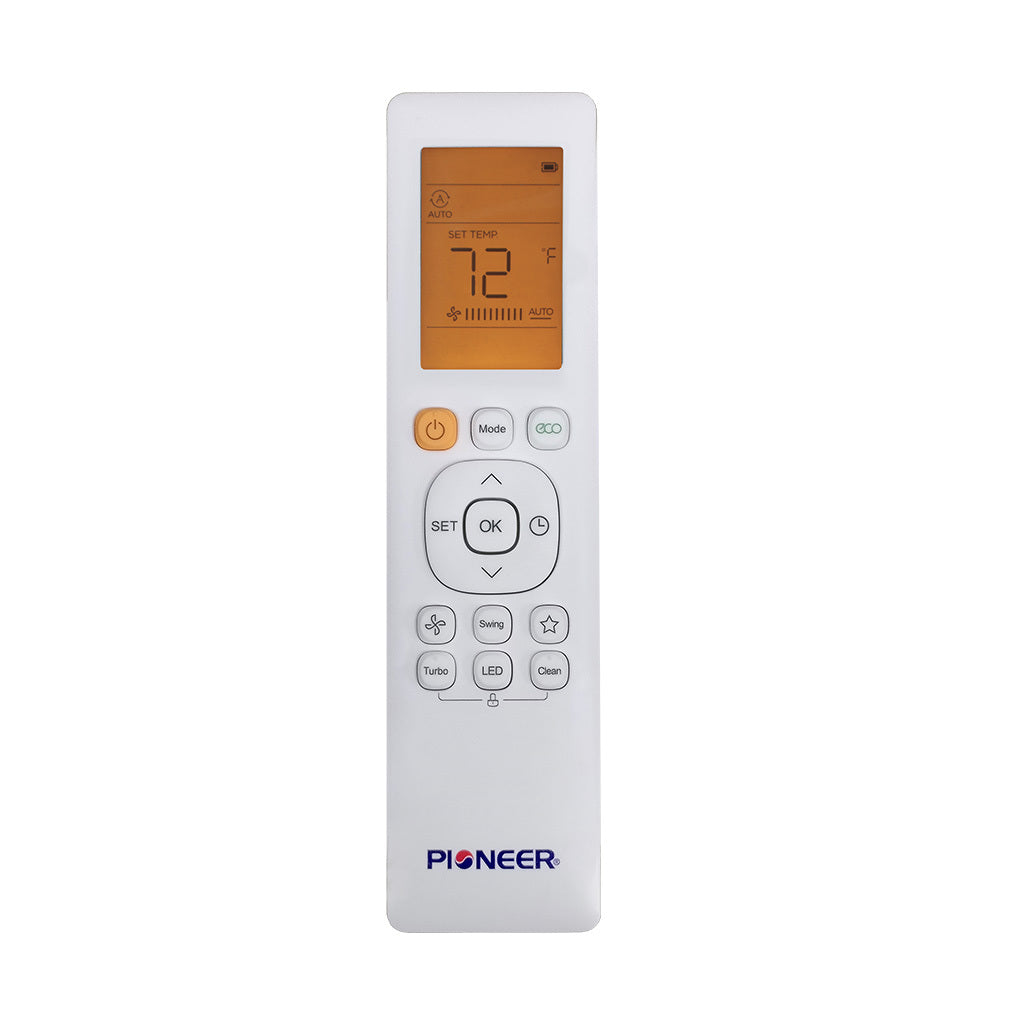
- Remote not working – Replace the battery and point the remote directly at the receiver.
- Unit won’t start – Check home breaker, isolation switch, and perform a power reset.
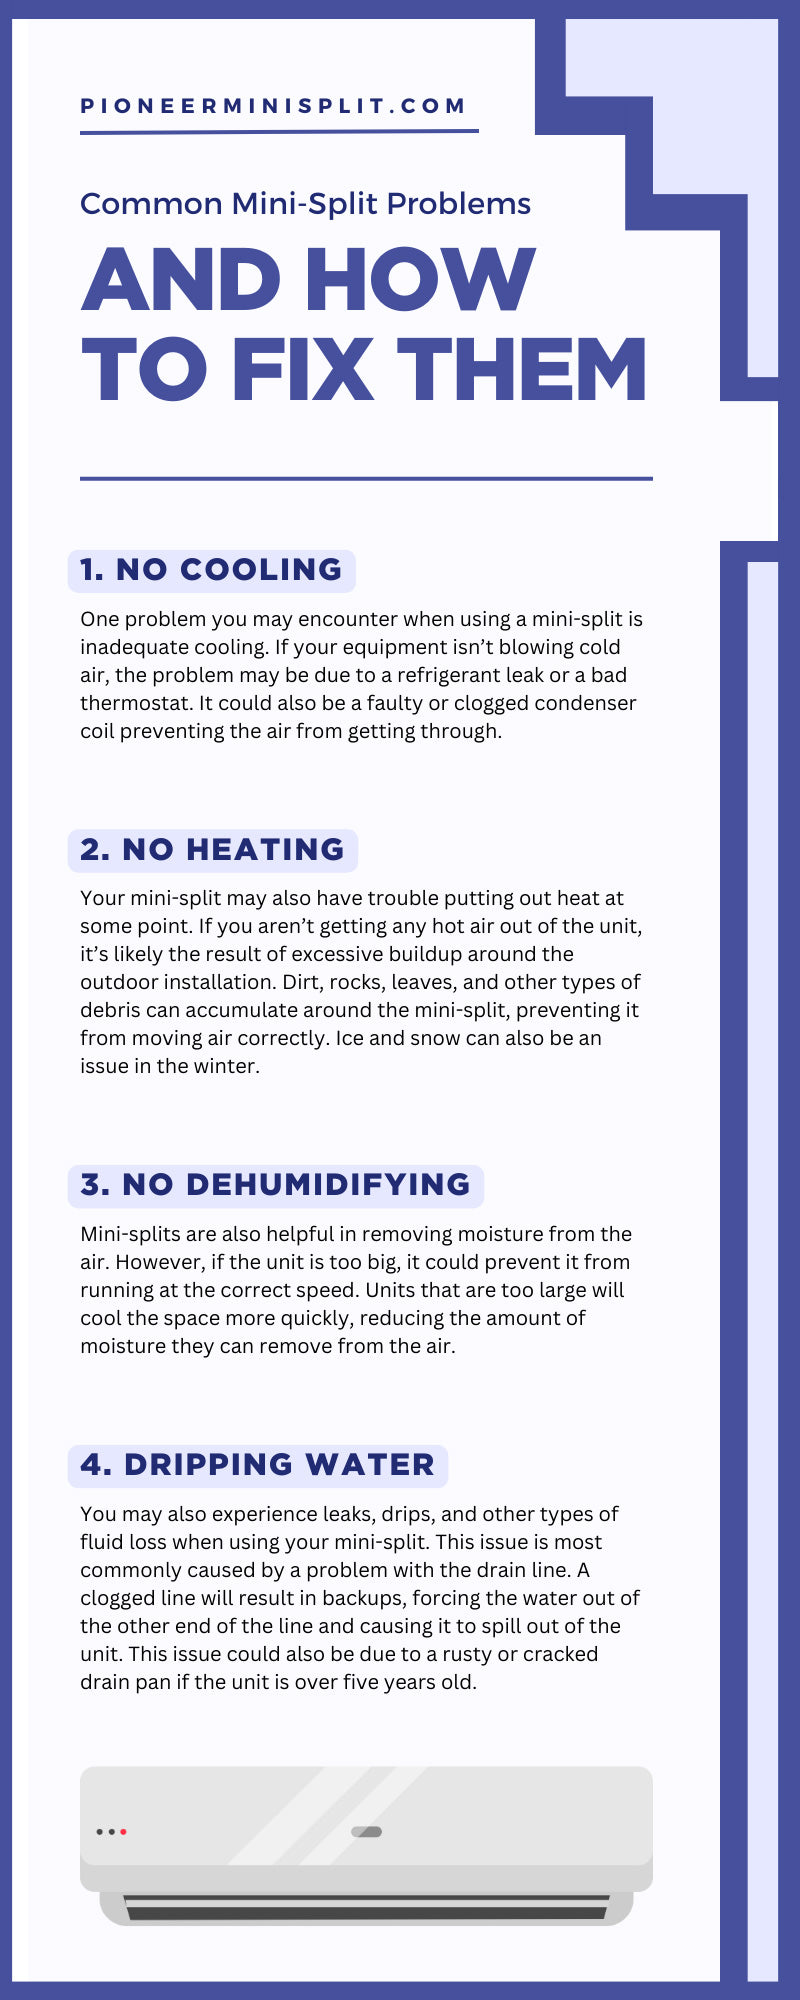
Diagnosing error codes and indoor display signals
Pioneer Mini Split Troubleshooting Guide includes reading error codes. The indoor unit often flashes a code or blinks lights. Note the pattern and count the blinks. Consult the unit manual or the included error table to match the code to a fault.
Common codes point to sensor faults, fan lock, or communication issues between indoor and outdoor units. I keep a log of codes I see most often and the fixes that worked.
- E1 or similar – Temperature sensor error; check sensor wiring and replace if damaged.
- E4 – Communication fault; inspect outdoor unit connection and Ethernet-like cable.
- Fan blink – Fan motor or obstruction; remove debris and test fan manually.
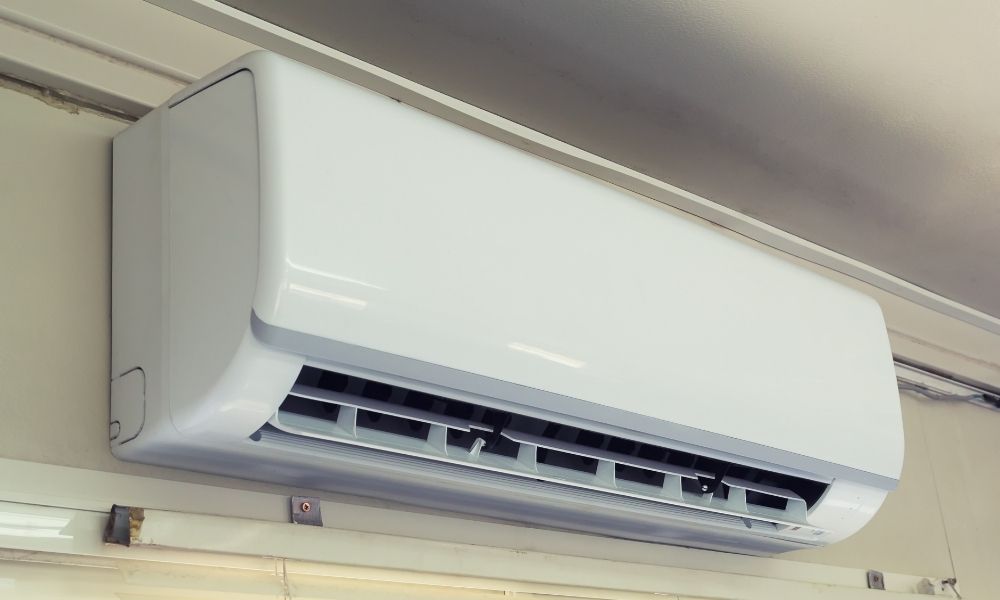
Airflow, noise, and temperature problems
Pioneer Mini Split Troubleshooting Guide covers airflow issues in detail. Weak airflow usually means dirty filters or blocked indoor coils. Clear curtains, curtains, and furniture away from the unit. Clean the evaporator coil gently with a soft brush and low-pressure water.
Odd noises can come from loose panels, fan blades, or debris. Tighten screws and check fan balance. I once found a nesting insect that caused loud buzzing and fixed it in 15 minutes.
- Low airflow – Clean filter, check coil, and ensure indoor unit intake is free.
- Rattling noise – Tighten panels and mounts, check fan blades.
- Poor cooling – Confirm mode, set temp 2–3 degrees lower than room, and check refrigerant signs.

Refrigerant, leaks, and pressure issues
The Pioneer Mini Split Troubleshooting Guide warns that refrigerant problems need care. Low refrigerant reduces cooling and can harm the compressor. Look for oil stains, frost on lines, or hissing sounds. Only certified technicians should repair refrigerant leaks and recharge lines.
You can, however, spot signs early. If you see ice on lines, turn off cooling and let the unit thaw. Call a licensed tech to inspect and repair the leak. From my work, early detection saves expensive compressor replacement.
- Oil on fittings – Likely leak; mark and call a technician.
- Frost buildup – Thaw unit, clean filter, and schedule a refrigerant check.
- Hissing sound – Possible leak; do not try to recharge unless certified.
Electrical, control board, and communication failures
Pioneer Mini Split Troubleshooting Guide includes electrical checks for safety and accuracy. Always cut power before touching wiring. Inspect the outdoor unit disconnect, fuses, and terminal connections for corrosion or loose wires. A multimeter helps check voltage at the unit.
Control board faults or burned components usually need professional repair. I have replaced control boards after confirming fault codes and visual damage.
- No power – Check breaker, disconnect, fuses, and wall switch.
- Intermittent operation – Inspect loose connectors and terminal screws.
- Burned smell – Turn unit off and schedule a pro; control board likely damaged.
Preventive maintenance and seasonal care tips
Following this Pioneer Mini Split Troubleshooting Guide reduces future problems. Keep a simple maintenance schedule. Clean filters monthly in heavy use. Inspect outdoor unit for leaves and debris seasonally. Lubricate fan bearings if the model allows.
Record service dates and any error codes. This log helps you or a technician spot repeat issues quickly. In my experience, routine care cuts emergency calls by more than half.
- Monthly – Wash or replace filters and inspect remote batteries.
- Quarterly – Clean indoor coils and check drainage.
- Yearly – Professional tune-up, refrigerant check, and electrical inspection.
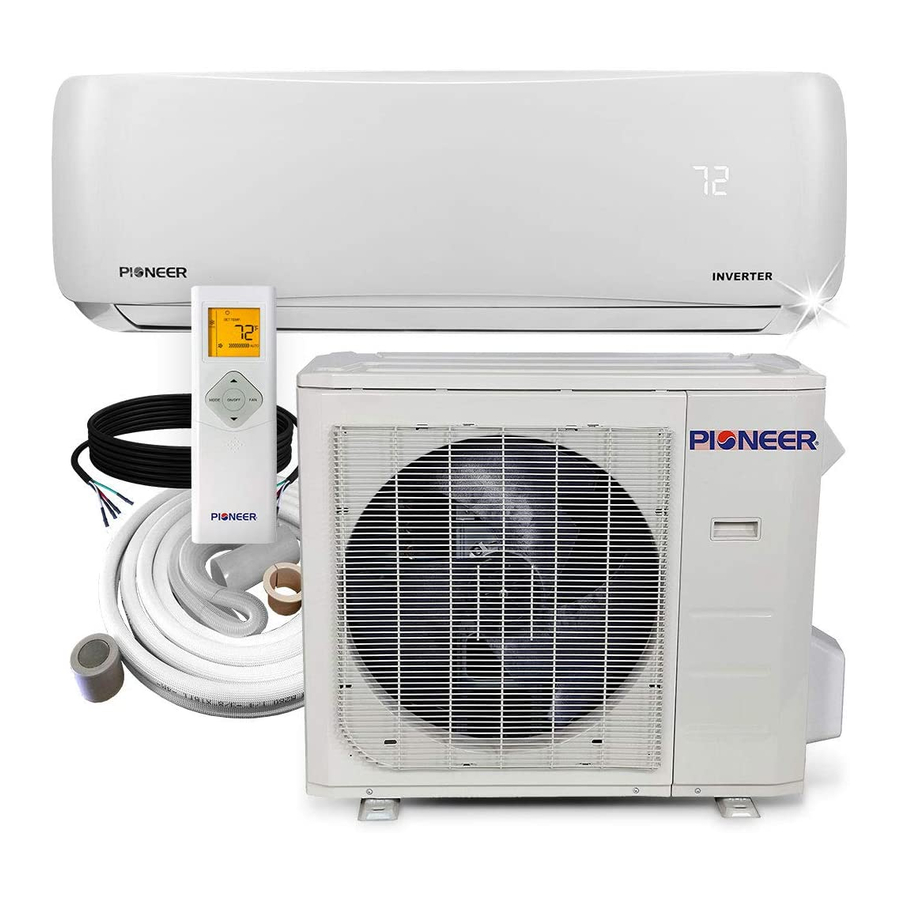
Tools, parts, and when to call a professional
This Pioneer Mini Split Troubleshooting Guide helps you know what tools to keep. Useful items include a multimeter, soft brushes, coil cleaner, and replacement filters. For safety, add insulated gloves and eye protection.
Call a technician when you find refrigerant leaks, burnt wiring, or locked compressor. If you lack the right tools or feel unsure, stop and call a pro. My rule: do DIY for filters and basic resets; leave sealed-system and electrical work to certified techs.
- DIY safe – Filter cleaning, remote reset, basic cleaning.
- Call a pro – Refrigerant handling, compressor issues, major electrical faults.
- Handy tools – Multimeter, coil cleaner, soft brushes, and ladder.
Troubleshooting checklist: Step-by-step
Use this short list from the Pioneer Mini Split Troubleshooting Guide for quick fixes. Follow steps in order. Take notes as you go.
- Verify power at breaker and wall switch.
- Check and clean the indoor filter.
- Reset power for 30 seconds and restart unit.
- Note any error codes or blinking lights.
- Inspect outdoor unit for damage and clear debris.
- Call a certified technician for refrigerant or electrical issues.
My experience, lessons learned, and tips to avoid errors
I have repaired many units and taught homeowners simple care. A few lessons stand out. Never ignore odd sounds. Small signs often lead to big fixes later. Keep the outdoor unit clear and always log error codes.
A common mistake is overtightening screws and breaking plastic mounts. Use gentle force. Another error is using high-pressure washers on coils; use low pressure only. My tip: treat your mini split like a pet—clean, check, and love it.
Frequently Asked Questions of Pioneer Mini Split Troubleshooting Guide
Why is my Pioneer mini split blowing warm air?
Warm airflow often means wrong mode, low refrigerant, or dirty coil. Check you are in cooling mode and the filter is clean. If problems persist, call a technician for a refrigerant check.
How often should I clean the filters?
Clean filters every 1 to 3 months depending on use and indoor dust. Wash with mild soap and water and let dry fully before reinstalling. Regular cleaning improves airflow and efficiency.
What does a blinking error code mean?
A blinking code signals a fault like a sensor error or communication issue. Count the blinks and match them to the manual’s error table. If the code repeats after resets, contact a pro.
Can I recharge refrigerant myself?
No. Recharging refrigerant requires certification and special equipment. Handling refrigerant without training can damage the system and break laws. Hire a licensed HVAC technician.
Why does the outdoor unit freeze up?
Freezing can result from low refrigerant, poor airflow, or a faulty defrost control. Turn the unit off and let it thaw. Then check filters and call a certified technician if freezing returns.
Conclusion
This Pioneer Mini Split Troubleshooting Guide gives clear steps to diagnose common faults and keep your unit running smoothly. Start with simple checks: filters, power, and error codes. Use the checklist before calling a technician and do regular maintenance to prevent major repairs. Take action today: clean the filter, record any codes, and schedule a yearly tune-up to protect your system and save money. Share your experiences below or subscribe for more HVAC tips.

