
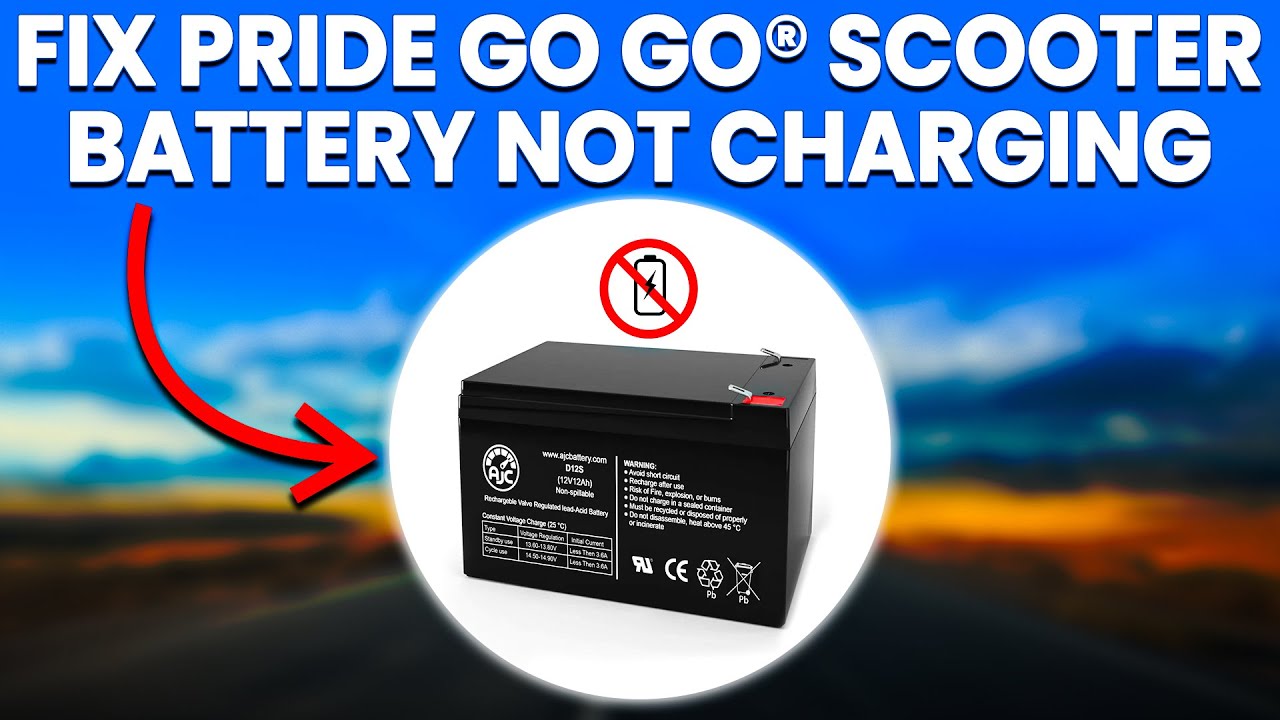
Pride Battery Charger troubleshooting fixes common charging faults fast with clear steps and safety tips.

Today's Exclusive Deals
Limited-time Exclusive Deals. Check current discount on Amazon.
Check Price on Amazon As an Amazon Associate I earn from qualifying purchases.I’ve worked with mobility equipment for years, and I know Pride Battery Charger Troubleshooting inside out. This guide walks you through clear tests, safe fixes, and when to call a pro. You’ll learn how to read LEDs, test voltage, find bad connectors, and keep your charger reliable. Read on to save time and avoid costly mistakes with Pride Battery Charger Troubleshooting.

Understanding Pride Battery Charger Basics
Pride Battery Charger Troubleshooting starts with knowing how the charger works. A typical Pride charger converts AC house power to low-voltage DC to charge a sealed lead-acid or lithium battery. Chargers have LEDs, a plug, and internal circuits that control current and voltage. Knowing these parts makes troubleshooting faster and safer.
Today's Exclusive Deals
Limited-time Exclusive Deals. Check current discount on Amazon.
Check Price on Amazon As an Amazon Associate I earn from qualifying purchases.Common charger signals are simple. A solid green often means fully charged. A flashing red can mean a fault or no battery detected. Learning the LED codes speeds up Pride Battery Charger Troubleshooting and reduces guesswork.

Common Problems You’ll See
Pride Battery Charger Troubleshooting often finds the same issues repeatedly. Here are the most common faults:
Today's Exclusive Deals
Limited-time Exclusive Deals. Check current discount on Amazon.
Check Price on Amazon As an Amazon Associate I earn from qualifying purchases.• Charger LED off when plugged in — could be blown fuse, bad outlet, or dead transformer.
• Charger LED red or flashing — may indicate battery fault, temperature problem, or short.
• Charger won’t fully charge — aging battery or weak charger output.
• Charger gets hot — clogged vents, heavy load, or failing components.
• Loose or corroded connectors — poor contact prevents charge flow.
Spotting these signs early makes Pride Battery Charger Troubleshooting much easier. Many faults come from simple wear and tear.
Step-by-Step Pride Battery Charger Troubleshooting Guide
Follow these steps in order. This saves time and reduces risk.
-
Visual check first
• Inspect charger cable and plug for frays, cuts, or melted plastic.
• Look for corrosion on battery terminals and charger port.
• Replace damaged cables before further testing. -
Verify power source
• Plug a lamp or phone charger into the outlet to confirm power.
• Check any inline fuses or GFCI outlets. No power means no charge. -
Read LED behavior
• Note colors and flashes. Write them down.
• Compare to your Pride manual for specific codes. LED patterns are quick clues. -
Measure charger output with a multimeter
• Set meter to DC volts. Measure at charger output plug.
• Expect the charger’s rated voltage. Low or zero output signals internal failure. -
Test the battery
• Disconnect charger and test battery voltage.
• A fully charged 12V lead-acid reads around 12.6–13.0V. Lower readings mean charge needed or a bad battery. -
Load test the battery
• Use a load tester or start the scooter and watch voltage drop.
• A big voltage drop under load often means the battery is weak. -
Check connectors and switches
• Clean corrosion with a brush and baking soda solution for acid cells.
• Tighten loose terminal nuts and inspect inline switches. -
Try a known-good charger or battery
• Swap components to isolate the fault.
• If a different charger works, you found the bad charger. If a different battery works, the battery is the issue.
Following these steps makes Pride Battery Charger Troubleshooting systematic. It cuts down trial-and-error.
Safety and Best Practices
Safety is vital during Pride Battery Charger Troubleshooting. Follow these rules every time:
• Disconnect power before touching internal parts or battery terminals.
• Wear eye protection and gloves when handling batteries.
• Work in a ventilated area for lead-acid batteries due to gas risk.
• Avoid metal tools that could short battery terminals.
• Replace chargers with damaged insulation or exposed wiring.
These simple habits protect you and the equipment. I learned the hard way once by testing a charger with wet hands—never repeat that mistake.

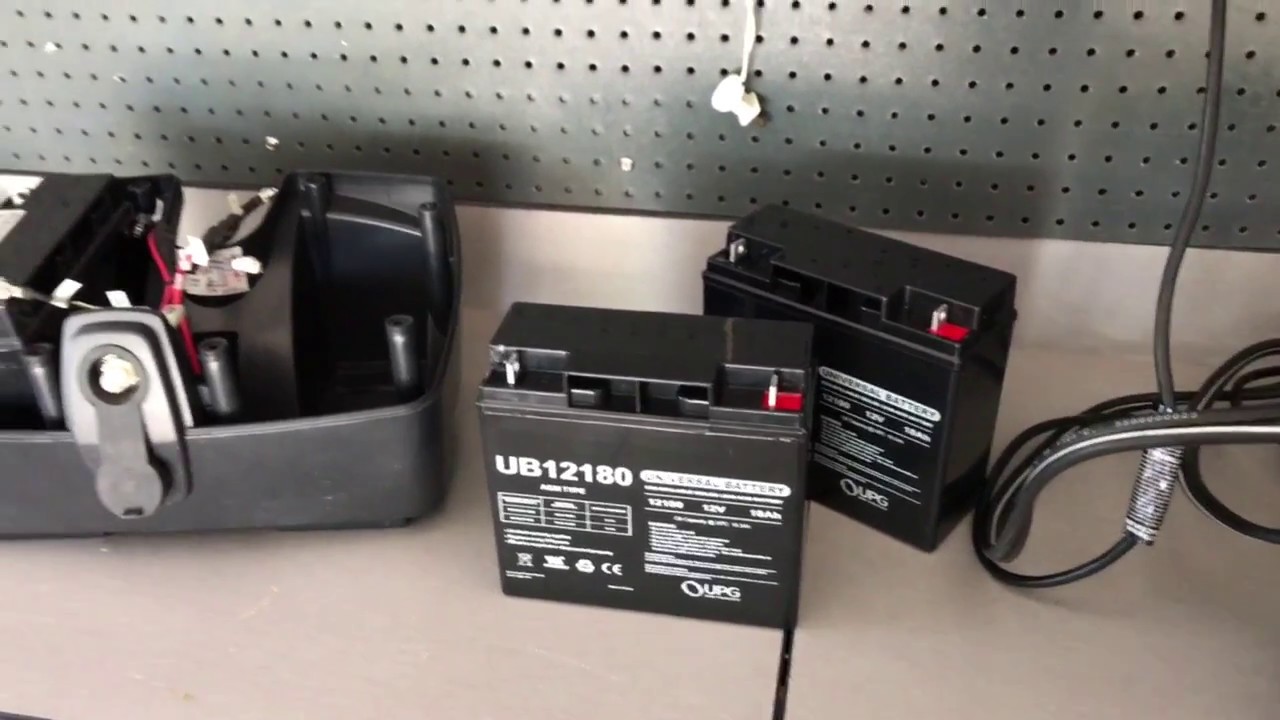
Troubleshooting Tools and Parts You’ll Need
Good tools speed Pride Battery Charger Troubleshooting. Keep these on hand:
• Digital multimeter for voltage and continuity checks.
• Battery load tester for assessing battery health.
• Small wire brush for cleaning terminals.
• Replacement fuses and inline connectors.
• Contact cleaner and electrical tape for quick repairs.
Having the right parts helps you fix many common faults without a service call. I carry a small kit in my van for such repairs.

When to Seek Professional Repair or Replacement
Not all issues are DIY. Consider professional service when:
• Charger passes basic tests but still fails under load.
• Internal components are exposed or burned.
• Smell of burning or visible smoke appears.
• The charger is still under warranty—service may be covered.
Pride Battery Charger Troubleshooting can rule out many problems. But if internal repair is needed, a certified technician often ensures safety and preserves warranty.

My Real-World Tips and Lessons Learned
I’ve troubleshot dozens of Pride chargers over the years. A few lessons stand out:
• Corrosion at the connector caused more service calls than bad chargers. Clean connectors first.
• LED codes saved me time; keep the manual or take a photo of the LED pattern.
• Chargers fail slowly. If charging time increases, test both battery and charger sooner.
• Replace both batteries in paired systems when one fails to avoid repeated work.
These small tips come from hands-on experience. They make Pride Battery Charger Troubleshooting practical and fast.

PAA-Style Questions (Quick Answers)
What causes a Pride charger to show a red light?
• A red light often signals a battery fault, high temperature, or connector issue. Test battery voltage and inspect connections.
How do I test the charger output?
• Use a digital multimeter set to DC volts at the charger plug. Compare reading to rated voltage.
Can I use a third-party charger with a Pride scooter?
• You can, if the voltage and connector match and polarity is correct. Check specs and safety certifications.
Frequently Asked Questions of Pride Battery Charger Troubleshooting
Why is my Pride charger not turning on?
Check the wall outlet and any inline fuse first. If the outlet works, test the charger's AC input or replace the fuse.
How do I know if the battery or charger is bad?
Swap with a known-good charger or battery to isolate the faulty part. Use a multimeter to confirm voltages.
What do the LED light patterns mean on a Pride charger?
LED colors and flashes indicate states like charging, full, or fault. Refer to the charger manual for exact codes.
Is it safe to charge a battery overnight with a Pride charger?
Most Pride chargers have float modes for safe overnight charging, but confirm your charger type and monitor occasionally.
How often should I inspect my Pride charger and battery?
Inspect monthly for corrosion, wiring damage, and tight connections. More frequent checks help prevent failures.
Can a charger be repaired or should I replace it?
Small fixes like fuses and connectors are repairable. Internal electronic faults often warrant replacement or professional repair.
What precautions should I take when cleaning battery terminals?
Wear gloves and eye protection. Use a baking soda solution to neutralize acid and rinse with water, then dry thoroughly.
Conclusion
Pride Battery Charger Troubleshooting becomes simple when you follow a clear plan: inspect, test, isolate, and repair. Use a multimeter, clean connections, and record LED patterns to save time and avoid mistakes. Start with the basics, and call a professional if you see burned components or persistent faults. Try these steps on your own, share what worked, and subscribe for more practical mobility repair tips.


