
Most Whirlpool microwave issues are solved with simple checks: power, door switch, or a blown fuse.
I’ve worked on dozens of kitchen appliances and guided many owners through Whirlpool microwave troubleshooting. This guide explains common faults, step-by-step checks, and safe fixes you can do at home. I will show how to read error codes, test parts, and decide when to call a pro. Read on for clear, expert-backed advice you can use right now.

Common Whirlpool microwave problems and what they mean
Whirlpool microwave troubleshooting often starts by recognizing the symptom. Below are the most common issues and a short note on the likely cause.
- Microwave won’t power on — Could be outlet, power cord, fuse, or control board.
- Microwave runs but won’t heat — Often a magnetron, diode, or high-voltage capacitor issue.
- Turntable won’t spin — Usually a faulty motor, roller guide, or misaligned plate.
- Door won’t latch or trips — Door switch or latch assembly can be broken.
- Control panel errors or unresponsive buttons — Could be keypad, touch control, or control board failure.
- Loud humming, arcing, or burning smell — High-voltage parts or metal inside the cavity.
- Display shows error codes — Codes help target the issue fast.
Knowing the symptom helps narrow the problem. This makes Whirlpool microwave troubleshooting faster and safer. Follow each check in order to avoid wasted effort.

Tools and safety tips before Whirlpool microwave troubleshooting
Safety matters more than speed. Microwaves hold dangerous voltages even when unplugged. Use these tools and tips before you begin troubleshooting.
- Tools to have
- Multimeter for voltage and continuity checks.
- Insulated screwdrivers and pliers.
- Flashlight and gloves.
- Replacement parts if known, like door switches or fuses.
- Safety steps
- Unplug the microwave before opening the case.
- Discharge the capacitor carefully or leave high-voltage tasks to pros.
- Wear gloves and eye protection.
- Avoid metal tools near the magnetron area when testing live circuits.
- Work environment
- Work on a clear, dry bench with good light.
- Keep children and pets away.
These steps lower risk and make Whirlpool microwave troubleshooting safer. If you are unsure about electric components, stop and call a technician.
Step-by-step Whirlpool microwave troubleshooting guide
Start with simple checks and move to complex tests only if needed. The steps below follow a safe escalation. Each subsection addresses a key check when you do Whirlpool microwave troubleshooting.
1. Check power and outlet
- Plug another device into the same outlet to confirm power.
- Inspect the microwave power cord for damage.
- Check the home breaker or fuse box for tripped breakers.
If the outlet works and cord is fine, you can move to internal checks.
2. Inspect the door and latch
- Look for visible damage to the door or latch.
- Open and close the door to feel for proper alignment.
- Faulty door switches will prevent operation; they often cause no-power symptoms.
Door switch replacement is common and affordable.
3. Test fuses and internal power components
- Unplug and remove the back panel.
- Locate and visually inspect fuses; a blown fuse often shows a broken link or dark spot.
- Use a multimeter to test fuse continuity.
A blown fuse often signals a deeper issue. Replace only after finding the root cause.
4. Diagnose heating failures
- If the microwave runs but won’t heat, test the high-voltage diode, capacitor, and magnetron.
- Magnetron failures often cause no-heat but normal fan and turntable action.
- High-voltage tests can be dangerous; consider a technician for these steps.
Replace parts only when tests show them faulty.
5. Resolve turntable and motor problems
- Remove the plate and roller; clean and reseat them.
- If motor hums but won’t turn, the motor may be failing.
- Check for broken gears or obstructions under the plate.
Turntable motors are inexpensive and usually straightforward to replace.
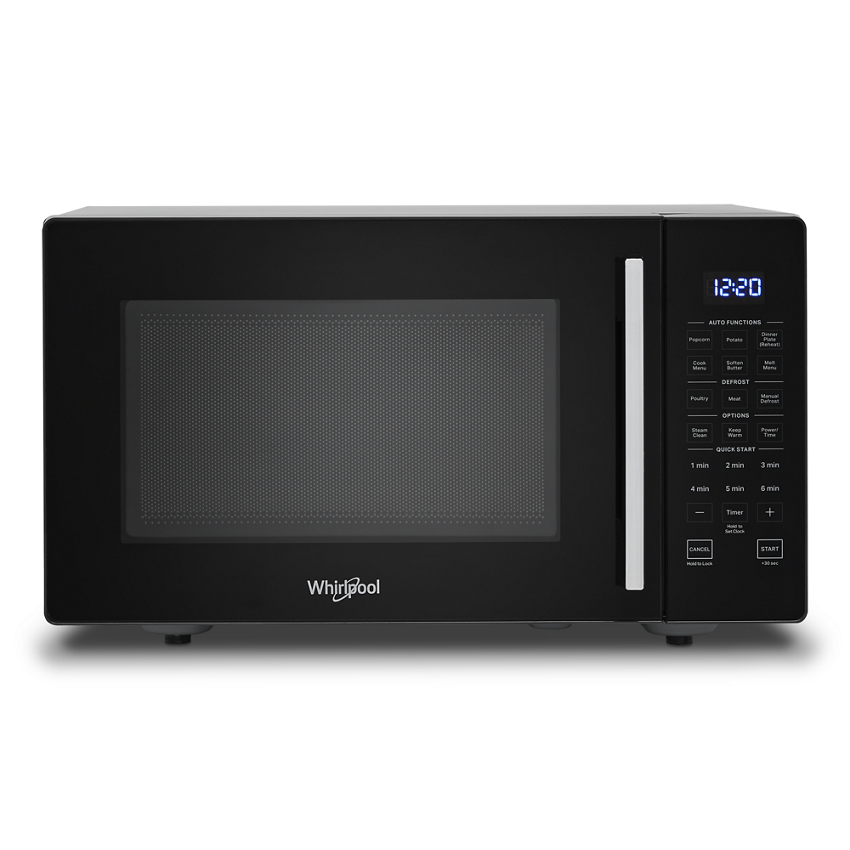
6. Control panel and keypad issues
- Reset the microwave by unplugging for 5 minutes.
- Clean the control panel gently to remove grease or debris.
- If the panel stays dead, the control board or membrane may be faulty.
Replacing a control board can be costly, so confirm with tests.
7. Strange noises, sparks, or burning smells
- Stop using the microwave immediately if you see arcing or smell burning.
- Check for food debris or metal inside the cavity causing sparks.
- If noise comes from magnetron or transformer, unplug and call a pro.
These signs often need professional repair due to high-voltage risk.
Follow this order when doing Whirlpool microwave troubleshooting. It saves time and reduces risk.
Understanding Whirlpool microwave error codes
Error codes shorten troubleshooting. Many Whirlpool microwaves show codes or flashes. Here are common examples and actions to take.
- F0E1 or F0E2 — Touchpad or control board problem. Try a reset. If it returns, the control board may need replacing.
- F2E0 — Inverter or magnetron issue. Do not operate until checked by a technician.
- Door-related codes — Check latch and door switches for continuity.
- 3-digit numeric codes — Often model-specific; consult the user manual for precise meaning.
- Continuous beeping — Could be control lock or sensor error. Reset and test.
Reset tip: Unplug the microwave for 1–5 minutes to clear many transient faults. If codes return, document them. Error codes streamline Whirlpool microwave troubleshooting by pointing to exact systems.
When to replace parts and when to hire a technician
Deciding whether to DIY or hire a pro depends on the part, cost, and safety risk. Use this guide when doing Whirlpool microwave troubleshooting.
- Good DIY repairs
- Replacing fuses or light bulbs.
- Replacing door switches or turntable motors.
- Cleaning and reseating mechanical parts.
- Consider a technician
- Magnetron, capacitor, diode, or transformer replacement.
- Control board diagnosis and micro-soldering.
- Persistent arcing or burning smells.
- Cost factors
- Small parts often cost $10–$80.
- Magnetrons or control boards can cost $100–$300 plus labor.
- If repair cost exceeds about half the price of a new microwave, replacement may make sense.
I recommend getting a repair quote before ordering expensive parts. That makes Whirlpool microwave troubleshooting cost-effective.

Maintenance and prevention tips
Good care reduces the need for Whirlpool microwave troubleshooting. Small habits prevent common failures.
- Clean the cavity after spills to avoid arcing.
- Avoid metal or foil inside the microwave.
- Use microwave-safe containers to prevent damage.
- Run ventilation or fans to cool the unit during heavy use.
- Check door seals and hinges annually.
- Replace the charcoal or vent filters as recommended.
Regular care extends life and avoids surprises. I’ve seen many units saved by simple cleaning and correct use.
Personal experience, lessons learned, and practical tips
I’ve repaired many Whirlpool microwaves in home kitchens and service shops. Here are the lessons that saved time and money.
- Always start with the outlet and fuse. I once replaced a magnetron before checking a tripped breaker. That wasted time and money.
- Keep a small repair kit. Fuses, bulbs, and a spare door switch fix most common issues fast.
- Document error codes and symptoms. Technicians solve problems faster with clear history.
- When in doubt, unplug. Safety prevents costly mistakes and injuries.
These tips come from hands-on work and repair calls. They make Whirlpool microwave troubleshooting more predictable and less stressful.
Frequently Asked Questions of Whirlpool Microwave Troubleshooting
What do I do if my Whirlpool microwave won’t turn on?
First check the power outlet and circuit breaker. If those are fine, inspect the power cord and internal fuse; replace the fuse only after confirming the root cause.
Why does my microwave run but not heat?
That often means a bad magnetron, diode, or high-voltage capacitor. These parts require careful testing and usually a technician to replace.
How do I reset error codes on my Whirlpool microwave?
Unplug the microwave for 1–5 minutes, then plug it back in. If the error returns, record the code and consult the service manual or a technician.
Is it safe to replace the door switch myself?
Replacing a door switch is possible for those comfortable with basic electrical work. Always unplug the unit and test continuity with a multimeter before reassembly.
When should I replace the microwave instead of repairing it?
Consider replacement if repair costs exceed half the price of a new unit or if the microwave has multiple failing parts. Also replace if safety-related components like the magnetron need repair and cost is high.
Can food debris cause arcing inside the microwave?
Yes. Loose food or burnt residue can create sparks. Clean the cavity thoroughly and avoid using metal containers.
Conclusion
Whirlpool microwave troubleshooting becomes simple when you follow clear steps: check power, inspect the door, test fuses, and escalate to high-voltage parts only when needed. Use safety first, and document error codes before replacing parts or calling a pro. Take action today by running the basic checks listed here, keeping a small repair kit, and scheduling professional help for high-voltage fixes. If this guide helped, try the troubleshooting steps on your unit, leave a comment with your experience, or subscribe for more appliance repair tips.

