
Clogs, faulty water valves, and sensor errors are common Kitchenaid ice dispenser issues.
I’ve worked on dozens of refrigerators and helped many homeowners fix Kitchenaid Ice Dispenser Troubleshooting issues. This guide gives clear steps, easy checks, and real tips you can use now. Read on to diagnose, repair, and prevent common failures with confidence.
Why Your Kitchenaid Ice Dispenser Stops Working
Kitchenaid Ice Dispenser Troubleshooting starts with knowing the usual suspects. Common causes include clogged water lines, a frozen fill tube, a bad water inlet valve, an ice chute jam, or a failed dispenser motor or switch. Sensors, control boards, and door switches can also fail and block ice or water dispensing.
Quick signs to watch for:
- No ice but water is fine. Often a frozen tube or stuck ice maker.
- Ice jams in the chute. Usually caused by ice clumping or broken cubes.
- Humming or clicking during dispense. Could be a valve or motor trying to operate.
- Error codes or flashing lights. These point to sensors or control issues.
I often see the same problem: a customer thinks the motor is dead, but the real issue is a clogged water filter or frozen tube. Start with simple checks before swapping parts.
How to Diagnose: A Simple, Safe Workflow
For Kitchenaid Ice Dispenser Troubleshooting, follow these steps in order. They are quick and avoid needless parts replacement.
Steps
- Turn off power. Unplug or switch off the breaker to be safe.
- Check water supply. Make sure the valve to the fridge is open and the line is not kinked.
- Inspect the filter. A clogged filter reduces water and ice production.
- Listen for the inlet valve. Press the dispenser and listen for a click or hum.
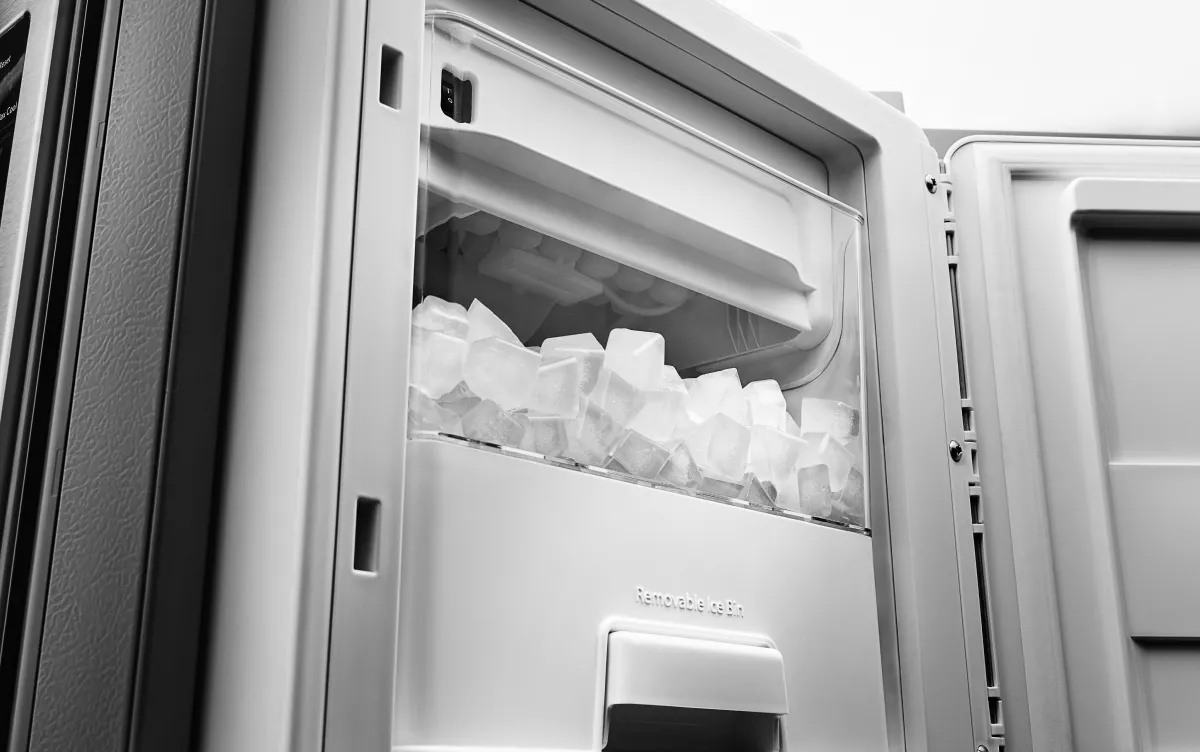
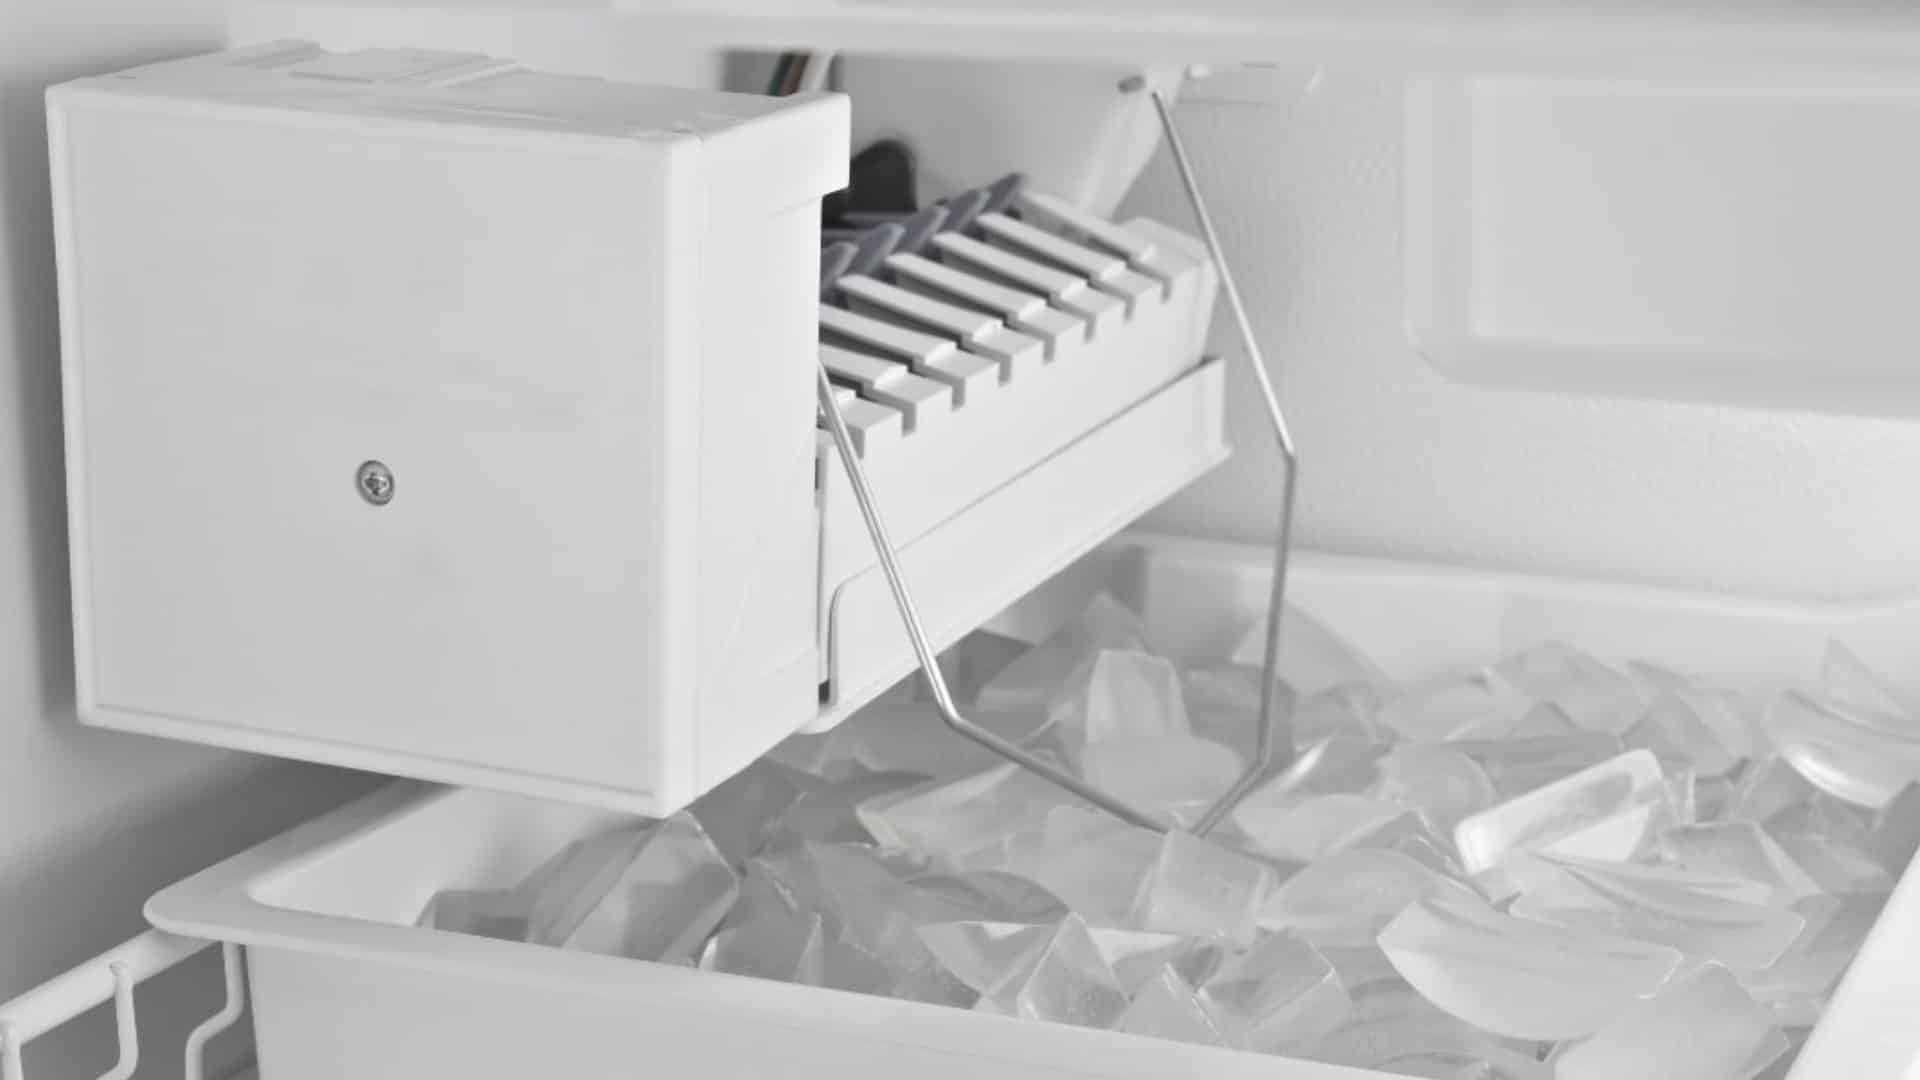
- Check the ice bin. Remove the bin and look for jams, clumps, or melted-and-refrozen cubes.
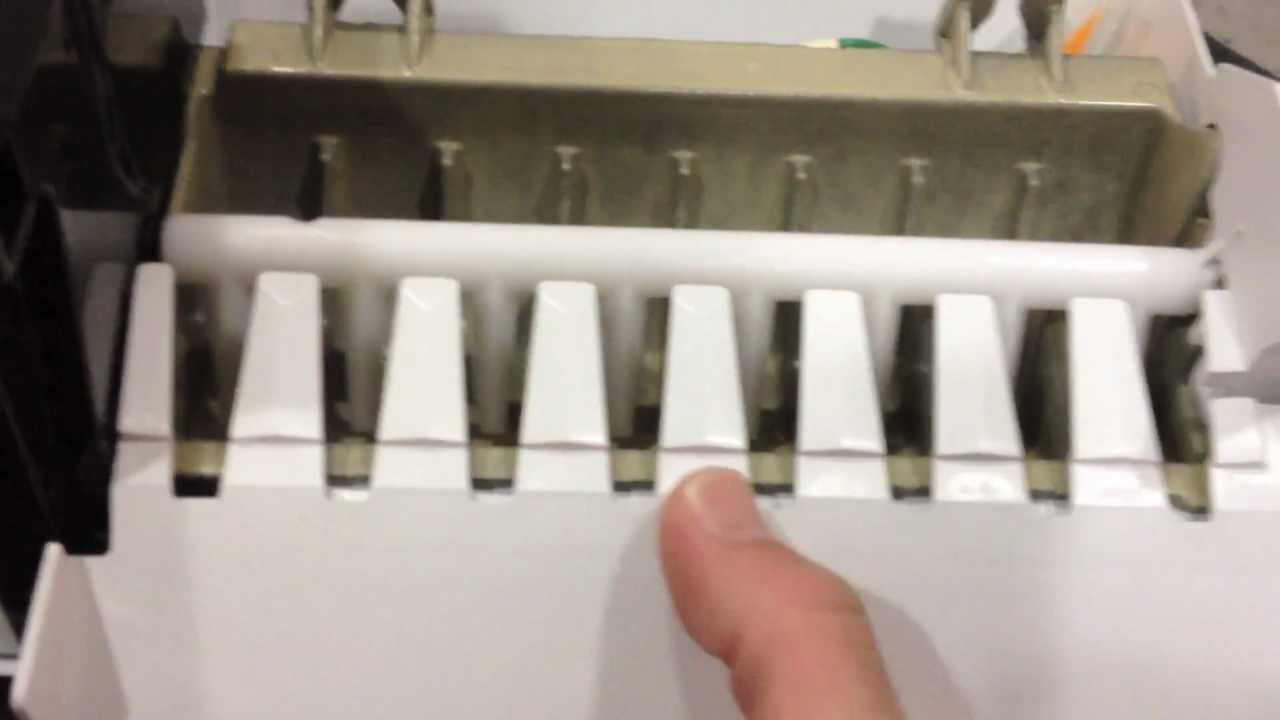
- Try a manual harvest. Use the ice maker’s test mode if your model has one.
- Note error codes. Consult your manual for specific code meanings.
People also ask
Why is my ice maker full but dispenser won’t drop ice?
A jam is most likely. Remove the ice bin, clear clumped or stuck cubes, then test the dispenser.
How long does it take for a frozen fill tube to thaw?
A thaw from room temperature often takes 30–60 minutes. Using a hair dryer on low and keeping power off speeds it up safely.
Can a bad water filter stop ice production immediately?
Yes. A heavily clogged filter restricts flow, which can stop ice making quickly.
I use this workflow when I troubleshoot clients’ Kitchenaid Ice Dispenser Troubleshooting calls. It catches many issues early and saves time and money.
Step-by-Step Fixes for Common Issues
Kitchenaid Ice Dispenser Troubleshooting often needs simple fixes. Follow these targeted steps.
If water line is blocked
- Turn off water to the fridge.
- Inspect the line behind the unit for kinks.
- Replace cracked tubing or reconnect loose fittings.
- Turn water back on and check for leaks.
If the fill tube is frozen
- Unplug the refrigerator.
- Remove the ice bucket and inspect the tube.
- Thaw gently with warm cloths or a hair dryer on low.
- Restart after the tube is clear and test ice making.
If the water inlet valve is faulty
1. Disconnect power and water.
2. Test valve solenoid for continuity with a multimeter.
3. Replace the valve if it shows no continuity or leaks.
If ice chute or auger is jammed
- Remove the ice bin.
- Manually clear clumped cubes.
- Inspect the auger for damage; replace if broken.
If dispenser motor or switch fails
- Test the switch with a multimeter.
- Replace the actuator or motor assembly if no continuity.
- Reassemble and test the dispenser.
If the control board or sensor is the issue
- Note patterns or error codes. Reset power for a simple reboot.
- Replace boards or sensors only after checking simpler parts first.
Costs and time
- Filters: inexpensive, 10–15 minutes.
- Inlet valve: moderate cost, 30–60 minutes.
- Motor or board: higher cost, 1–2 hours and may need a tech.
In my experience, replacing a water valve fixed about 30% of Kitchenaid Ice Dispenser Troubleshooting calls. Start with the low-cost fixes first.

Preventive Maintenance and Cleaning
Good maintenance reduces future Kitchenaid Ice Dispenser Troubleshooting work. A short routine every few months keeps things smooth.
Maintenance checklist
- Replace the water filter every 6 months.
- Clean the ice bin monthly with warm water and mild soap.
- Inspect the fill tube and clear frost early in winter.
- Flush water lines when you replace filters.
- Run a cleaning cycle or use a fridge-safe cleaner per manual recommendations.
Cleaning steps
- Unplug the fridge.
- Remove ice bin and wash it with warm, soapy water.
- Wipe the chute and dispenser paddle with a soft cloth.
- Sanitize with a mild bleach solution if odor or slime appears.
- Reassemble and run a few dispense cycles to clear residue.
Preventive steps I learned on the job:
- Use cold-filtered water to reduce mineral buildup.
- Avoid scooping ice with wet hands; moisture causes clumping.
- Keep the freezer door sealed to avoid temperature swings.
These practices cut down Kitchenaid Ice Dispenser Troubleshooting calls and improve ice quality.
Parts, When to Repair vs Replace, and Cost Guide
Kitchenaid Ice Dispenser Troubleshooting involves knowing which parts are worth replacing.
Common parts and notes
- Water filter: low cost, easy DIY.
- Water inlet valve: mid cost, DIY if handy.
- Ice maker assembly: mid to high cost; replace if harvest fails.
- Dispenser motor/auger: mid cost, replace if noisy or stuck.
- Door switch: low cost, easy fix.
- Control board: high cost, consider repair vs replace.
Decide to repair when:
- The part cost is low and the fix is straightforward.
- The unit is under warranty.
- The problem is isolated and not multiple system failures.
Decide to replace the fridge when:
- Multiple major components fail.
- The fridge is old and inefficient.
- Repair costs approach half the price of a new unit.
Typical cost ranges (parts only)
- Filter: $20–$60
- Inlet valve: $40–$120
- Motor or auger: $60–$180
- Control board: $150–$400
I once fixed a Kitchenaid Ice Dispenser Troubleshooting case for a client by swapping a $55 inlet valve, saving them several hundred dollars versus a board replacement. Small parts often solve big problems.
Expert Tips, Mistakes to Avoid, and My Field-Tested Checklist
For Kitchenaid Ice Dispenser Troubleshooting, use these practical tips I’ve gathered from field work.
Top tips
- Always power off before working on electrical parts.
- Replace the filter first; it’s the easiest fix and often the cause.
- Avoid using harsh chemicals on plastic parts.
- Keep a spare filter and door gasket on hand.
- Log error codes and when they occur to spot patterns.
Common mistakes
- Jumping to replace the control board first.
- Not checking the water supply valve behind the fridge.
- Overlooking simple thawing of the fill tube.
Quick checklist to follow
- Check water flow and filter.
- Inspect ice bin and chute.
- Listen for the inlet valve and motor sounds.
- Run manual harvest or test mode.
- Replace low-cost parts before expensive ones.
A small anecdote: once a homeowner called thinking the board was dead. We followed the checklist and found a tiny rock in the ice chute. That fixed the Kitchenaid Ice Dispenser Troubleshooting in five minutes. Little things matter.
Frequently Asked Questions of Kitchenaid Ice Dispenser Troubleshooting
Why is my Kitchenaid ice dispenser not dispensing ice but lights work?
If lights work but ice won’t drop, check for a jammed ice chute or broken auger. Remove the bin and clear clumped cubes before testing the motor.
How do I reset my Kitchenaid ice maker?
Unplug the fridge or switch off the breaker for 60 seconds, then restart to reset many models. Check the manual for a model-specific reset or test mode.
Can a frozen water line cause no ice production?
Yes. A frozen fill tube will stop water from reaching the ice maker and halt ice production until thawed.
How often should I change the water filter?
Change the water filter every six months or sooner if water tastes off. A clean filter helps prevent many Kitchenaid Ice Dispenser Troubleshooting issues.
Is it safe to replace the water inlet valve myself?
Yes, if you are comfortable turning off water and power and following instructions. If unsure, call a qualified appliance technician to avoid leaks or damage.
Conclusion
You now have a clear path to resolve most Kitchenaid Ice Dispenser Troubleshooting issues. Start with basic checks: water, filter, and jams. Use the stepwise fixes and preventive tips to avoid repeat problems. If a problem is electrical or complex, call a trained technician to stay safe.
Take action today: try the quick checks, replace a filter if due, and leave a comment with your model and symptoms for tailored help.

