
Vacuum pump troubleshooting quickly isolates leaks, oil issues, worn parts, and performance faults.
I have worked with vacuum pumps in labs and plants for over a decade. I will guide you through Vacuum Pump Troubleshooting with clear steps, checks, and real-world tips. You will learn how to spot common causes, run simple diagnostics, and decide when to repair or replace a unit. Read on to save time, reduce downtime, and get reliable vacuum performance.
Common problems and causes in Vacuum Pump Troubleshooting
Vacuum Pump Troubleshooting starts by knowing the usual faults you will face. This helps you focus testing and cut repair time.
Most common problems include low vacuum, slow pump-down, oil contamination, loud noise, and overheating. Each issue has a short list of likely causes. For example, low vacuum often means a leak, clogged line, or worn seals. Oil contamination points to backstreaming, gland leaks, or wrong oil type.
Signs to watch for
- Low or no vacuum reading on gauge.
- Oil that looks milky, black, or smells burned.
- Unusual vibration or loud knocking sounds.
- Rapid temperature rise in the pump body.
Typical causes
- Inlet or flange leaks.
- Clogged filters or traps.
- Damaged vanes, valves, or diaphragms.
- Incorrect oil level or wrong oil grade.
- Exhaust blockage or back pressure.
Knowing these problems speeds up Vacuum Pump Troubleshooting and prevents unnecessary parts swaps.
Diagnostic checklist for quick Vacuum Pump Troubleshooting
A checklist makes troubleshooting fast and repeatable. Use it every time to diagnose before you repair.
Visual checks first
- Inspect oil level and color.
- Check hoses and fittings for cracks or loose clamps.
- Listen for abnormal noises when the pump runs.
- Feel for hot spots on the pump housing.
Functional checks next
- Confirm power supply voltage and phase.
- Check vacuum gauge calibration or use a second gauge.
- Isolate the pump from the system to test free pump-down.
- Swap in a known-good hose or filter to isolate parts.
Simple tests to run
- Helium or soap-bubble leak test to find small leaks.
- Back-pressure test to check exhaust flow.
- Oil trap inspection to detect backstreaming or blow-by.
PAA-style questions (quick answers)
- What causes a pump to lose vacuum quickly? A leak in the system, worn seals, or a clogged inlet are common causes.
- How do I tell if oil is causing problems? Look for milky color, unusual smell, or oil in the discharge line.
Follow this checklist to make your Vacuum Pump Troubleshooting systematic and clear.
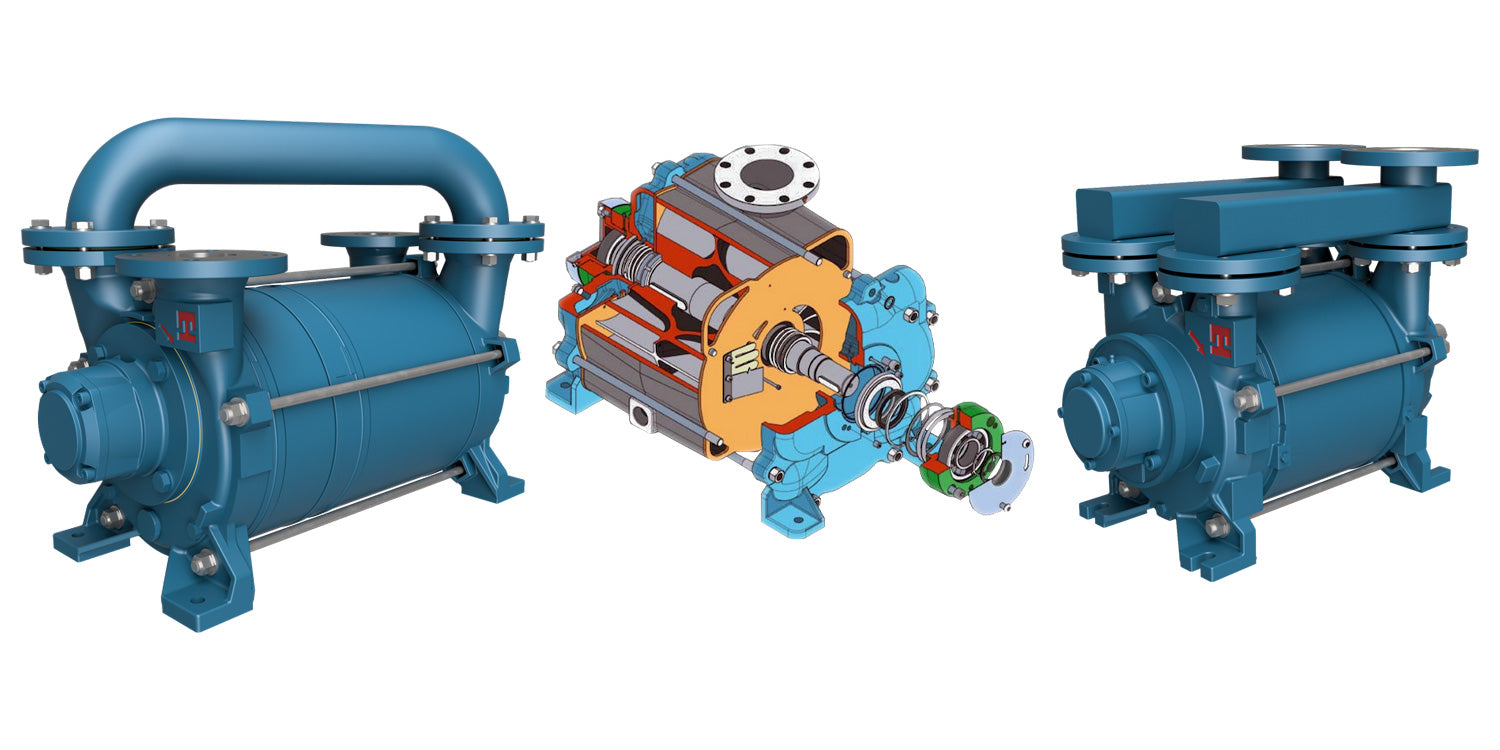
![]()
Step-by-step Vacuum Pump Troubleshooting procedure
A step plan helps you work safely and avoid repeated errors. Perform each step in order.
Step 1. Safety and isolation
- Turn off power and lock out the unit.
- Vent and isolate the system from hazardous gases.
- Wear gloves and eyewear for oil and debris contact.
Step 2. Baseline test
- Run the pump isolated from the process.
- Note time to reach base pressure and final pressure.
- Compare with the pump nameplate or manual.
Step 3. Narrow the fault
- If isolated performance is good, inspect the process piping and valves.
- If isolated performance is poor, open the pump and inspect internal parts.
- Replace filters and oil before moving to internal repairs.
Step 4. Internal inspection
- Check vanes, diaphragms, bearings, and seals for wear.
- Clean carbon buildup and replace damaged parts.
- Reassemble with correct torque and replace gaskets.
Step 5. Verification
- Re-torque fittings and run the pump under load.
- Use a calibrated gauge to confirm vacuum levels.
- Monitor temperature, vibration, and oil condition for a few hours.
This methodical approach makes Vacuum Pump Troubleshooting faster and more reliable.
Maintenance and preventive tips for reliable Vacuum Pump Troubleshooting
Good maintenance reduces the need for emergency troubleshooting. Routine care extends pump life and keeps performance steady.
Daily and weekly tasks
- Check oil level and top up with the correct grade.
- Inspect hoses, clamps, and seals for wear.
- Listen for new noises and record baseline values.
Monthly and quarterly tasks
- Change oil and clean or replace filters.
- Inspect internal parts if usage is heavy.
- Clean cooling fins and ensure good ventilation.
Best practices
- Use the correct oil type and viscosity recommended by the manufacturer.
- Install an oil mist eliminator or trap to protect the pump and process.
- Keep a maintenance log that notes hours, oil changes, and issues.
These steps make Vacuum Pump Troubleshooting simpler and less frequent. Preventive care saves money and downtime.
When to repair, overhaul, or replace a vacuum pump
Deciding whether to repair or replace is part of practical Vacuum Pump Troubleshooting. Use clear criteria.
Repair when
- A single worn part like a vane or gasket fails.
- The repair cost is under 30% of a new pump value.
- Downtime is short and parts are readily available.
Overhaul when
- Wear affects multiple internal parts.
- The pump has high hours but the frame and motor are sound.
- You want to restore near-new performance at lower cost than new.
Replace when
- The motor fails and cost of replacement exceeds 50% of new pump cost.
- Newer models save energy or add necessary features.
- Repeated failures indicate design mismatch to your process needs.
Keep service records and a parts history to help with future Vacuum Pump Troubleshooting decisions.

Personal experience, lessons, and practical tips
I have rebuilt several rotary vane and dry vacuum pumps in labs and small factories. These are the lessons I learned the hard way.
Lesson 1: Never assume the gauge is right. I once chased an internal fault for hours only to find a failed gauge. Keep a spare gauge or use a calibrated meter.
Lesson 2: Cleanliness matters. One contamination event with process oil ruined a pump and shortened its life. Use traps and change oil more often in harsh services.
Lesson 3: Small leaks add up. I fixed a system with many tiny leaks. Together they doubled pump run time. Tighten fittings and retest after every repair.
Practical tip: Keep a small kit with spare gaskets, vanes, oil, and a basic gauge. It saves time during Vacuum Pump Troubleshooting and cuts downtime.
These real tips come from hands-on work and help you solve issues faster.

Frequently Asked Questions of Vacuum Pump Troubleshooting
What is the quickest way to find a vacuum leak?
Use a soap-bubble test for visible fittings and a helium sniffer for small leaks. Isolate sections and test each to narrow the location.
How often should I change vacuum pump oil?
Change oil every 500 to 2000 operating hours depending on load and oil condition. Check oil color and odor; change sooner if contaminated.
Can a noisy pump still be reliable?
Noise often signals wear but not always failure. Inspect bearings and vanes; if vibration increases, schedule repairs soon.
Why does my pump overheat during normal use?
Overheating can come from blocked cooling, high ambient temperature, or internal friction from worn parts. Check ventilation and internal wear.
When is professional overhaul recommended?
Choose professional overhaul when multiple internal parts show wear or when you lack time or tools for safe internal work. Overhaul restores performance and reliability.
Conclusion
Vacuum Pump Troubleshooting is about clear steps, good checks, and steady maintenance. Start with simple visual and gauge checks, follow a diagnostic checklist, and use a stepwise repair plan. Keep a maintenance log and a small parts kit to cut downtime. Try the tips above on your next service and watch your pump run longer and better. If this guide helped, subscribe, leave a comment with your issue, or share your own troubleshooting story.

